This tutorial is also available in French
➔

EGR valve removal on Defender Td5
Vehicle ➔ Defender 110 Td5 year 2002
Difficulty ➔ Medium

Time ➔ 2 hours
Summary
Advertisement
Advertisement

Recommendations

Removing the EGR valve prevents clogging the engine inlet with exhaust gases. In addition, even if it's very slight, without the EGR valve the Defender has better low-end response.
Removing the EGR does not cause any pollution problems during the MOT test.
To make things easier, we sealed the EGR cooler instead of the exhaust manifold. This method avoids the hassle of dealing with exhaust manifold bolts, which are usually rusty. Unfortunately, they have a serious tendency to break when you try to unscrew them.

The 2 vacuum hoses must be sealed with rivets or screws. Without them, the vacuum circuit linked to the brake system will lose its effectiveness.
Required Tools
Sponsored links by


Spare Parts
Our Partner


Packaging :
The EGR valve blanking kit used during this tutorial included :
• 1 EGR replacement pipe.
• 1 EGR replacement pipe gasket.
• 1 exhaust blanking plate.
Some kits are sometimes delivered with :
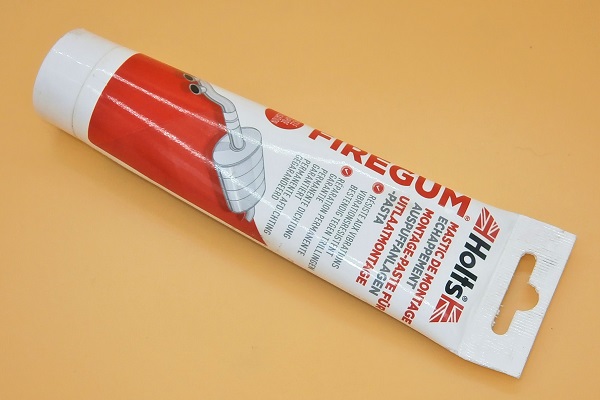
• 1 exhaust blanking plate gasket and in this case Firegum is unnecessary.
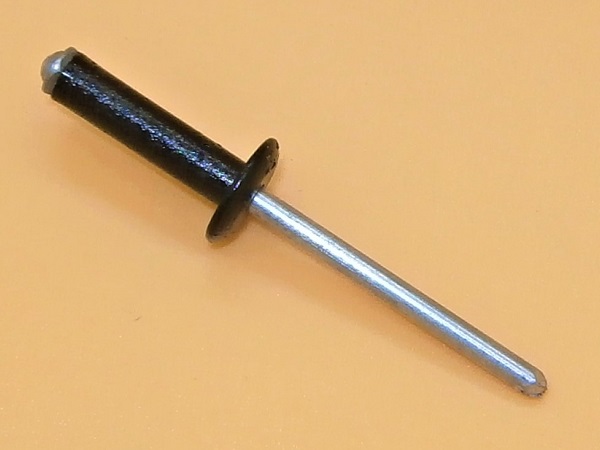
• 2 caps for sealing the vacuum hoses and in this case the Ø4 mm pop rivets are unnecessary.
• 1 EGR replacement pipe.
• 1 EGR replacement pipe gasket.
• 1 exhaust blanking plate.
Some kits are sometimes delivered with :
• 1 exhaust blanking plate gasket and in this case Firegum is unnecessary.
• 2 caps for sealing the vacuum hoses and in this case the Ø4 mm pop rivets are unnecessary.
Advertisement
Remove the EGR valve
Op 01
Remove the acoustic cover (➔ see the tutorial ''Engine oil change on Defender Td5'' Op 05 to 07).
Op 02
Remove the cooling fan cowl (➔ see the tutorial ''Viscous fan change on Defender Td5'' Op 02 and 03).
Op 03
Disconnect the 2 vacuum hoses from the EGR valve. Simply pull by hand.


Op 04
Loosen the intercooler hose clamp. Use the flathead screwdriver.


Op 05
Detach the intercooler hose from the EGR valve. Pull by hand.

Op 06
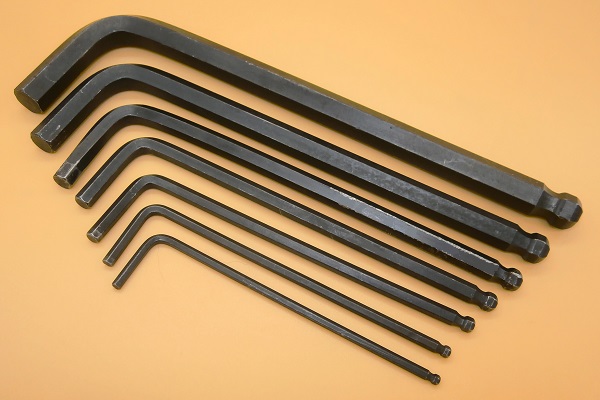
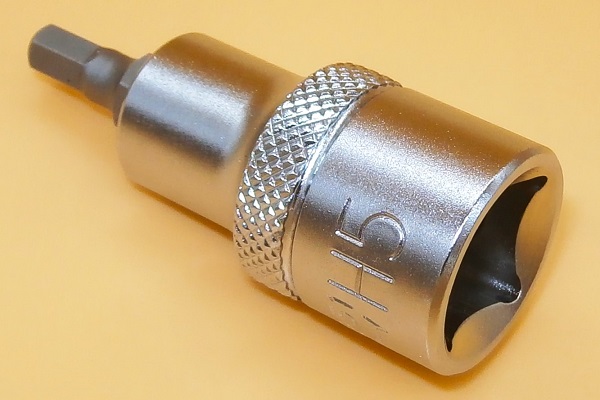
Remove the 2 bolts securing the EGR pipe to the EGR cooler. Use the 5 mm allen key.


Op 07
Unclip the plastic clip and move the wiring harness away.
The clip simply unclips by hand after slightly compressing its tabs.


Op 08
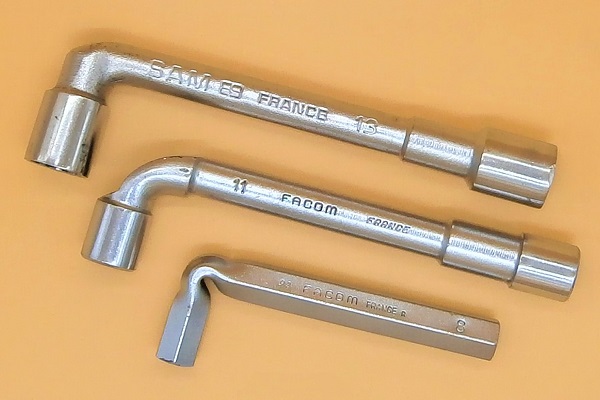
Remove the 4 EGR valve fixing bolts. Use the 8 mm shaped socket spanner.


Op 09
Remove the EGR valve and its gasket.


Advertisement
Fit the EGR replacement pipe
Op 10
Fit the EGR replacement pipe and its gasket (EGR valve blanking kit).
Always fit a new gasket.


Op 11
Screw in the 4 EGR replacement pipe fixing bolts. Use the 8 mm shaped socket spanner.

Op 12
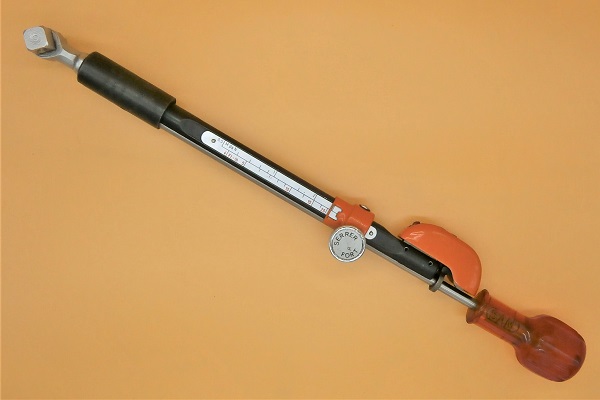
Tighten the 4 EGR replacement pipe fixing bolts to a torque of 10 mN. Use the 8 mm socket and the torque wrench.

Op 13
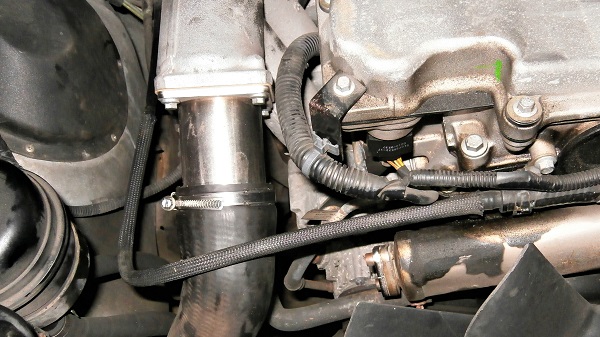
Fit the intercooler hose onto the EGR replacement pipe.
Fit and tighten intercooler hose clamp. Use the 6 mm shaped socket spanner.
Using the socket spanner instead of a screwdriver allows you to firmly tighten the hose clamp without damaging the screw head.


Seal the EGR cooler
Op 14
Apply Firegum to the exhaust blanking plate (EGR valve blanking kit).
Firegum is not essential, but it will greatly improve the seal.


Op 15
Fit the exhaust blanking plate on the EGR cooler.

Op 16
Screw in the 2 exhaust blanking plate fixing bolts. Use the 5 mm allen key.


Op 17
Tighten the 2 exhaust blanking plate fixing bolts to a torque of 10 mN. Use the 5 mm allen socket and the torque wrench.


Op 18
Fit the wiring harness clip on its support. Press by hand.


Advertisement
Seal the vacuum hoses
Op 19
Seal the vacuum hoses. Use Ø4 mm pop rivets (or screws).


Op 20
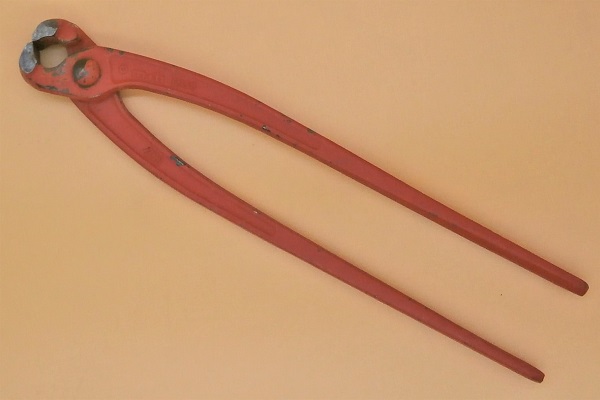
Cut the mandrels of the pop rivets. Use the cutting pliers.


Op 21
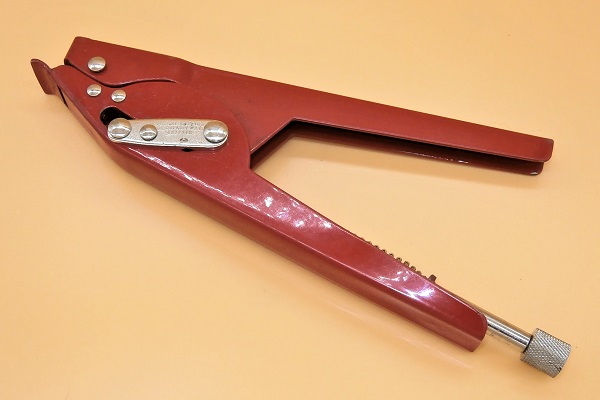
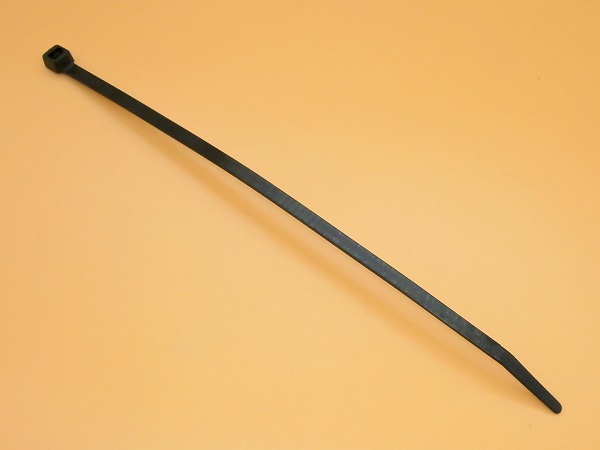
Secure the vacuum hoses using cable ties. Use the cable tie pliers.


Op 22
Fit the cooling fan cowl (➔ see the tutorial ''Viscous fan change on Defender Td5'' Op 09 and 10).
Op 23
Fit the acoustic cover (➔ see the tutorial ''Engine oil change on Defender Td5'' Op 44 to 46).
The End