This tutorial is also available in French
➔

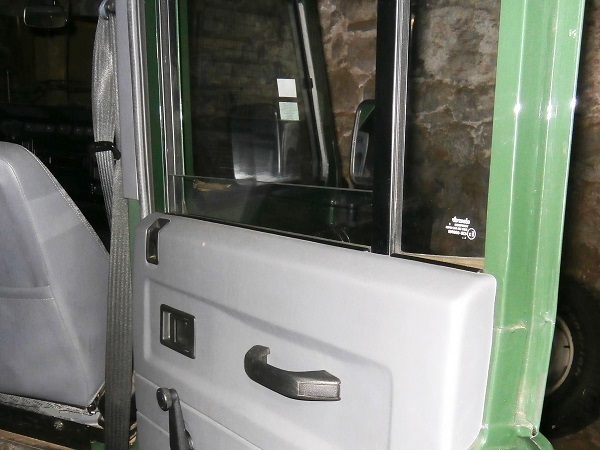
Rear door trim removal on Defender 110 SW
Vehicle ➔ Defender 110 Td5 2002
Difficulty ➔ Easy

Time ➔ 1 hour
Summary
Advertisement
Advertisement

Recommendations

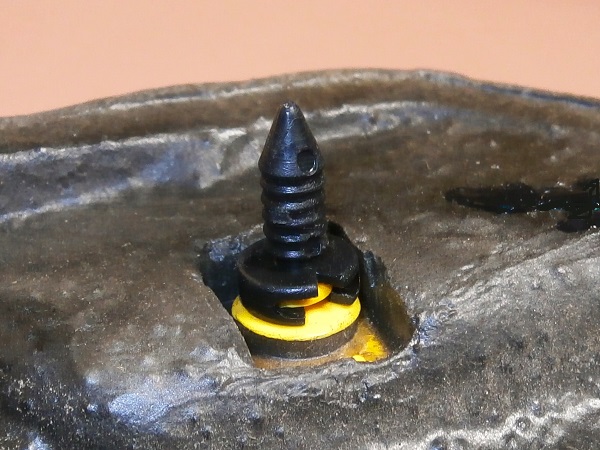
The fixing points of the fir tree fasteners on the door trim are very fragile. Go very slowly when you pull out the fasteners when removing the trim.

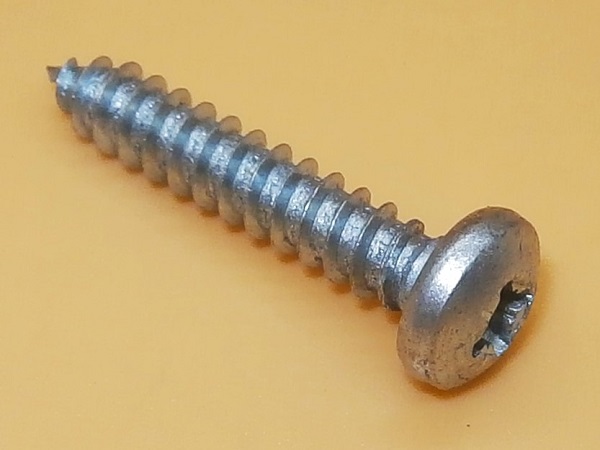
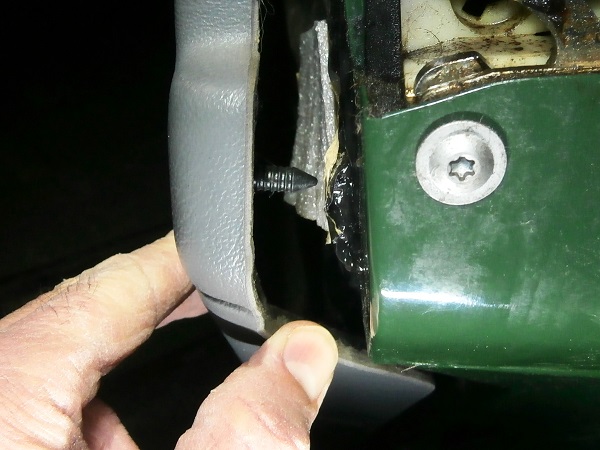
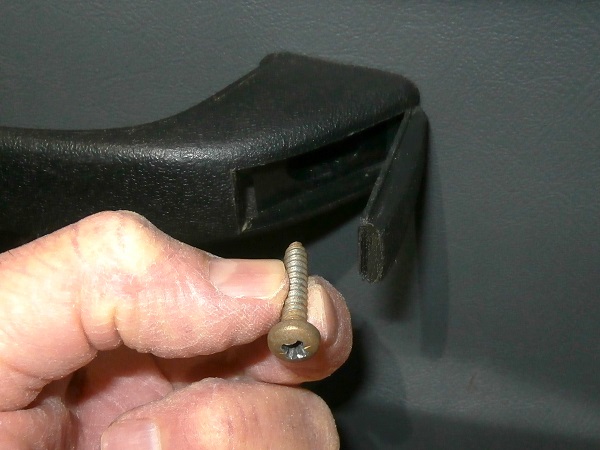
If you unfortunately tear off the fixing point of a fir tree fastener, you can repair the door trim using a simple wood screw
(➔ see the tutorial ''Door trim repair on Defender'').
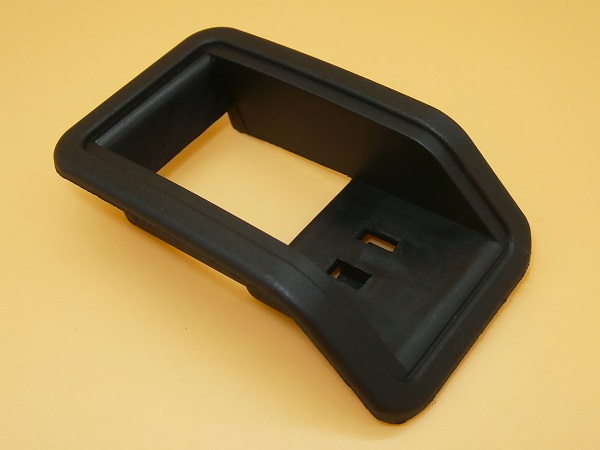
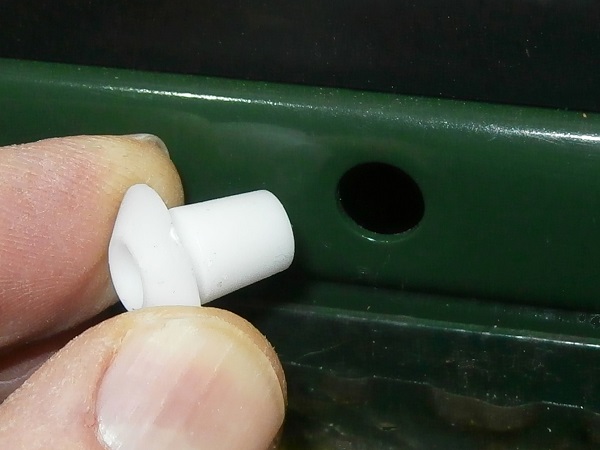
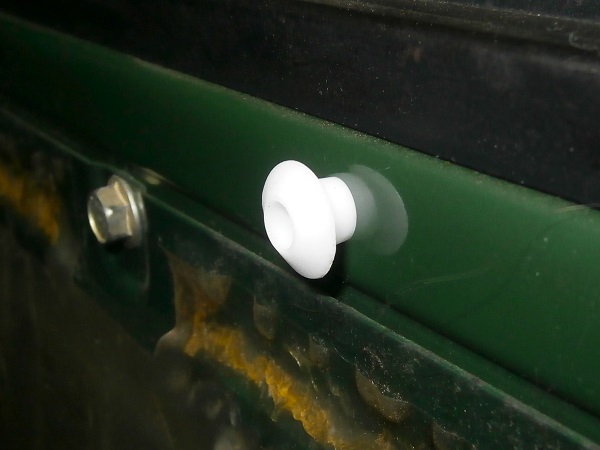
It is not necessary to systematically change the snapsacs when you remove the door trim. The snapsacs are the white plastic parts fixed to the door in which the fir tree fasteners are positioned. However, after several removals, the fir tree fasteners no longer lock correctly in the snapsacs and the trim no longer sits flush with the door. It is time to change them.
Required Tools
Sponsored links by


Spare Parts
Our Partner


Packaging :
•
The above parts are sold individually.
Advertisement
Remove the door trim
Op 01
Lower the rear side door glass.

Op 02
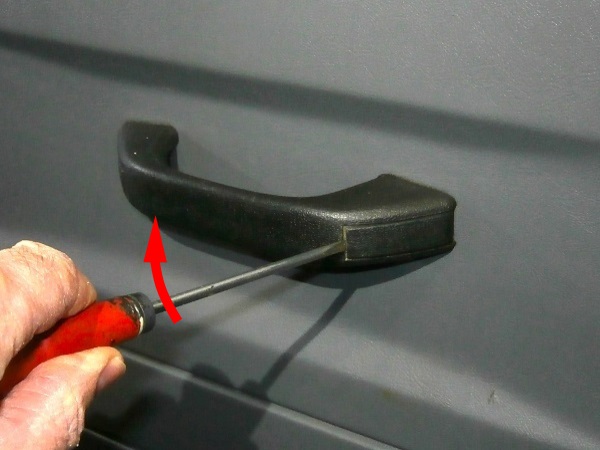
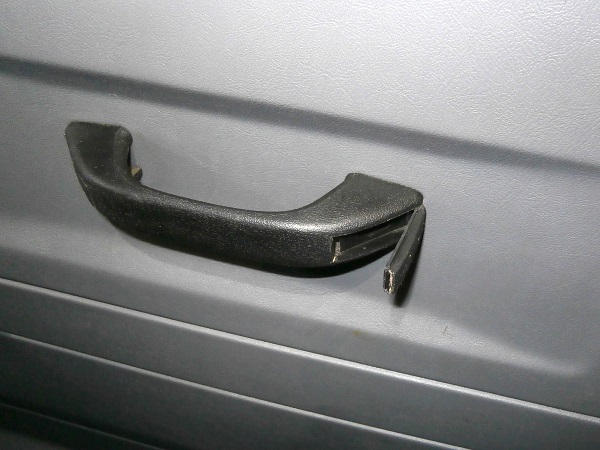
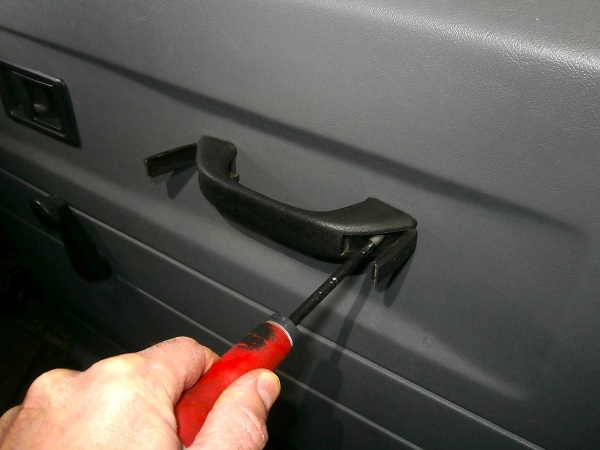
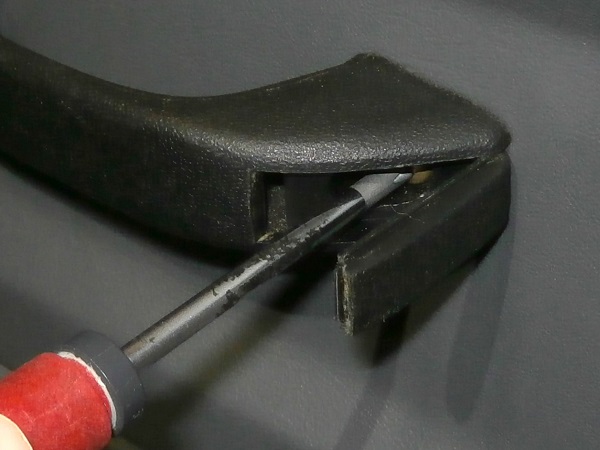
Open the 2 flaps of the inner door pull handle to access the 2 fixing screws. Use a flathead screwdriver.
Op 03
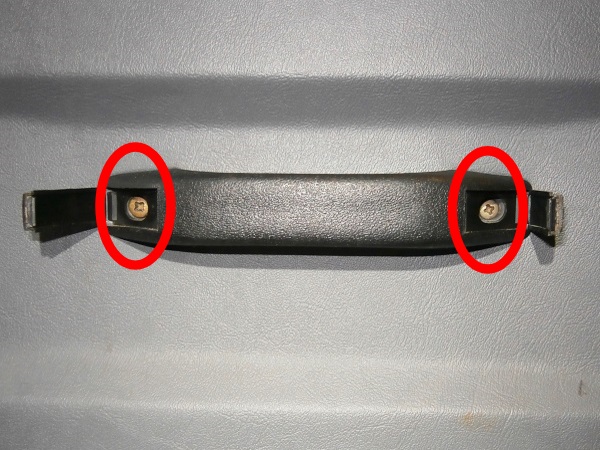
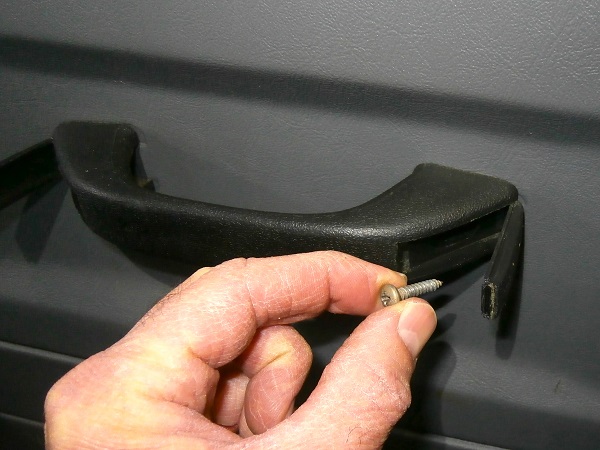
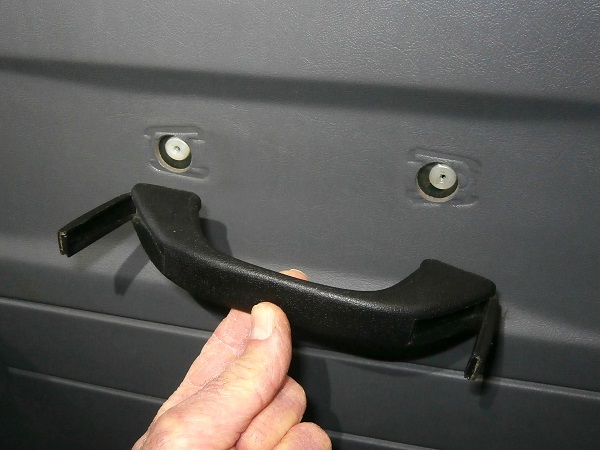
Unscrew the 2 handle fixing screws. Use a Phillips screwdriver.
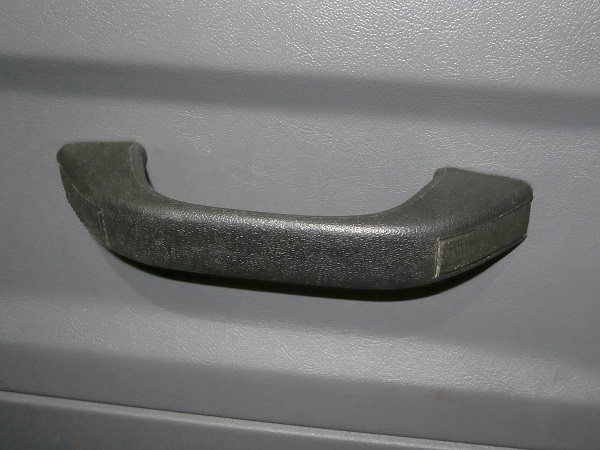
Remove the inner door pull handle. Pull by hand.
Op 04
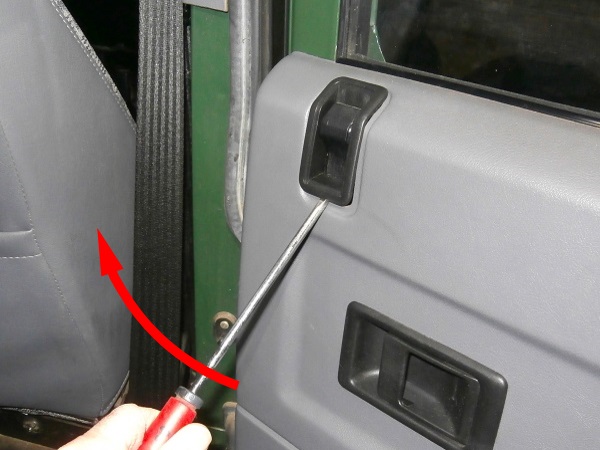
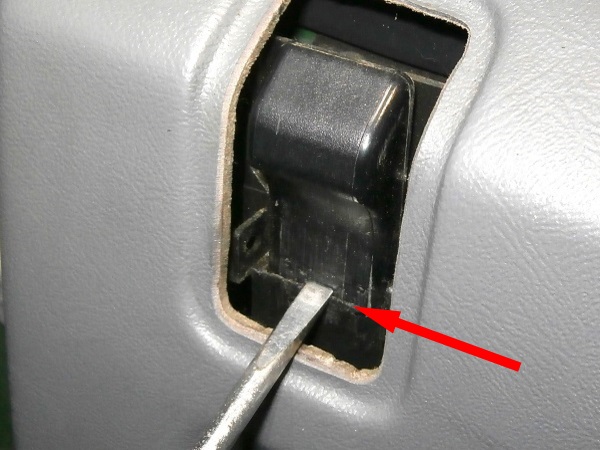
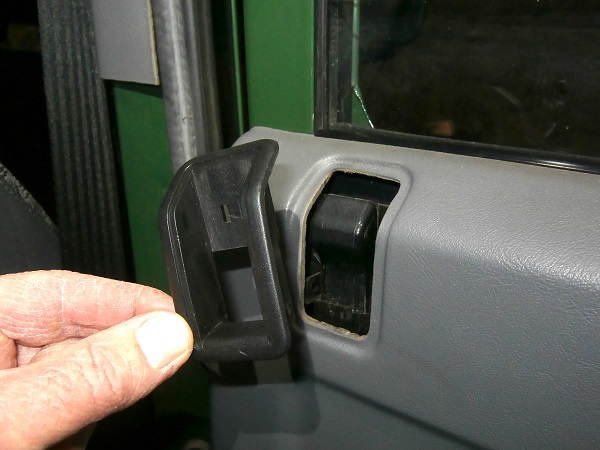
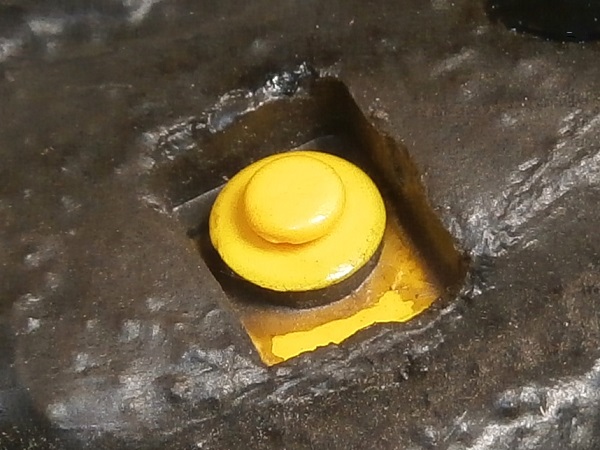
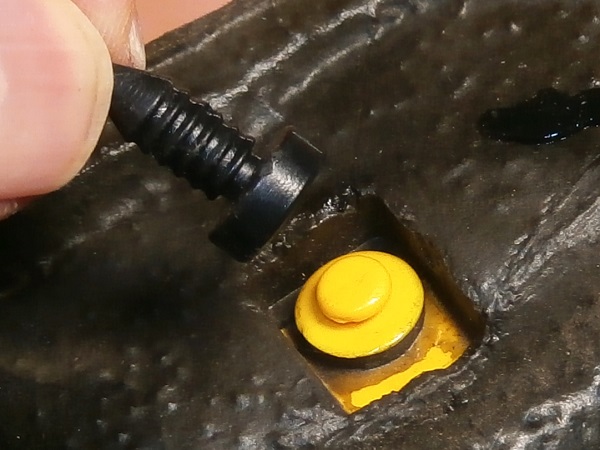
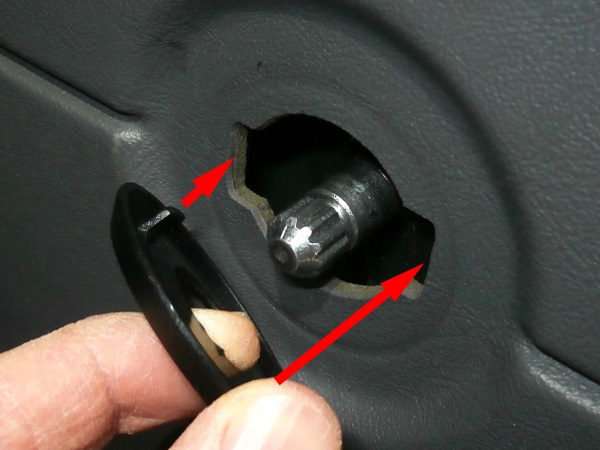
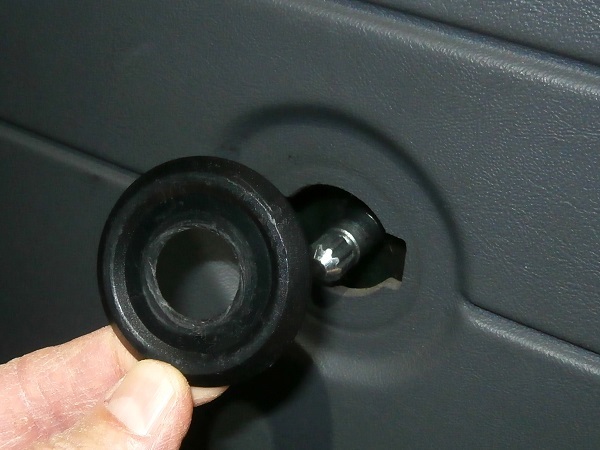
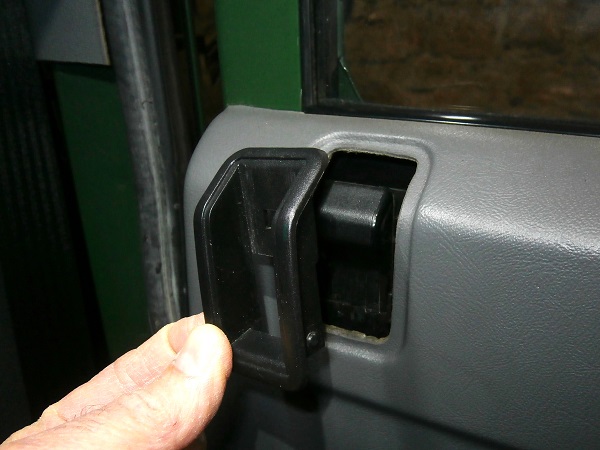
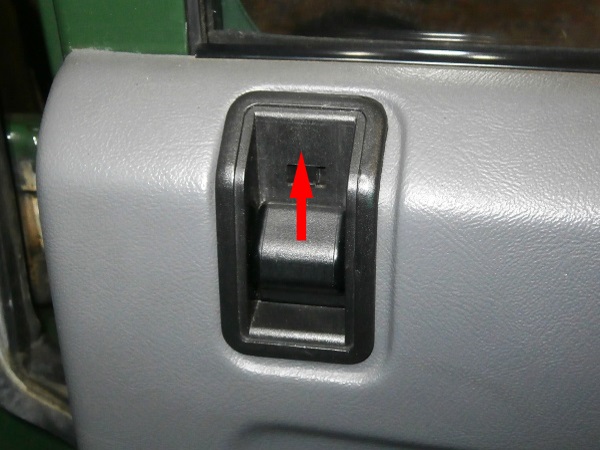
Unclip the sill button escutcheon. Use a flathead screwdriver.
Insert the screwdriver under the escutcheon, resting on the sill button guide and make leverage. To make it easier to understand, we photographed the button without the escutcheon (2nd photo). You can clearly see where the head of the screwdriver should rest.
The escutcheon is fragile. Do not force too much.
Op 05
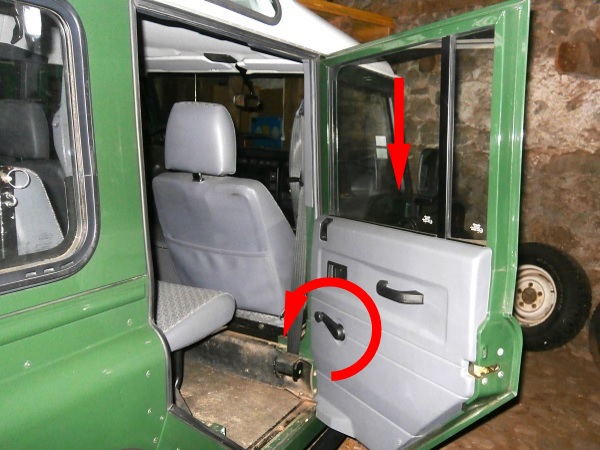
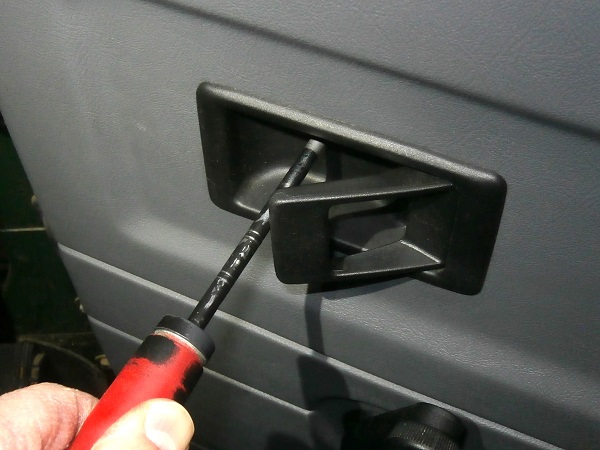
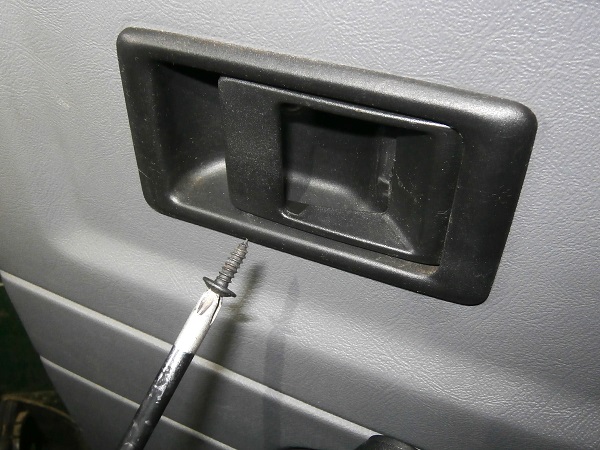
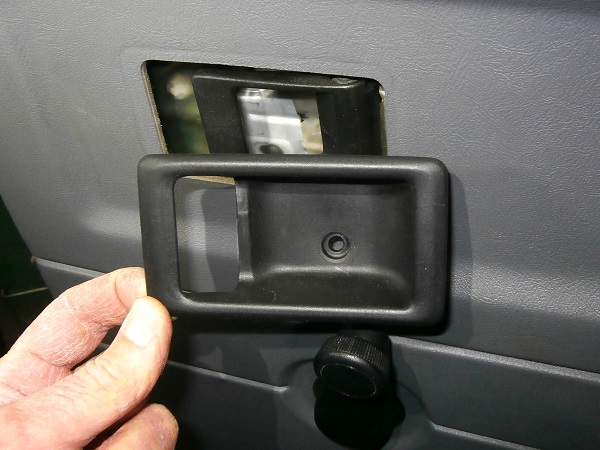
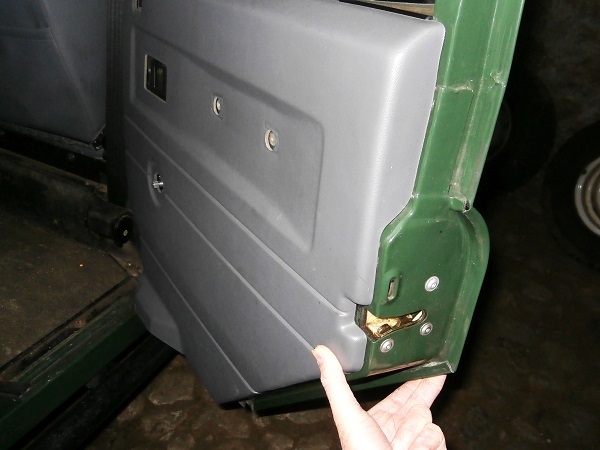
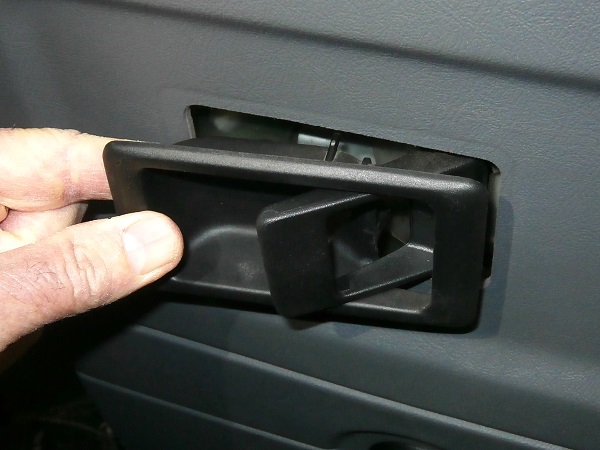
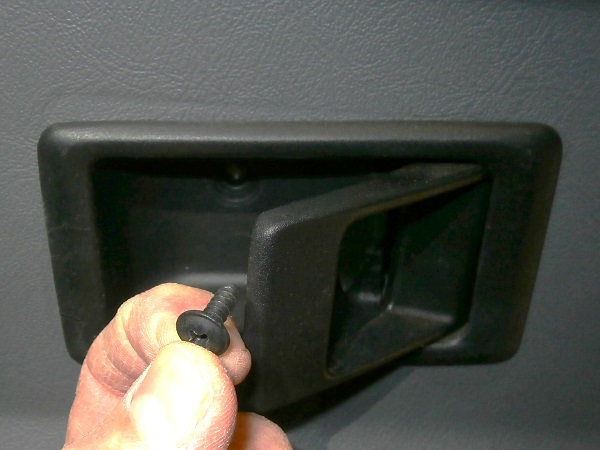
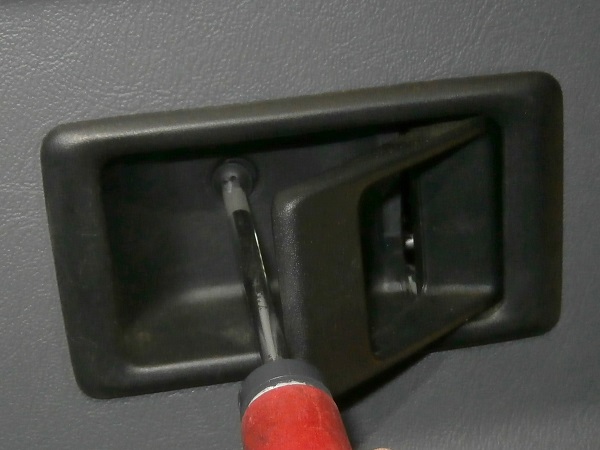
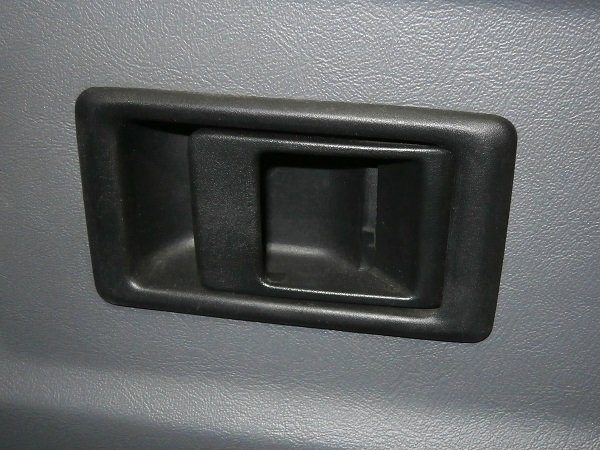
Remove the screw securing the bezel of the inner door opening handle.
Remove the bezel. Pull by hand.
Move the handle aside to access the screw.

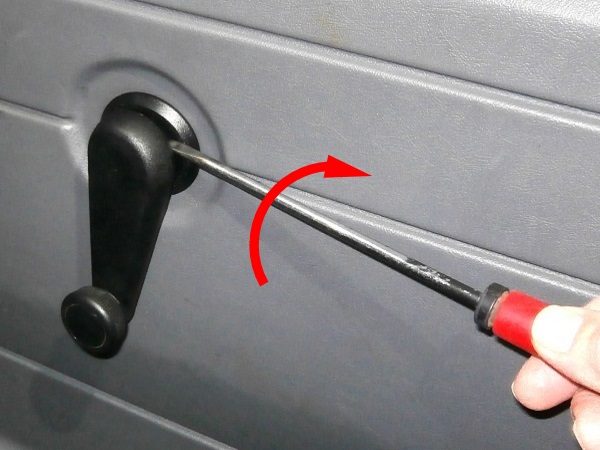
Op 06
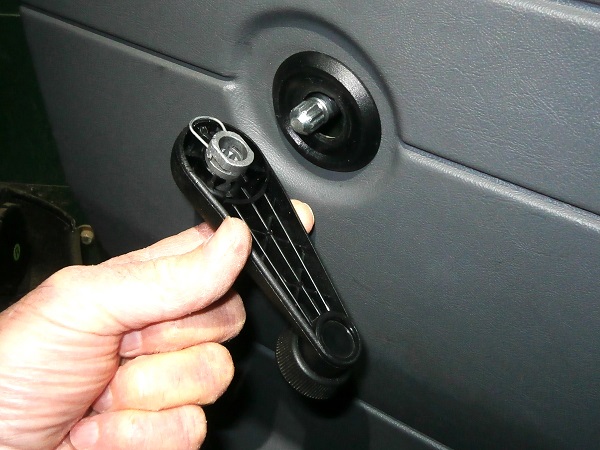
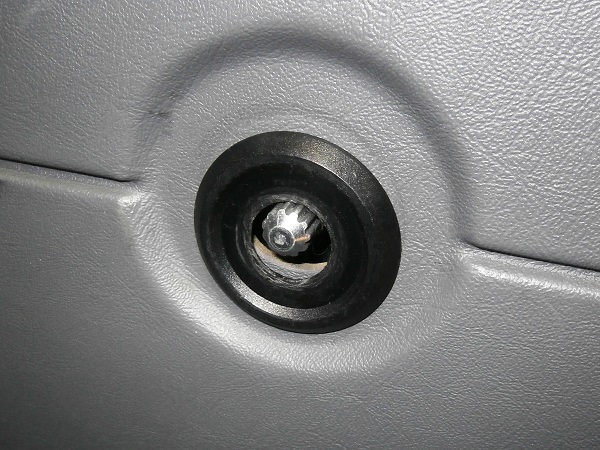
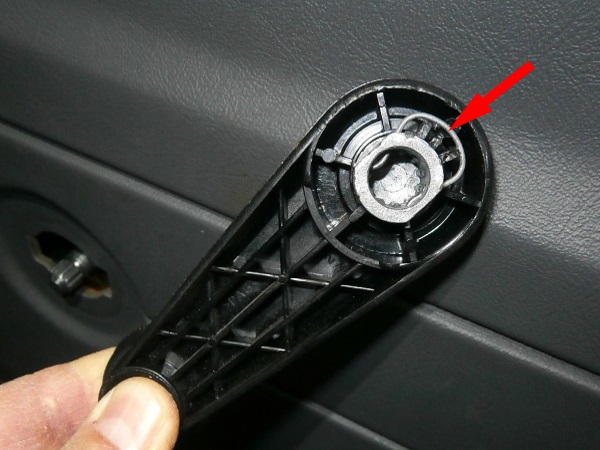
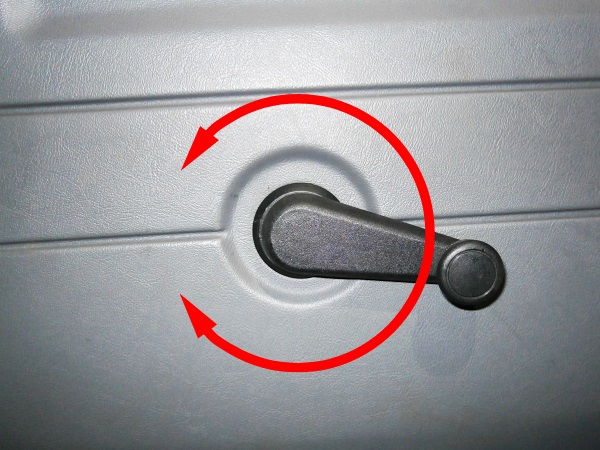
Slightly move aside the window regulator handle from the door trim. Use a flathead screwdriver.
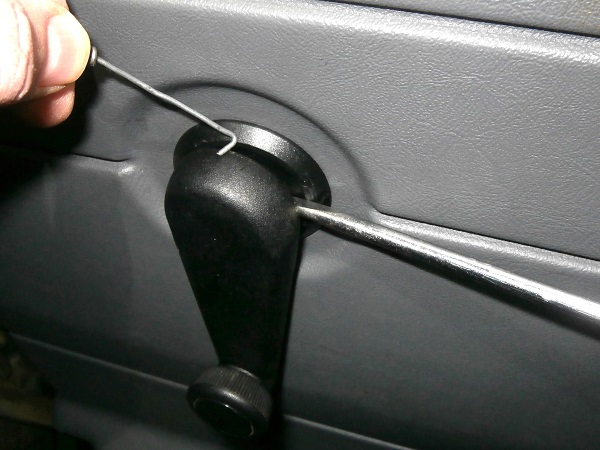
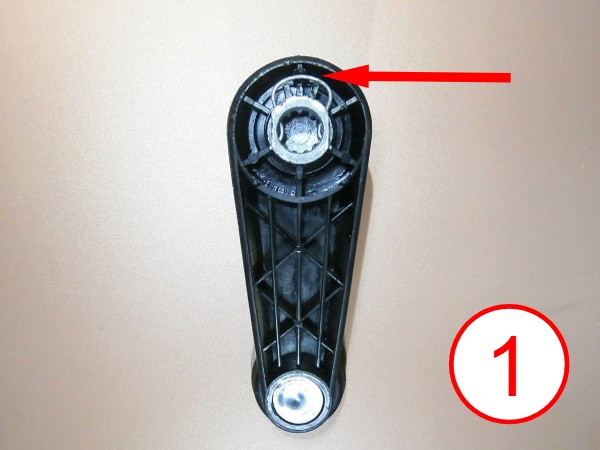
Unlock the handle locking clip. Use a bent piece of wire.
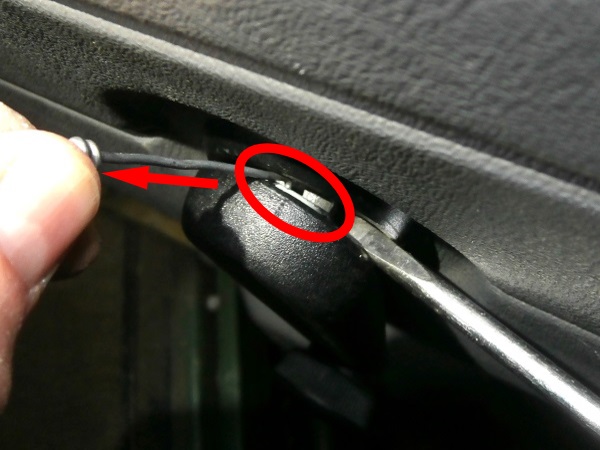
To make it easier to understand, we photographed the back of the handle :
• Photo ① locked clip
• Photo ② unlocked clip
• Photo ① locked clip
• Photo ② unlocked clip

Op 07
Remove the handle and its escutcheon. Pull by hand.

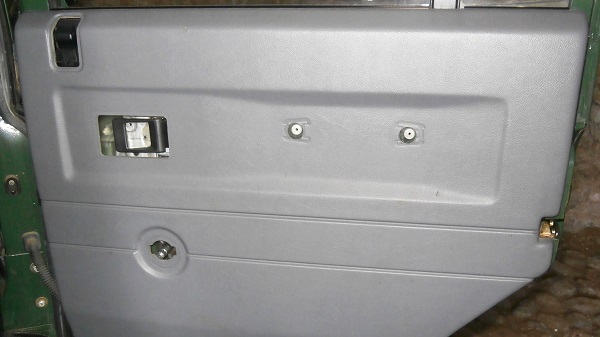
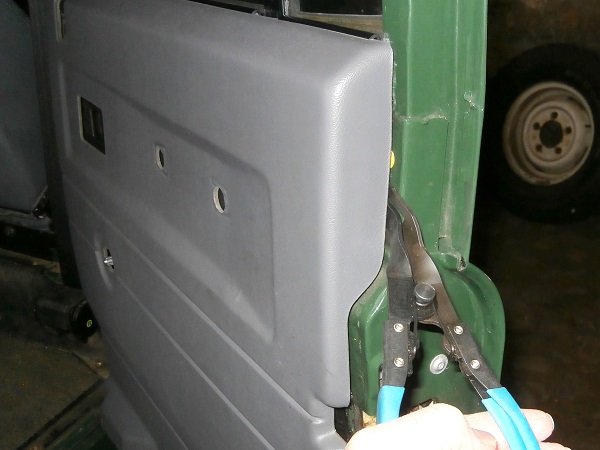
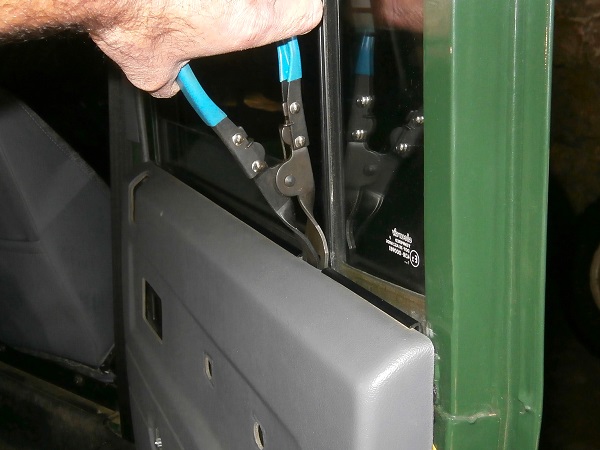
Op 08
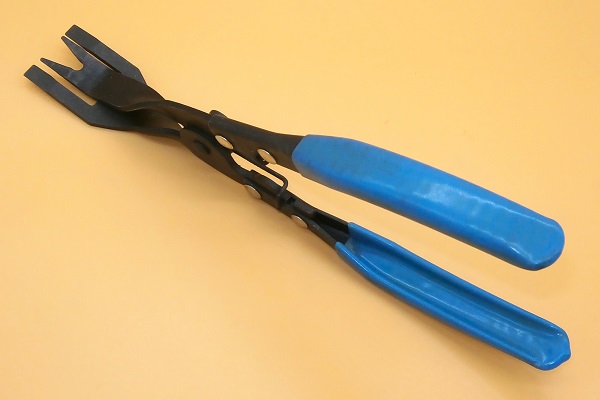
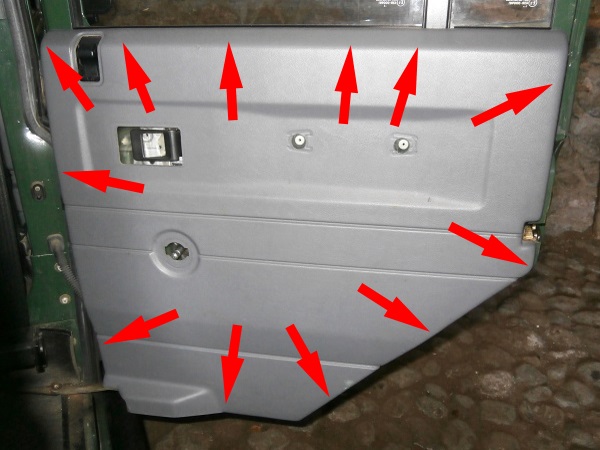
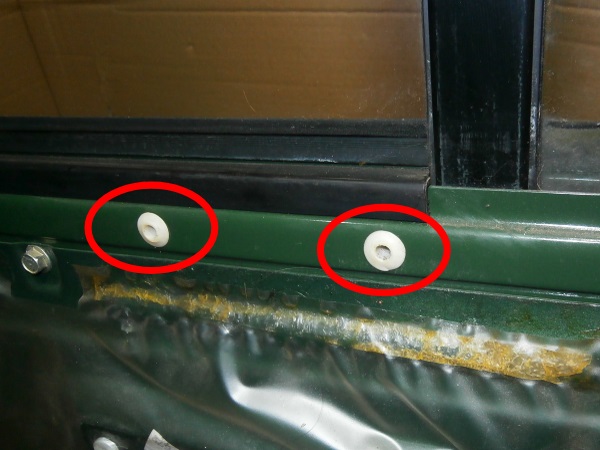
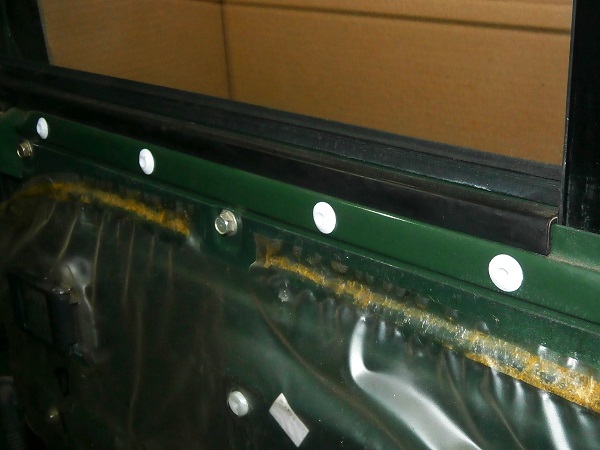
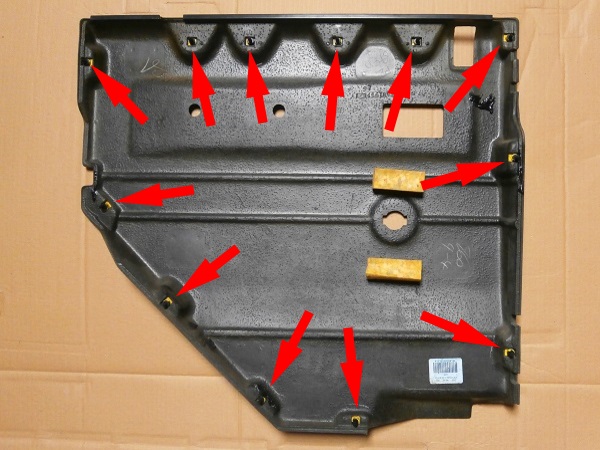
Pull out each of the 12 fir tree fasteners holding the door trim. Use the trim fastener pliers.
To make it easier to understand, we have symbolized the location of the fasteners with red arrows in the 1st photo.
The fixing points of the fir tree fasteners on the door trim are very fragile. Go very slowly.

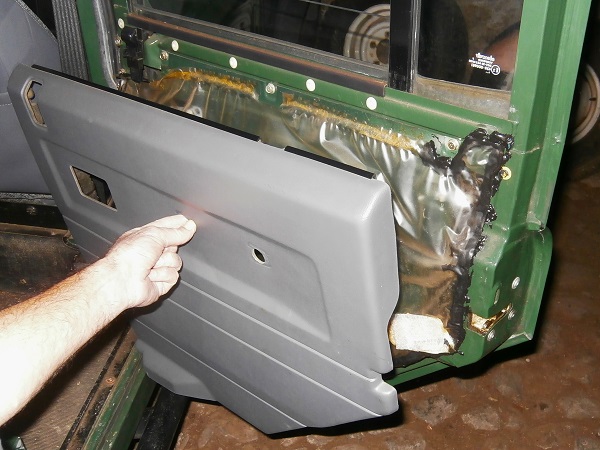
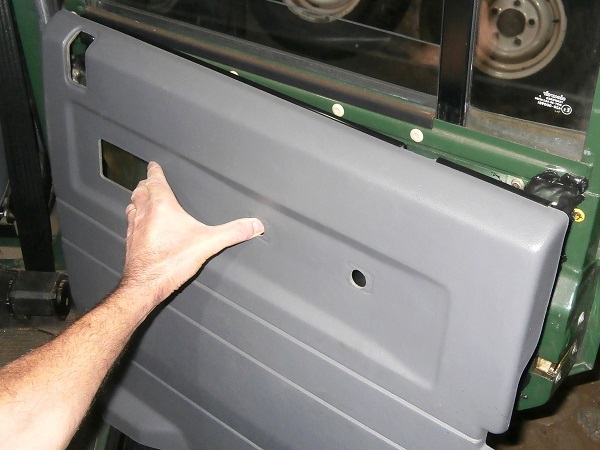
Op 09
Remove the door trim. Pull by hand.
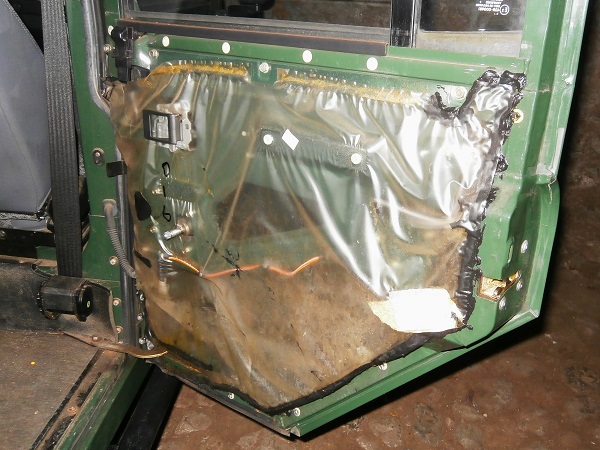
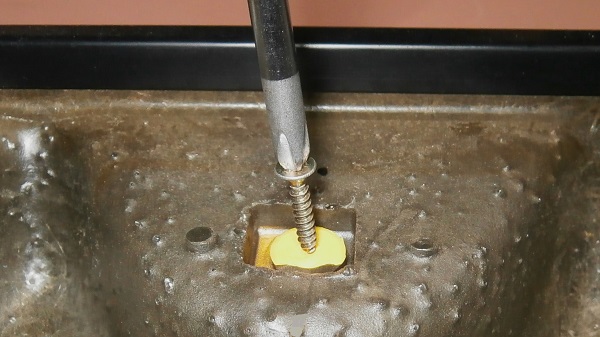
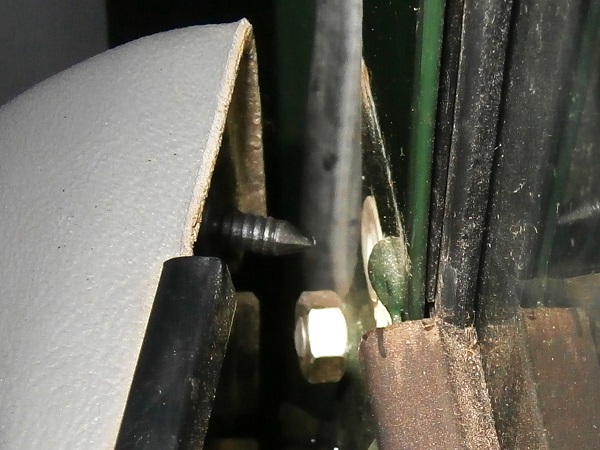
Op 10
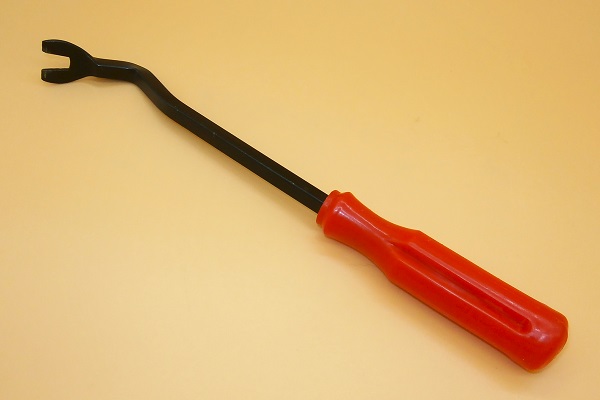
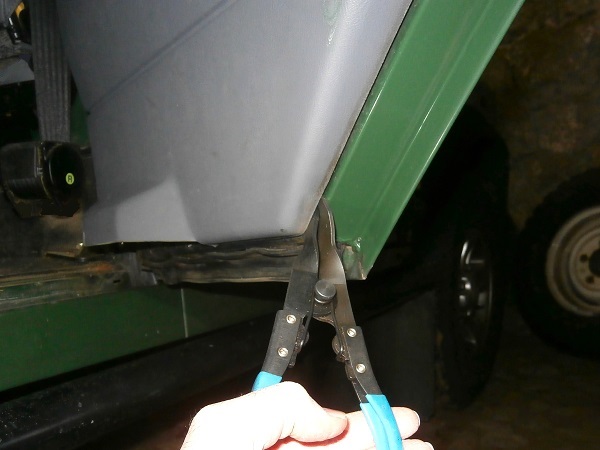
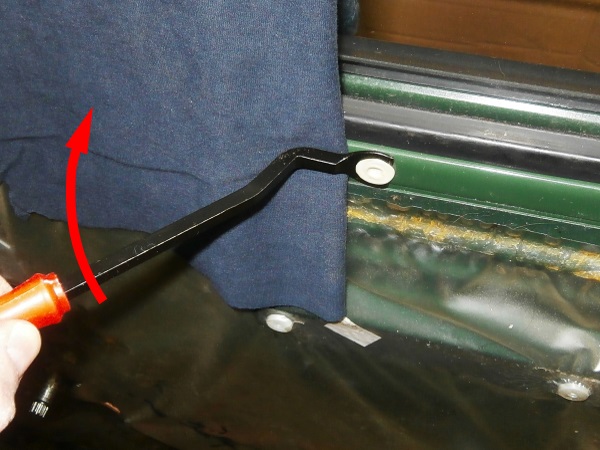
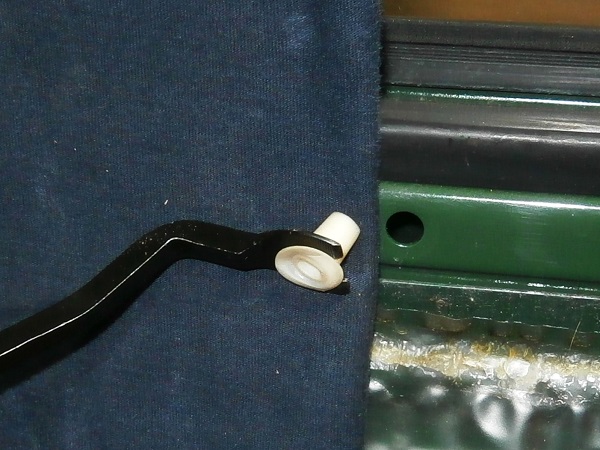
Remove the 12 snapsac from the door inner panel. Use the fastener removal tool.
Before levering with the fastener removal tool, position a cloth to protect the door paint.
To be honest, I spent 15 minutes meticulously pulling out the first 2 snapsac. For the following ones, I cut the flange with a cutter and pushed the body of the snapsac towards the inside of the door. It was much faster.
Advertisement
Fit the door trim
Op 11
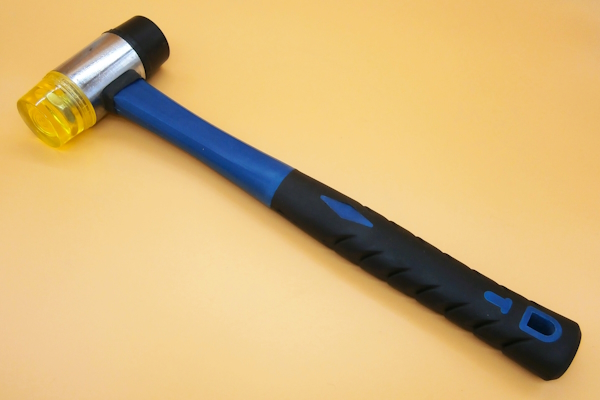
Fit the 12 new snapsac (MWC3136). Use the mallet.
Op 12
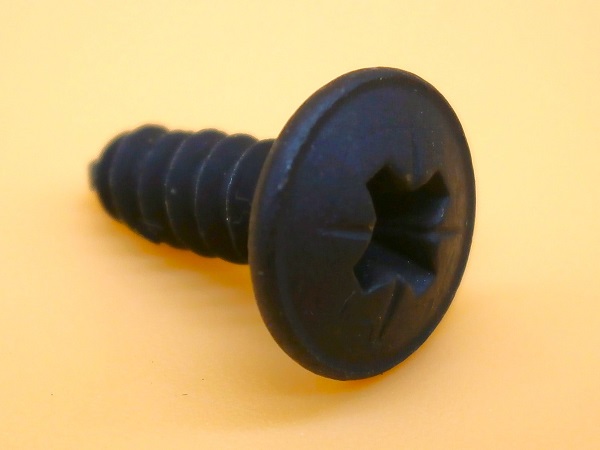
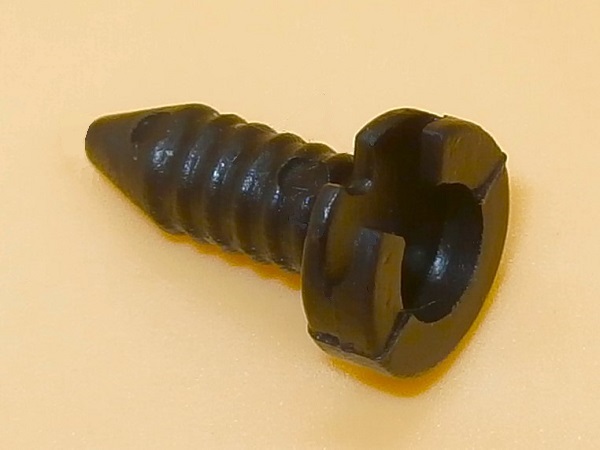
Check that the 12 fir tree fasteners are in good condition.
If necessary, replace the damaged fir tree fasteners (MXC1800) with new ones. Clip them in on their fixing points by hand.
If some fasteners fixing points are damaged on the door trim, you can easily repair them with wood screws. For more information, there is a tutorial about
door trim repair (➔ see the tutorial).
Op 13
Fit the trim on the door.
Engage each of the fir tree fasteners in its snapsac and press firmly by hand
Op 14
Fit the window regulator handle escutcheon.
Make sure to place the 2 pins of the escutcheon in the 2 notches of the door trim (1st photo).
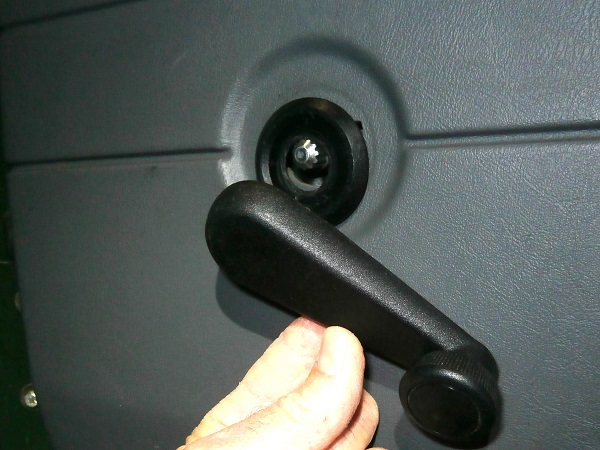
Op 15
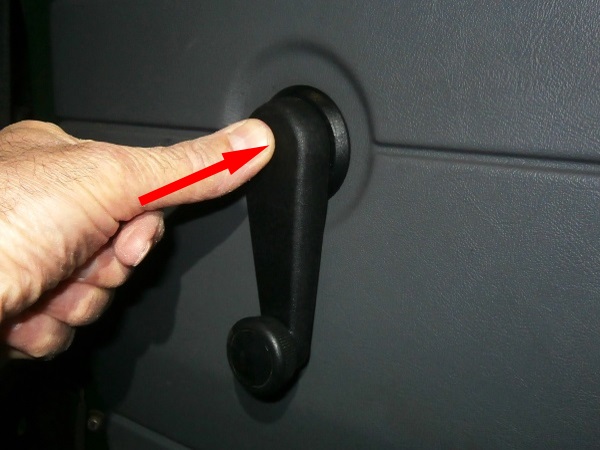
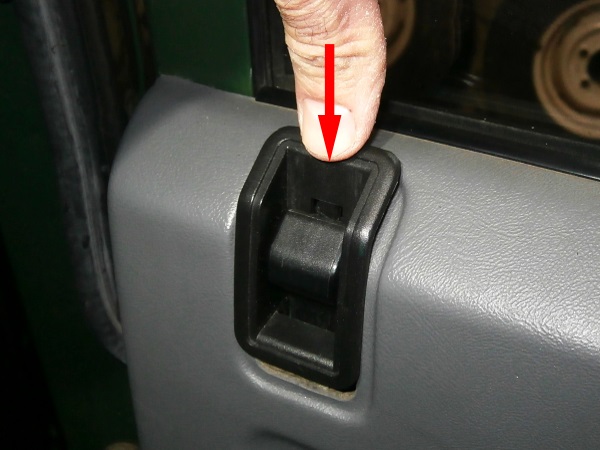
Place the handle locking clip in the locked position (1st photo). Push with your finger.
Fit the window handle on its shaft. Push hard with your hand (3rd photo).
Check that the window regulator works perfectly (4th photo)
Op 16
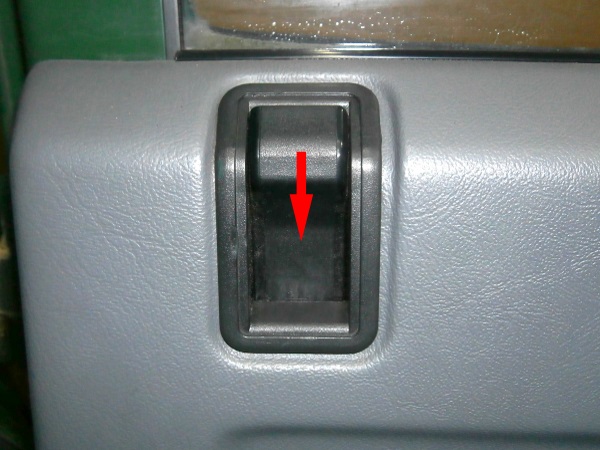
Clip on the escutcheon (MXC4738PMA) of the sill button. Push with your finger.
Check the correct operation of the sill button (3rd and 4th photo).
Op 17
Fit the bezel on the inner door opening handle.
Screw in the fixing screw (DA608044L). Use the Phillips screwdriver.
Op 18
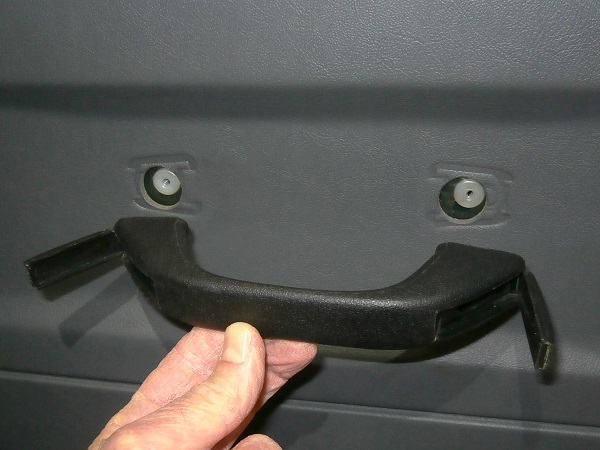
Fit the inner door pull handle.
Screw in its 2 fixing screws (AB610081L). Use the Phillips screwdriver.
Op 19
Close the 2 flaps of the inner door pull handle. Push by hand.

The End