This tutorial is also available in French
➔

Rear brake calipers refurbishment on Defender 110
Vehicle ➔ Defender 110 Td5 2002
Difficulty ➔ Easy

Time ➔ 2 hours
Summary
Advertisement
Advertisement

Recommendations

Are the brake caliper pistons oxidized ? Is it impossible to push them back into their housings when changing the brake pads ? It's time to refurbish the brake calipers.
Refurbishing a brake caliper is not complicated. Just be rigorous and meticulous to get a good result.
There are aftermarket brake calipers available. However, a repair kit will be much cheaper than a new caliper.

Don't hesitate to buy good quality components, especially for seals and retaining rings. Assembly will be much easier.
The kit (SEE500130) used when writing this tutorial includes chrome-plated steel pistons identical to the originals. For better durability, you can install the kit (DA1172) which includes stainless steel pistons.
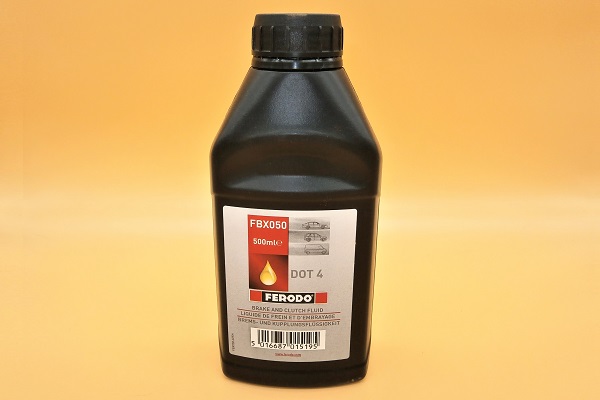
Brake fluid is extremely aggressive with paint. Be careful not to spill any on the bodywork. Clean any stain immediately with a cloth and water.
Safety
Throughout the caliper refurbishment, be careful not to allow any impurities to enter the hydraulic brake system. This could impair its proper functioning.
It is strongly discouraged to separate the 2 halves of the caliper :
• Firstly because it's unnecessary. The pistons and seals can be changed while the caliper is assembled.
• But also because the temperatures reached during braking may have slightly deformed the joint faces of the halves. If this is the case, during reassembly, the seal between the two halves would not be guaranteed.
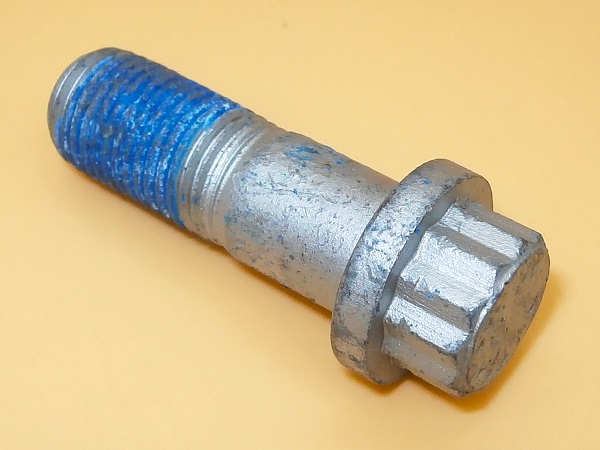
The caliper fixing bolts (SYP500090) are sold with thread lock on their threads. This prevents them from loosening due to vibrations. If you are refitting the old bolts, also apply thread lock to their threads before screwing them in (e.g. Loctite 243).
Required Tools
Sponsored links by


Spare Parts
Our Partner

Packaging :
•
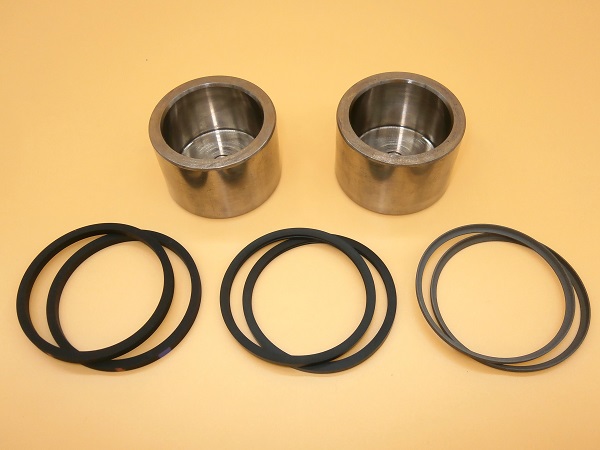
SEE500130 : The kit allows you to refurbish 1 rear brake caliper (2 pistons + 2 seals + 2 dust seals + 2 retaining rings).
• SYP500090 : There are 2 bolts per caliper.
• SYP500090 : There are 2 bolts per caliper.
Advertisement
Dismantle the RH rear caliper
Op 01
Remove the RH rear wheel (➔ see the tutorial ''Wheel removal on Defender'' Op 01 to 07).
Before working under the vehicle, make sure to secure it properly with jack stands or rigid chocks. Never work under a vehicle supported only by a jack. It is too dangerous.
Op 02
Remove the brake pads (➔ see the tutorial ''Rear brake pads change on Defender 110'' Op 02 to 05).
Op 03
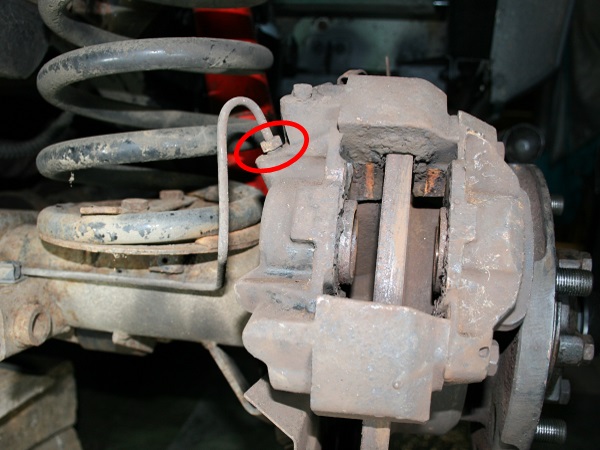
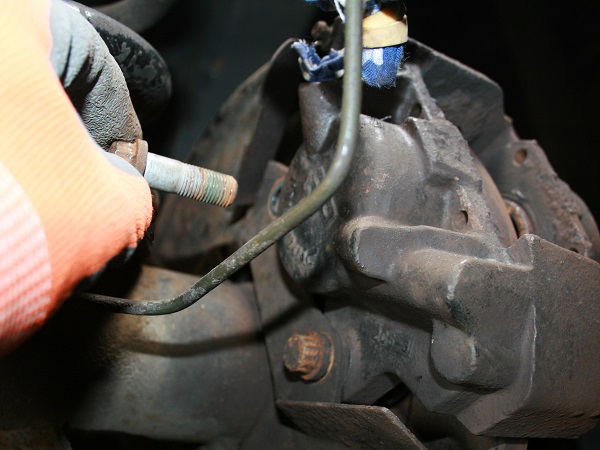
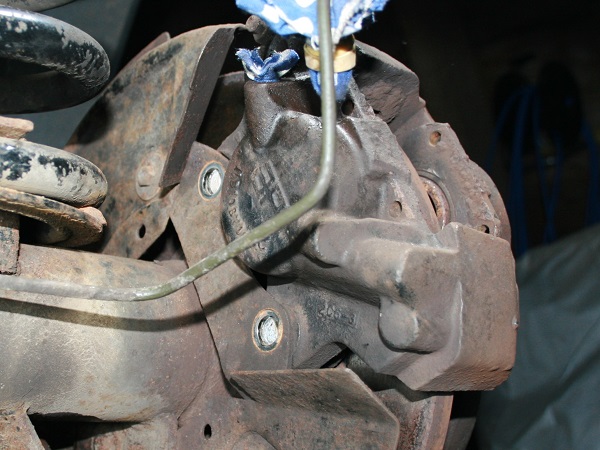
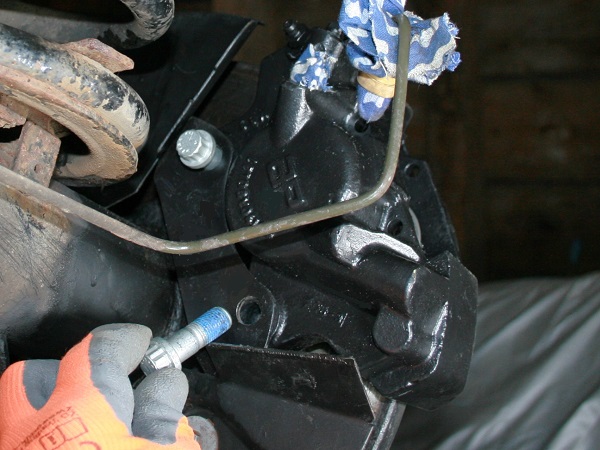
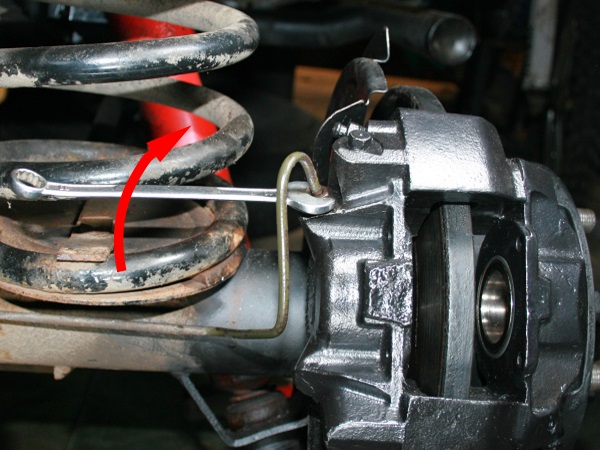
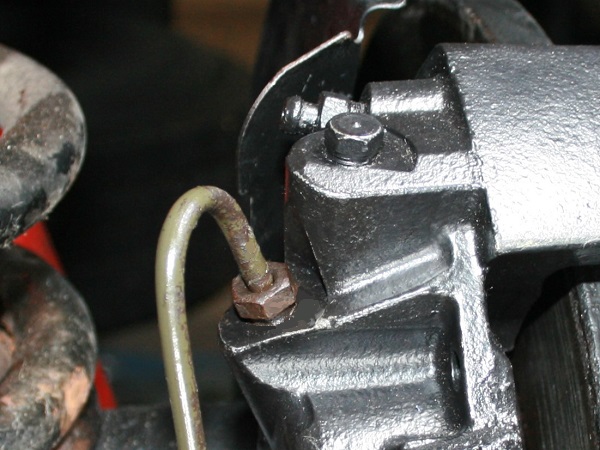
Unscrew the brake pipe nut. Use the 11 mm spanner.
Slightly disconnect the brake pipe from the caliper. Pull by hand.
Let the brake fluid drain.
Place a drain pan under the caliper to collect the brake fluid.
Op 04
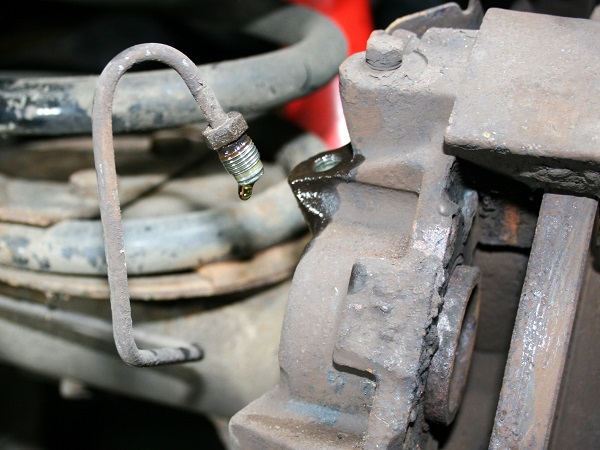
Plug the caliper orifice and the end of the brake pipe. Use whatever you have at hand.
Be careful not to allow any impurities to enter the hydraulic brake system. This could impair its proper functioning.
Op 05
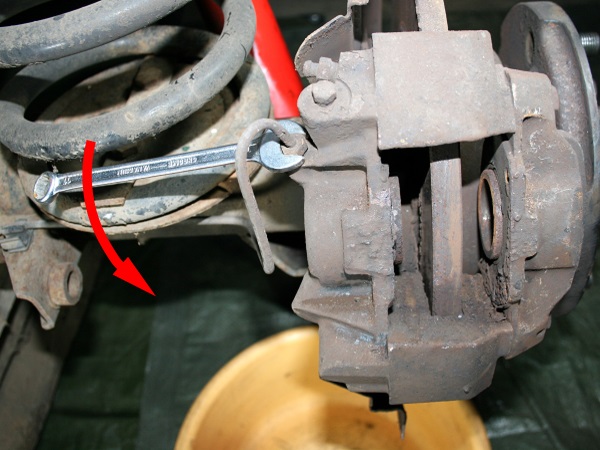
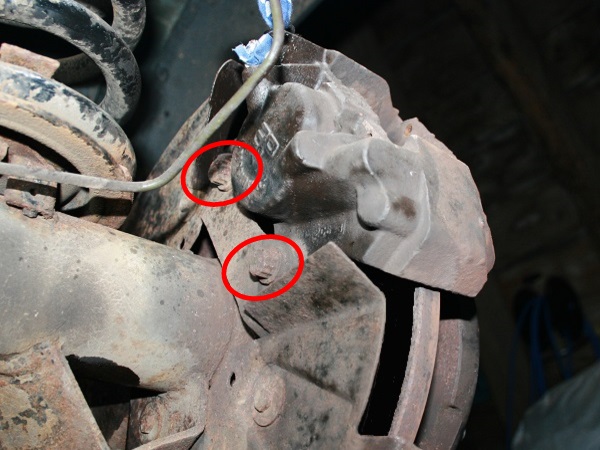
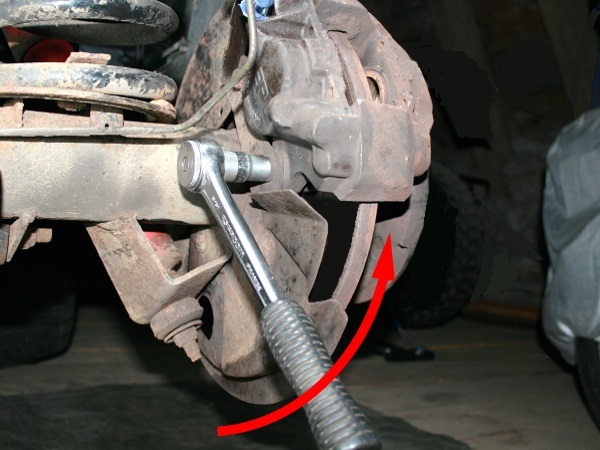
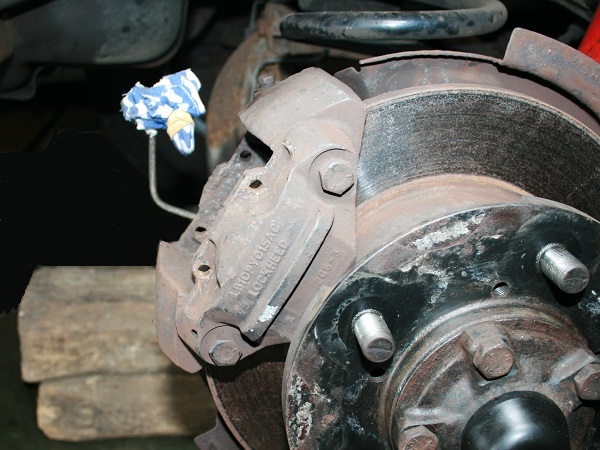
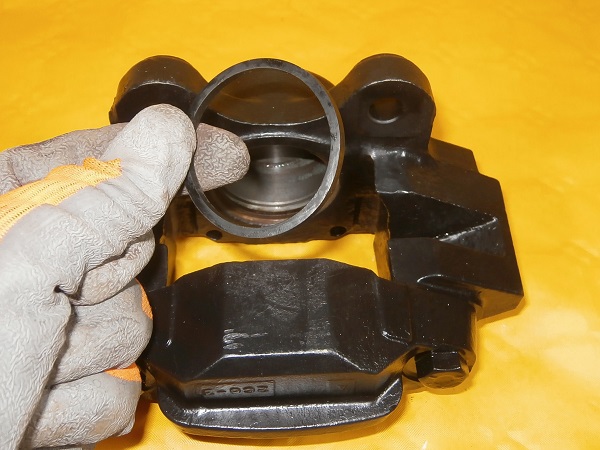
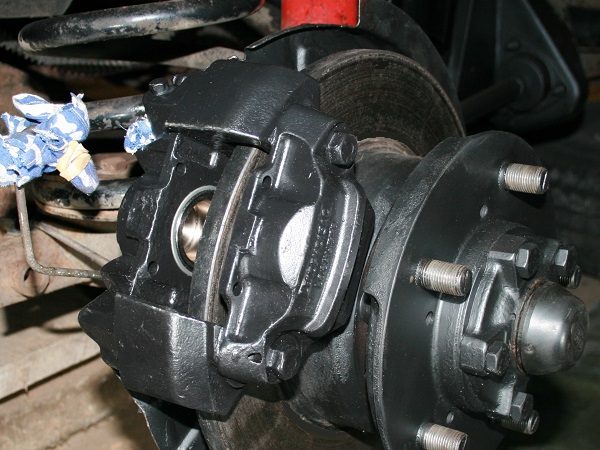
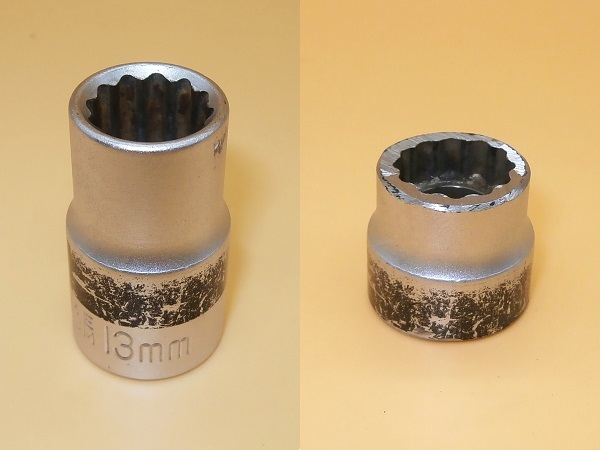
Remove the 2 brake caliper fixing bolts. Use the 13 mm (with 12 points) socket.
The caliper fixing bolts have a very specific head. The tooling to screw & unscrew them is simply a 13 mm socket with 12 points (1st photo).
The tightening torque of these bolts is very high. To unscrew them, use a good quality socket and don't hesitate to take a significant lever arm.

Op 06
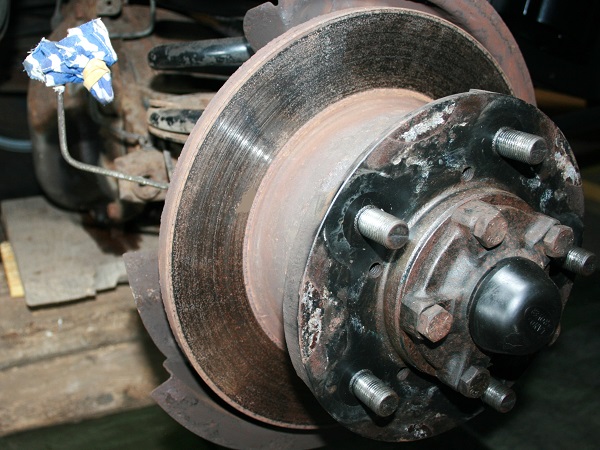
Remove the brake caliper. Pull by hand.

Advertisement
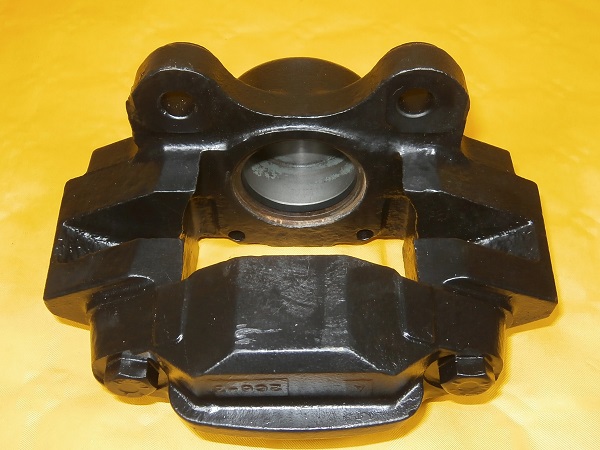
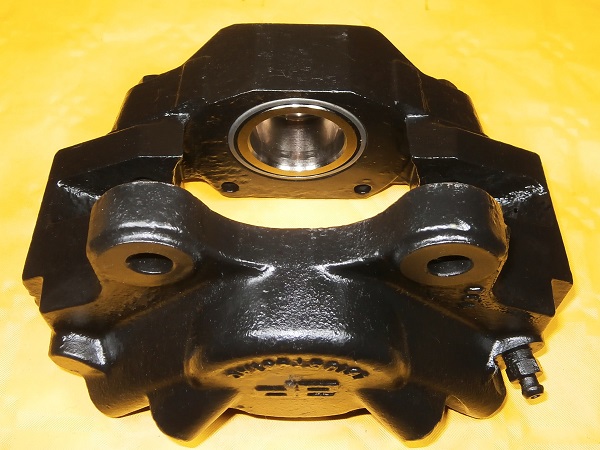
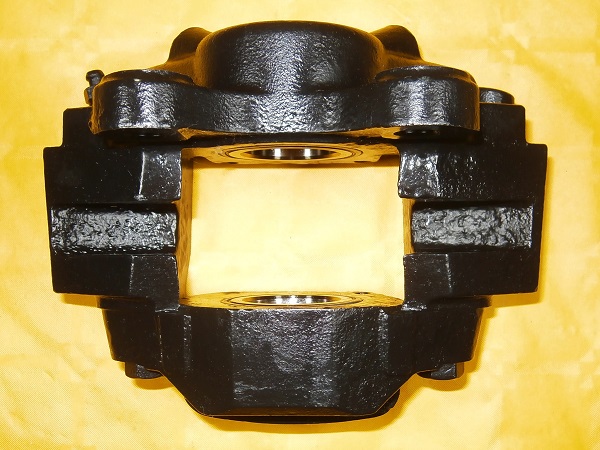
Refurbish the caliper
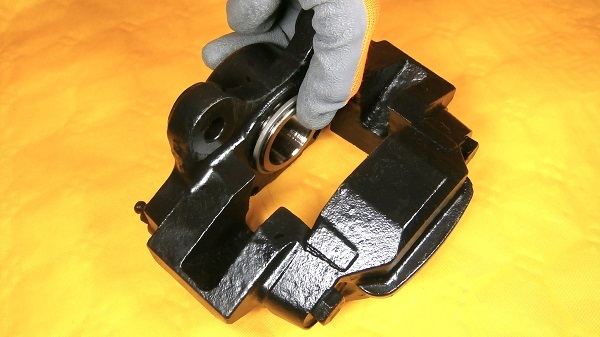
Op 07
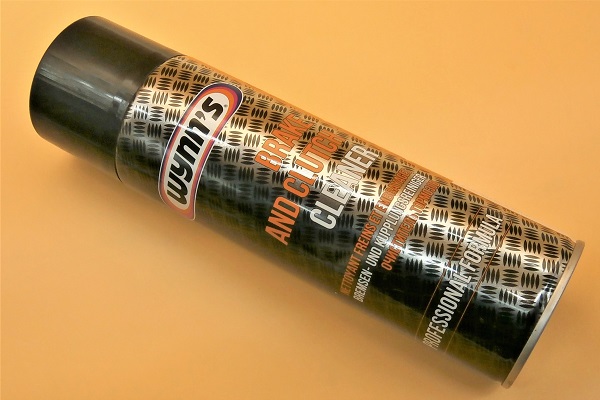
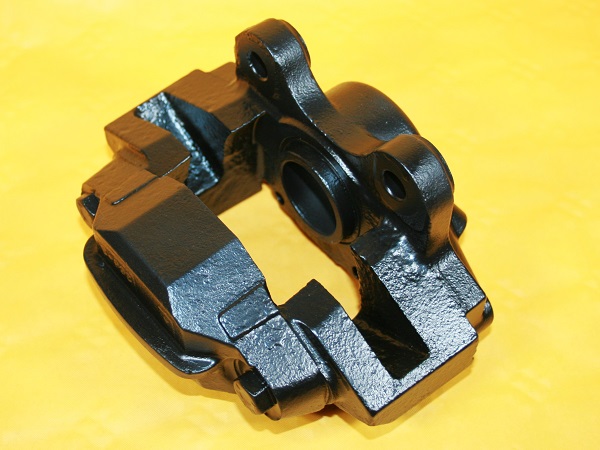
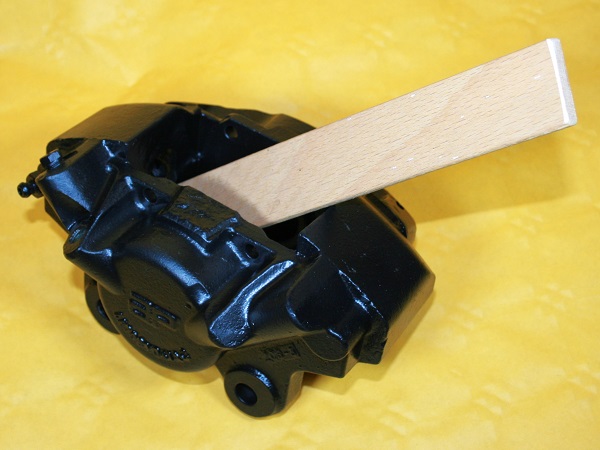
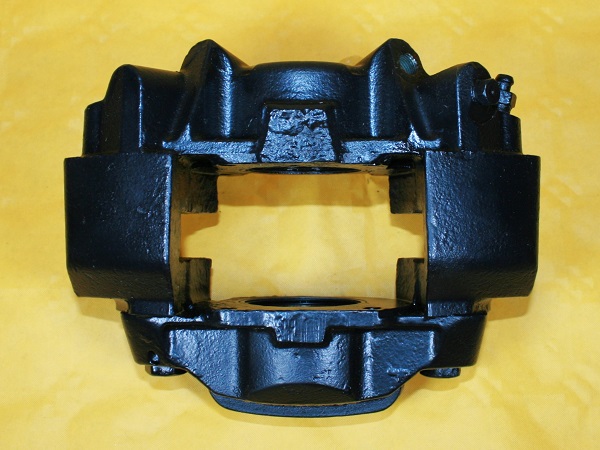
Thoroughly clean the brake caliper. Use brake cleaner.
Position a shim between the two pistons of the caliper (piece of wood or other).
Op 08
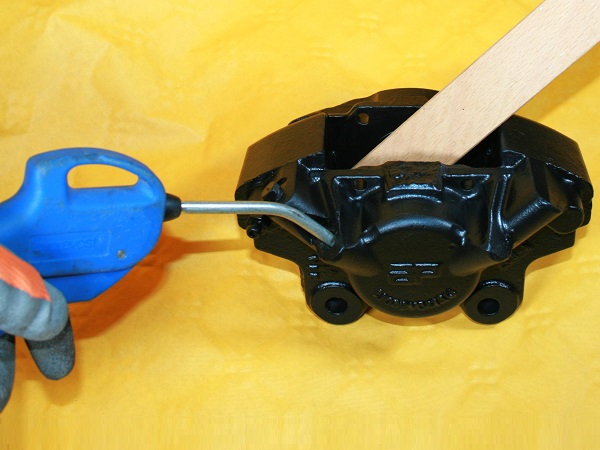
Using an air compressor, blow into the brake fluid inlet orifice to eject 1 of the 2 pistons.
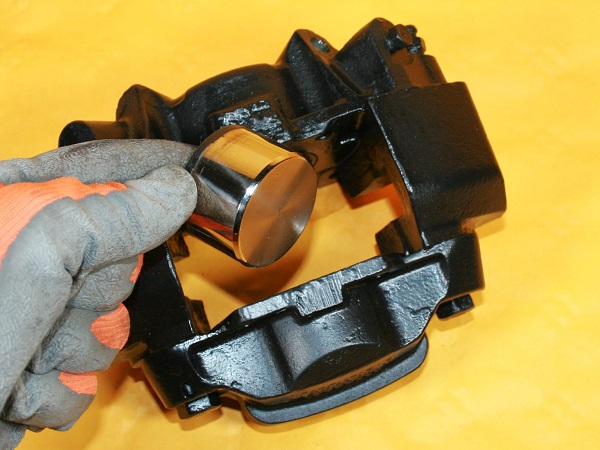
Recover the piston that has been ejected.
Do not put your fingers between the 2 pistons when you eject them because they will come out violently.
Place the caliper above a drain pan as the brake fluid remaining in the caliper will drain.
Op 09
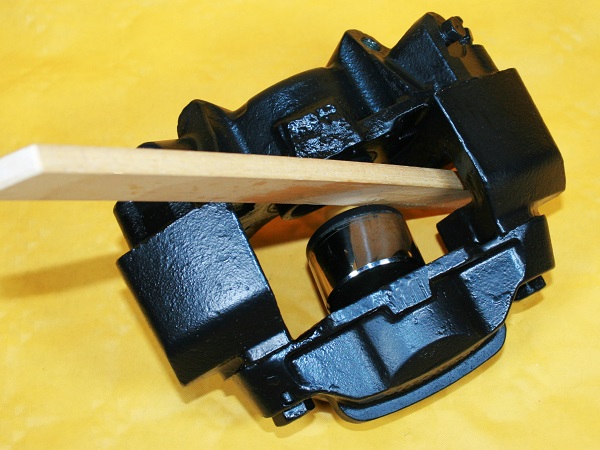
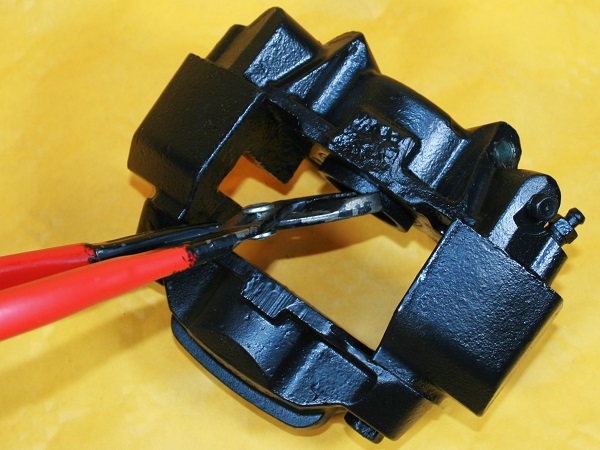
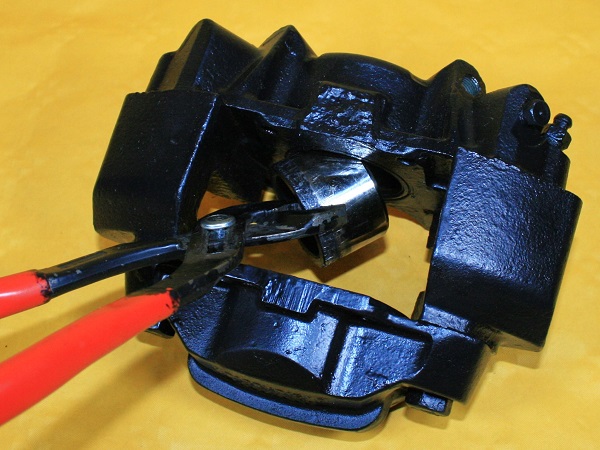
Remove the 2nd piston. Use the multigrip pliers.
This is when it gets a little complicated because generally the piston doesn't particularly want to leave its nest. Rotate it several times on itself and it will eventually come out.
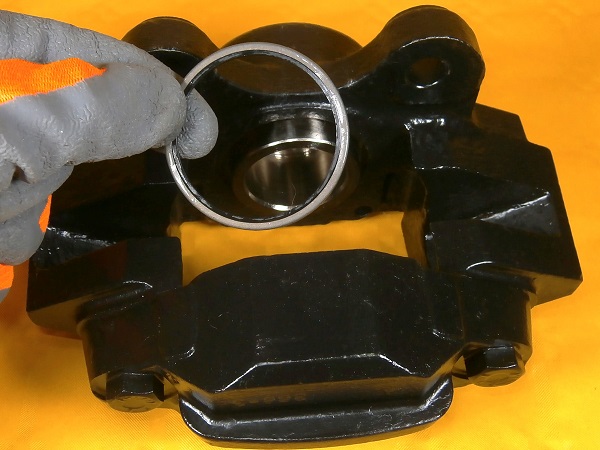
Op 10
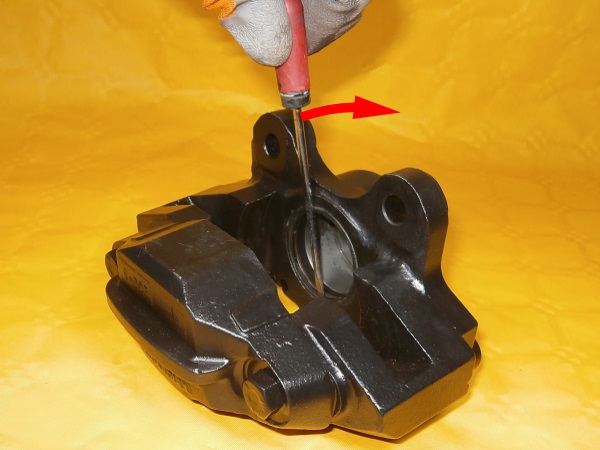
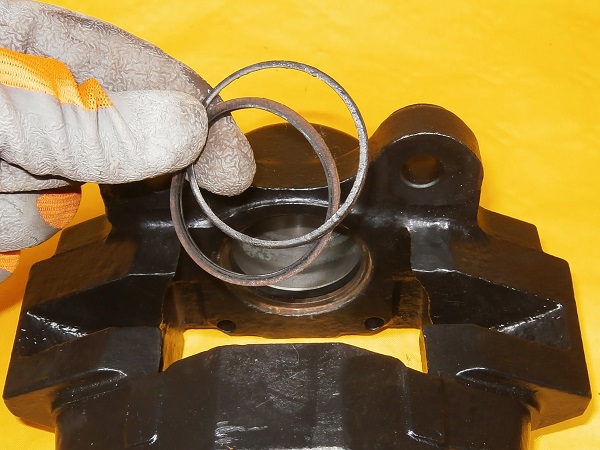
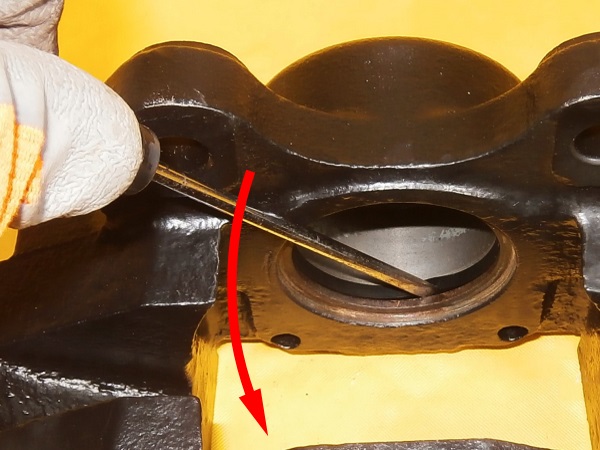
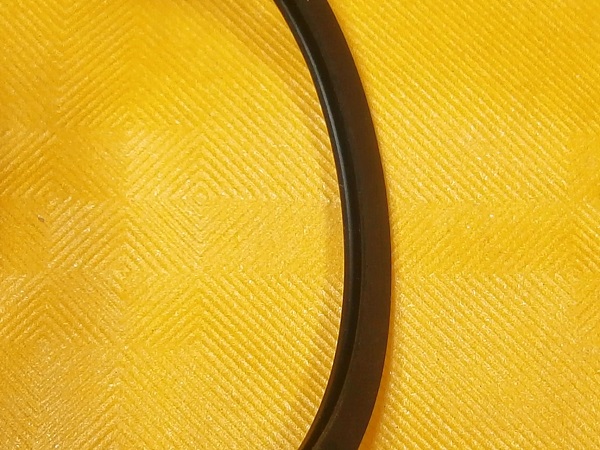
Remove the dust seal and its retaining rings. Use a large flathead screwdriver.
The effort to be exerted is significant. If necessary, immobilize the caliper in a vice.
Op 11
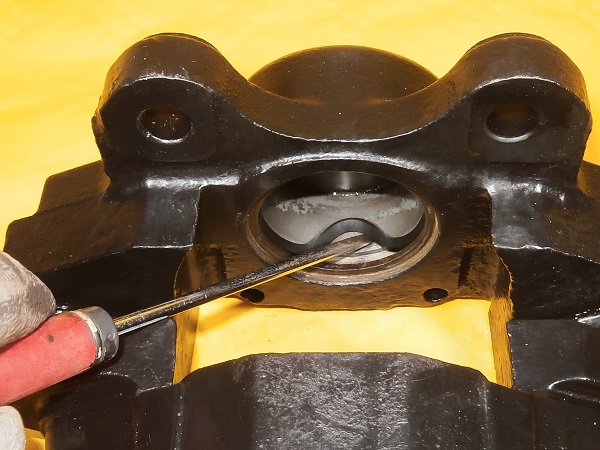
Remove the seal. Use a small flathead screwdriver.
Be careful not to scratch the inside of the caliper. This could impair the sliding of the piston.
Op 12
Remove the seals and retaining rings from the 2nd piston. Proceed in the same way.
Op 13
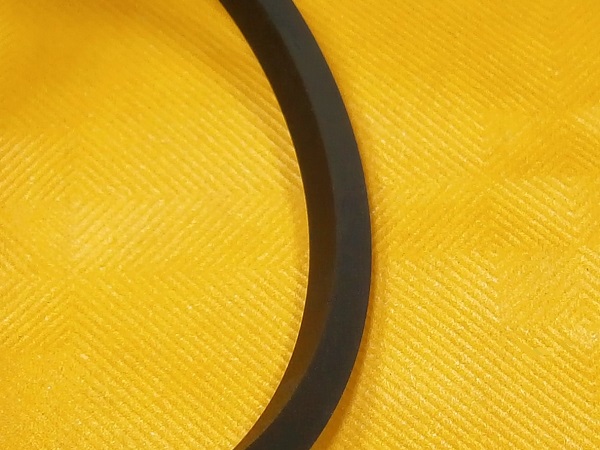
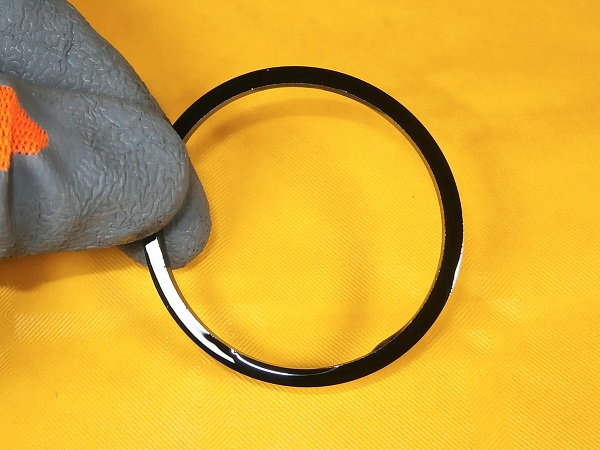
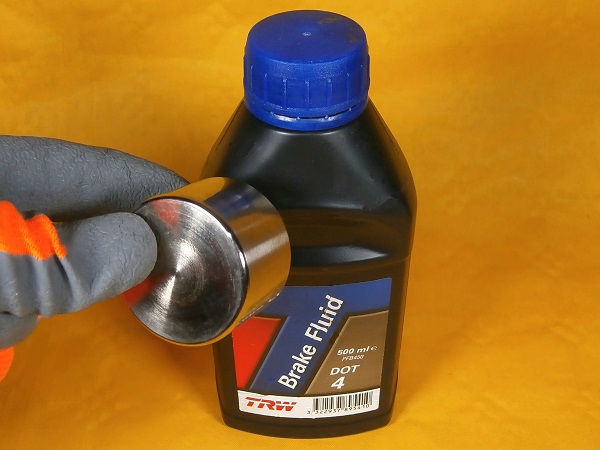
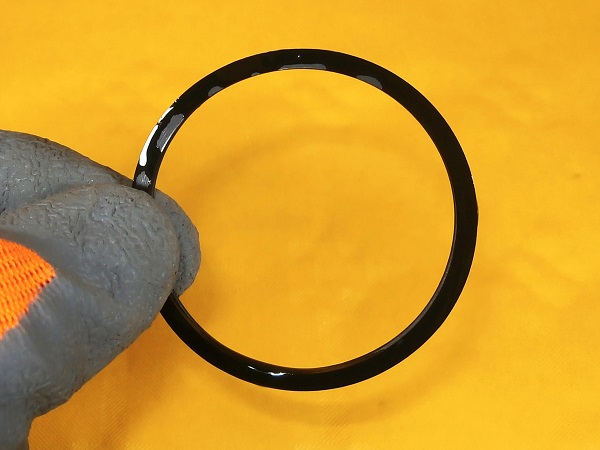
Lubricate the new seal (kit SEE500130) with brake fluid.
This is the rectangular section seal (1st photo).

Op 14
Position the new seal in the groove.
This seal is symmetrical. There is no direction to respect during installation.
Position this seal only with your fingers. Do not use any tools as you could damage it.
Sometimes the seal twists during assembly. Once the seal is in place, run your finger over its entire circumference to check that it is in position.
Op 15
Lubricate the new piston (kit SEE500130) with brake fluid.
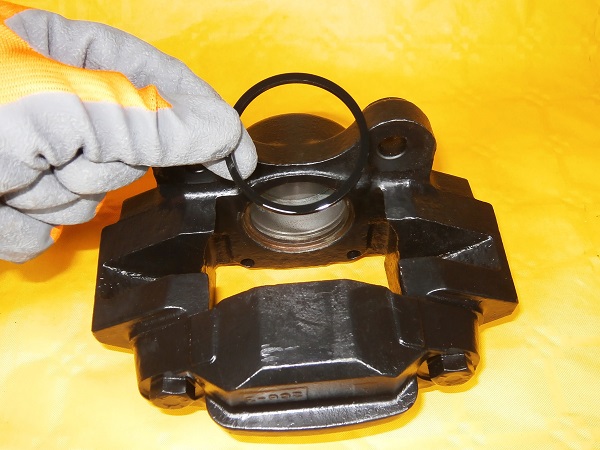
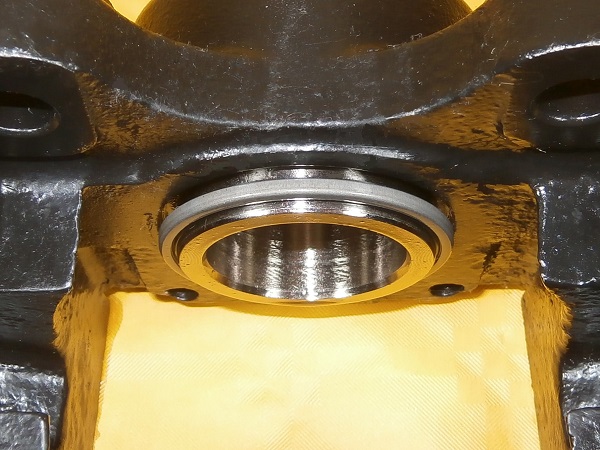
Op 16
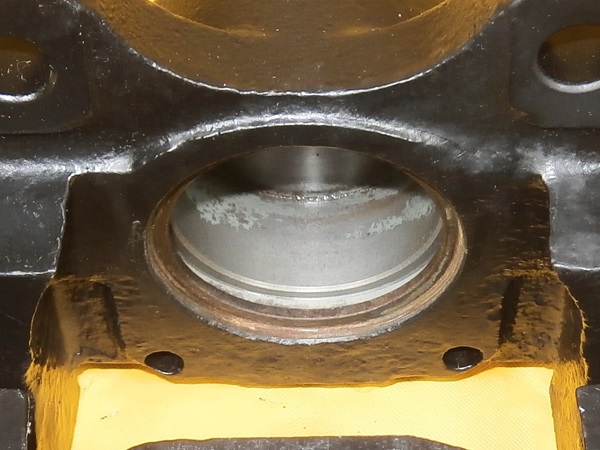
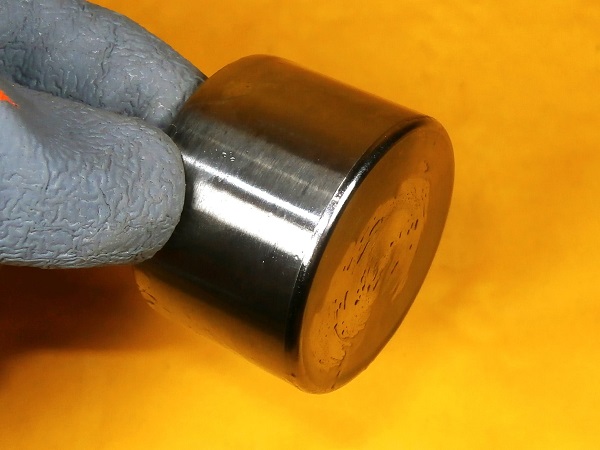
Insert the piston into the caliper.
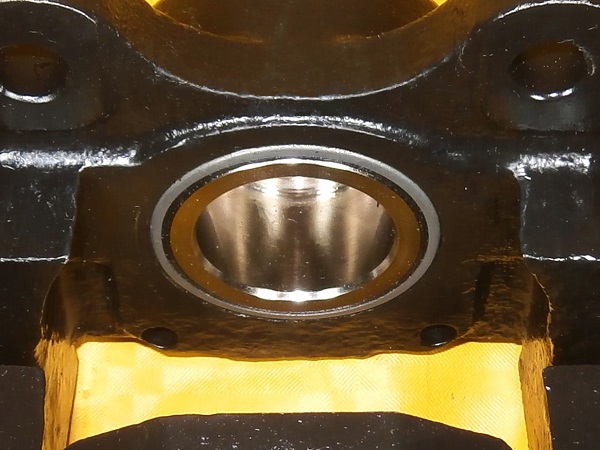
The hollow part of the piston must be positioned on the brake pad side.
Let the piston protrude by approximately 8 mm (2nd photo). It will ensure the guiding of the dust seal and its retaining ring in their housing.
Op 17
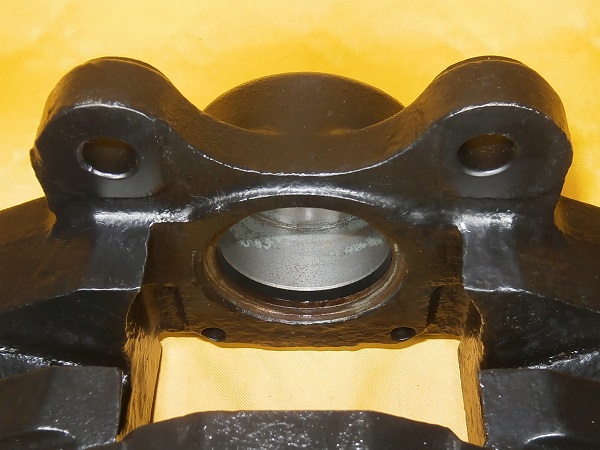
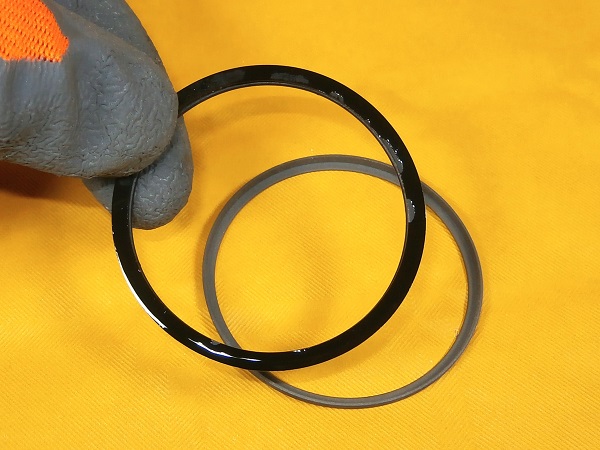
Lubricate the dust seal (kit SEE500130) with brake fluid.
This is the seal with a lip (1st photo).

Op 18
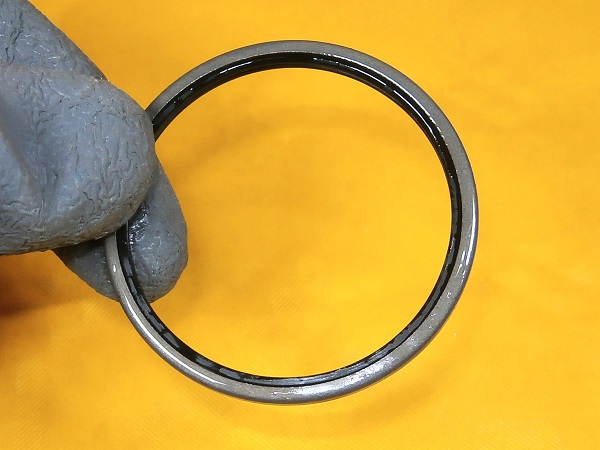
Assemble the dust seal onto its retaining ring (kit SEE500130).
This seal is symmetrical. There is no direction to respect during installation.
Op 19
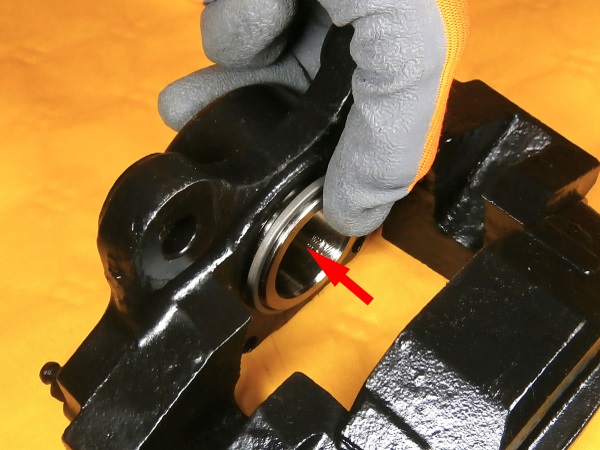
Position the dust seal and its retaining ring on the piston.
The folded edge of the retaining ring must be positioned on the brake pad side.
Op 20
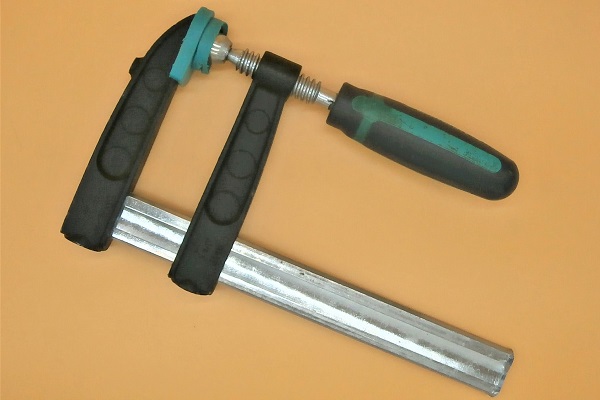
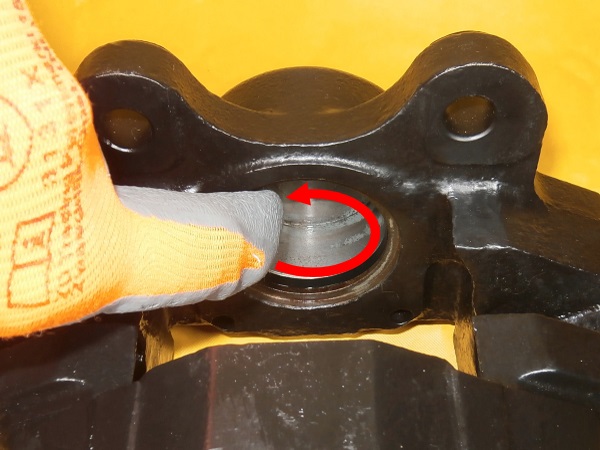
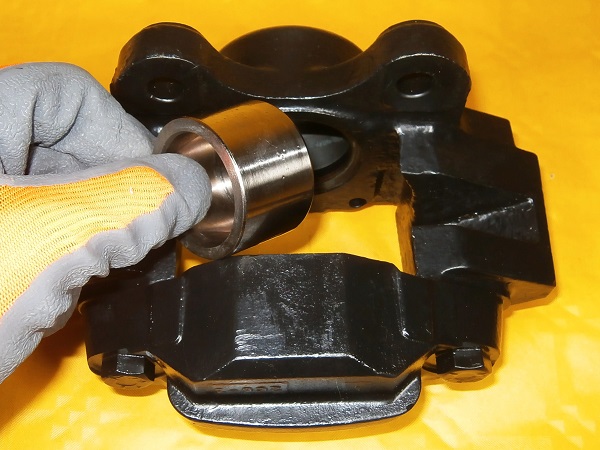
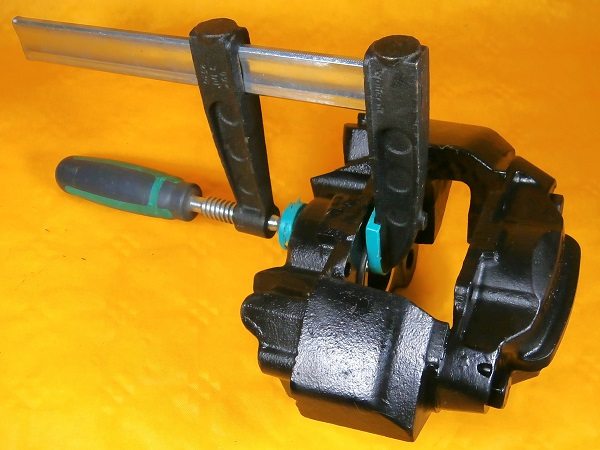
Push the dust seal and its retaining ring into their housing. Start by hand and finish with a clamp if necessary.
The retaining ring is mounted slightly forcefully in its bore (it is thus held in position). But this retaining ring is also extremely fragile. So you have to force it a little to get it in, but not too much to avoid deforming it. It's up to you !
Op 21
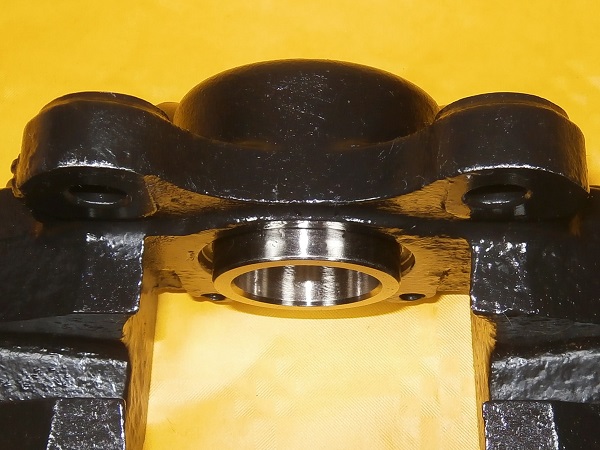
Position the second piston and its seals. Proceed in the same way.
Clean up any brake fluid spills on the caliper.
Fit the caliper
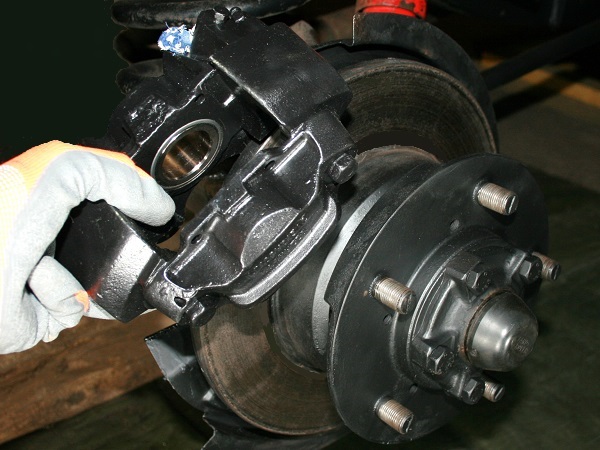
Op 22
Fit the caliper on the axle.
When reassembling the calipers on the Defender, make sure to position the RH caliper on the RH wheel and the LH caliper on the LH wheel. Here is a very simple method to check that the assembly is correct : the bleed screws must be located at the top of the calipers.
If the calipers are swapped and the bleed screws are at the bottom, bleeding the brake circuit will not be correct. Air will remain in the calipers and braking will be ineffective.
Op 23
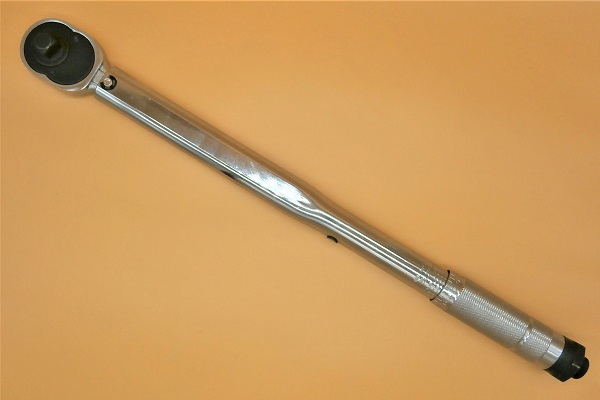
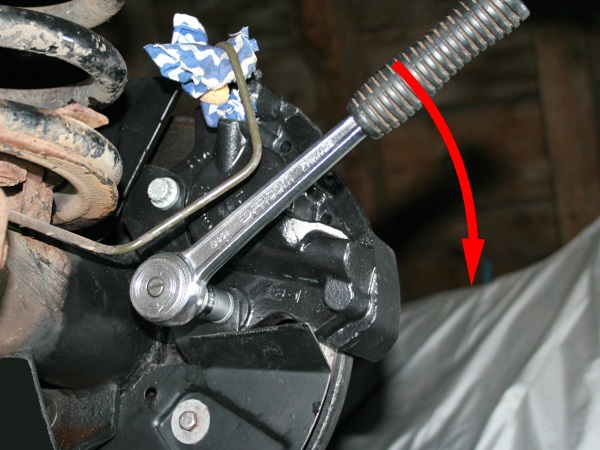
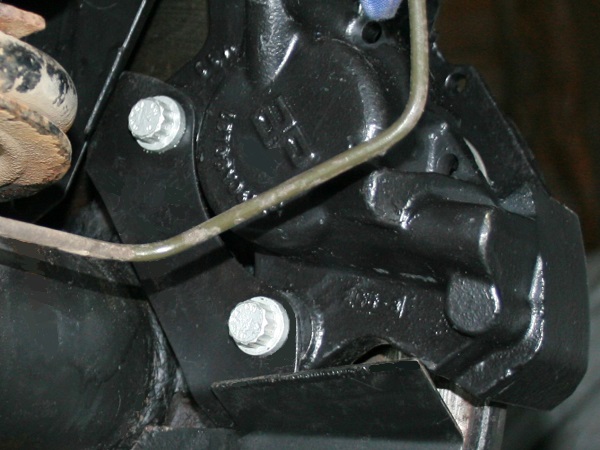
Screw in the 2 caliper fixing bolts (SYP500090). Use the 13 mm (with 12 points) socket.
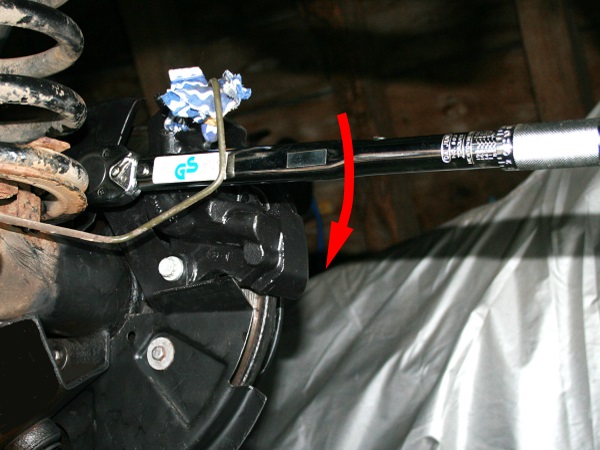
Tighten the 2 caliper fixing bolts to a torque of 82 mN. Use the torque wrench.
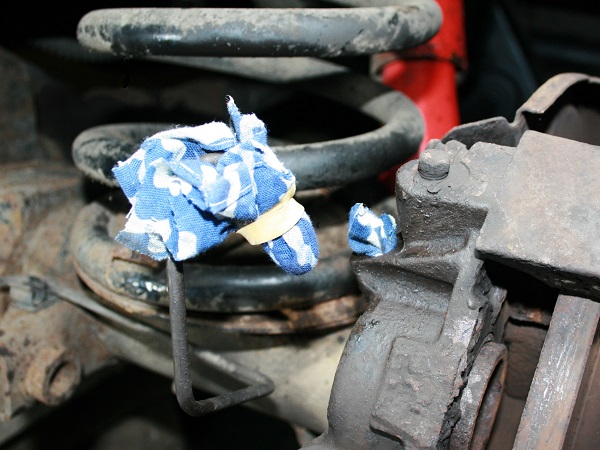
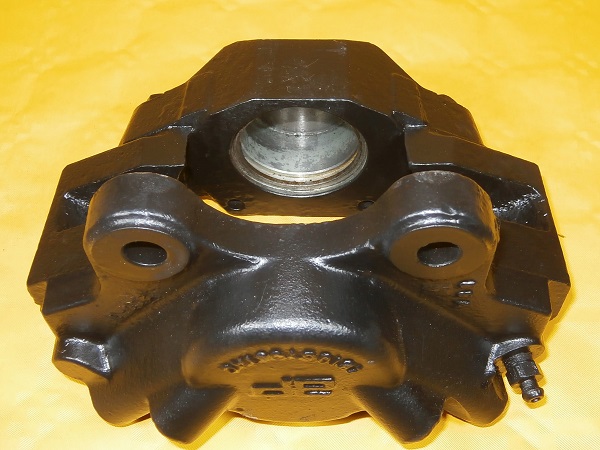
To be able to slide the torque wrench and the 13 mm socket between the suspension spring and the upper caliper bolt (4th photo), I had to cut the socket to reduce its height (1st photo).
Op 24
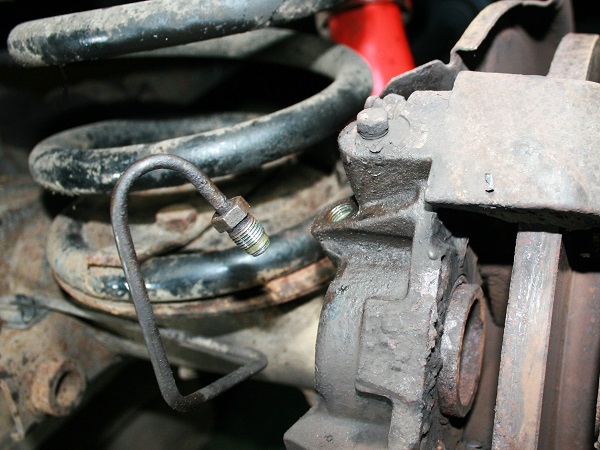
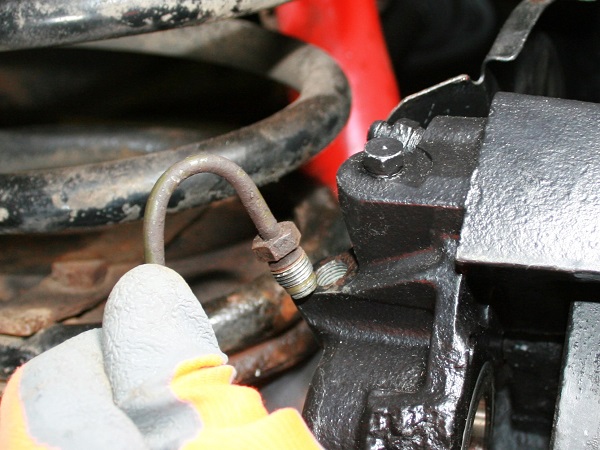
Fit the brake pipe onto the caliper. Push by hand.
Screw the brake pipe nut onto the caliper. Use the 11 mm spanner.
The brake pipe nut must be tightened to 15 mN. This operation requires a specific torque wrench with an open-end spanner. If you don't have this type of wrench like me, tighten moderately.
Op 25
Fit the brake pads (➔ see the tutorial ''Rear brake pads change on Defender 110'' Op 09 to 13).
Op 26
Put the wheel back in place (➔ see the tutorial ''Wheel removal on Defender'' Op 08 to 15).
Advertisement
Refurbish the LH rear caliper
Op 27
Refurbish the LH rear caliper. Proceed in the same way.
Bleed the brake system
Op 28
Bleed the brake system (➔ see the tutorial ''Brake system bleeding on Defender'').
The End