This tutorial is also available in French
➔

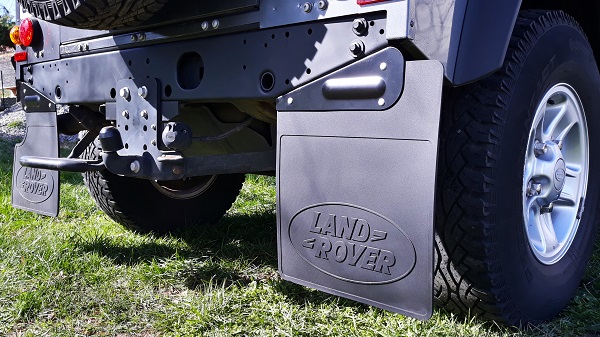
Rear mudflaps change on Defender 90
Vehicle ➔ Defender 90 Td4 2013
Difficulty ➔ Easy

Time ➔ 1 hour
Summary
Advertisement
Advertisement

Recommendations

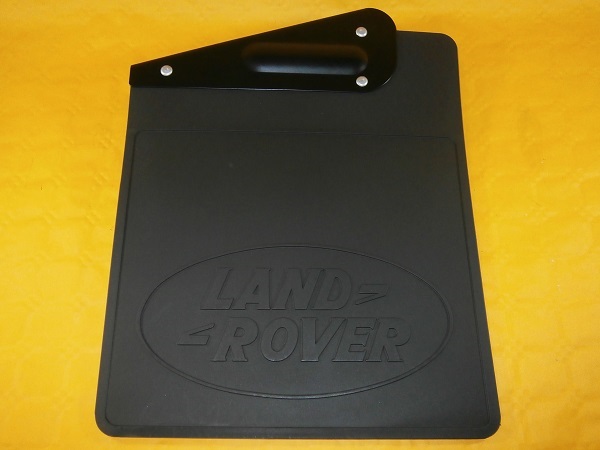
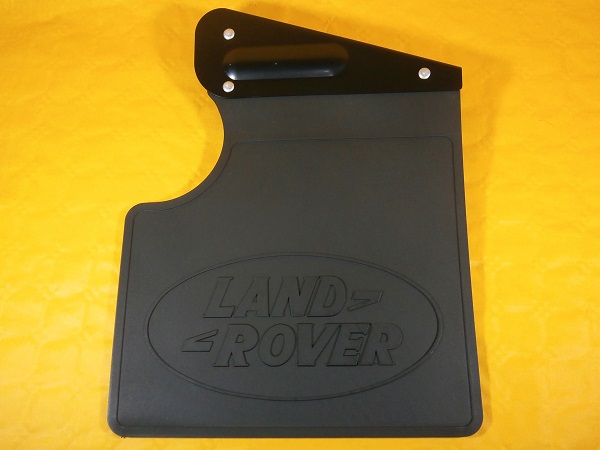
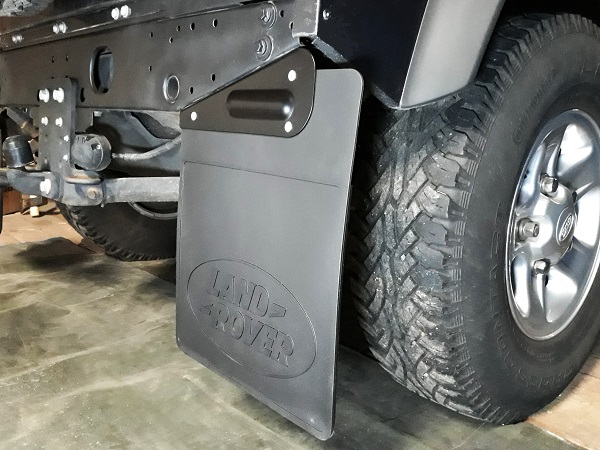
We have chosen to fit original rear mudflaps (LR055332LR and LR055340LR). These mudflaps are the only ones to bear the Land Rover logo. They are delivered riveted to their bracket.
Land Rover parts suppliers also offer adaptable mudflaps. These do not have the Land Rover logo. They are delivered without their bracket.
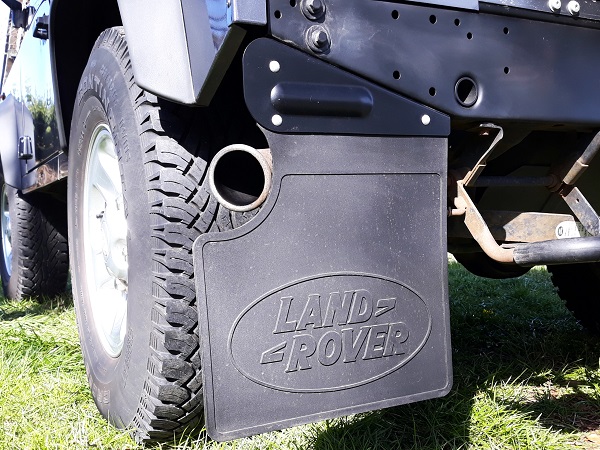
On the Defender 90, the RH and LH rear mudflaps are not symmetrical. The LH mudflap is recessed to allow the exhaust to pass.
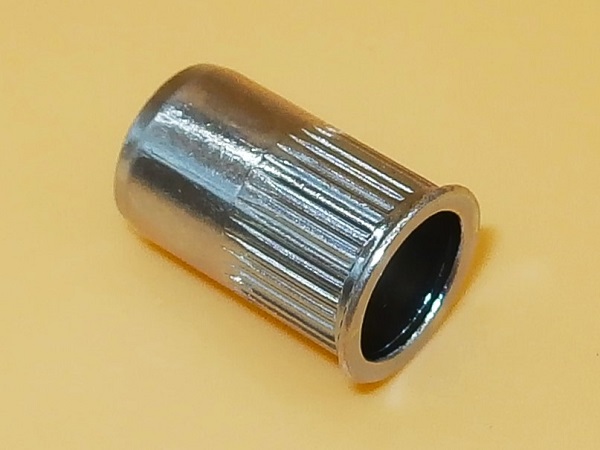
We have mentioned nutsert in the spare parts list even though you probably won't need to change them. This is just to give you the reference in case one of the very oxidized fixing bolts damages one nutsert during disassembly.
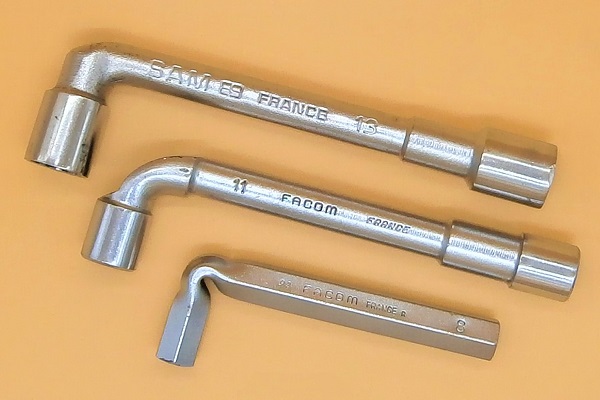
Required Tools
Sponsored links by

Spare Parts
Our Partner

Packaging :
•
LR055332LR and LR055340LR: The mudflaps are sold individually. They are riveted to their bracket.
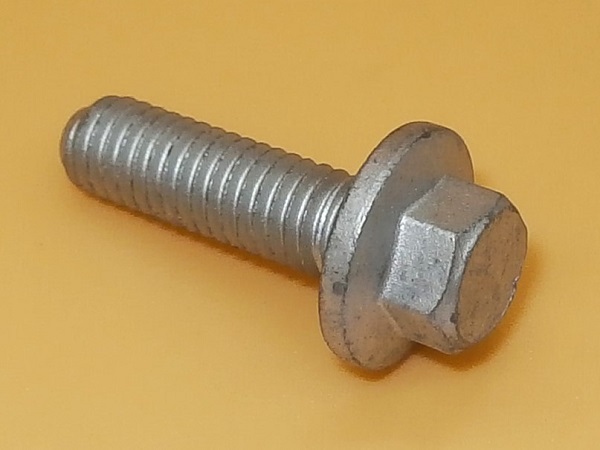
• The bolts and nuts are sold individually.
• The bolts and nuts are sold individually.
Advertisement
Remove the RH rear mudflap
Op 01
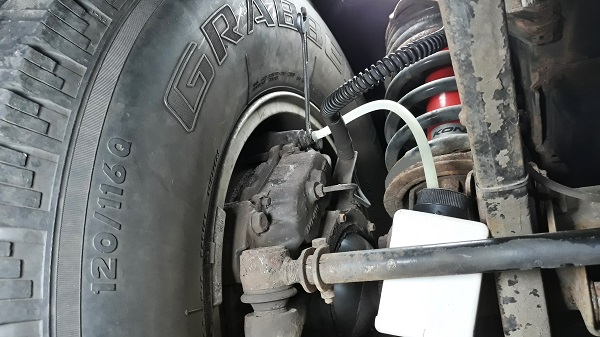
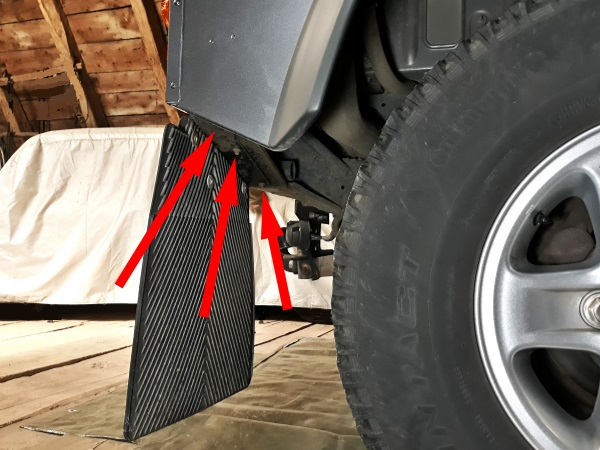
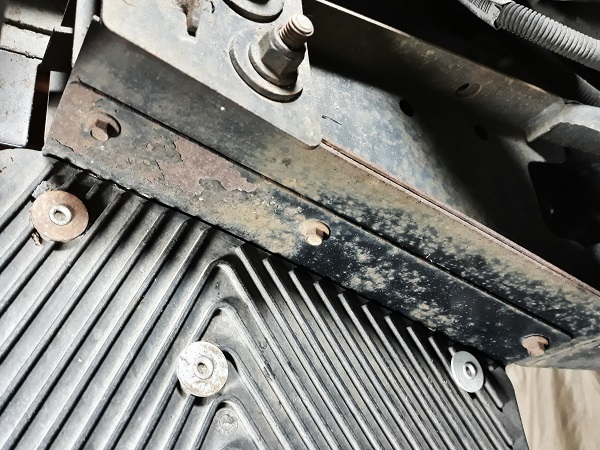
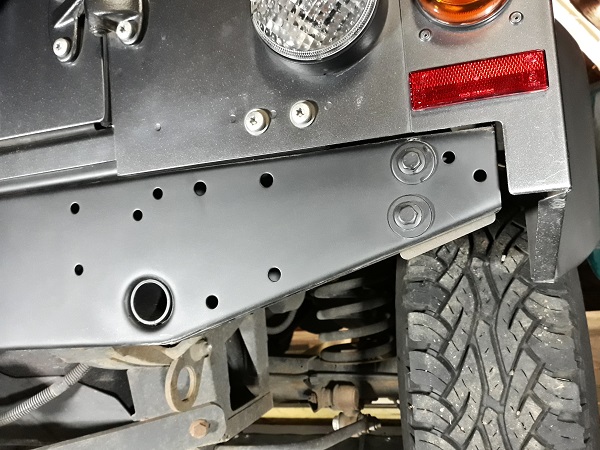
Identify the location of the 3 bolts securing the RH rear mudflap.

Op 02
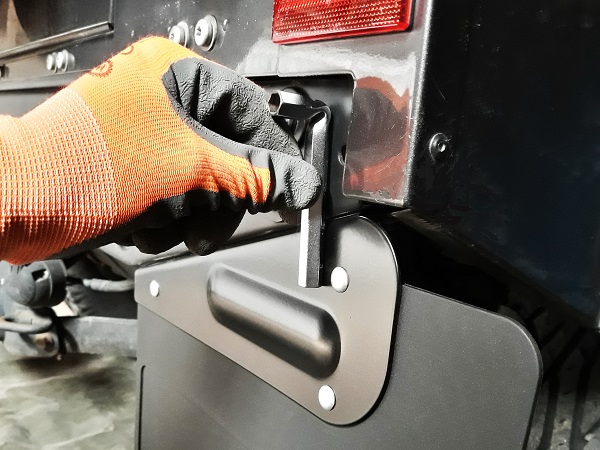
Unscrew the 3 mudflap fixing bolts. Use the 8 mm socket spanner.
Op 03
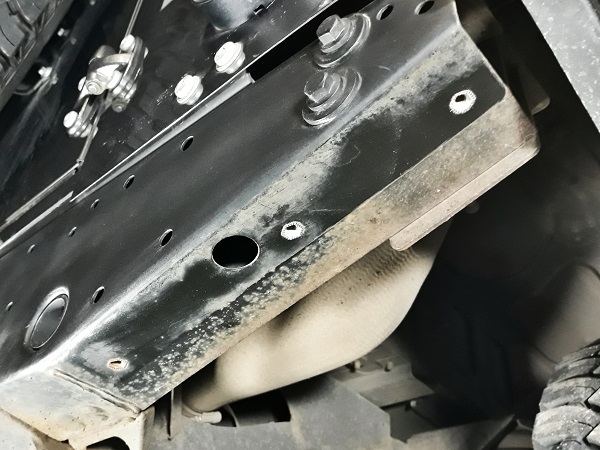
Remove the mudflap.
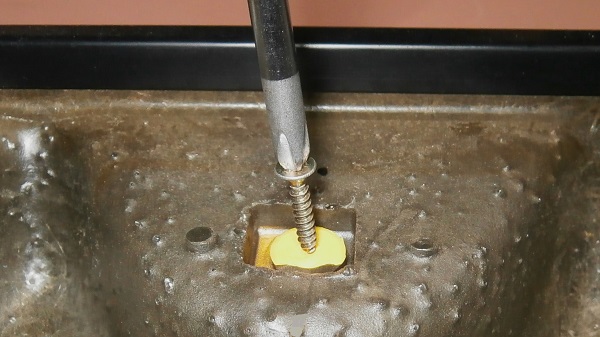
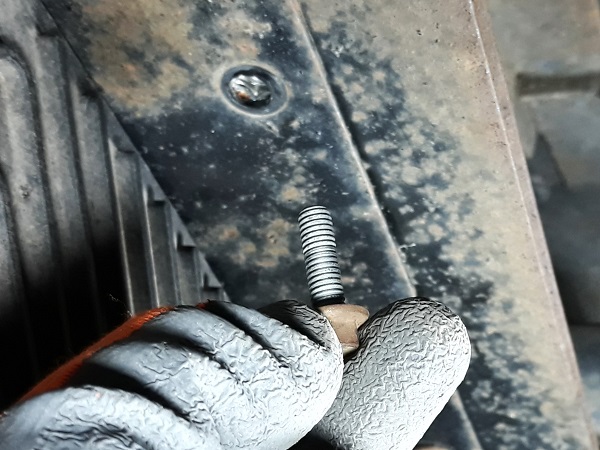
Take this opportunity to check the condition of the 3 nutserts crimped into the rear crossmember of the chassis. Do not hesitate to replace them with new ones (NN106021) if necessary.
Fit the new RH mudflap
Op 04
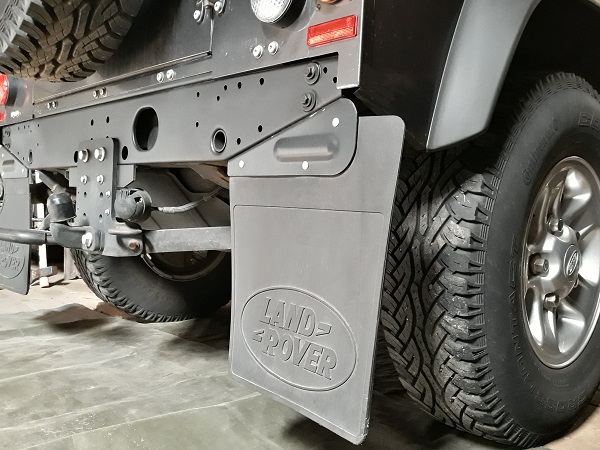
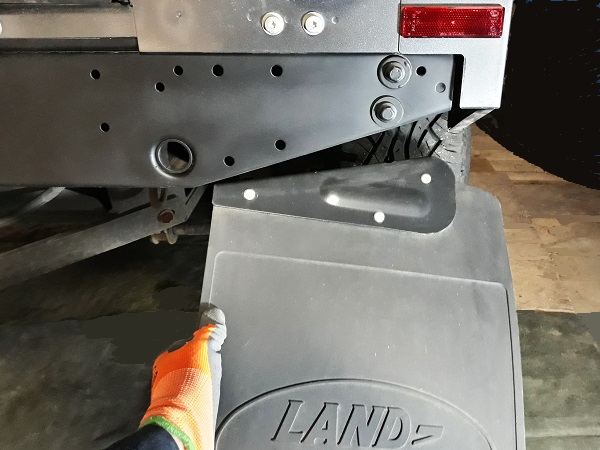
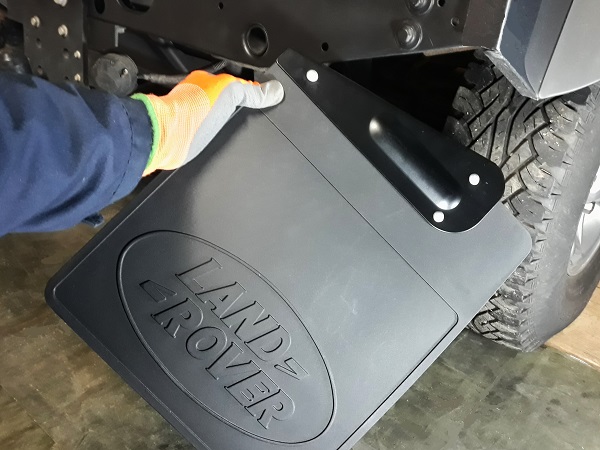
Fit the new mudflap (LR055332LR).
Screw in the 3 fixing bolts (FS106207L).
Apply a little copper grease on the thread of the fixing bolts. This will limit oxidation and make it easier to unscrew during the next disassembly.
Do not tighten the bolts for now.

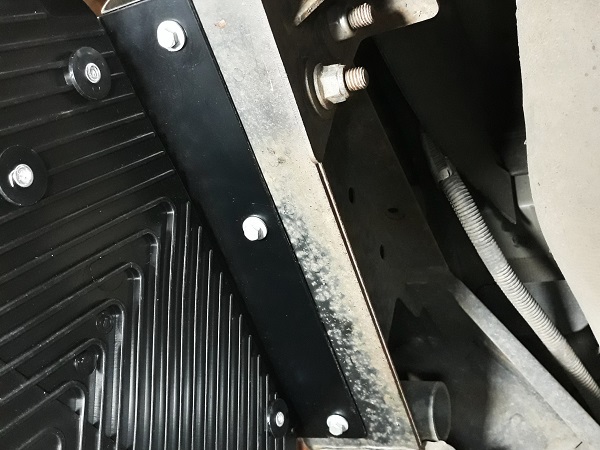
Op 05
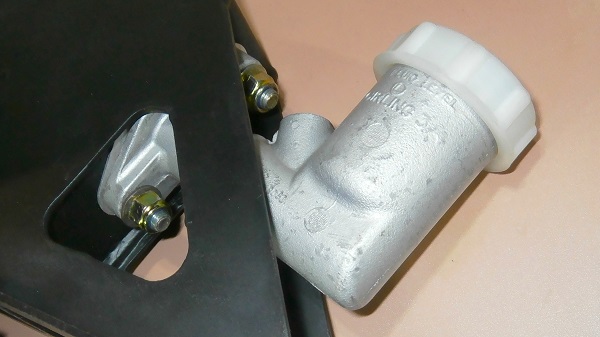
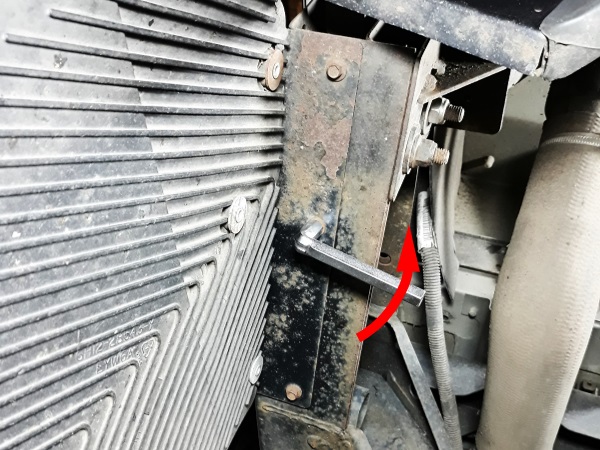
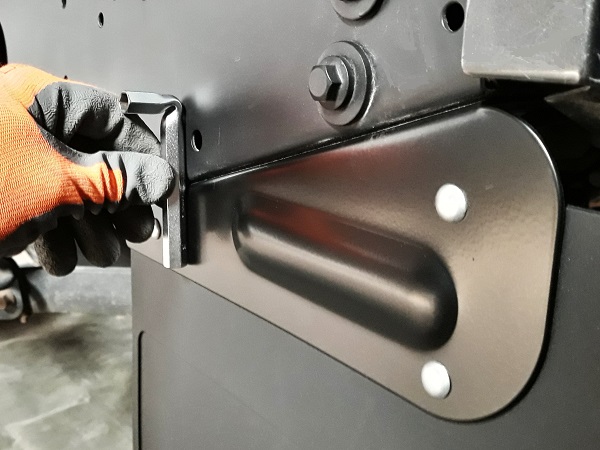
Align the mudflap bracket with the rear crossmember. Push or pull by hand.
To check the alignment, use whatever you have on hand (e.g. the socket).
This operation is not essential, but a perfectly positioned mudflap is really classier.
Op 06
Tighten the 3 mudflap fixing bolts. Use the 8 mm socket.

Advertisement
Change the LH rear mudflap
Op 07
Change the LH rear mudflap (LR055340LR). Proceed in the same way.
The End