This tutorial is also available in French
➔

Fixing the roof headlining on a Defender 90
Vehicle ➔ Defender 90 Td4 2013
Difficulty ➔ Easy

Time ➔ 1 hour
Summary
Advertisement
Advertisement

Recommendations

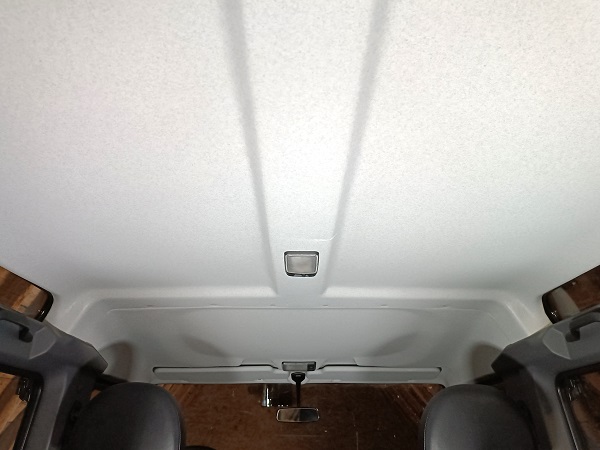
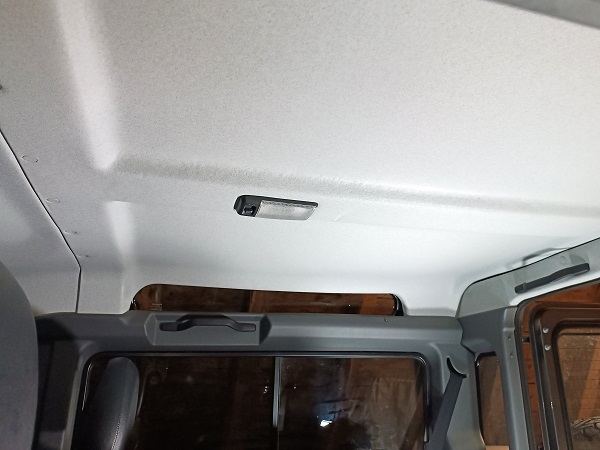
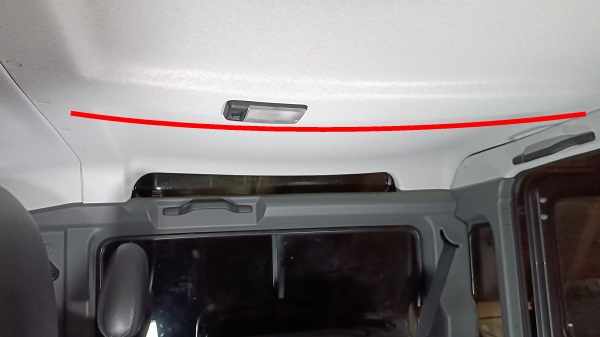
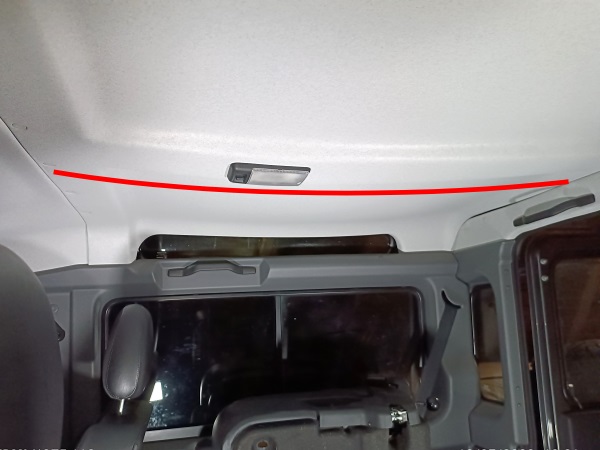
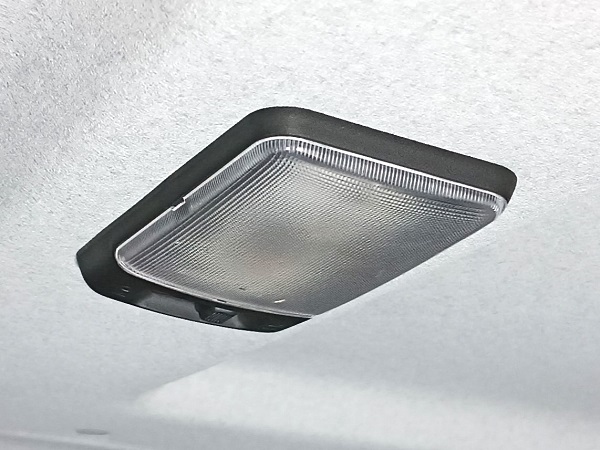
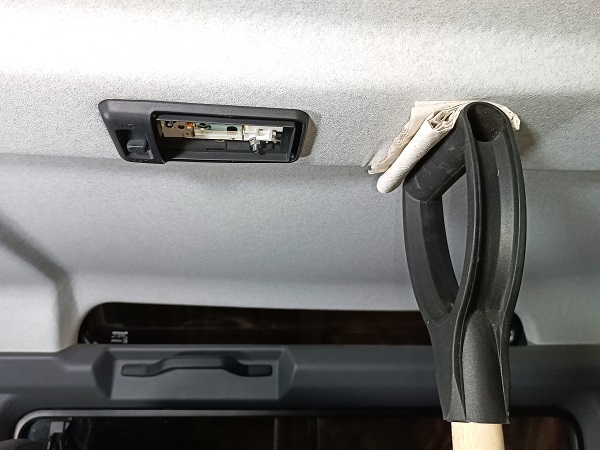
At the rear of the Defender 90, the center of the headlining is unfortunately not fixed to the roof. Over the years, this part of the headlining tends to sag. To remedy this problem, we fixed the interior lamp to the roof crossmember.
Required Tools
Sponsored links by


Spare Parts
Our Partner

Advertisement
Mark the position of the future drilling
Op 01
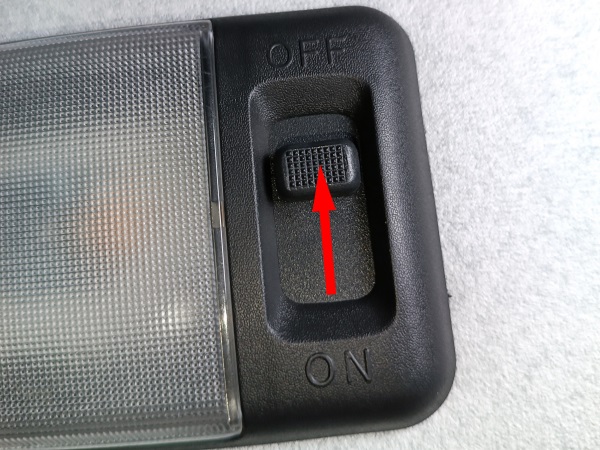
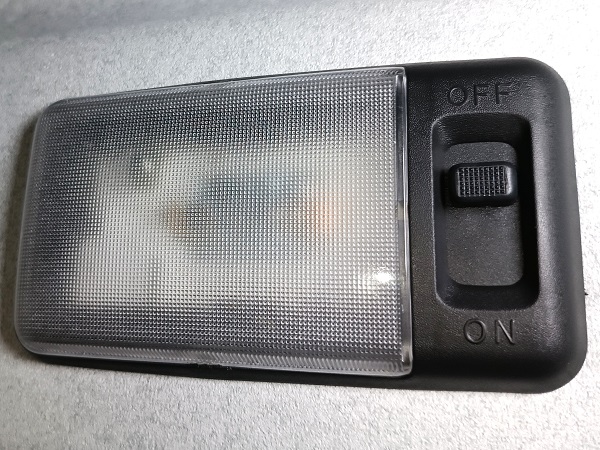
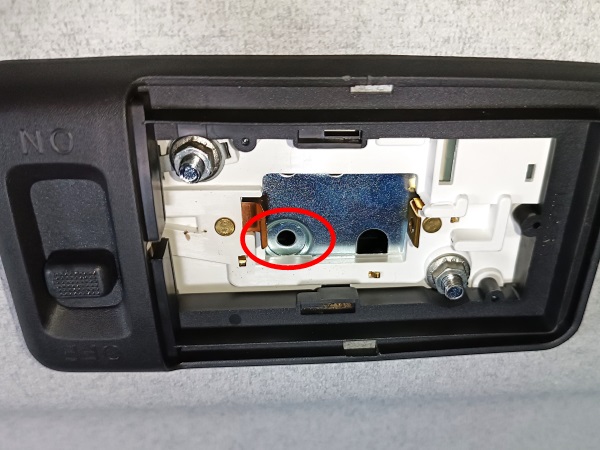
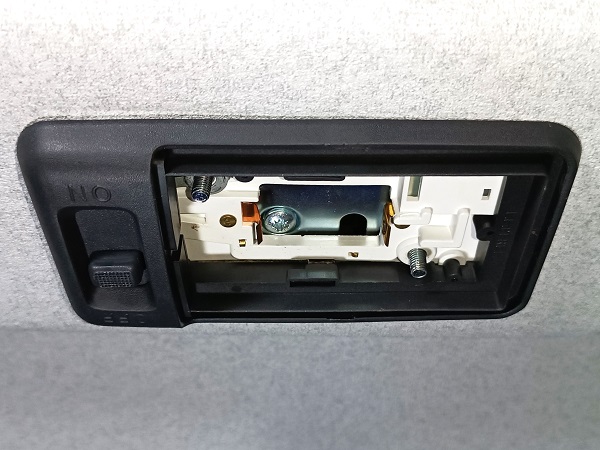
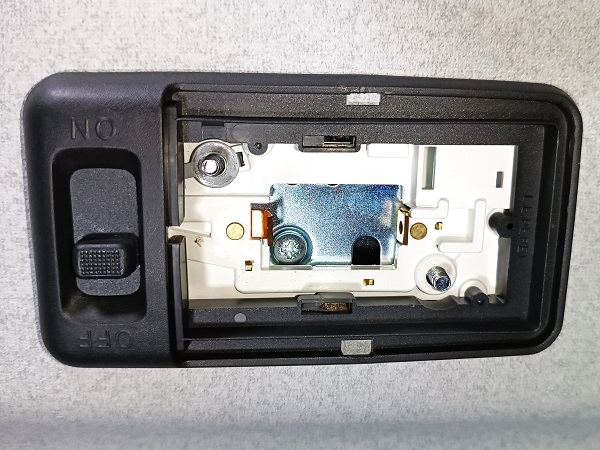
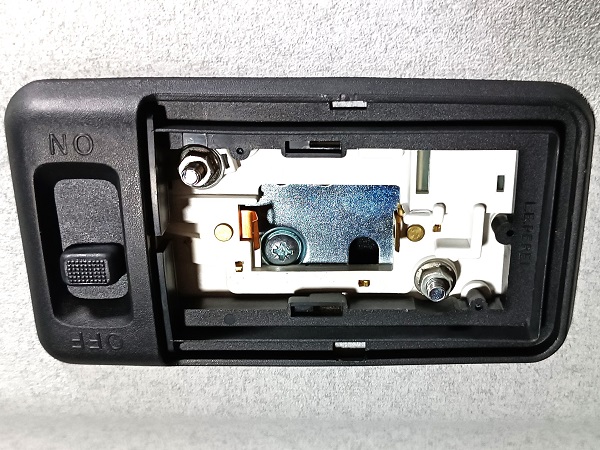
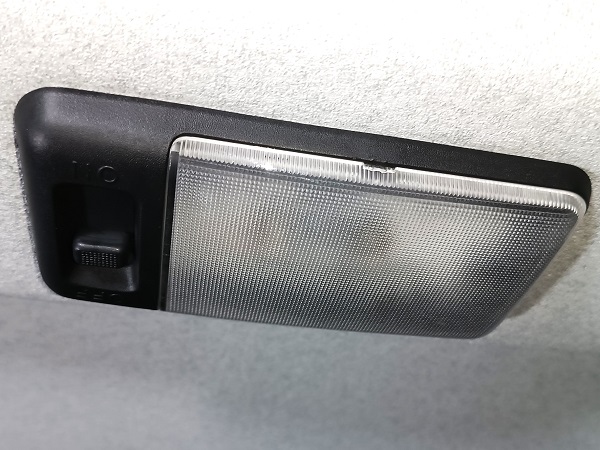
Position the interior lamp switch in the OFF position.
This will prevent us from causing a short circuit when we unscrew the interior lamp fixing nuts.
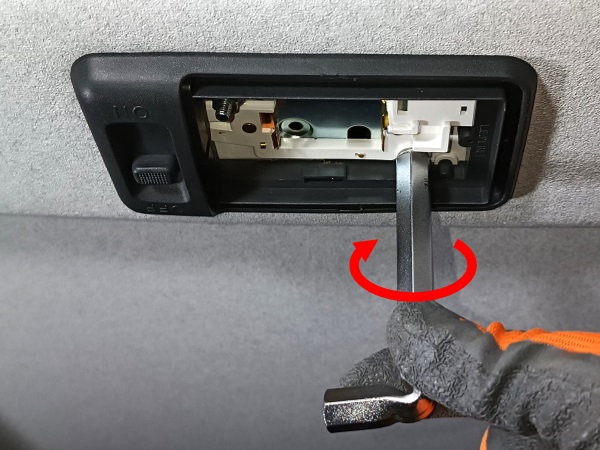
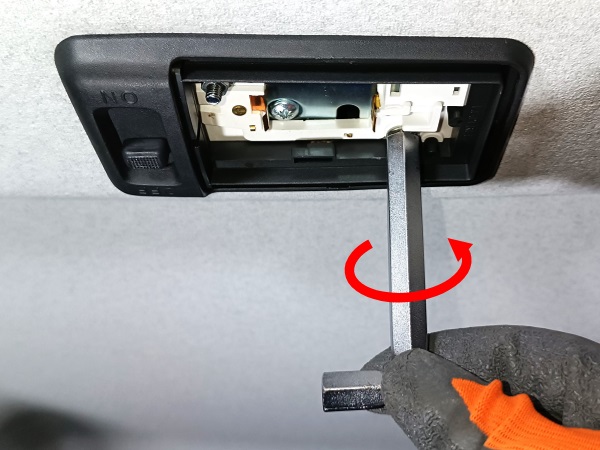
Op 02
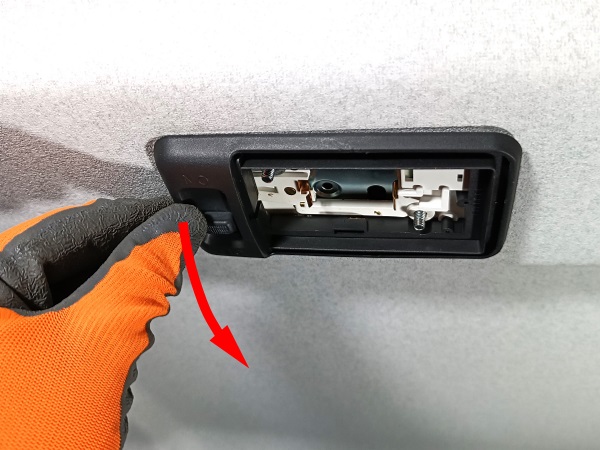
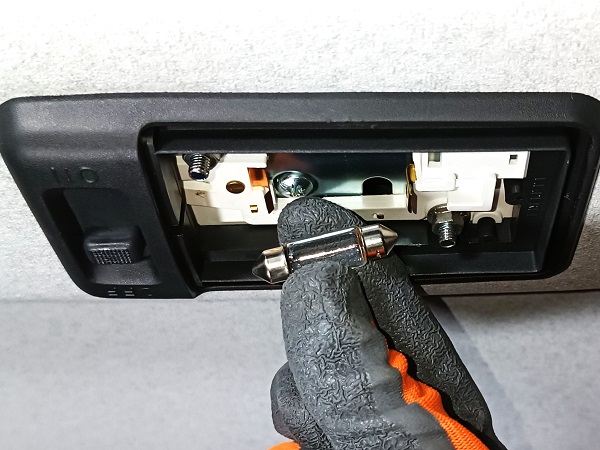
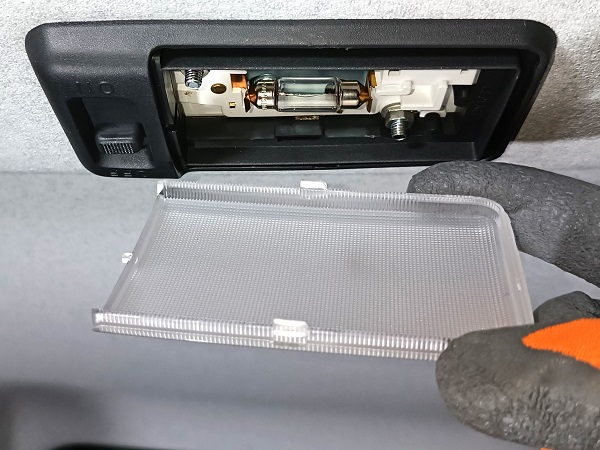
Unclip the interior lamp lens. Use the flathead screwdriver.
Unclip the 2 sides of the lens before removing it.

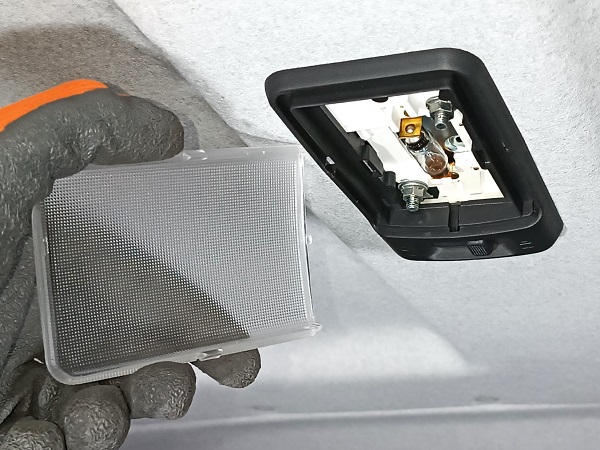
Op 03
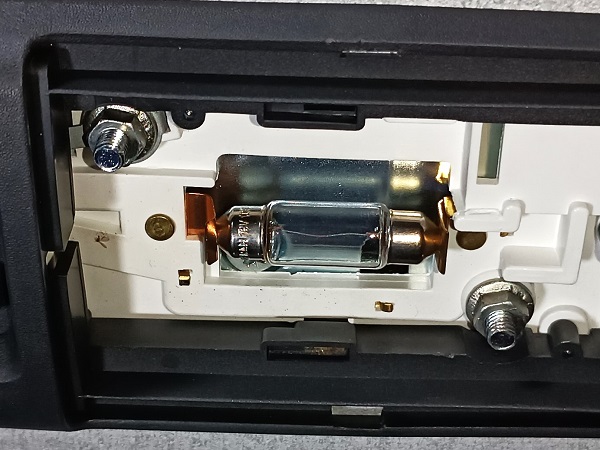
Remove the bulb. Pull by hand.
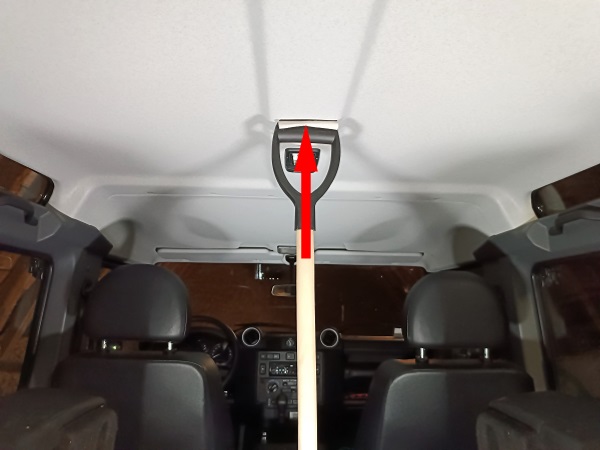
Op 04
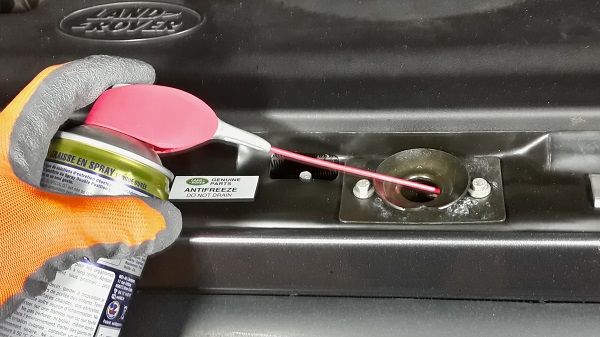
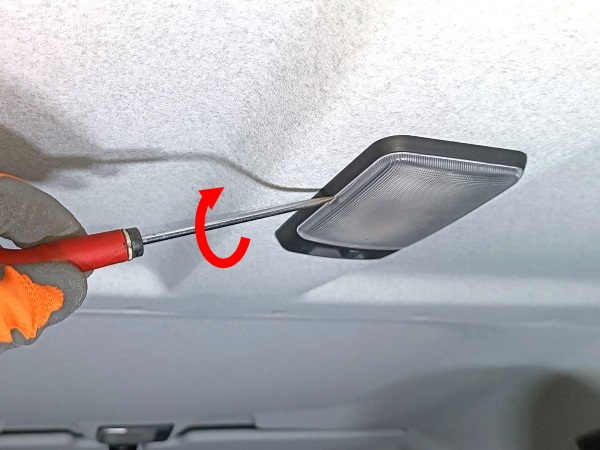
Push the headlining upwards. Use the first pole that comes to hand.
The headlining is very fragile. It marks very easily.

During the various operations, you will have to position and remove this pole, sometimes to raise the headlining, sometimes to let it down.
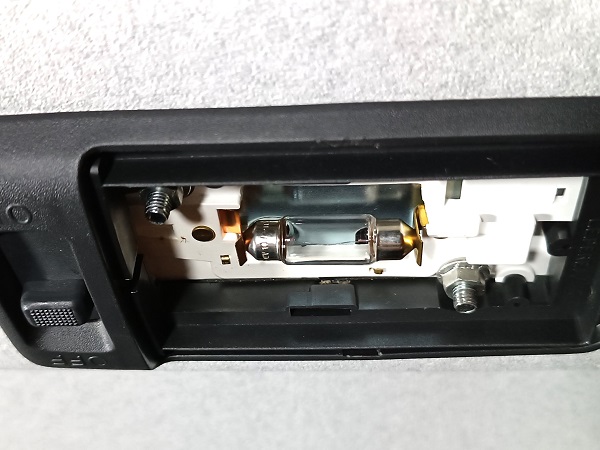
Op 05
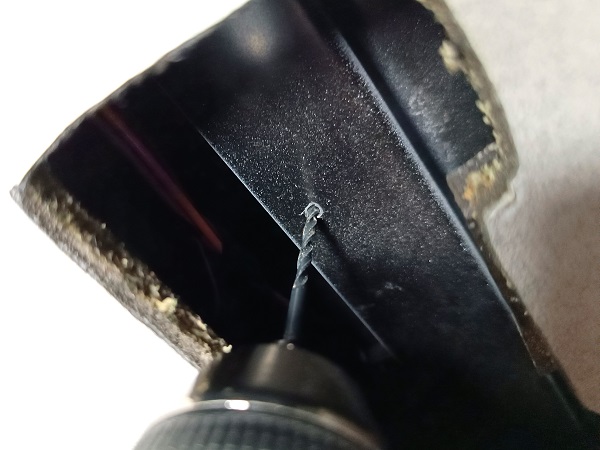
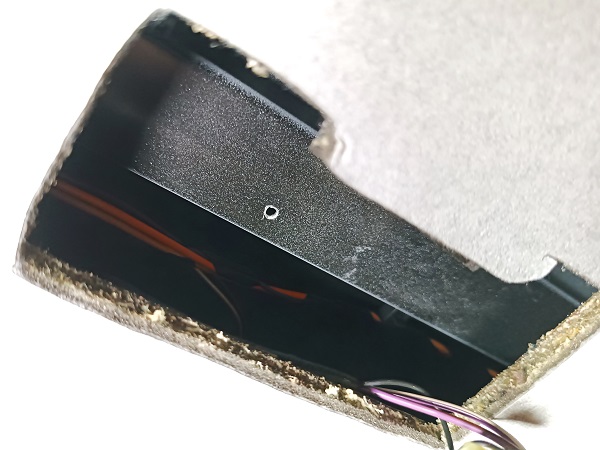
Locate the punch mark that we will use to fix the interior lamp to the roof.
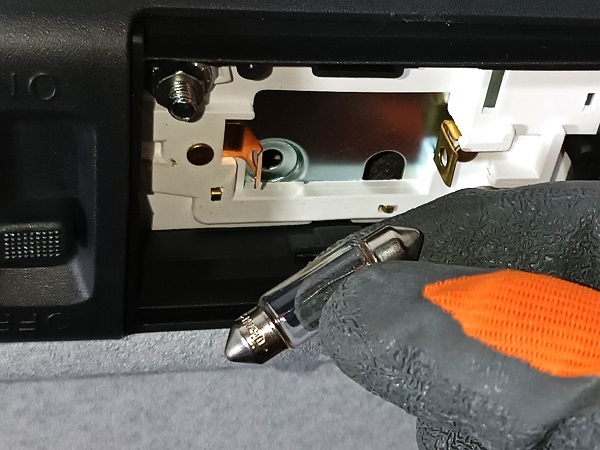
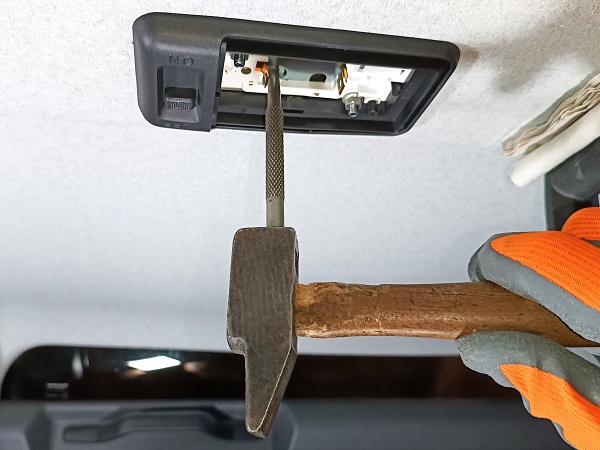
Op 06
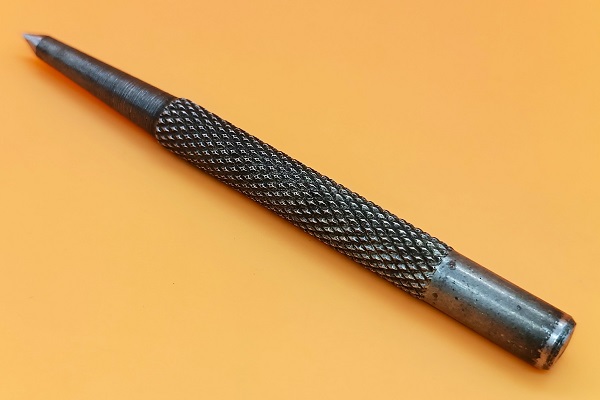
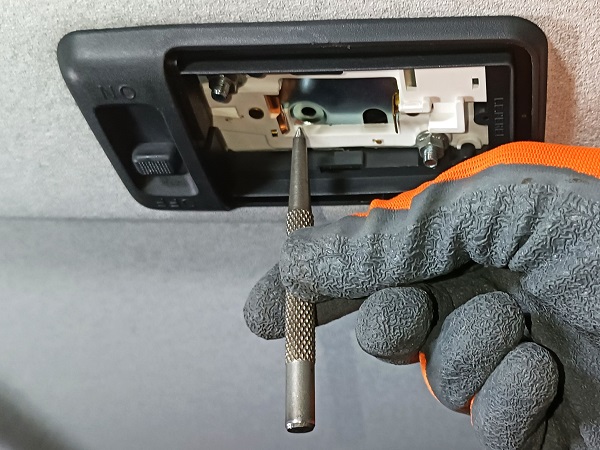
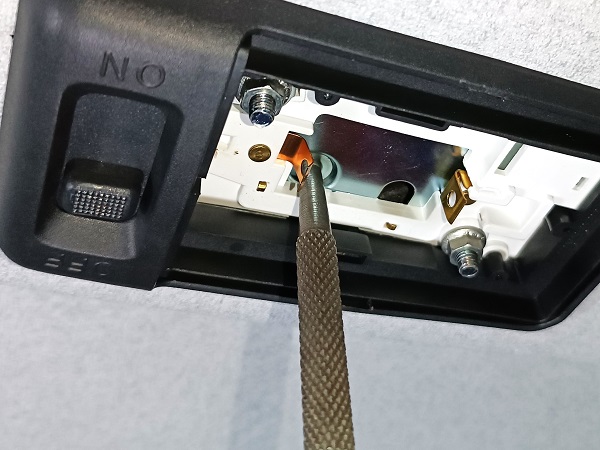
Position the punch in the center of this punching.
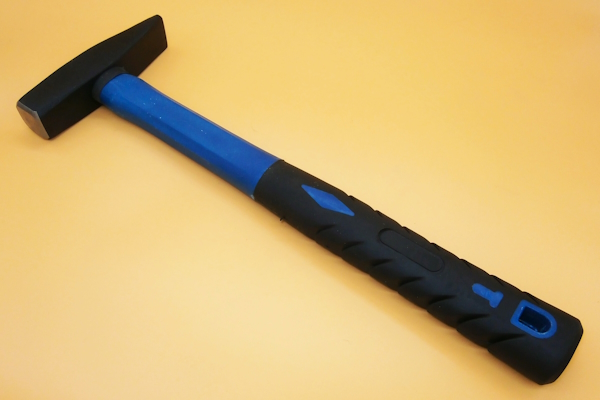
Make a punch mark on the roof crossmember. Use a hammer.
This punch mark will allow us to guide the drill during Op 13.
Advertisement
Remove the interior lamp
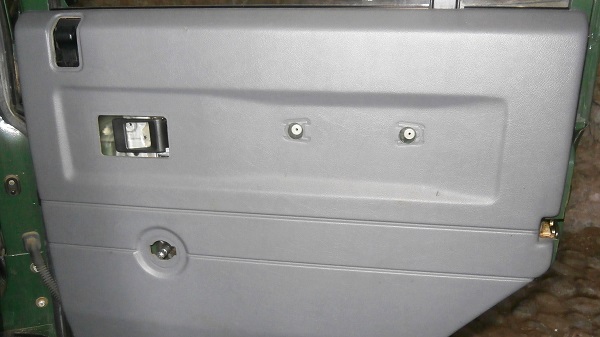
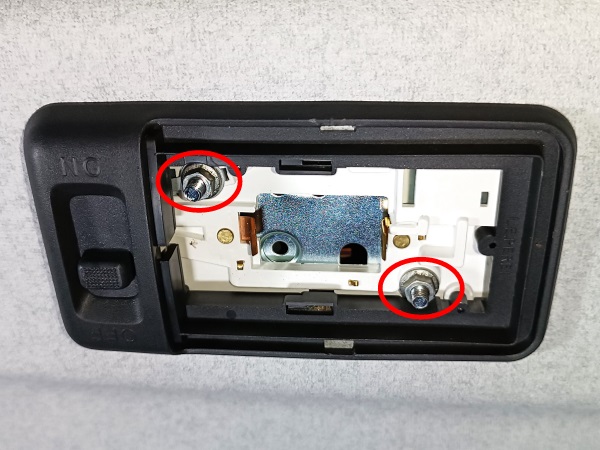
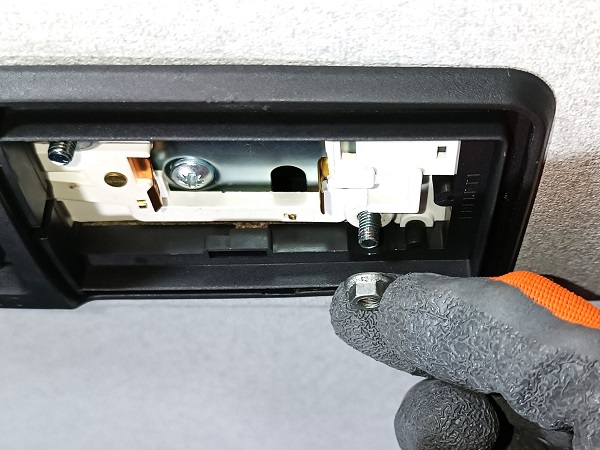
Op 07
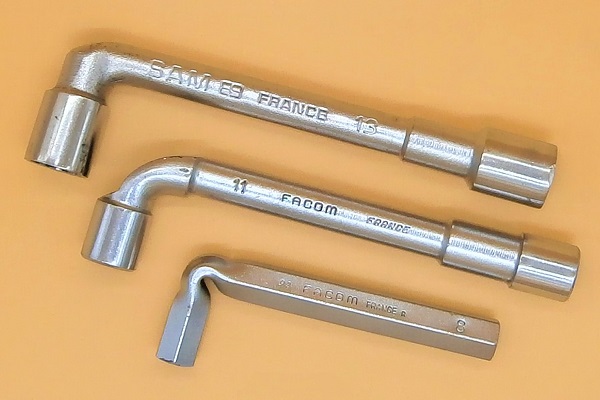
Unscrew the 2 interior lamp fixing nuts. Use the 8 mm socket spanner.
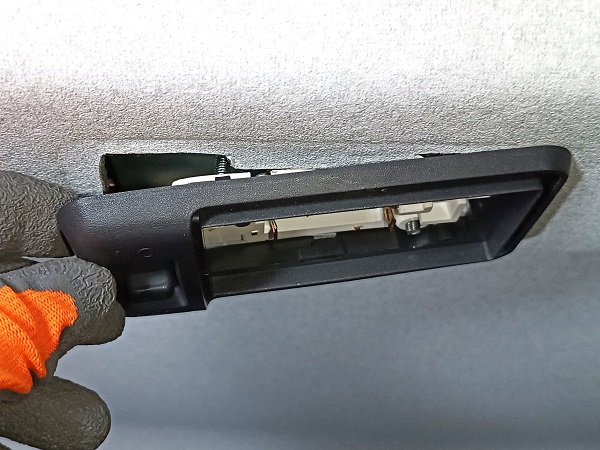
Op 08
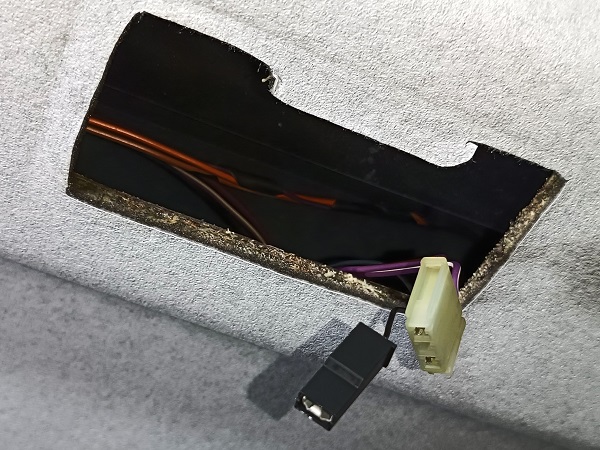
Remove the interior lamp. Simply pull by hand.

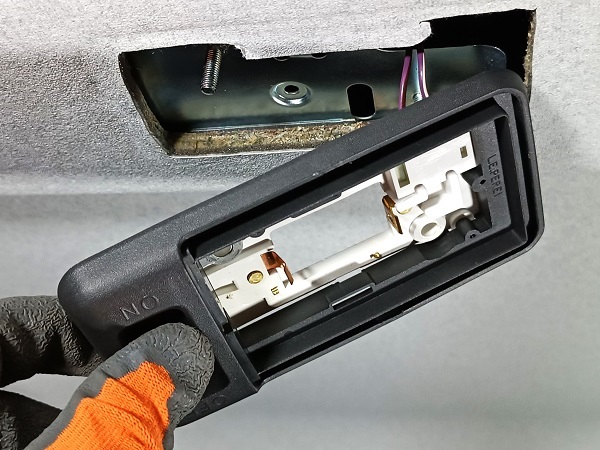
Op 09
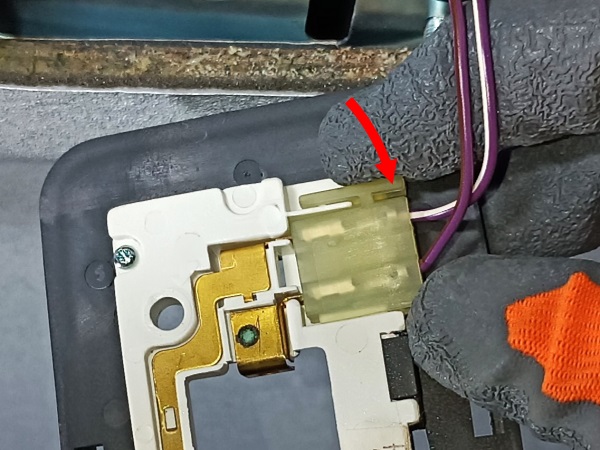
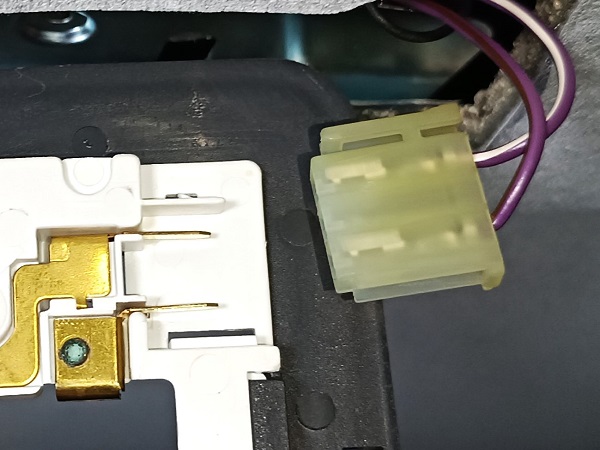
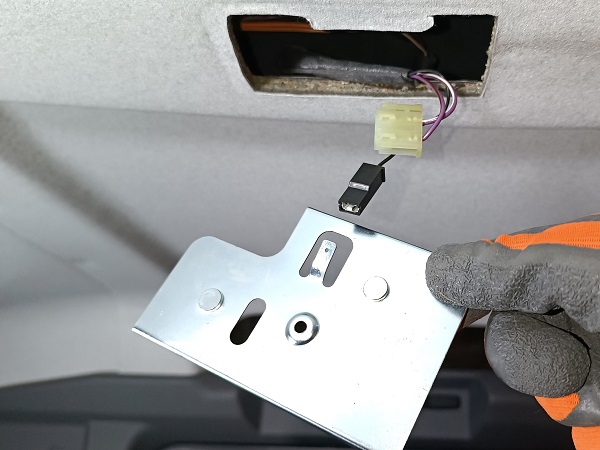
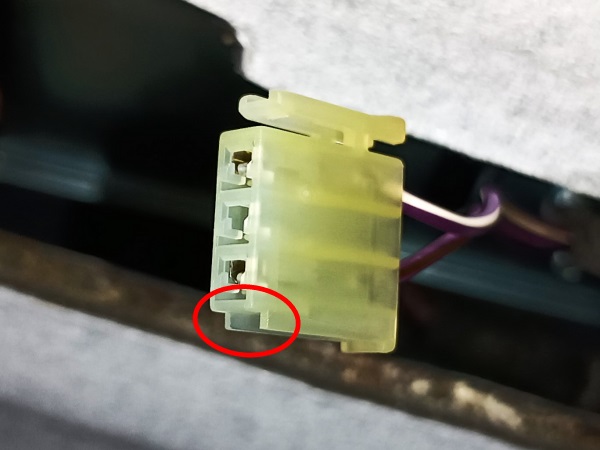
Disconnect the interior lamp connector :
•
Press the locking tab (2nd photo).
•
Pull by hand.
•
Remove the interior lamp.
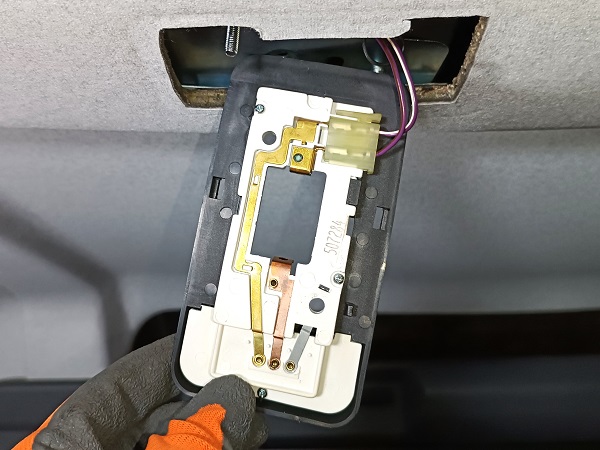
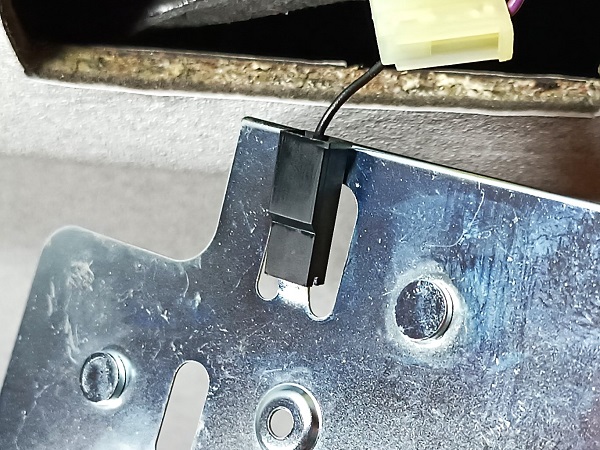
Op 10
Remove the interior lamp bracket. Release it by hand.

Op 11
Disconnect the ground cable from the interior lamp bracket.
Drill the roof crossmember
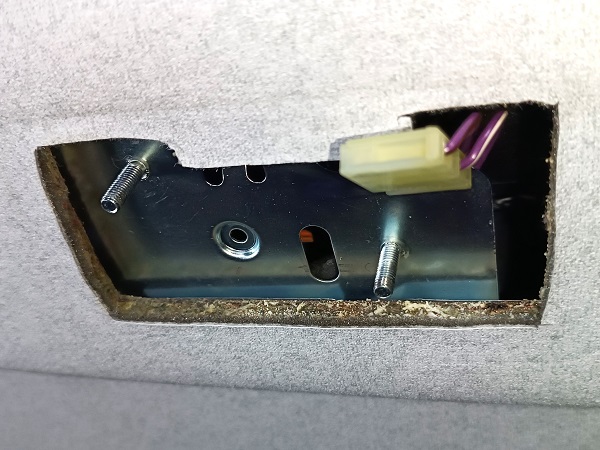
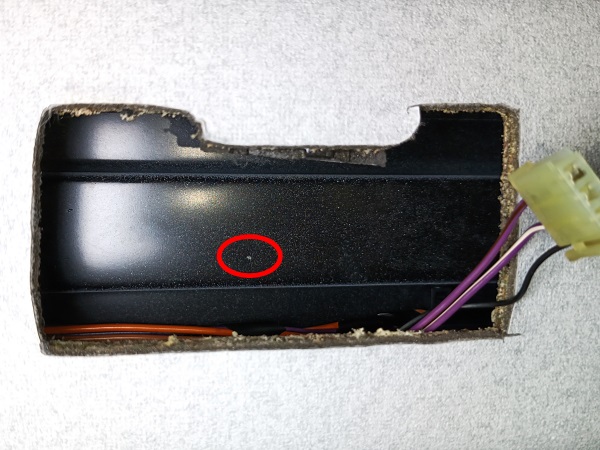
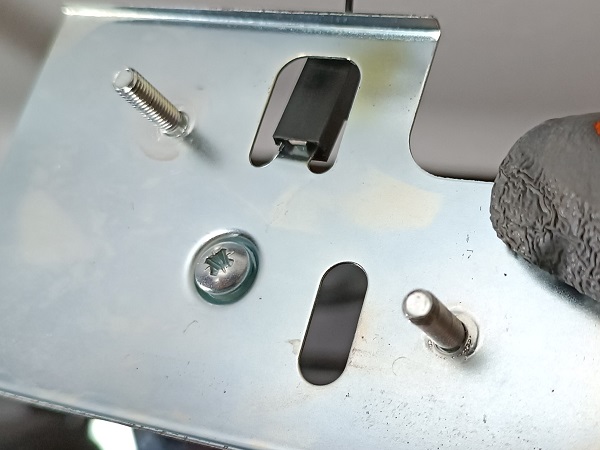
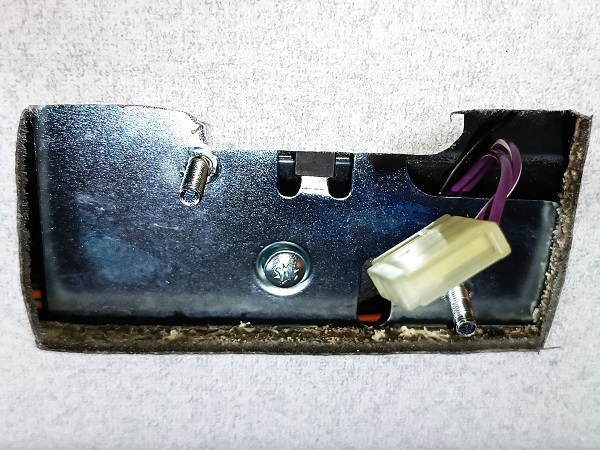
Op 12
You can now see the roof crossmember and the punch mark that we made during Op 05.
It is at this place that we will drill and then screw the interior lamp fixing screw.
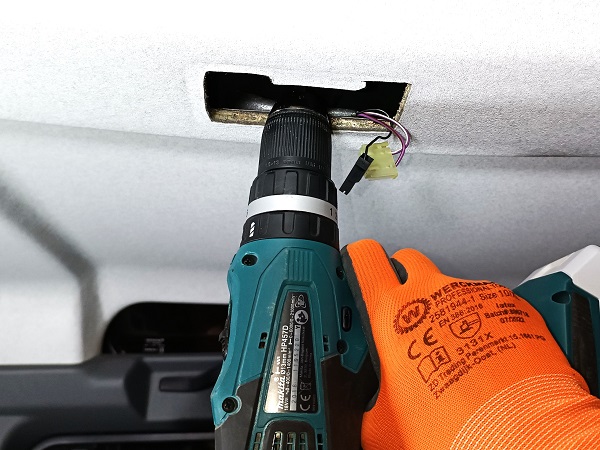
Op 13
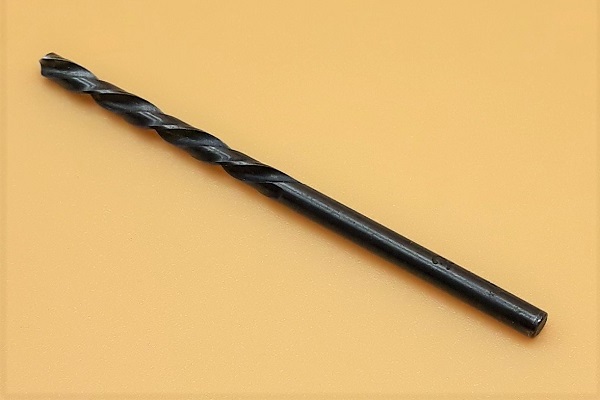
Drill the roof crossmember. Use a Ø3 mm drill bit.
Take it easy. You must drill the crossmember but especially not the roof.
Advertisement
Fit the interior lamp
Op 14
Connect the ground cable to the interior lamp bracket.
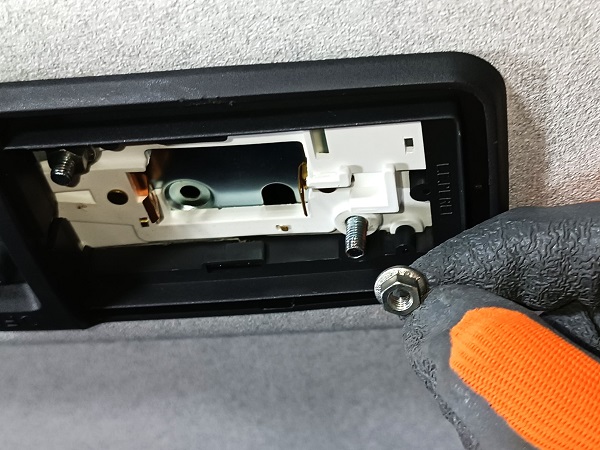
Op 15
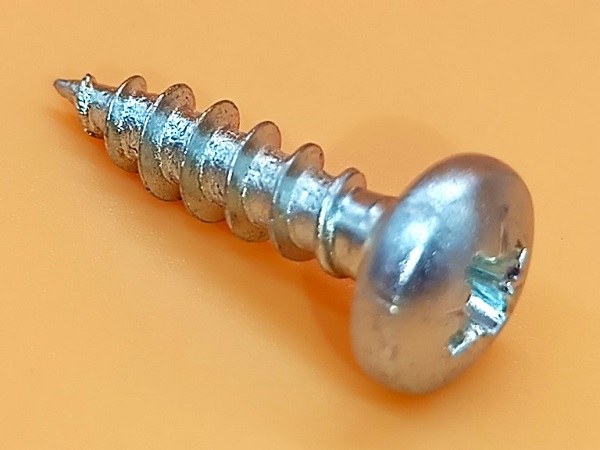
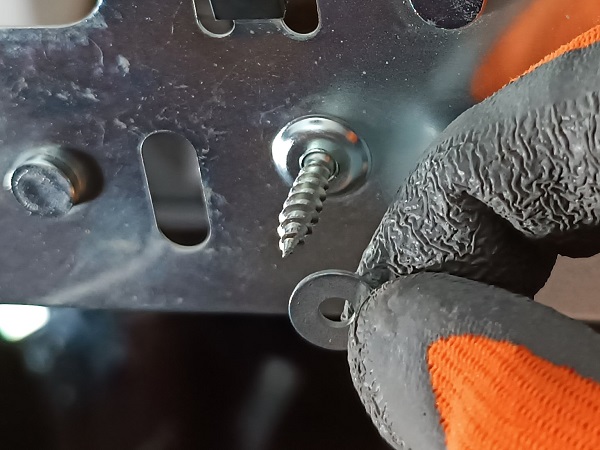
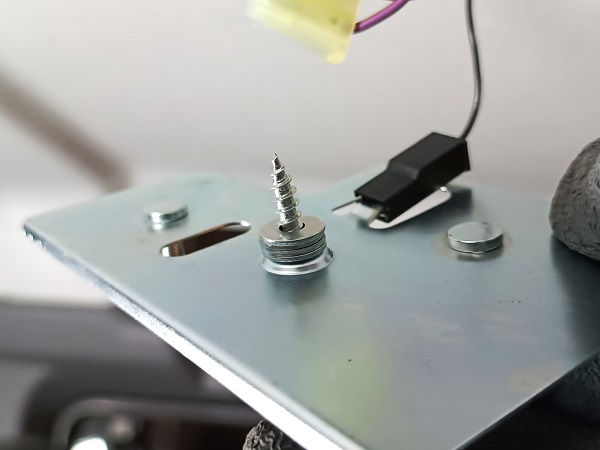
Position the Ø4 x 20 mm screw on the interior lamp bracket.

Op 16
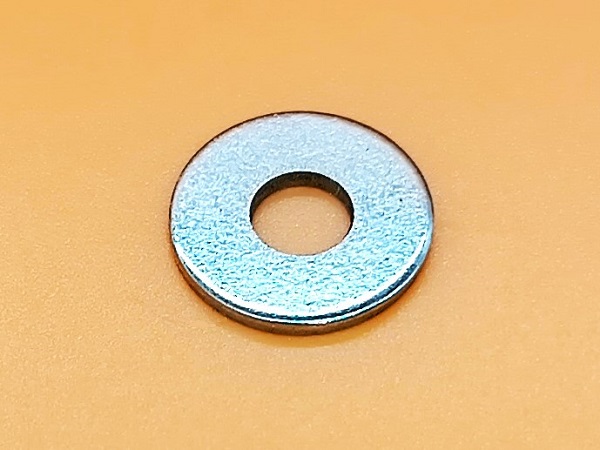
Position 4 Ø4 mm washers on the screw.
I added 4 washers to limit the raising of the headlining. Indeed, if I raise it too high, an unsightly fold forms on the lining near the interior lamp.
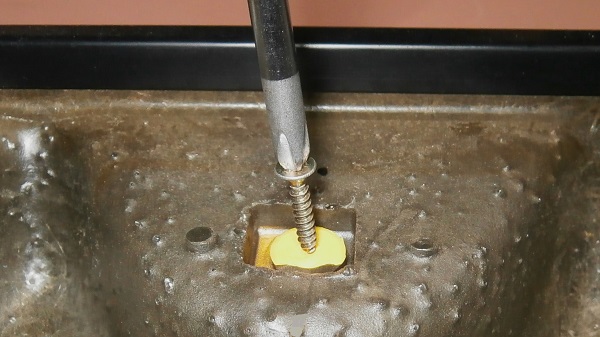
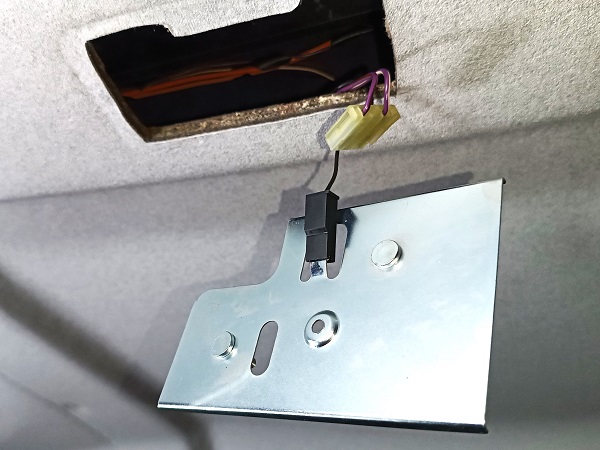
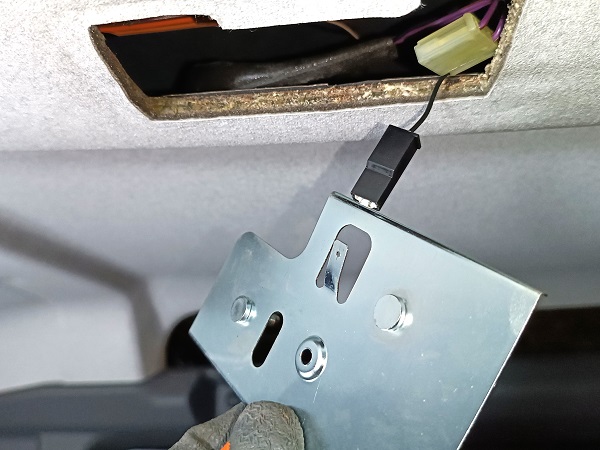
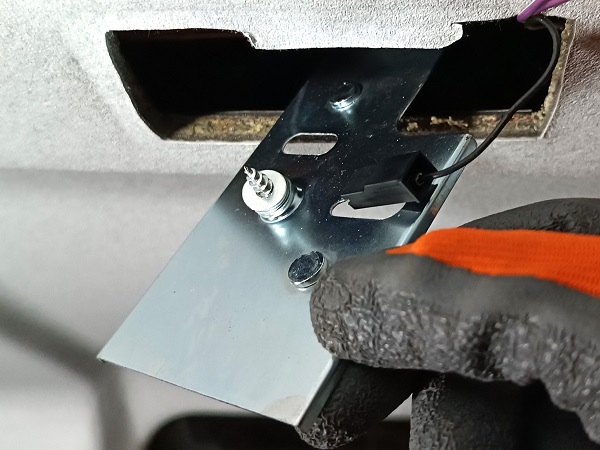
Op 17
Fit the interior lamp bracket above the headlining.
Screw the screw into the roof crossmember. Use the Phillips screwdriver.
Check that there are no electrical wires trapped between the interior lamp bracket and the roof crossmember.
Do not tighten the screw for the moment.
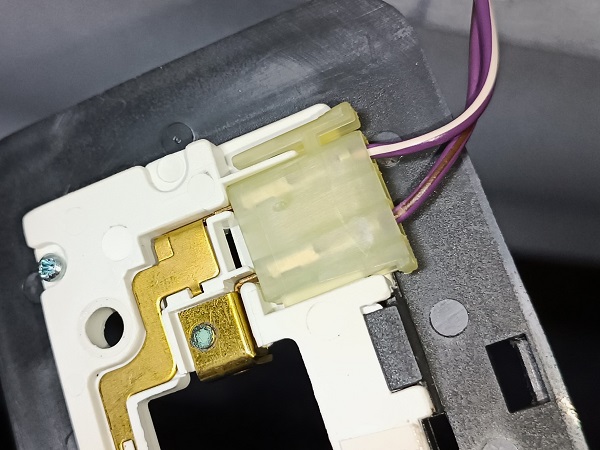
Op 18
Connect the connector to the interior lamp. Push by hand.
The connector has a key (1st photo). It is impossible to connect it backwards.

Op 19
Fit the interior lamp.
Op 20
Screw the 2 interior lamp fixing nuts. Use the 8 mm socket spanner.
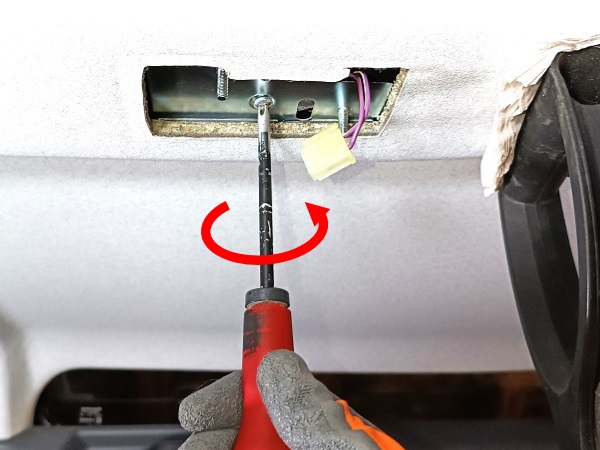
Op 21
Tighten the fixing screw of the interior lamp bracket on the roof crossmember. Use the Phillips screwdriver.

Op 22
Fit the bulb. Push by hand.
Op 23
Fit the interior lamp lens. Push by hand.
Op 24
Check that the interior lamp works again.
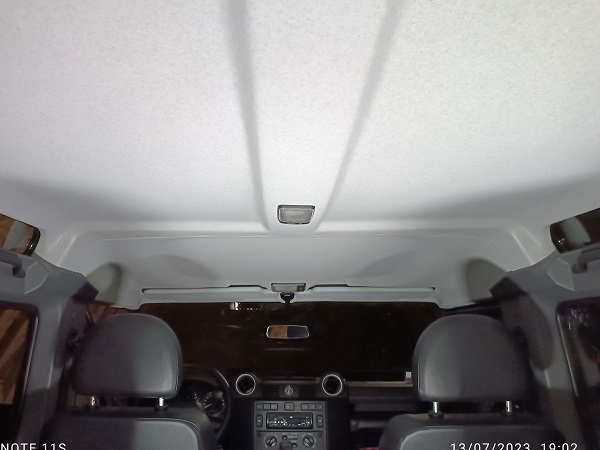
The End
The headlining has regained its original shape. Well done !
Please feel free to ask a question or to write a comment at the bottom of the page if you wish.