This tutorial is also available in French
➔

Body sill change on Defender 90
Vehicle ➔ Defender 90 Td4 2013
Difficulty ➔ Easy

Time ➔ 30 minutes
Summary
Advertisement
Advertisement

Recommendations

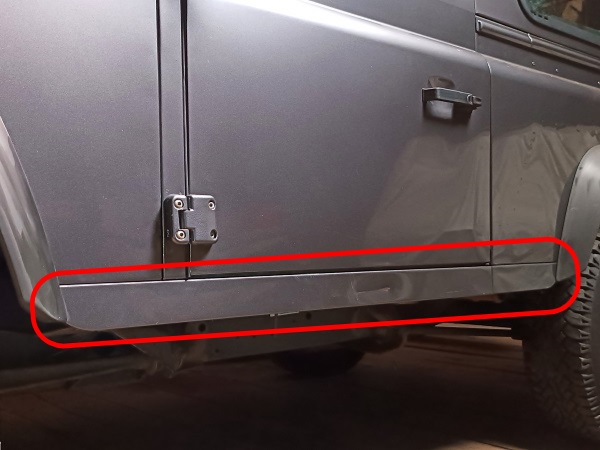
On the Defender, the body sills are very vulnerable components during our off-road trips. On the other hand, they are inexpensive parts and are very easy to change. When damage occurs to a sill panel, check with your body shop whether it is better to buy new sill panels rather than have them repaired. Thus, all that remains is to paint them. At the current price of labor, it is worth asking the question.

If your body shop is not familiar with the Defender, they will probably suggest sanding and removing the traces of spot welds on the new panels before painting them. If this is the case, categorically refuse. Indeed, the traces of spot welds are part of the charm of our aluminum cubes.
Required Tools
Sponsored links by


Spare Parts
Our Partner

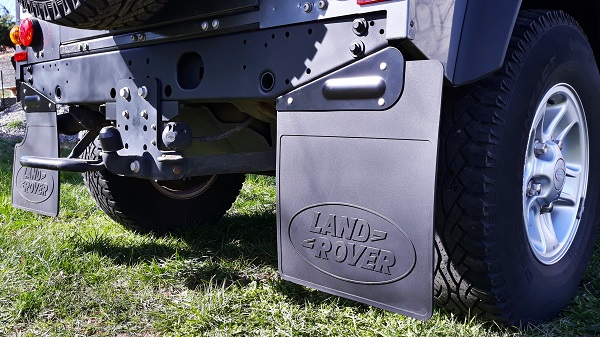
Packaging :
•
All the above parts are sold individually.
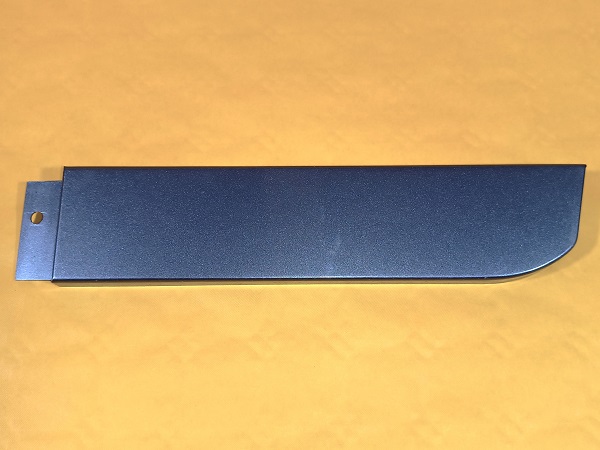
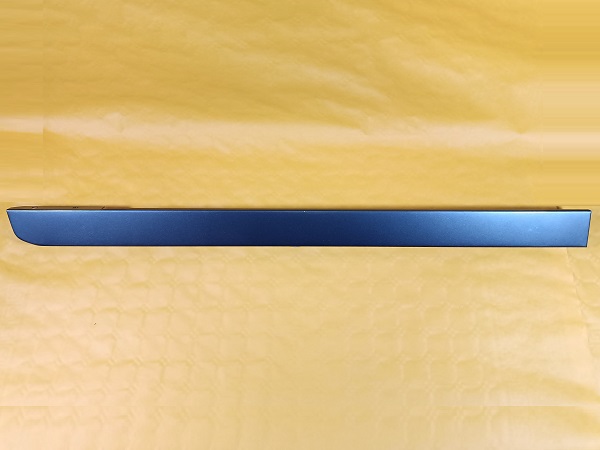
• MTC8293 and RTC6206 : These 2 parts are sold unpainted. The photos above were taken after painting.
• MTC8293 and RTC6206 : These 2 parts are sold unpainted. The photos above were taken after painting.
Advertisement
Remove the body sill
Op 01
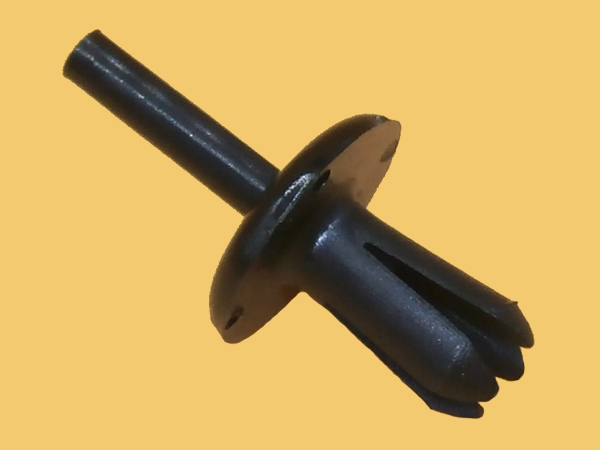
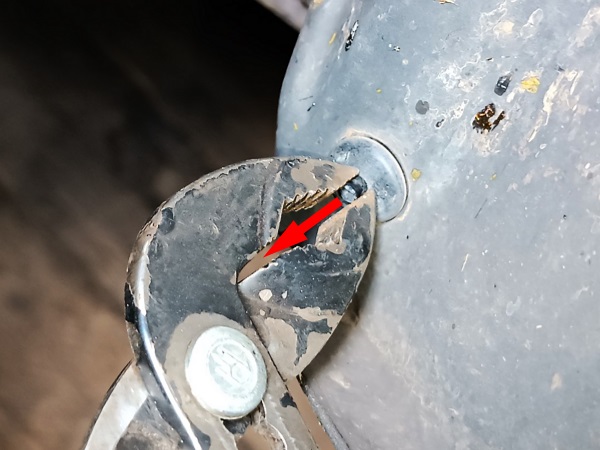
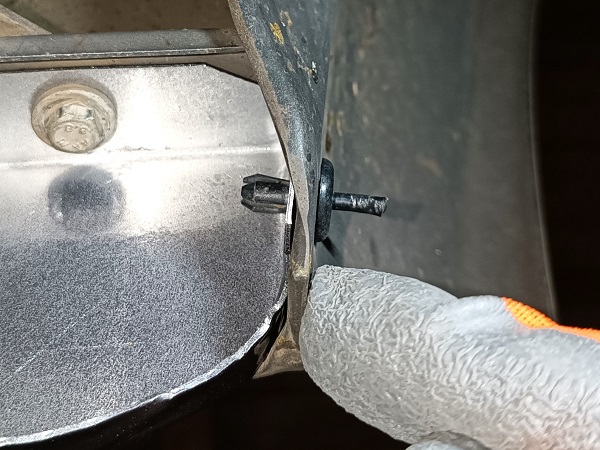
Remove the plastic rivet for fixing the front sill panel to the front wheelarch eyebrow :
•
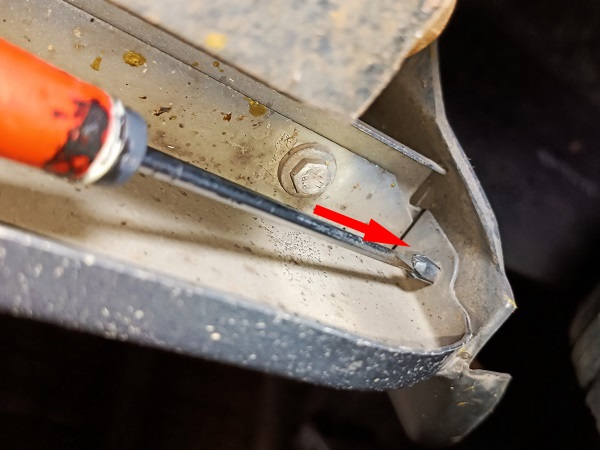
Push back the locking pin. Use the small flathead screwdriver.
•
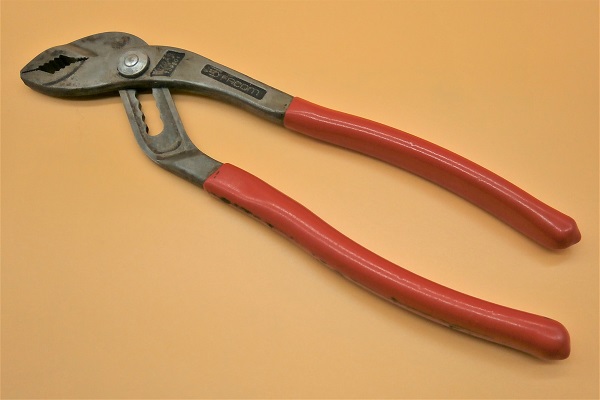
Remove the rivet by pulling on the pin. Use the multigrip pliers.

Op 02
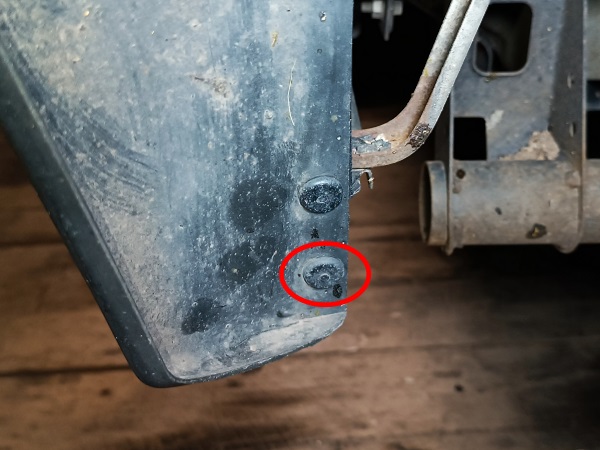
Remove the plastic rivet for fixing the rear sill panel to the rear wheelarch eyebrow. Proceed in the same way.
Op 03
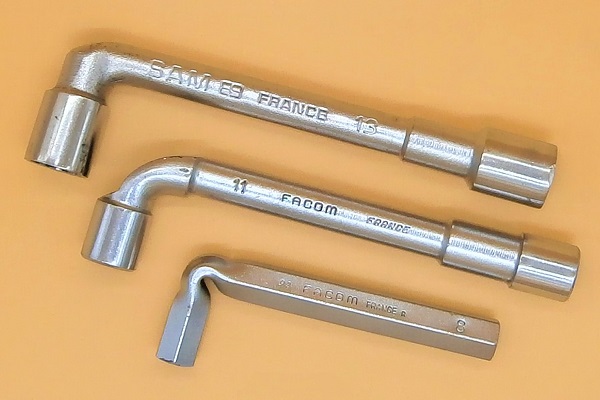
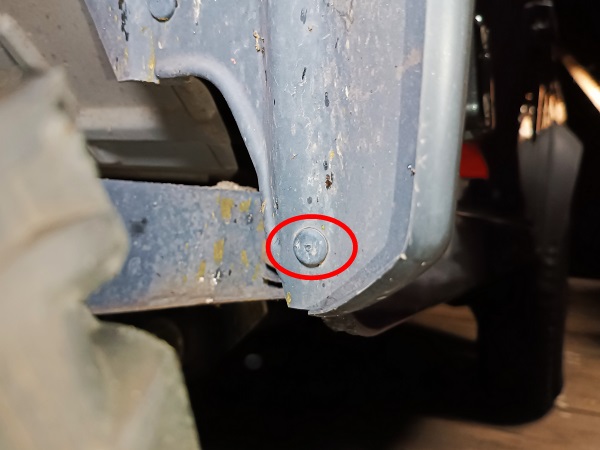
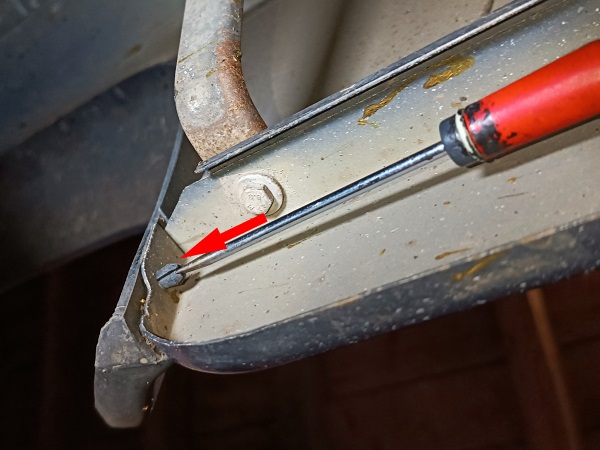
Unscrew the front sill panel fixing bolt on the front wing. Use the 10 mm spanner and socket spanner.
Recover the screw, washer and nut.
Op 04
Unscrew the front sill panel fixing bolt on the bulkhead. Use the 10 mm spanner and socket spanner.
Recover the screw, washer and nut.


Op 05
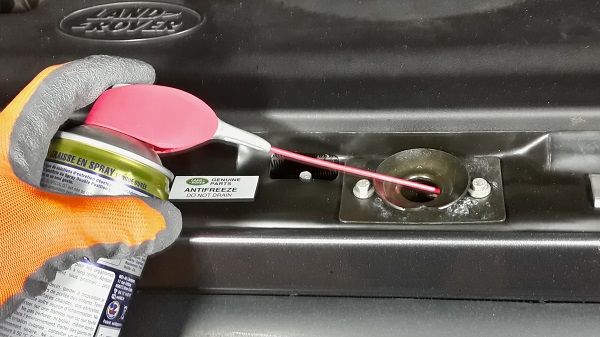
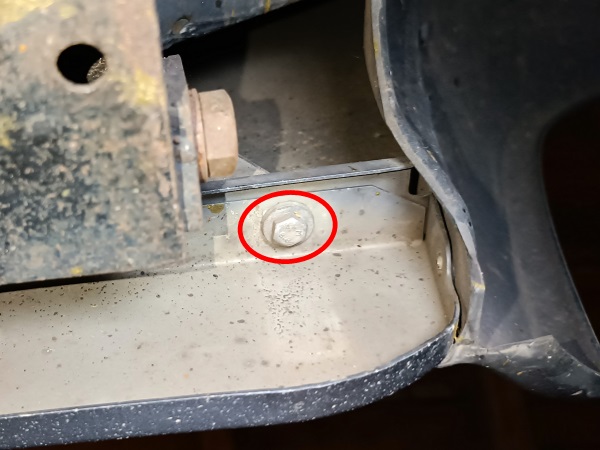
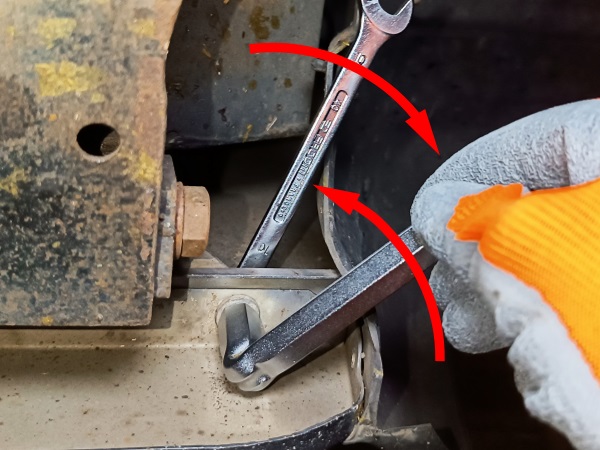
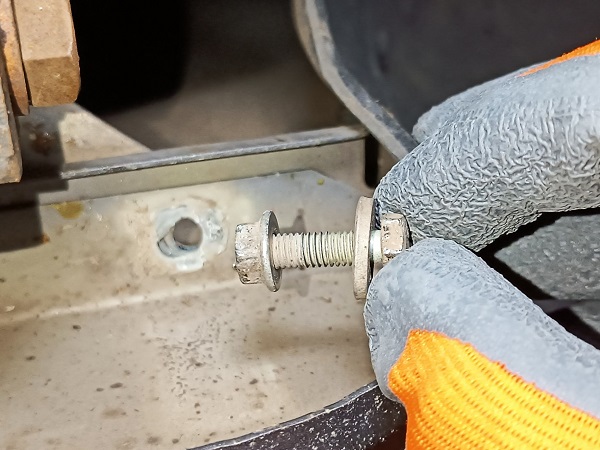
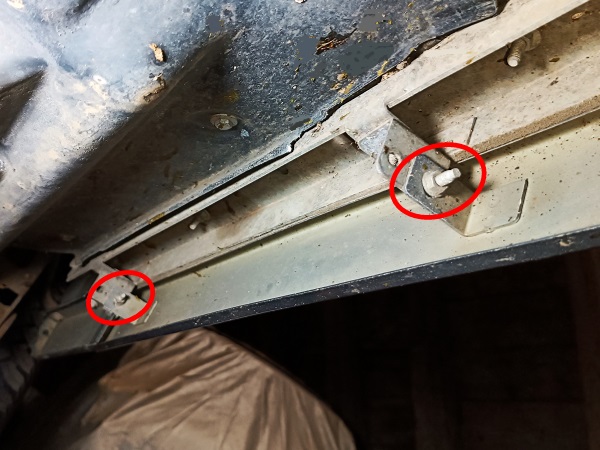
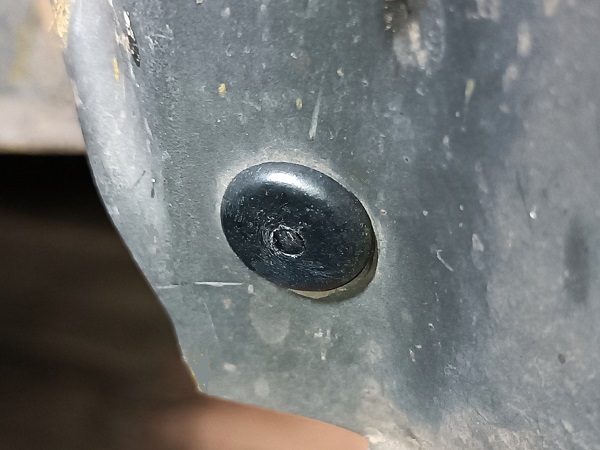
Unscrew the 2 front sill panel fixing bolts on the body. Use the 10 mm spanner and socket spanner.
Recover the 2 bolts, the 2 washers and the 2 nuts.
Op 06
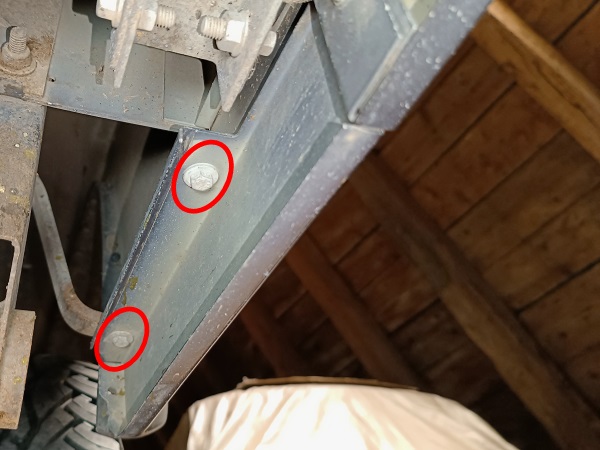
Unscrew the 2 rear sill panel fixing bolts on the rear wing. Use the 10 mm spanner and socket spanner.
Recover the 2 bolts, the 2 washers and the 2 nuts.
Op 07
Remove the body sill. Remove it by hand.
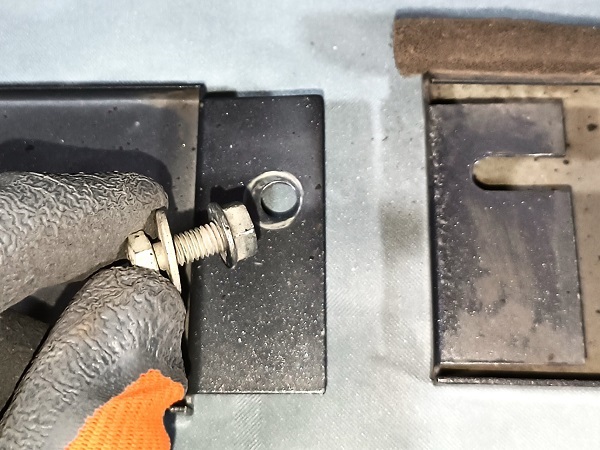
Op 08
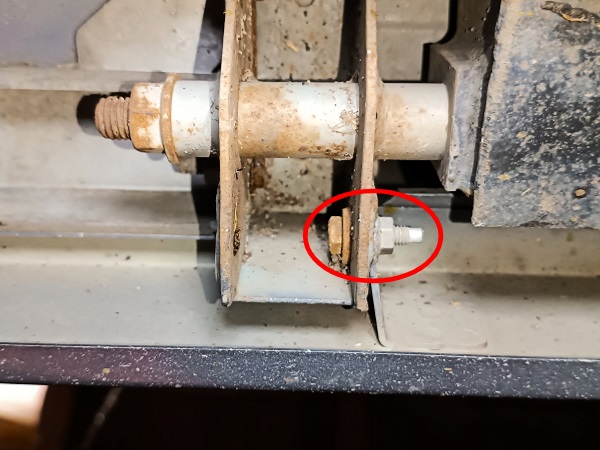
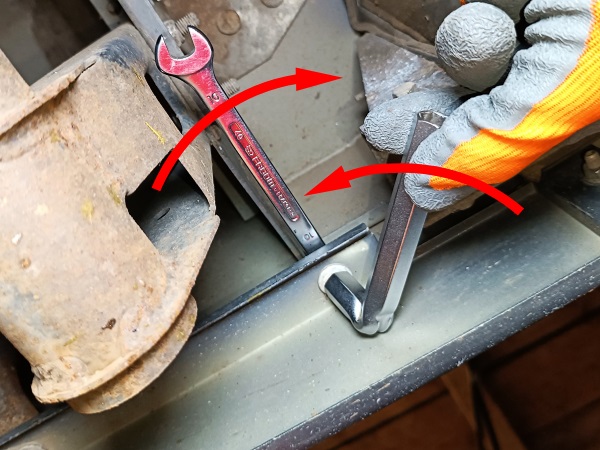
Unscrew the front sill panel fixing bolt on the rear sill panel. Use the 10 mm spanner and socket spanner.
Recover the screw, washer and nut.
Advertisement
Fit the body sill
Op 09
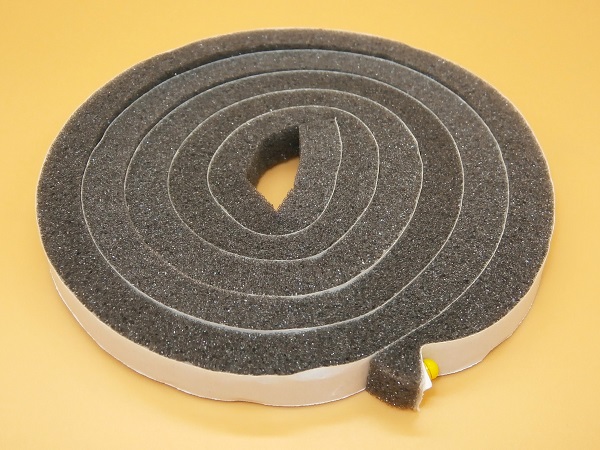
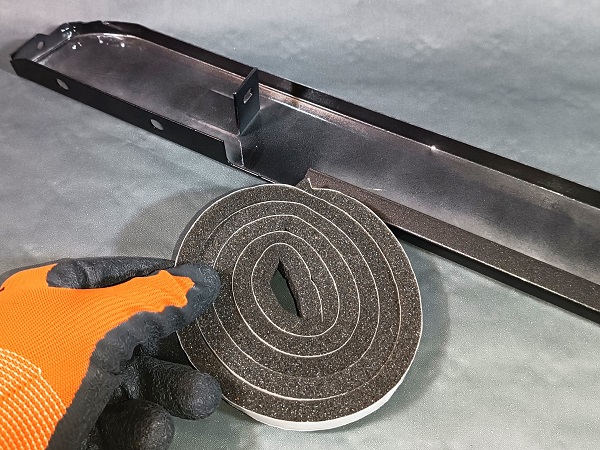
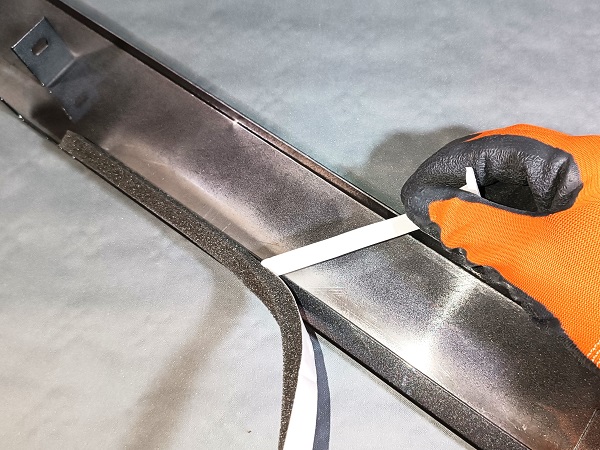
Stick the body sill seal (ALR6368) to the new front sill panel (RTC6206). Apply it by hand.
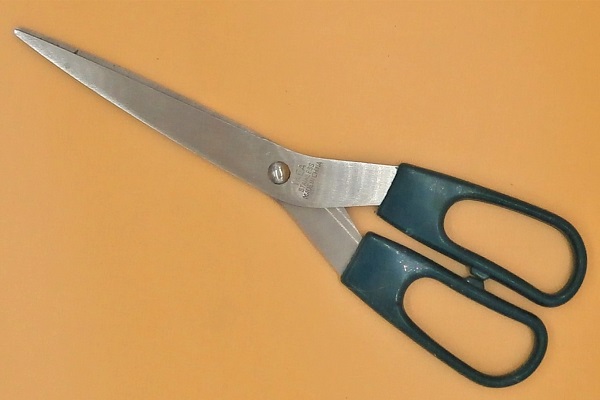
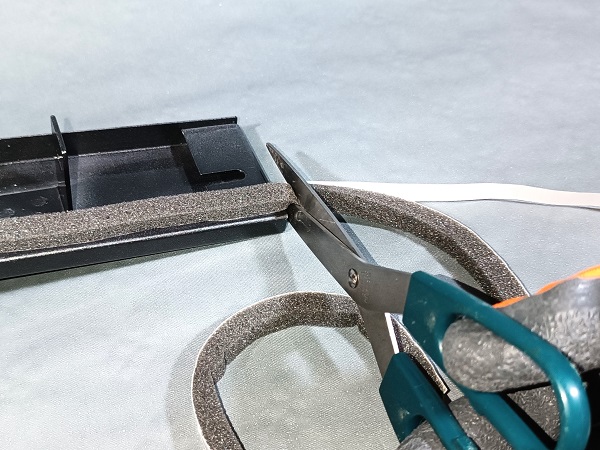
Cut the seal. Use scissors.
This seal is adhesive. No need to provide glue to fix it to the sill panel.
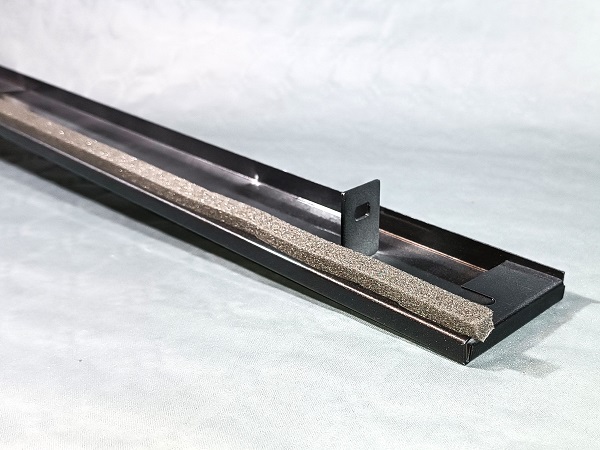
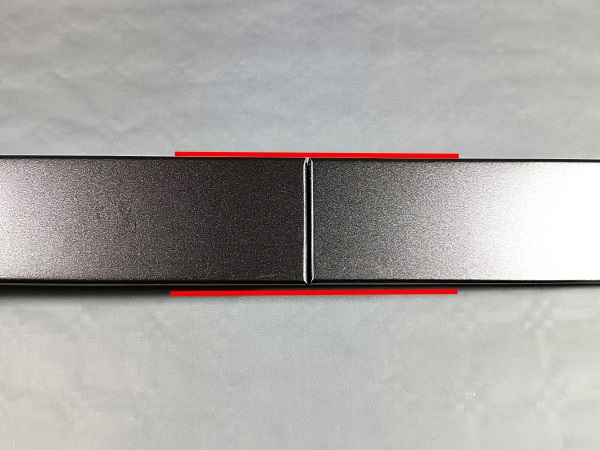
Leave the seal protruding a few millimeters on either side of the sill panel.
On the Defender 90, there is no seal on the rear sill panel. It is unnecessary because there is no rear side door.
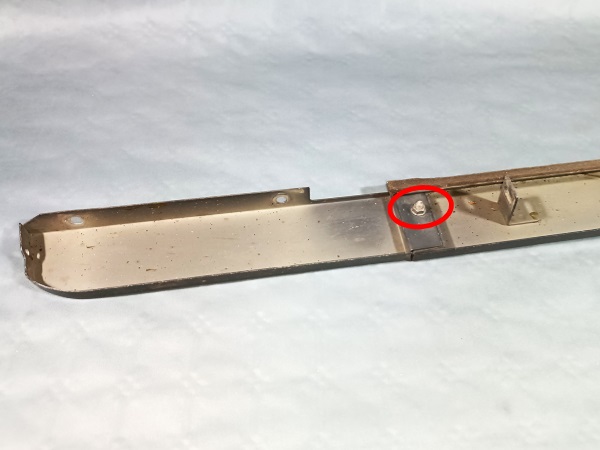
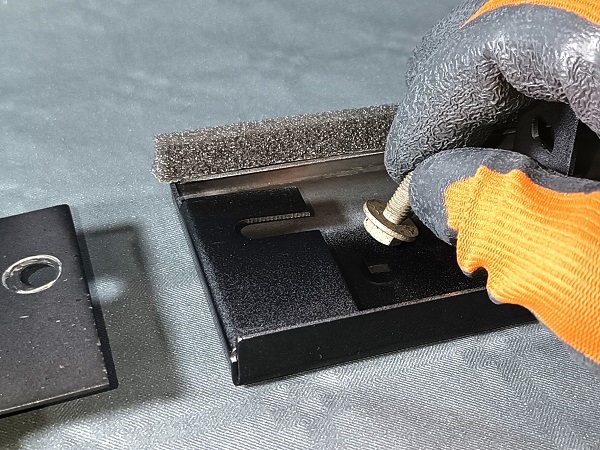
Op 10
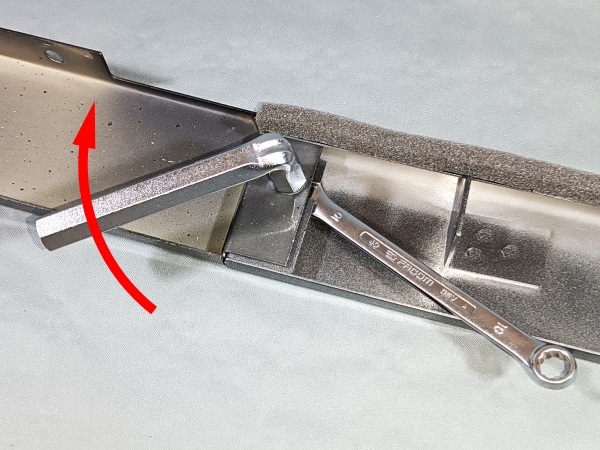
Assemble the rear sill panel (MTC8293) on the front sill panel :
•
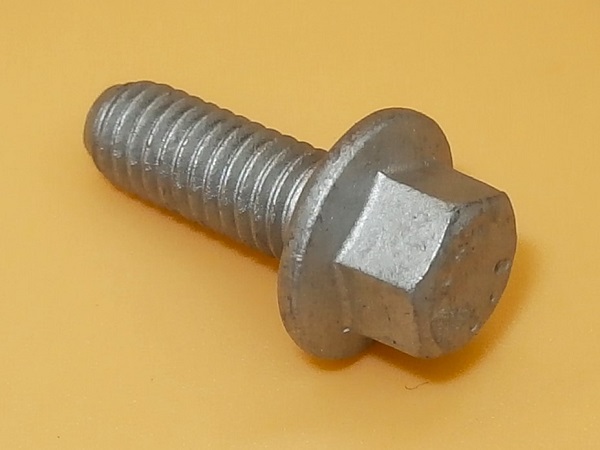
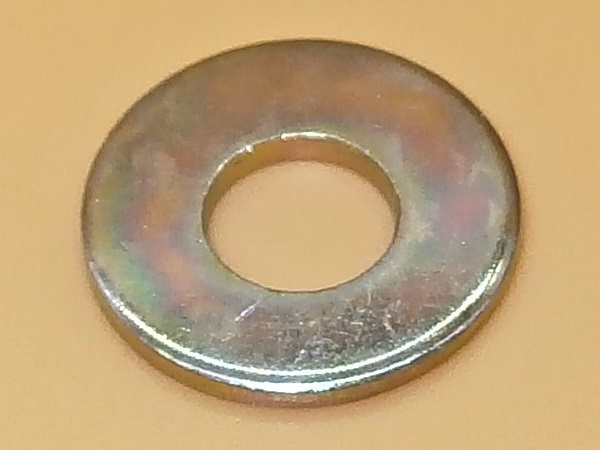
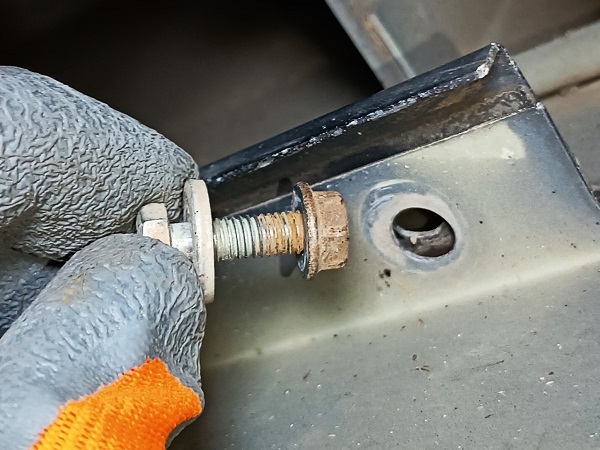
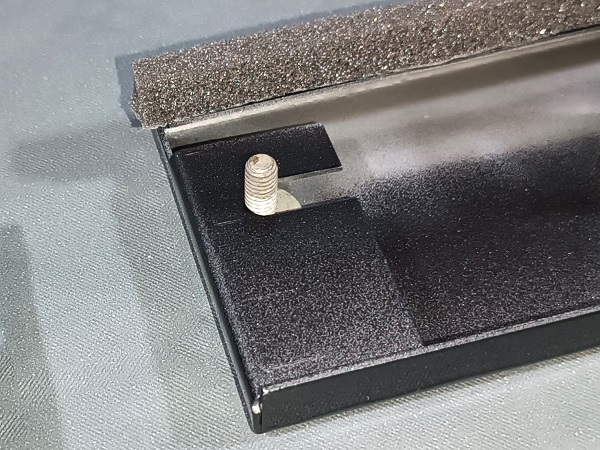
Position the bolt (FS106167L) and its washer (RTC609) on the front sill panel.
•
Position the rear sill panel.
•
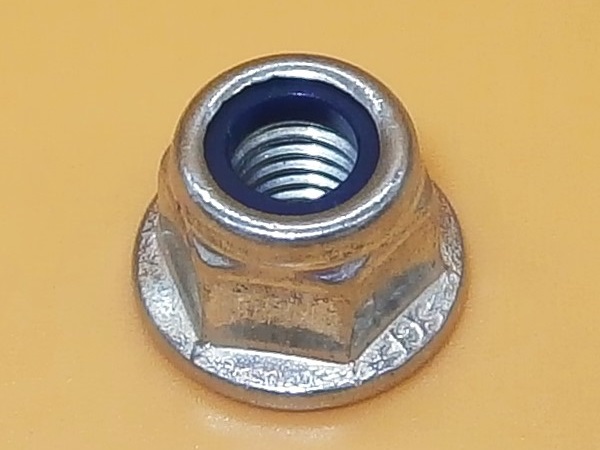
Screw on the nut (FY106046).
Do not tighten the nut for now.
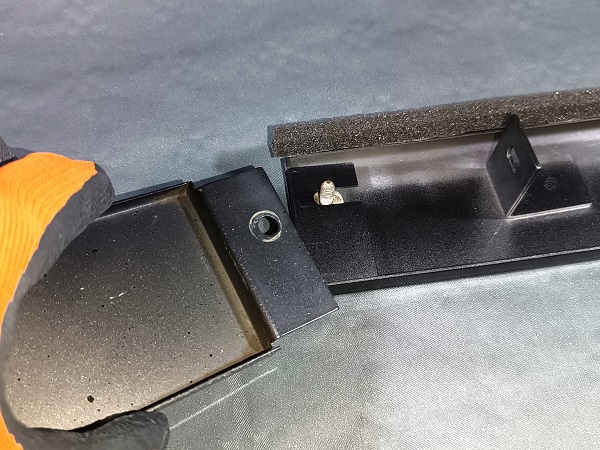

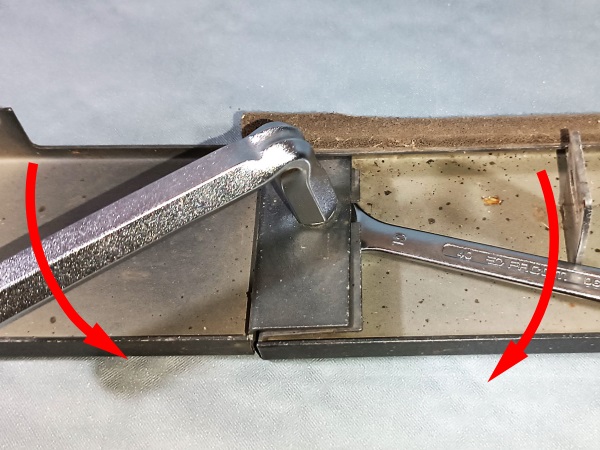
Op 11
Perfectly align the rear sill panel with the front sill panel.
Tighten the nut. Use the 10 mm spanner and socket spanner.
Op 12
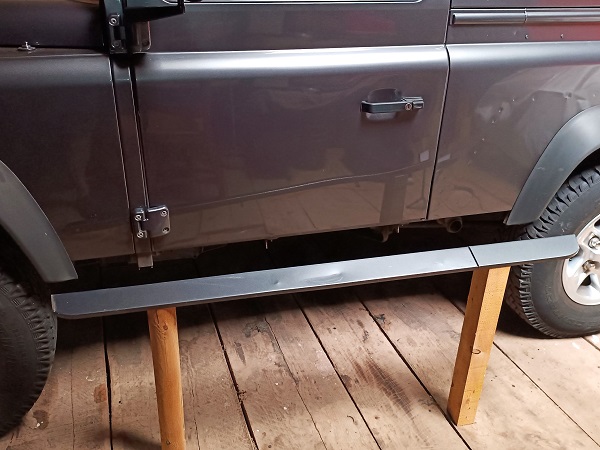
Position the body sill on the Defender.
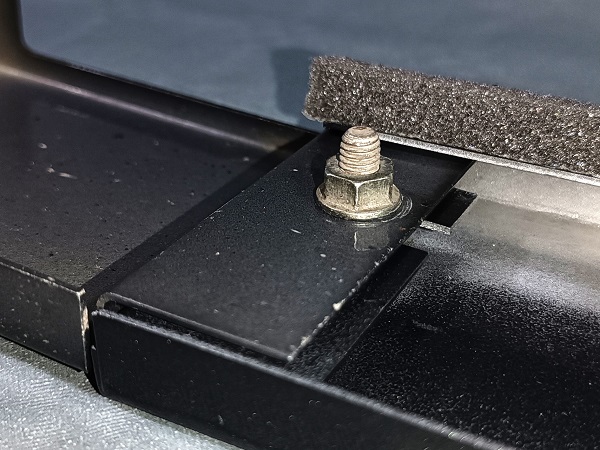
Op 13
Position the 1st front sill panel fixing bolt (FS106167L) on the body with its washer (RTC609) and its nut (FY106046). Screw by hand.
Do not tighten any nuts for now. Wait until you have aligned the body sill with the rest of the bodywork.
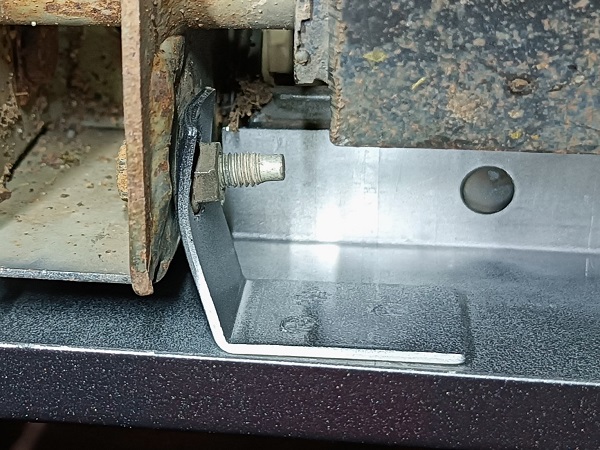
Op 14
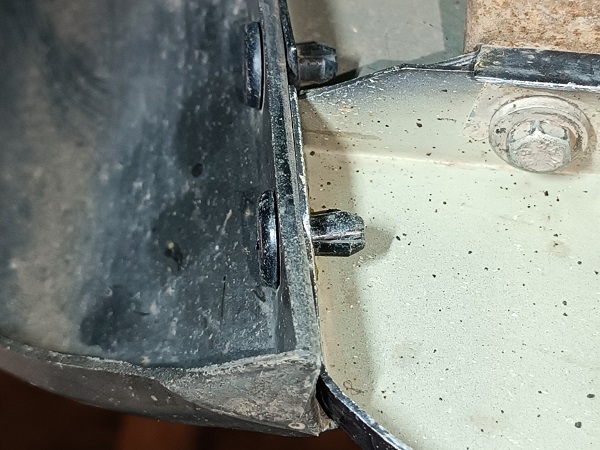
Also position :
•
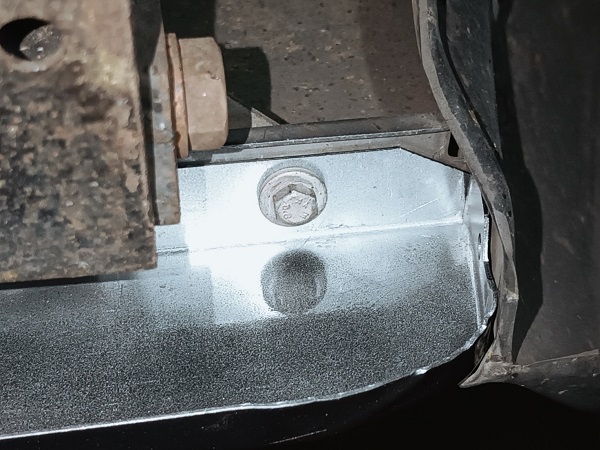
the 2nd front sill panel fixing bolt on the body (1st photo),
•
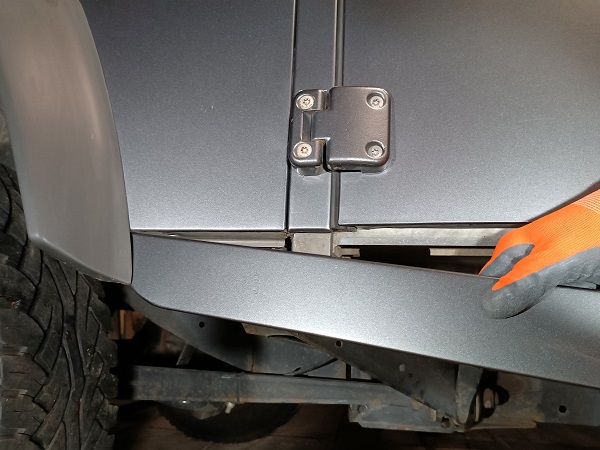
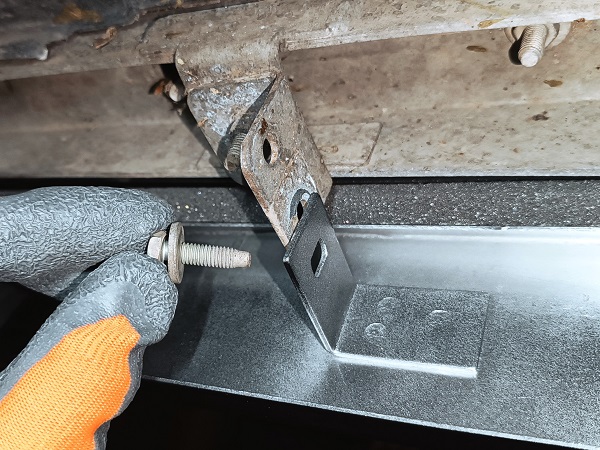
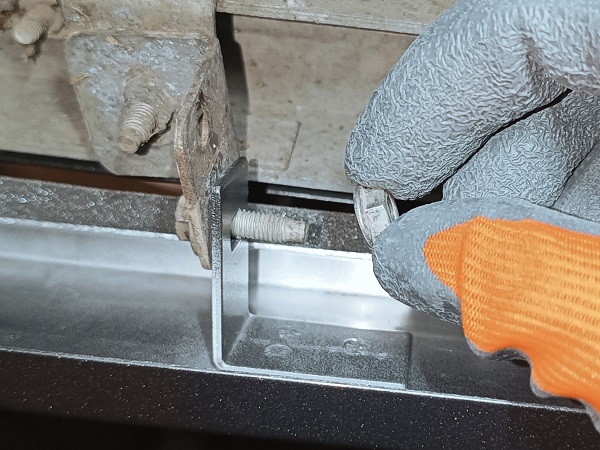
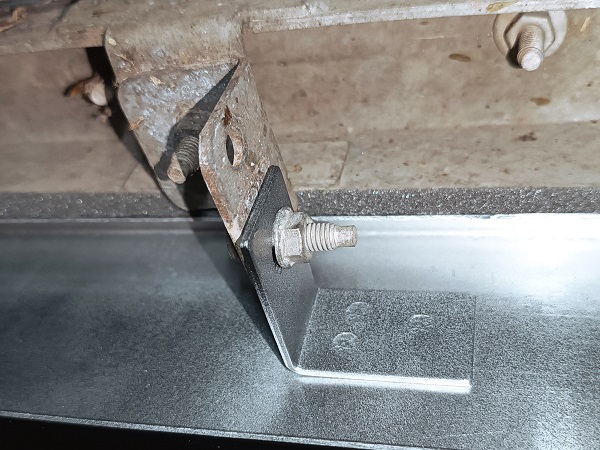
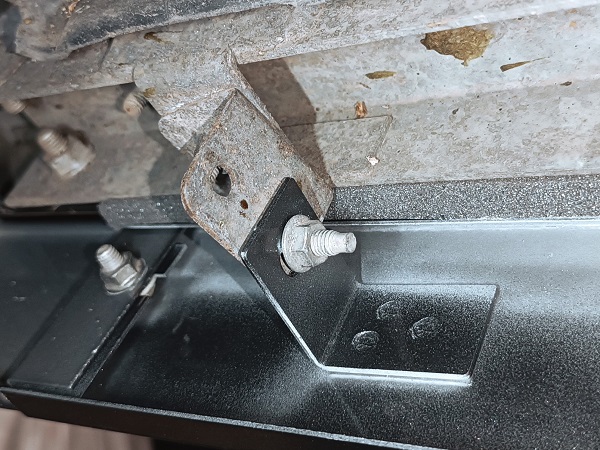
the front sill panel fixing bolt on the bulkhead (2nd photo),
•
the front sill panel fixing bolt on the front wing (3rd photo),
•
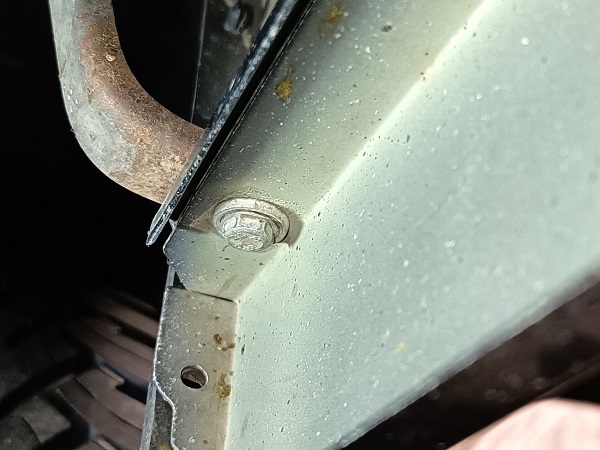
the 2 rear sill panel fixing bolts on the rear wing (4th and 5th photos).
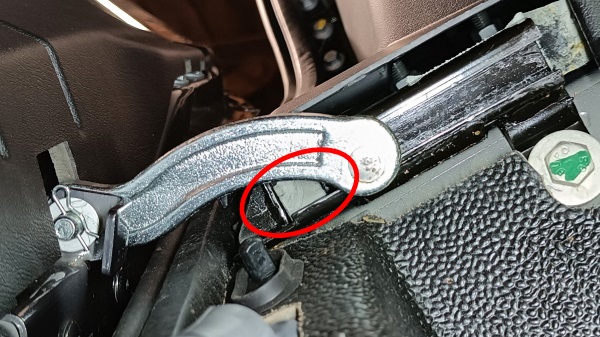
We can see that the front fixing bracket is away from the bulkhead (2nd photo). Deform it slightly so that it rests on the bulkhead. Go slowly. Do not deform the sill panel.


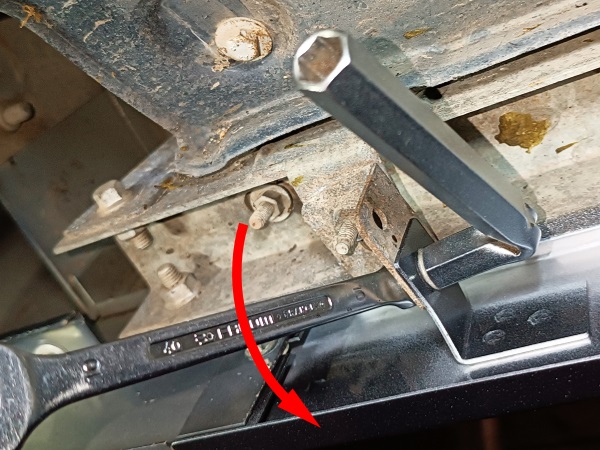
Op 15
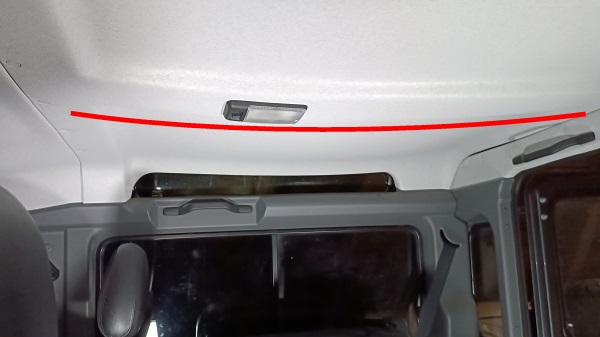
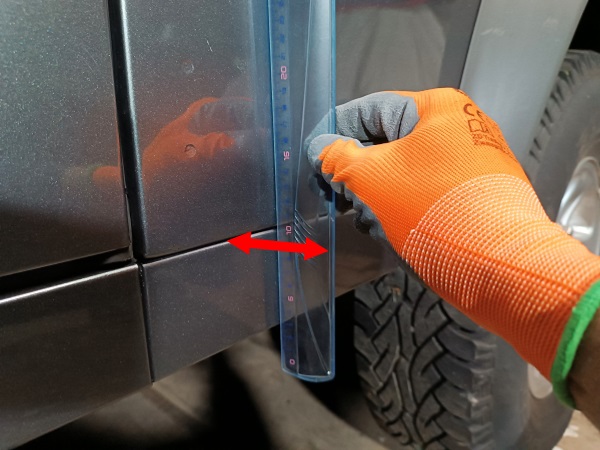
Check the alignment of the body sill with the front wing (1st photo) and the rear wing (2nd photo). Use a plastic ruler.
If necessary, move the body sill laterally. Push or pull by hand.
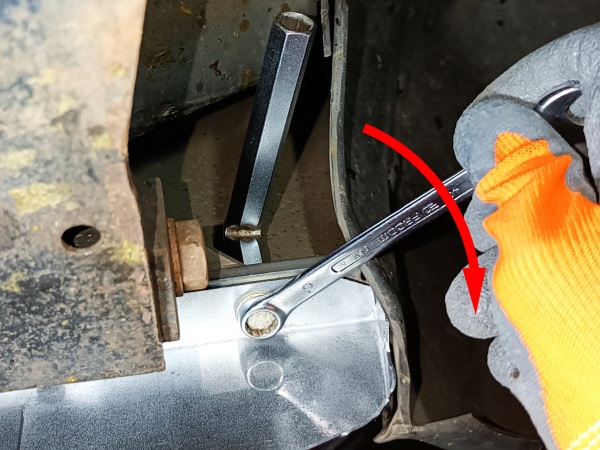
Tighten the 3 body sill fixing bolts on the wings. Use the 10 mm spanner and socket spanner.

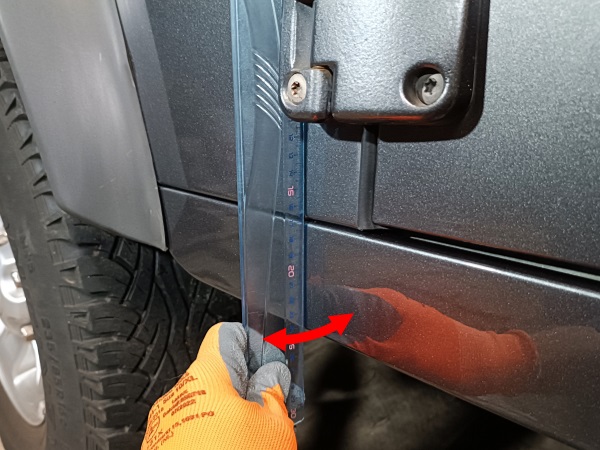
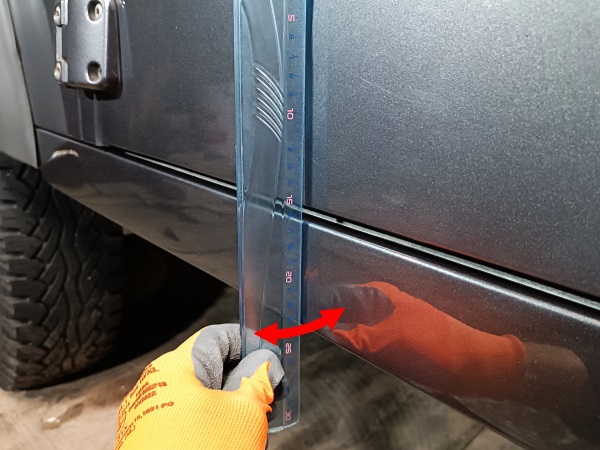
Op 16
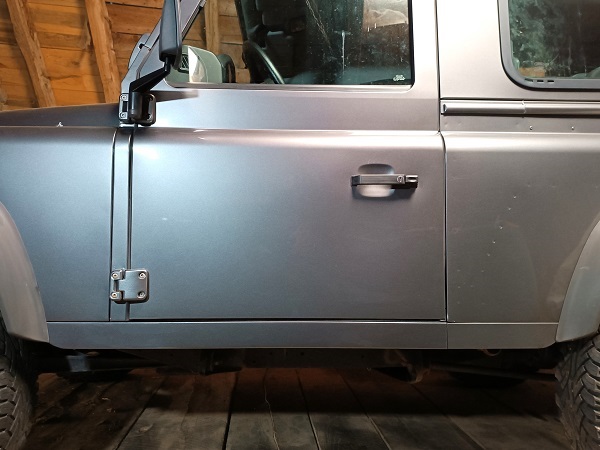
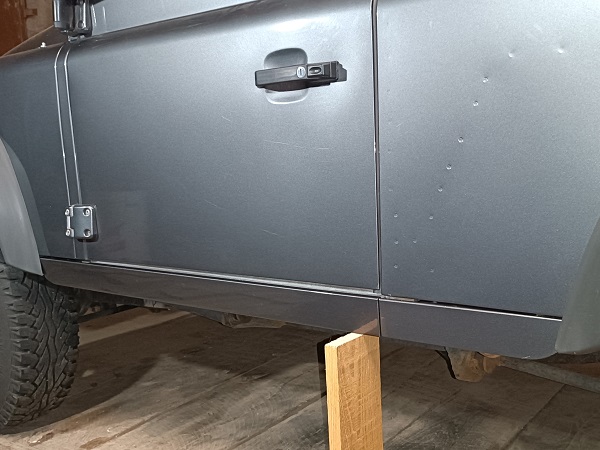
Check that the body sill is in line with the bulkhead (1st photo) and the door (2nd photo). Use a plastic ruler.
If necessary, rotate the body sill. Push or pull by hand.
Tighten the 3 body sill fixing bolts on the bulkhead and the body. Use the 10 mm spanner and socket spanner.
Op 17
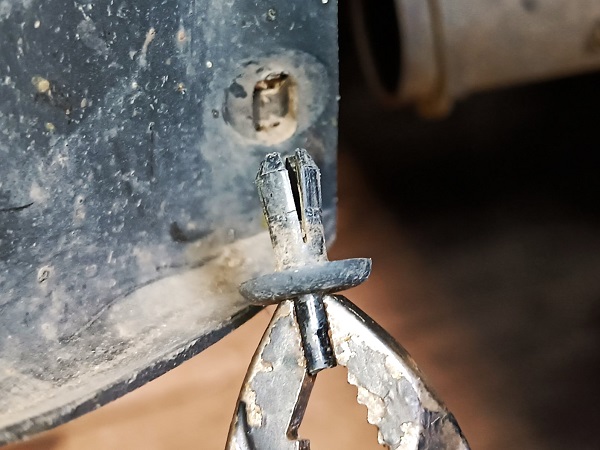
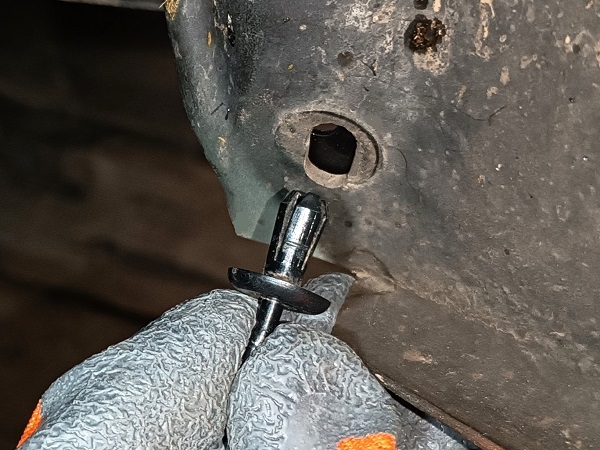
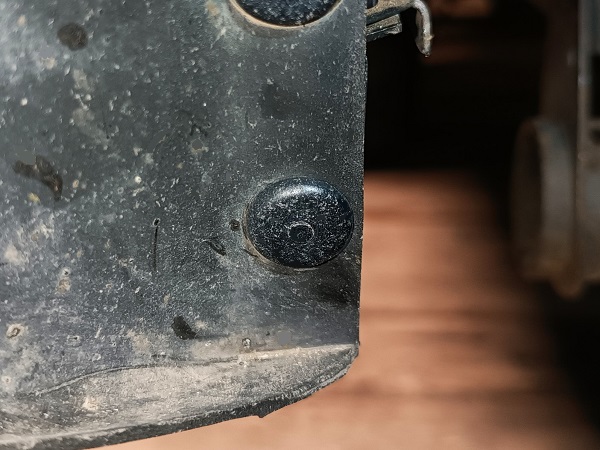
Position the plastic rivet (MWC9918PMA) for fixing the front sill panel to the front wheelarch eyebrow :
•
Engage the rivet (1st photo). Push by hand.
•
Check that the wheelarch eyebrow is pressed firmly against the front sill panel (2nd photo).
•
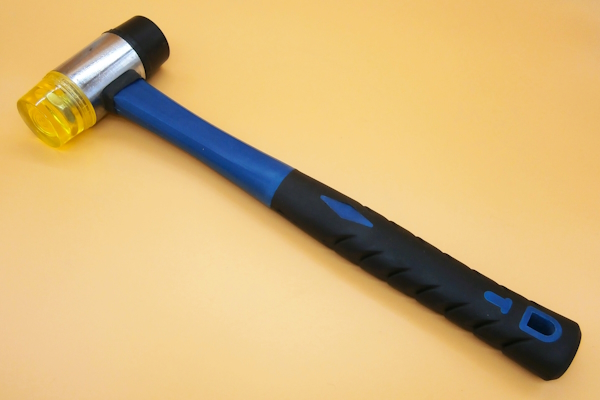
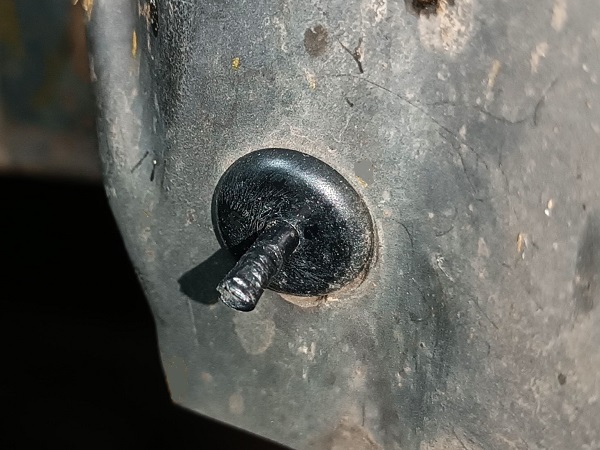
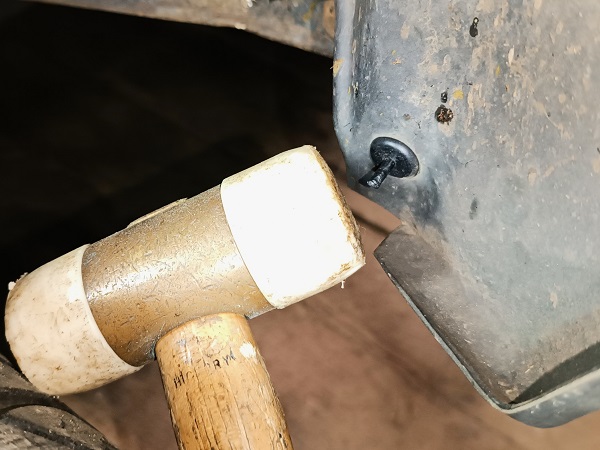
Engage the locking pin (3rd photo). Use the mallet.
Op 18
Position the plastic rivet for rear sill panel fixing on the rear wheelarch eyebrow. Proceed in the same way.
The End
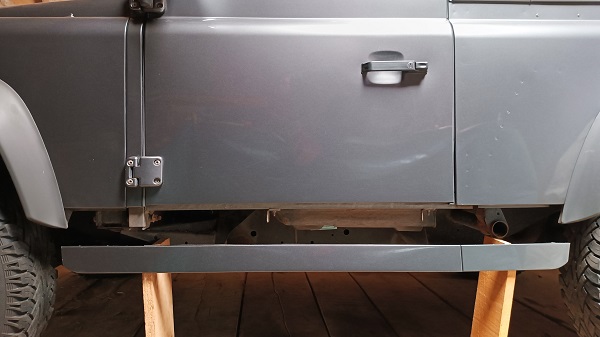
The new body sill is installed. The Defender is like new.
Please feel free to ask a question or to write a comment at the bottom of the page if you wish.