This tutorial is also available in French
➔

Front door rubber buffer change on Defender
Vehicle ➔ Defender 90 Td4 2013
Difficulty ➔ Easy

Time ➔ 1 hour
Summary
Advertisement
Advertisement

Recommendations

When opening, the front door of your Defender is retained by a rubber buffer. This buffer is located in the door stop mechanism. Unfortunately, during a violent door opening (in strong winds for example), the rubber buffer can be crushed by the mechanism. Result : the door opening is greater than normal and the door is no longer perfectly immobilized in the open position. This is not dramatic but for a few euros and a few minutes of work we will correct this.
Required Tools
Sponsored links by


Spare Parts
Our Partner


Advertisement
Remove the door rubber buffer
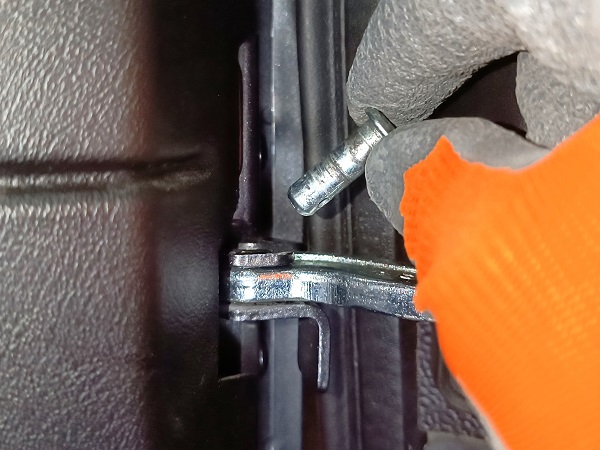
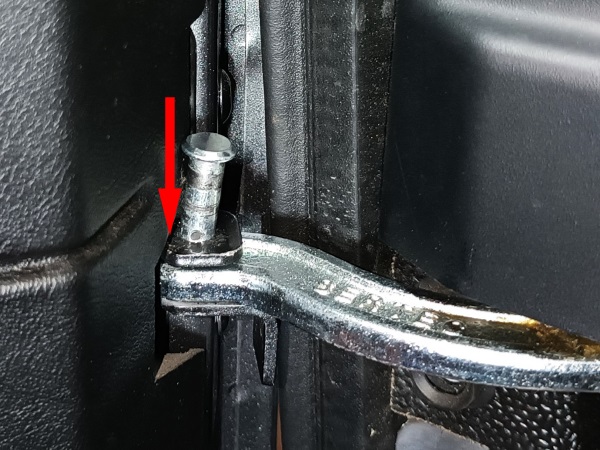
Op 01
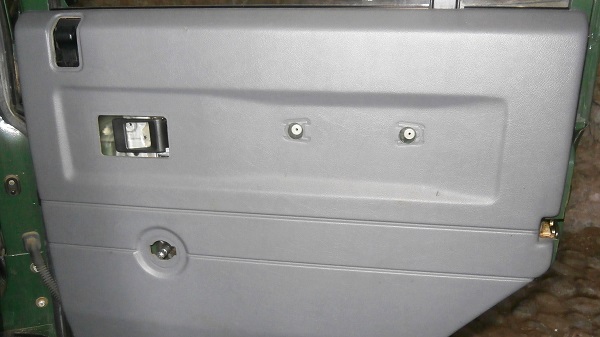
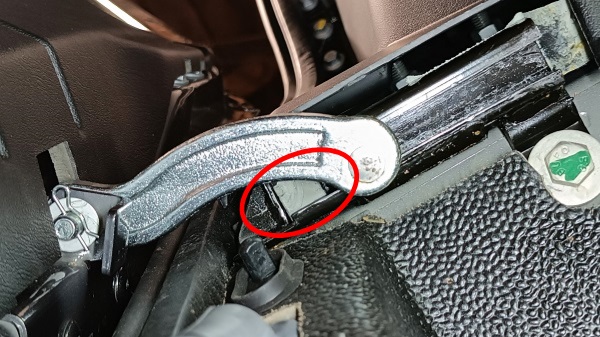
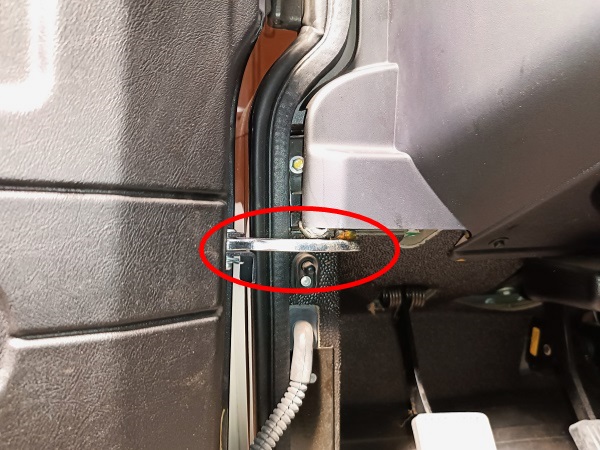
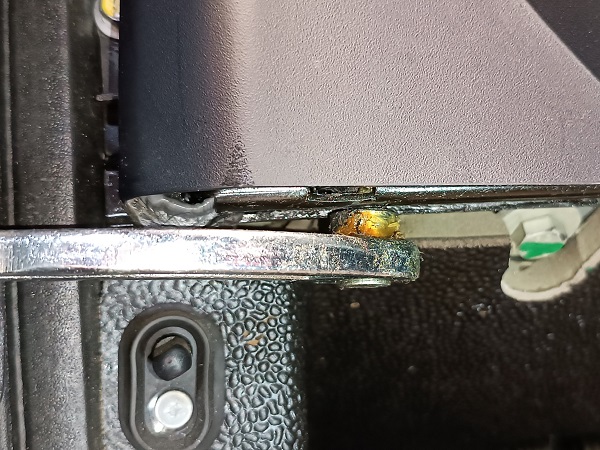
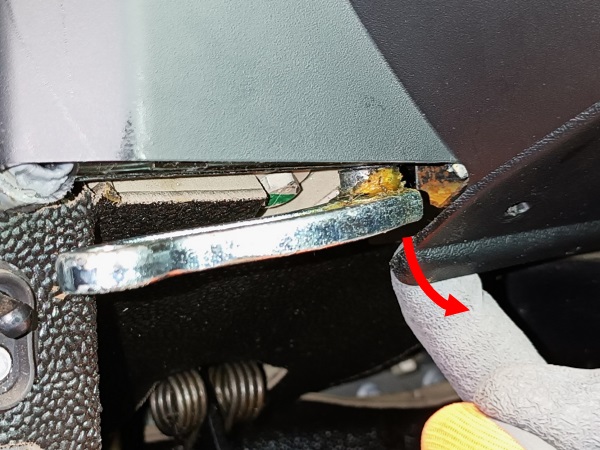
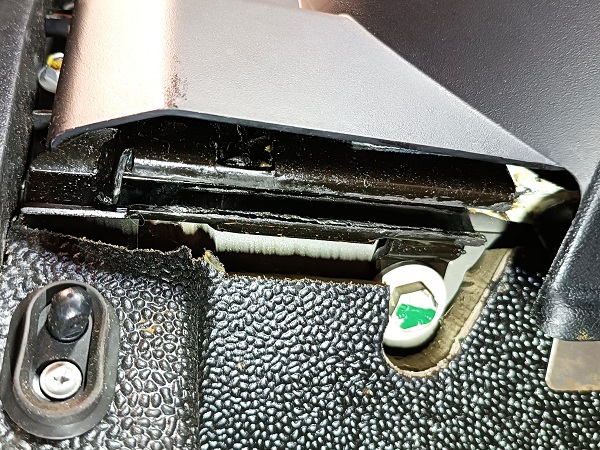
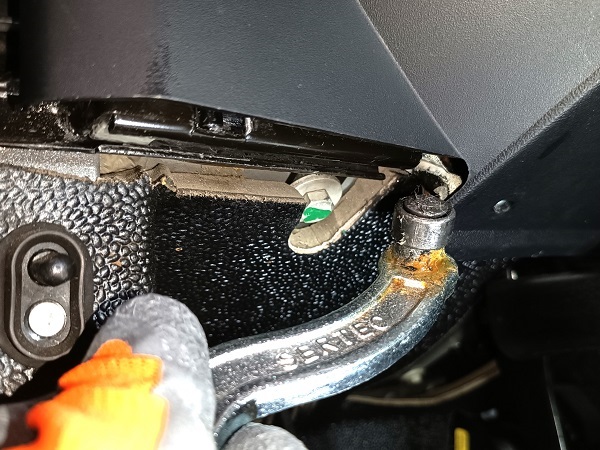
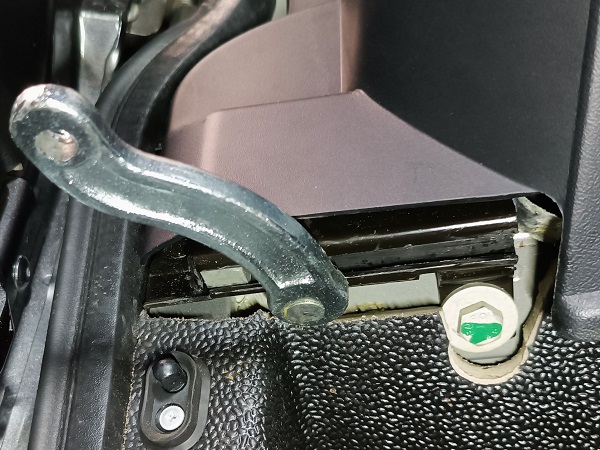
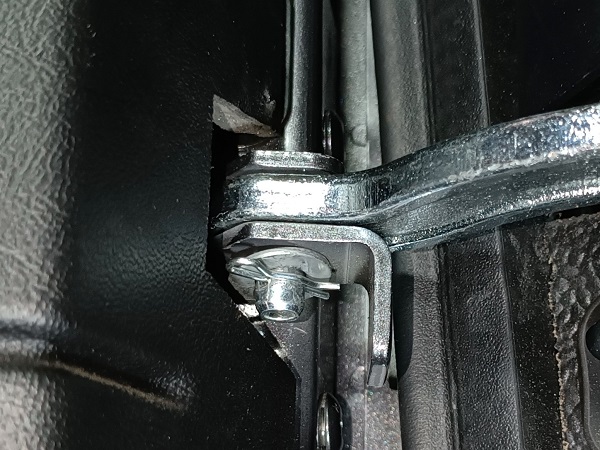
Locate where the door rubber buffer is.

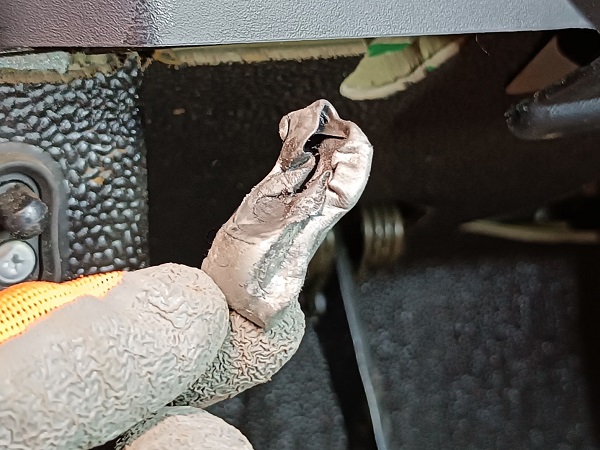
This one has been badly deformed (2nd photo). It is completely out of the door check link slide.
Op 02
Open the door without passing the door retaining torsion bar.
In other words : stop the door from opening as soon as you feel resistance.
If we open the door to its maximum, the door check link will be stuck between the torsion bar and the rubber buffer. It will then be very difficult to remove during Op 06.
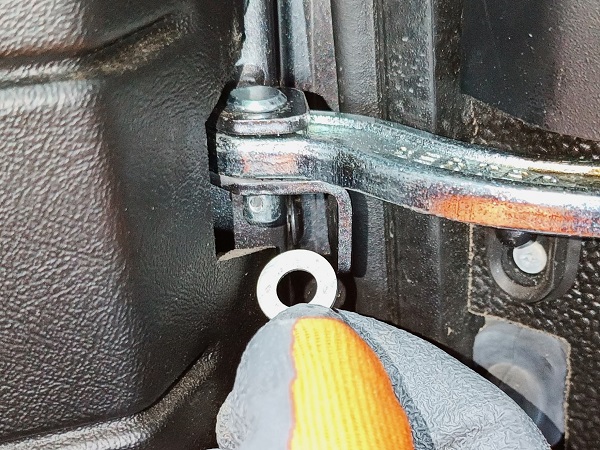
Op 03
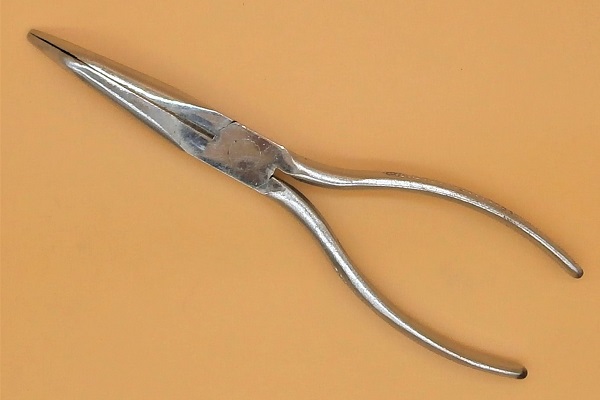
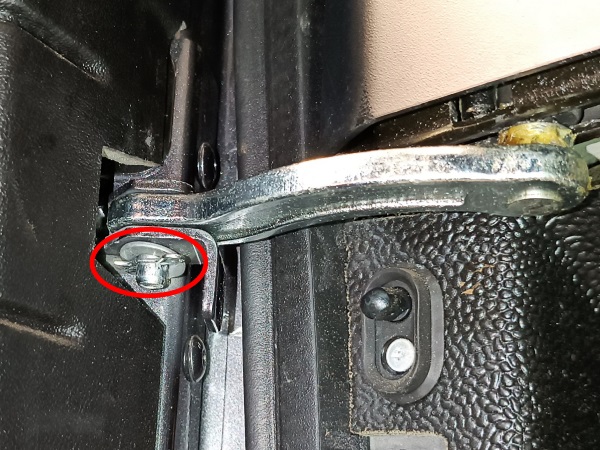
Remove the split pin. Use the needle-nose pliers.
Recover the pin and washer.
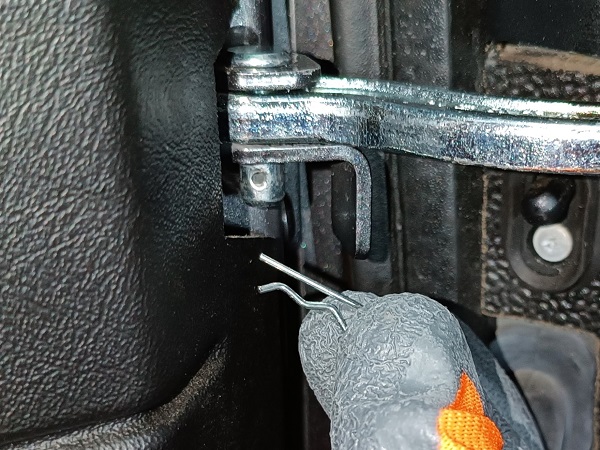
Op 04
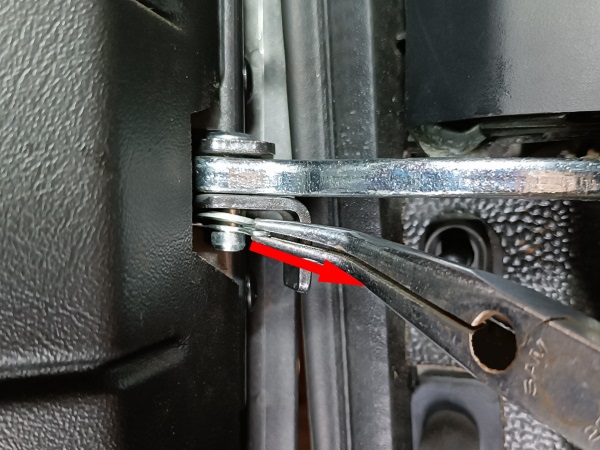
Remove the door check link pin. Use the needle-nose pliers.
You have to push the door trim slightly to free the passage of the pin. It rubs a little but it goes through.

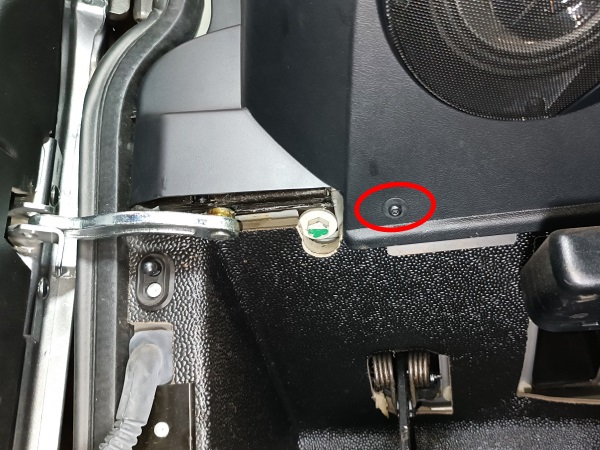
Op 05
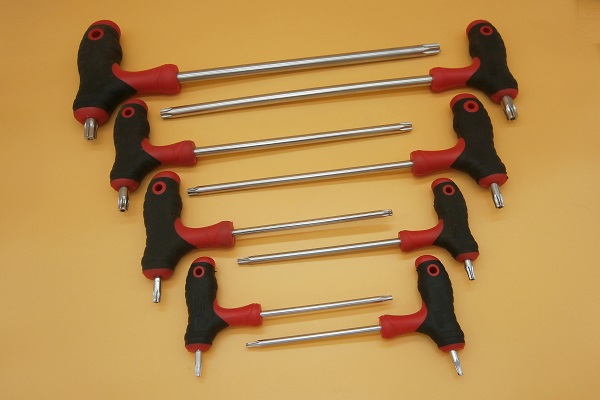
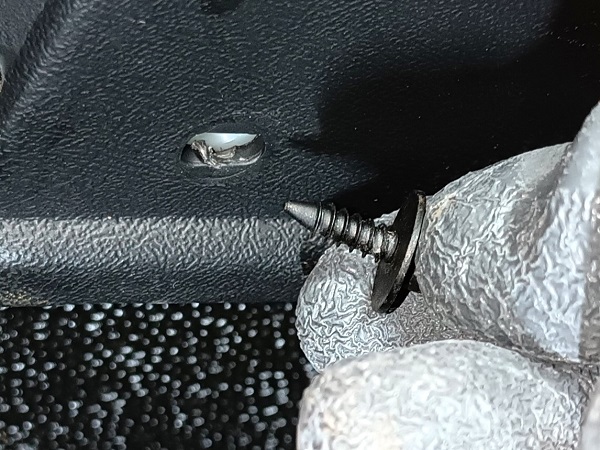
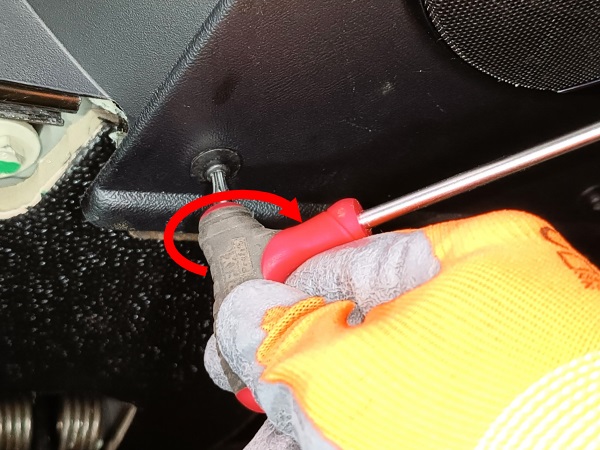
Remove the dashboard fixing screw closest to the door check link slide. Use the T20 torx key.
We must remove this screw because in the next operation, we will pull slightly on the bottom of the dashboard to extract the door check link.


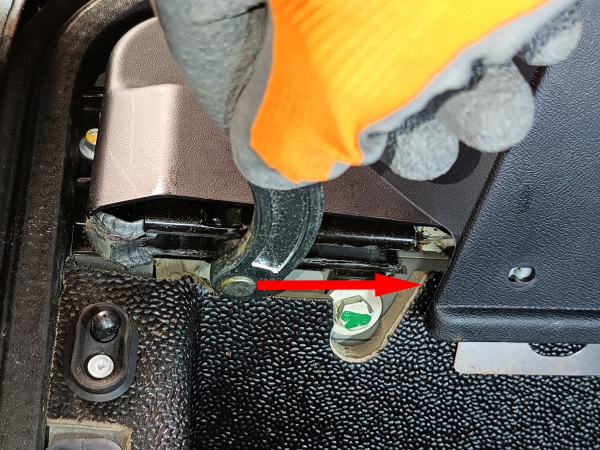
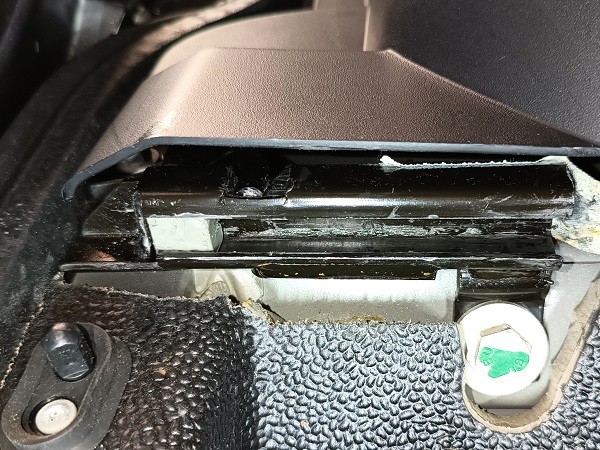
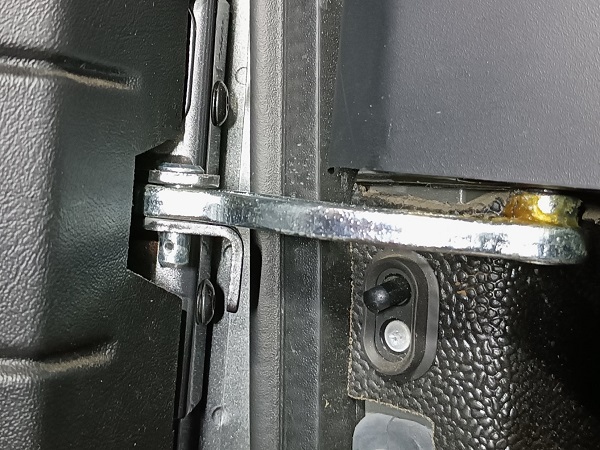
Op 06
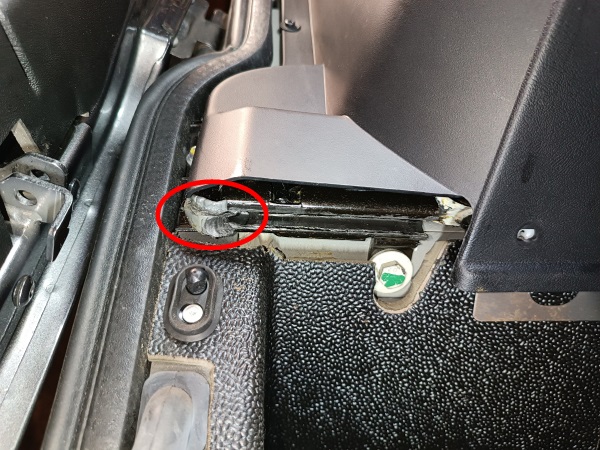
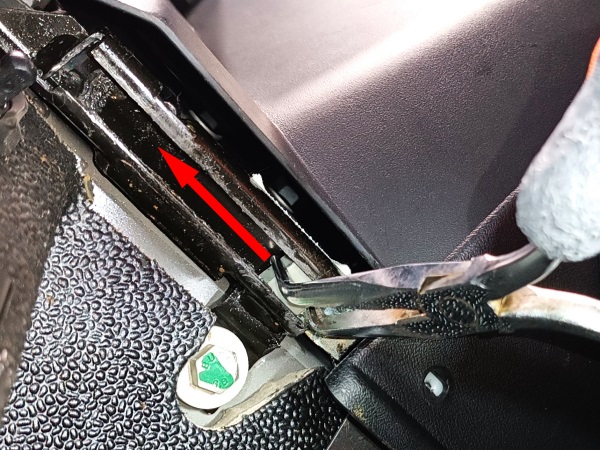
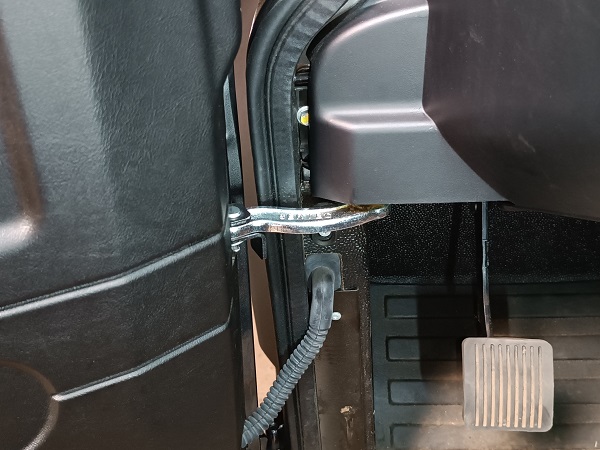
Remove the door check link. Slide it by hand.
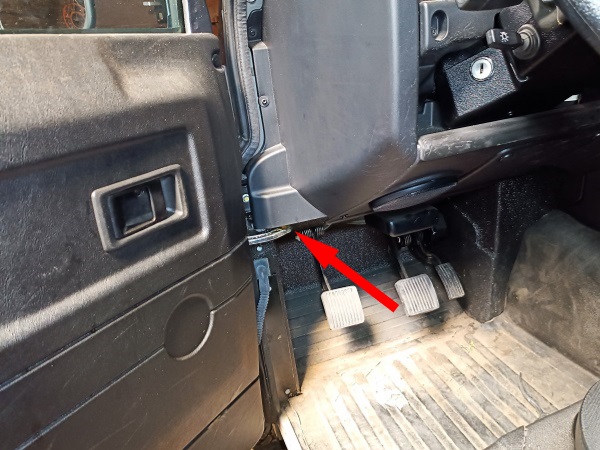
Pull slightly on the bottom of the dashboard to free the way of the link (3rd photo).
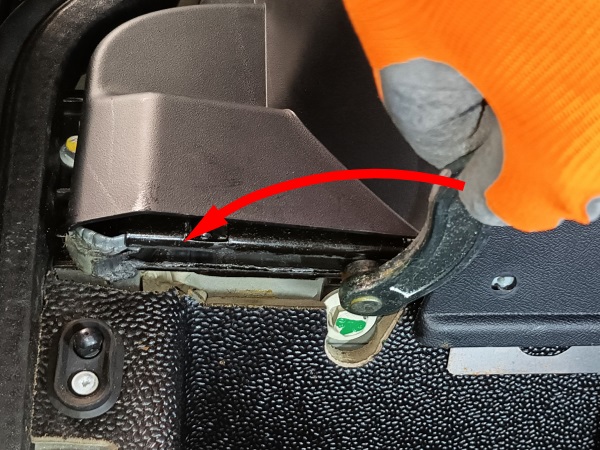
Op 07
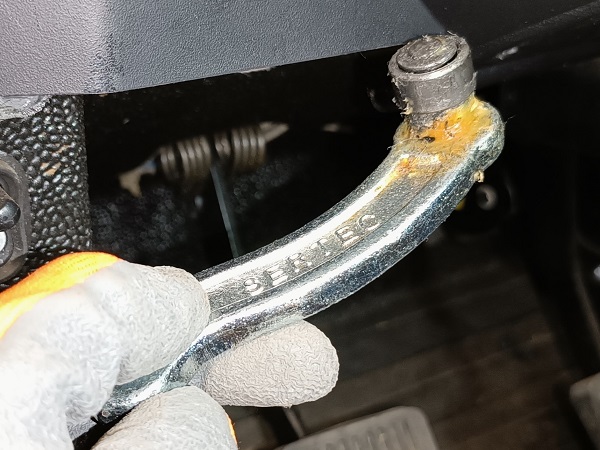
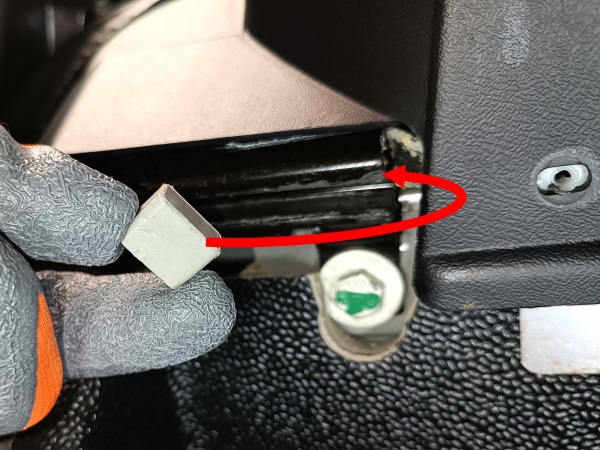
Remove the door rubber buffer. Slide it by hand.
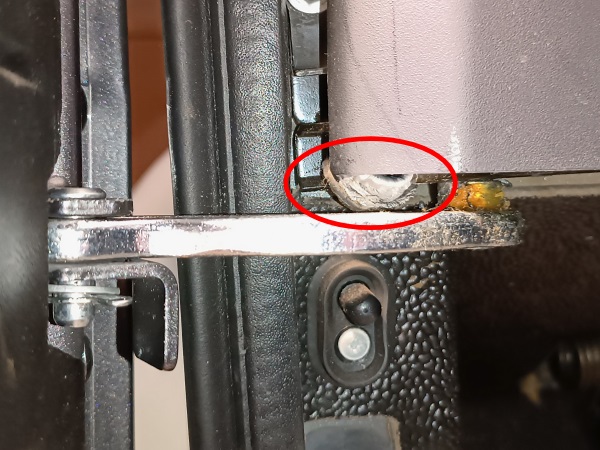
We can see that this buffer was really worn (2nd photo).
Advertisement
Fit the door rubber buffer
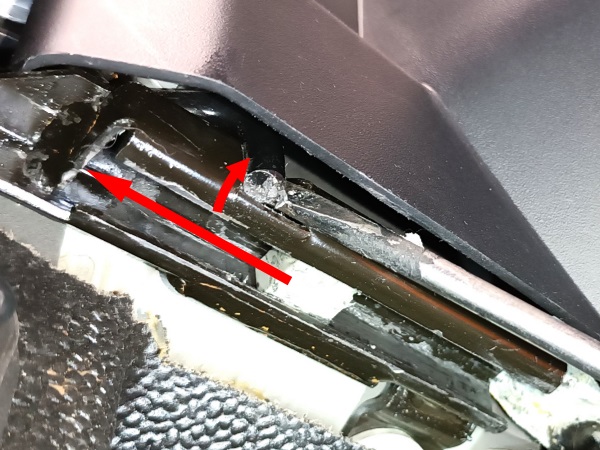
Op 08
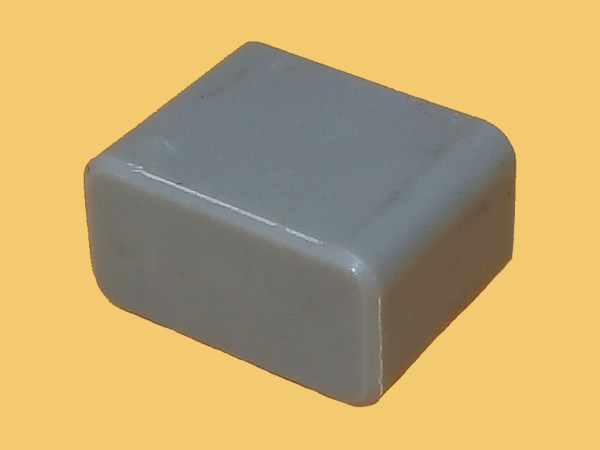
Position the new door rubber buffer (MWC5759) in the door check link slide.
Slide it to the door retaining torsion bar. Slide it by hand.
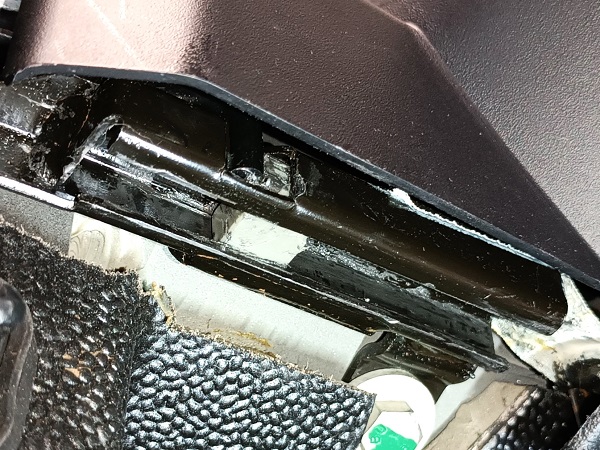
The rubber buffer is blocked in its travel by the torsion bar (3rd photo).
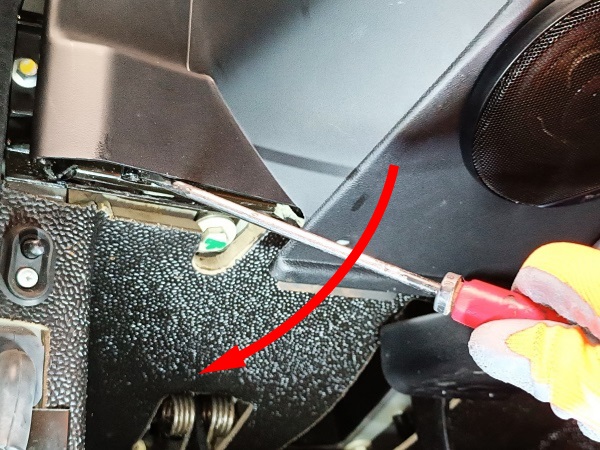
Op 09
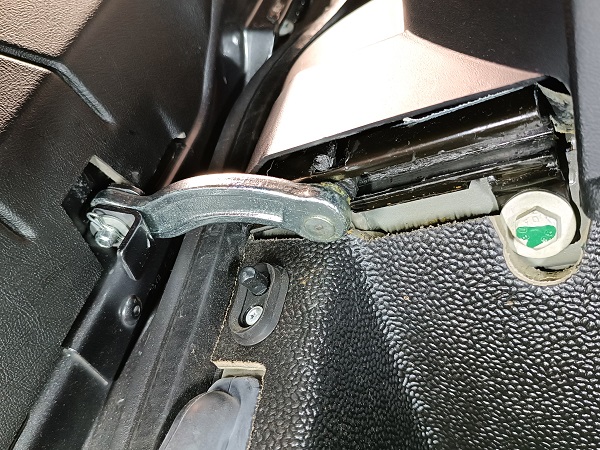
Spread the torsion bar (1st and 2nd photos). Use the flathead screwdriver.
Slide the buffer to its final position (3rd photo). Slide it by hand.
The torsion bar is very resistant. Don't hesitate to force on the screwdriver.
Op 10
Position the door check link. Slide it by hand.

Op 11
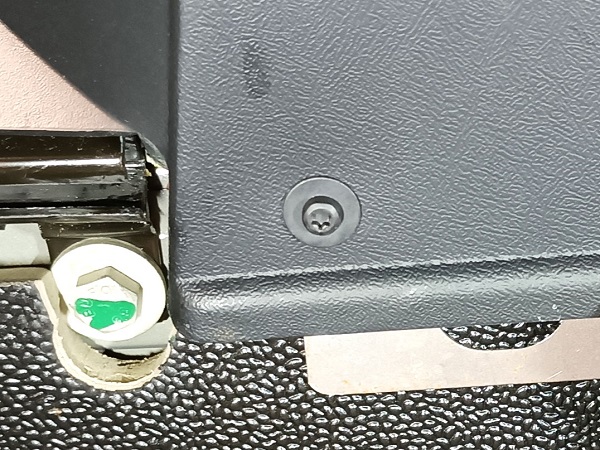
Screw in the dashboard fixing screw (FYP500570). Use the T20 torx key.
Op 12
Position the door check link pin. Push by hand.
Op 13
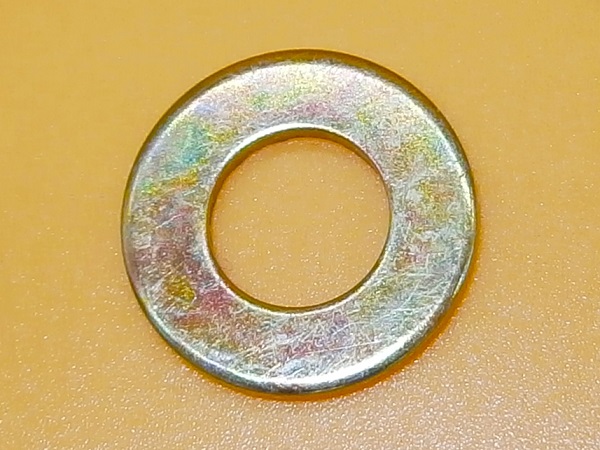
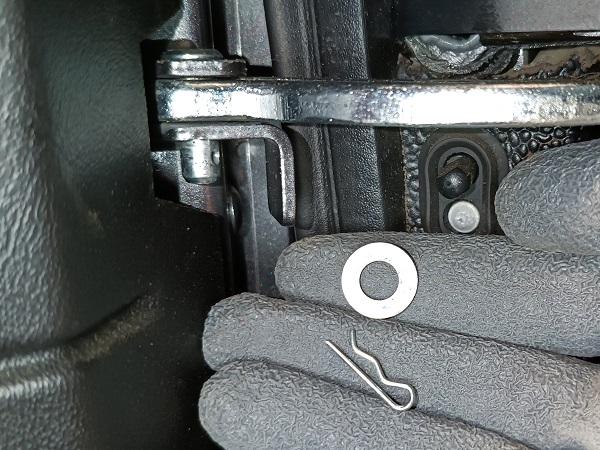
Position the washer (WA108051L) and the split pin (BYC500060).
Op 14
Open the door and check the correct operation of the door rubber buffer.
When the door is open, the door check link must be immobilized between the torsion bar and the stop. The door should not be able to move.
The End