This tutorial is also available in French
➔

Door striker adjustment on Defender
Vehicle ➔ Defender 90 Td4 2013
Difficulty ➔ Easy

Time ➔ 30 minutes
Summary
Advertisement
Advertisement

Recommendations

The door strikers are not easy to set on the Defender :
• Either the door is too tight against the seal and it has to be slammed shut for it to lock properly.
• Either the door is not sufficiently pressed against the seal and there are unpleasant air inlets in the vehicle.
• Either the door is too tight against the seal and it has to be slammed shut for it to lock properly.
• Either the door is not sufficiently pressed against the seal and there are unpleasant air inlets in the vehicle.

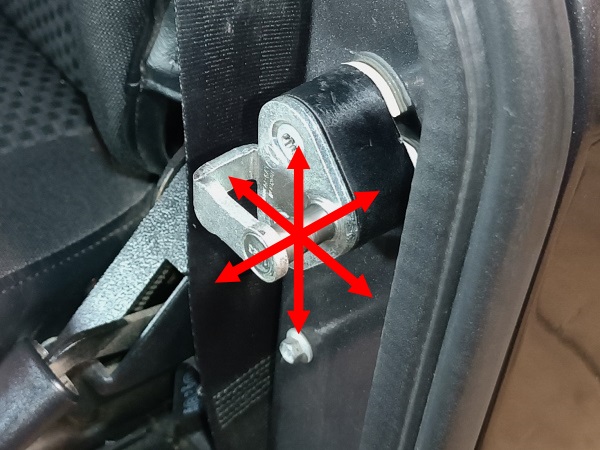
The door striker is adjustable in all 3 axes :
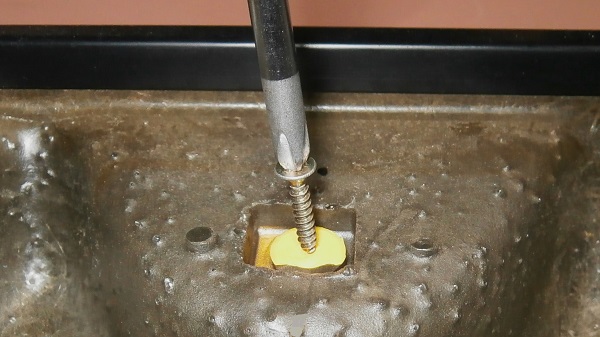
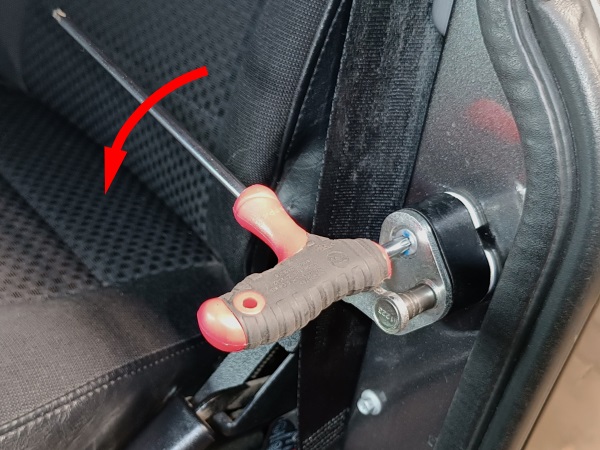
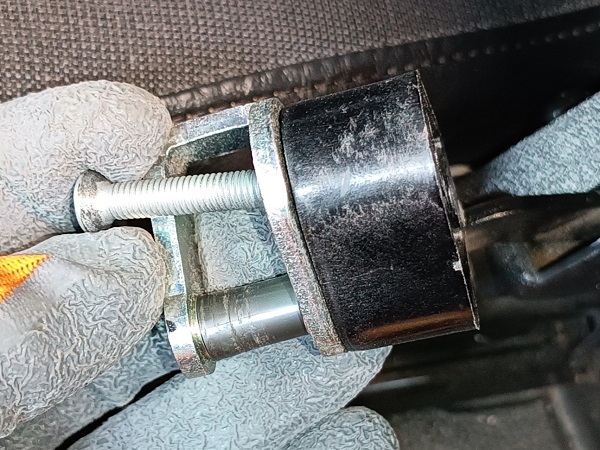
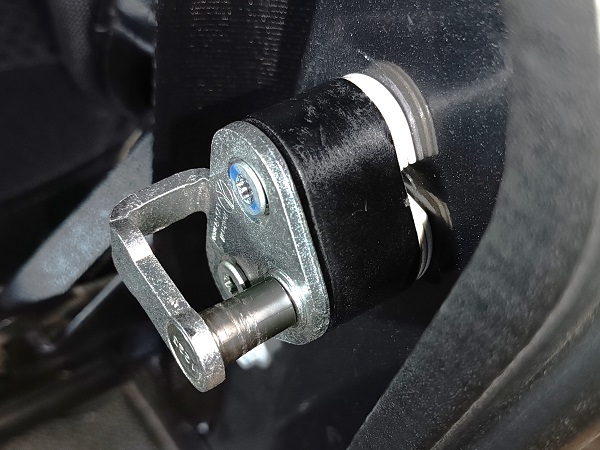
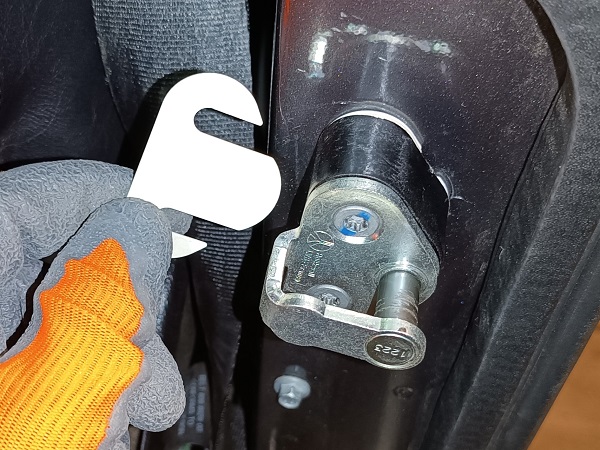
• In the longitudinal axis by adding and removing the striker spacers (2nd photo).
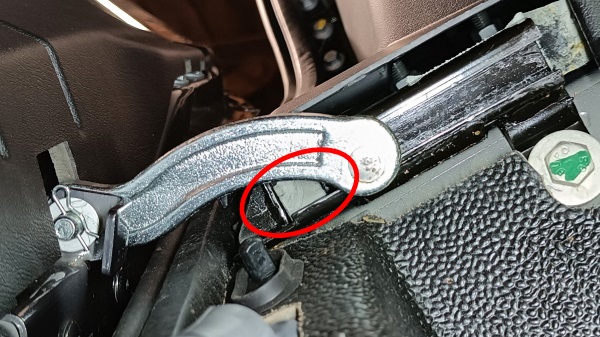
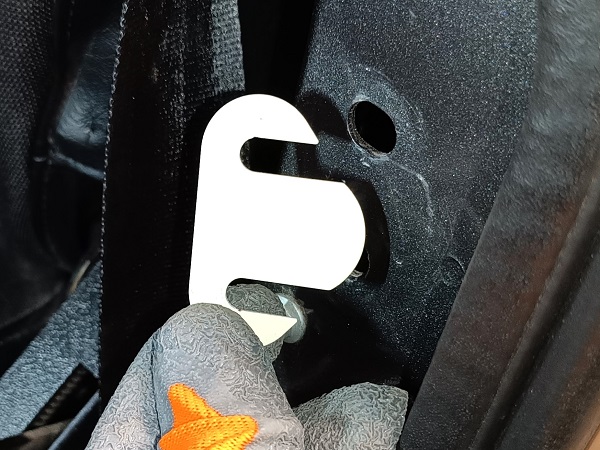
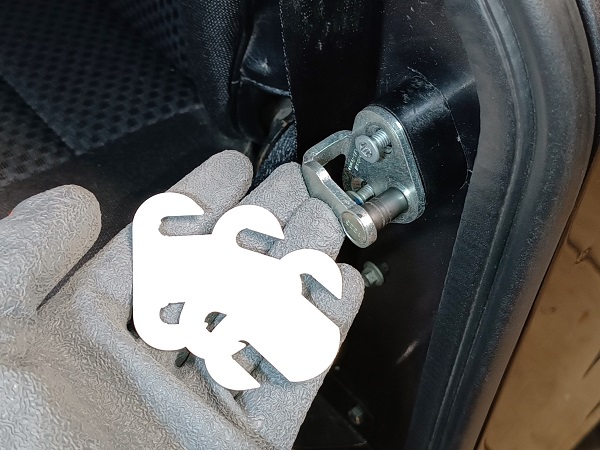
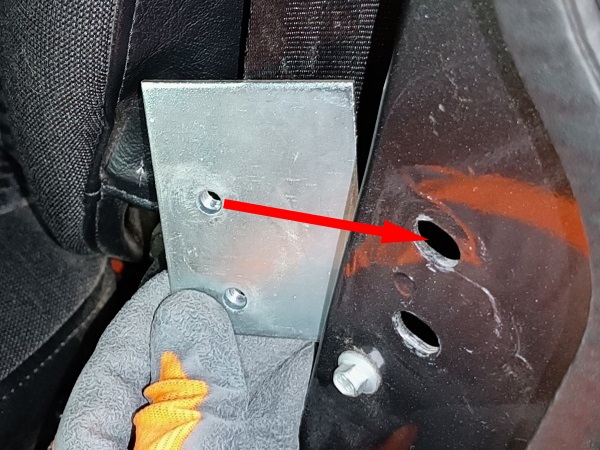
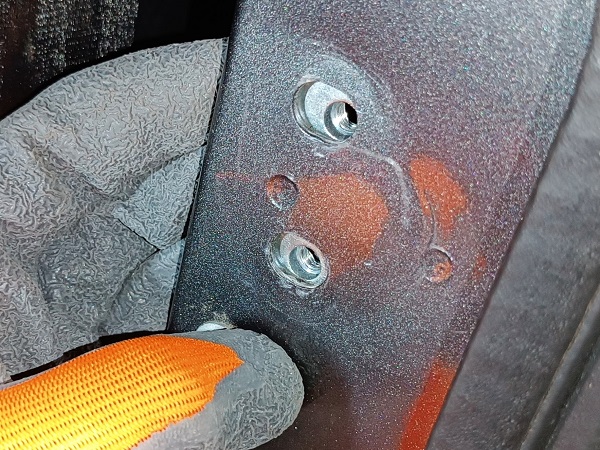
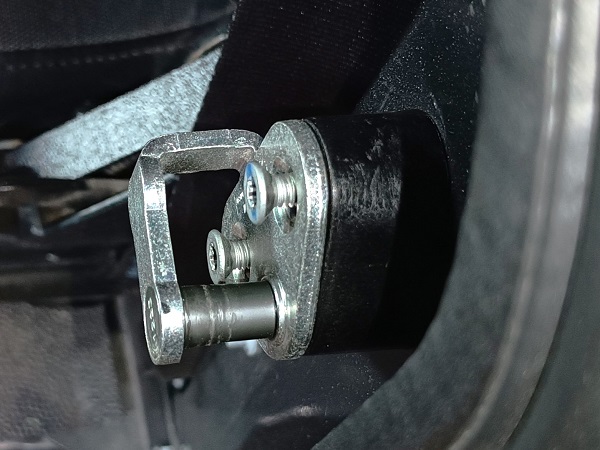
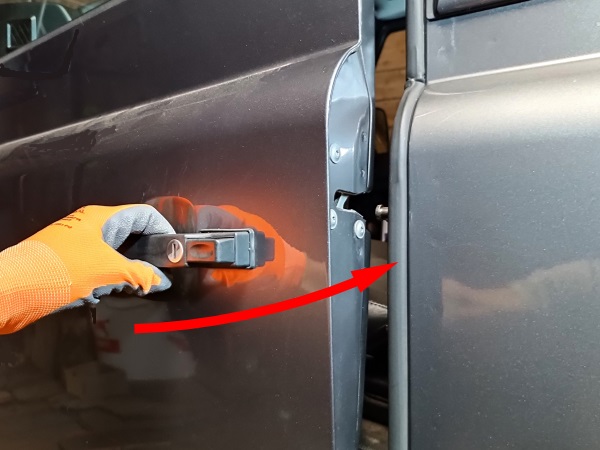
• In the transverse and vertical axes thanks to the 2 striker fixing punchings whose diameter is significantly greater than the diameter of the fixing bolts (3rd photo). This allows to adjust the position of the striker.
• In the longitudinal axis by adding and removing the striker spacers (2nd photo).
• In the transverse and vertical axes thanks to the 2 striker fixing punchings whose diameter is significantly greater than the diameter of the fixing bolts (3rd photo). This allows to adjust the position of the striker.
If a door on your Defender doesn't lock properly, first of all, start by checking the following points :
• Do the hinges have play ? If so, start by fitting new hinges.
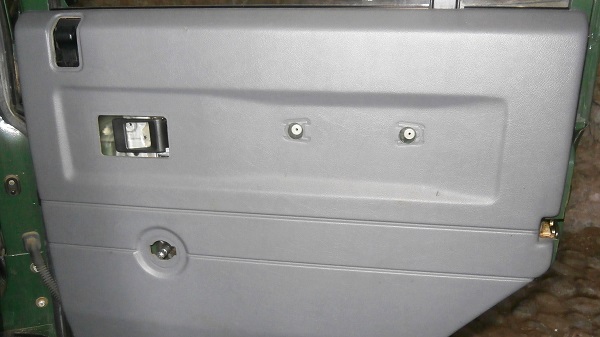
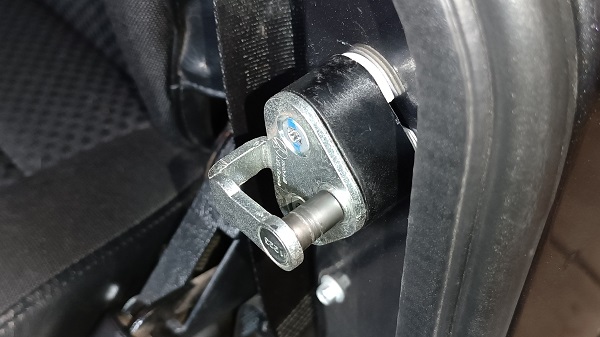
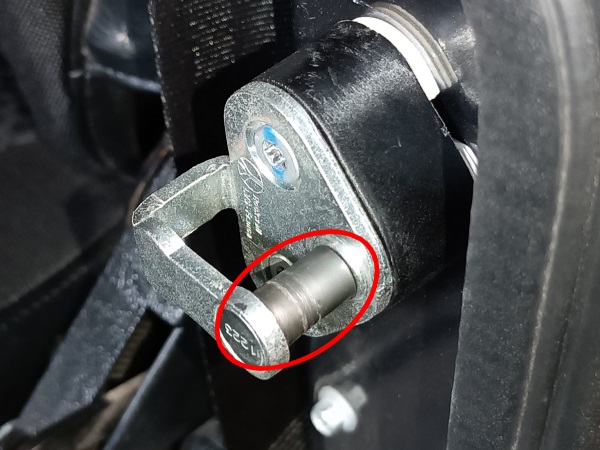
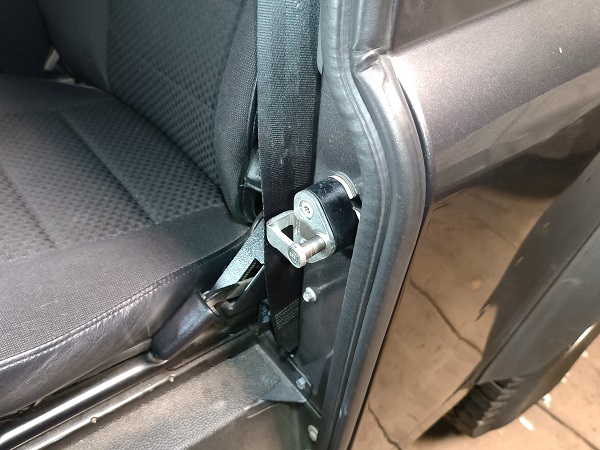
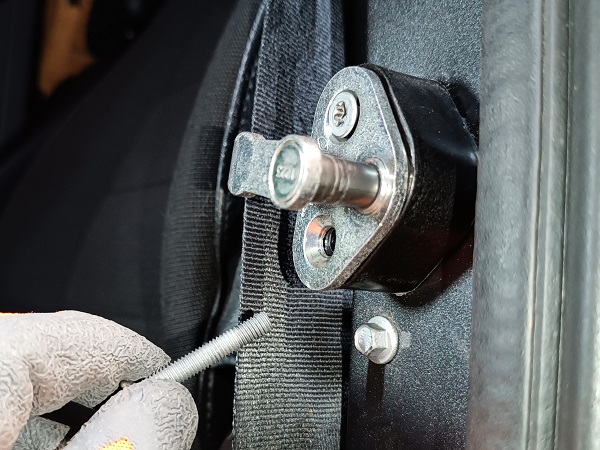
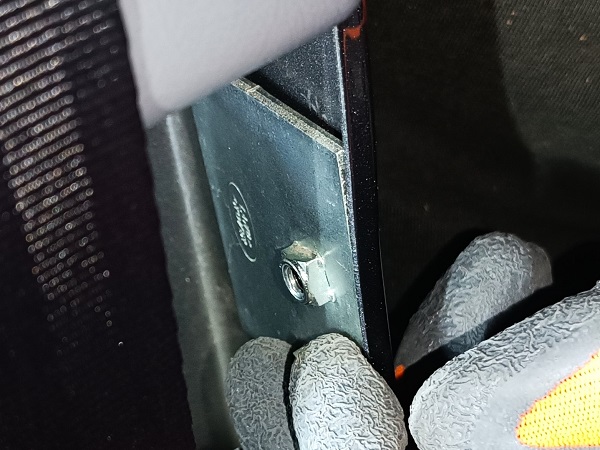
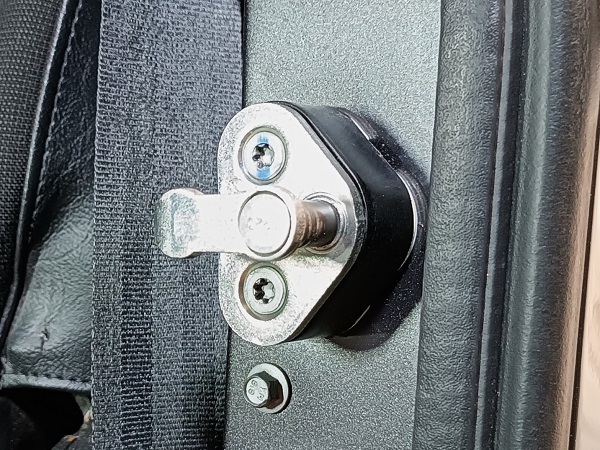
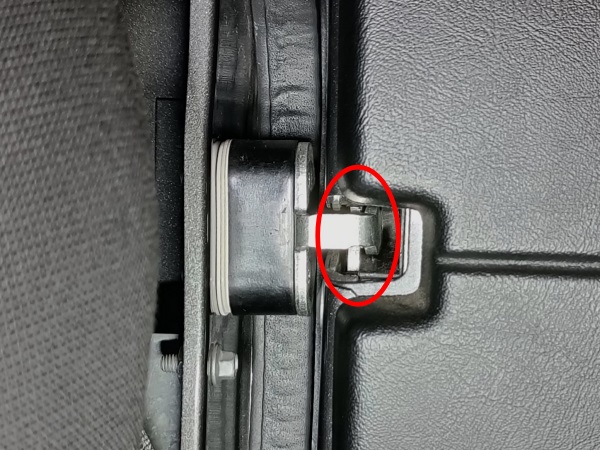
• Is the plastic ring on the striker (1st photo) in good condition? If not, start by fitting a new striker.
• Do the hinges have play ? If so, start by fitting new hinges.
• Is the plastic ring on the striker (1st photo) in good condition? If not, start by fitting a new striker.
Required Tools
Sponsored links by

Spare Parts
Our Partner

Advertisement
Remove the front door striker
Op 01
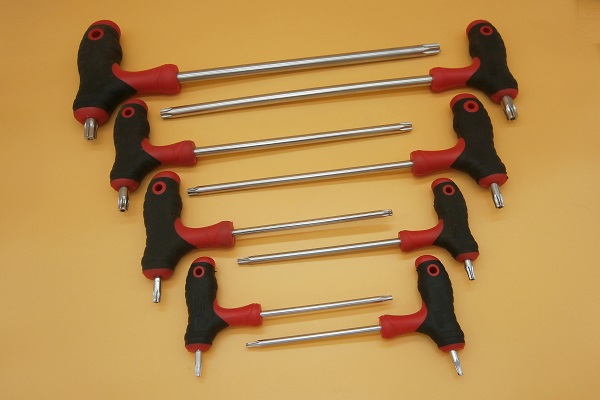
Loosen the 2 door striker fixing bolts. Use the T30 torx key.
Do not remove the bolts so far.

Op 02
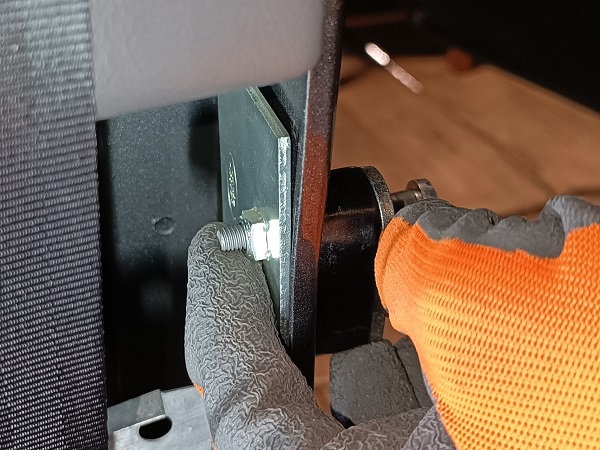
Remove the 3 striker spacers.
Op 03
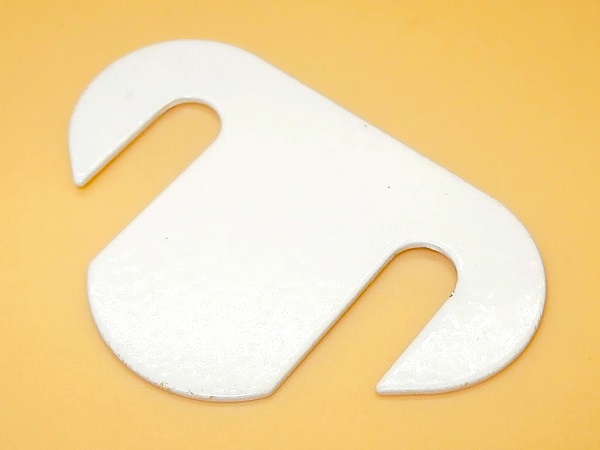
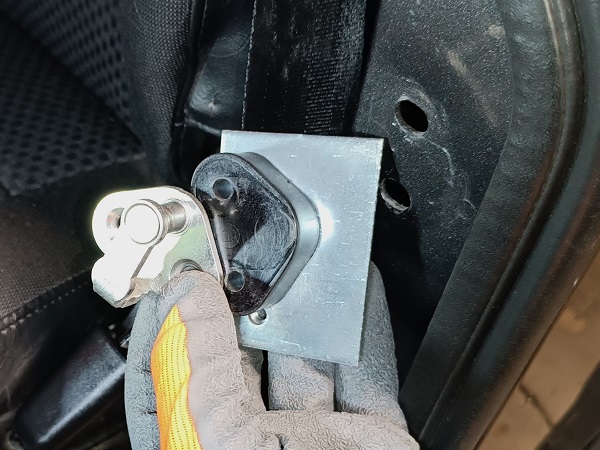
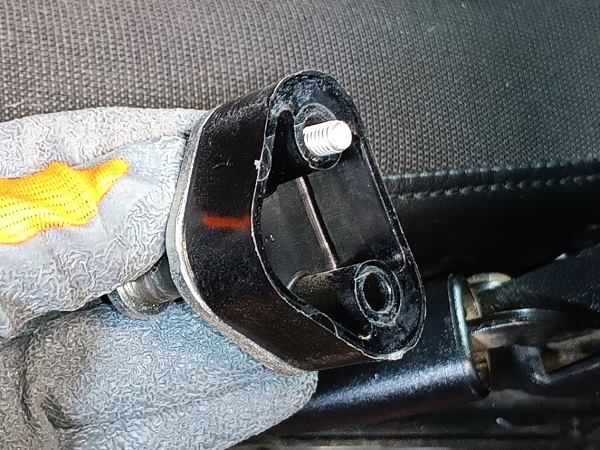
Hold the striker locking plate.
This will prevent it from tumbling down when removing the striker fixing bolts.
Op 04
Remove the 2 door striker fixing bolts. Use the T30 torx key.
Recover the 2 bolts, the striker, the plastic spacer and the locking plate.
Advertisement
Fit the front door striker
Op 05
Position the striker locking plate.
Hold the plate in position.
On the RH and LH front doors, the striker locking plates are not identical. They are symmetrical. Do not swap them.
Op 06
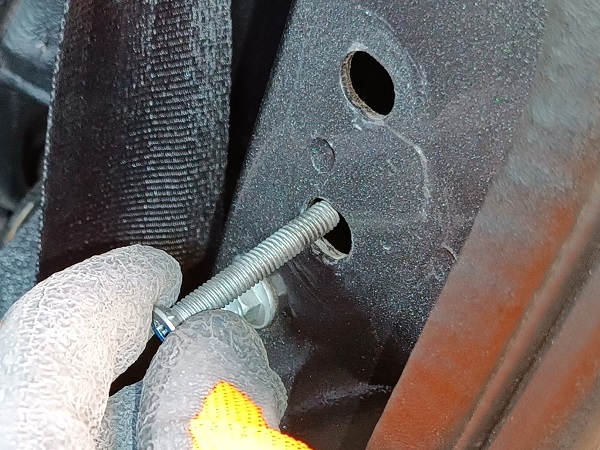
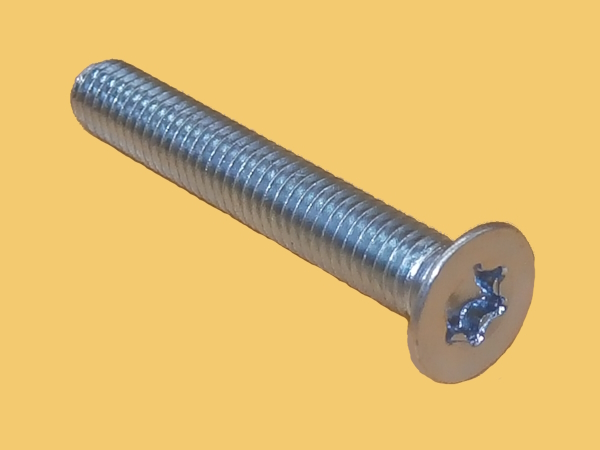
Position the striker with its plastic spacer and its 2 fixing bolts (BYP500200).
Start screwing in the bolts by hand.
The recess of the plastic spacer must be positioned on the body (2nd photo).
Op 07
Position the 3 door striker spacers (MWC3148) between the plastic spacer and the body.

Op 08
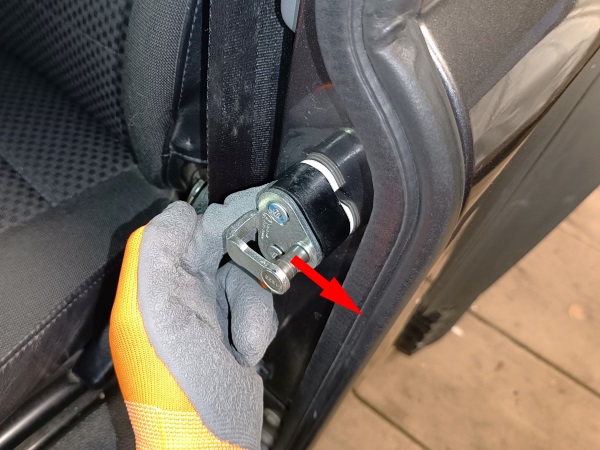
Push the striker outwards from the Defender. Push by hand.
Lightly tighten the striker fixing bolts. Use the T30 torx key.
The easiest way is to push the striker outwards at first. We will make the adjustment in the following operations.
Advertisement
Adjust the front door striker
Op 09
Adjust the striker along the vertical axis :
•
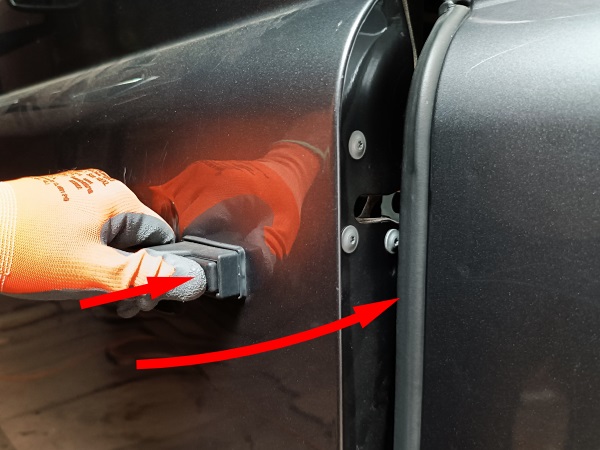
Ask a friend to slowly close the Defender's door while holding the handle down (1st photo).
•
The striker will enter the lock (2nd photo).
•
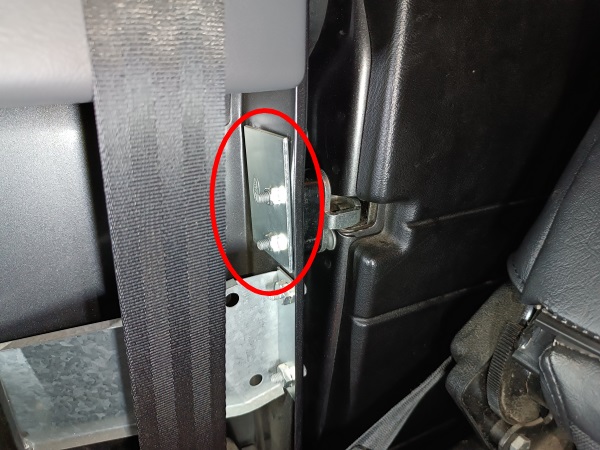
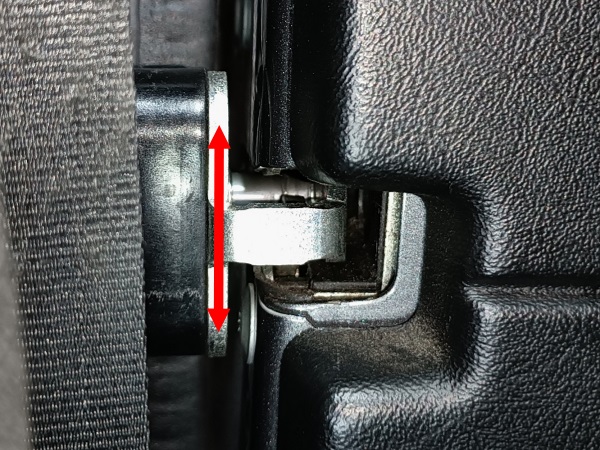
From inside the Defender, visually check the correct vertical alignment of the striker with the lock (3rd photos).
•
If necessary, move the striker slightly up or down.
•
Open the door.
•
Tighten the striker fixing bolts. Use the T30 torx key.
During this Op, the striker fixing bolts must be very slightly loosened in order to be able to move the striker accurately and that it remains in position at the end of the adjustment.
Op 10
Adjust the striker along the longitudinal axis :
•
Close the door.
•
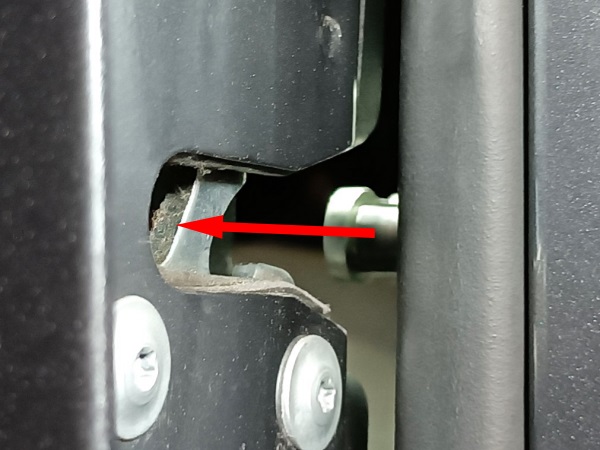
From inside the Defender, visually check that the striker is sufficiently advanced in the lock so that the locking mechanism can function without constraint (1st photo).
•
If necessary, add or remove a spacer (2nd photo).
Op 11
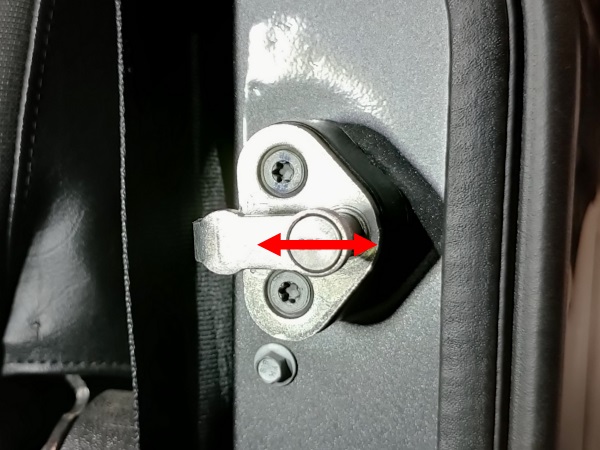
Adjust the striker along the transverse axis :
•
Close the Defender's door again.
•
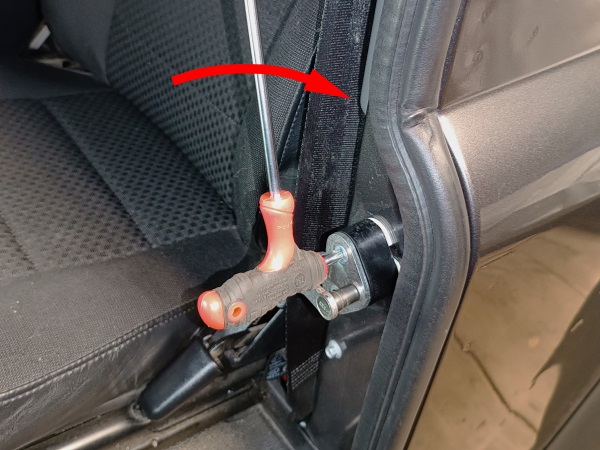
If the force required to close the door is too low, loosen the screws very slightly, move the striker towards the inside of the vehicle and then tighten the screws.
•
Make several successive door closing and striker adjustment tests to achieve the optimum door closing force.
During each iteration, move the striker only very slightly. It's very sensitive.
The optimum force is reached when the door can be closed without excessive effort and when the door, once closed, does not allow any air to enter the passenger compartment.
The End