This tutorial is also available in French
➔

Rear propshaft removal on Defender 90 Td4
Vehicle ➔ Defender 90 Td4 2013
Difficulty ➔ Easy

Time ➔ 30 minutes
Summary
Advertisement
Advertisement

Recommendations

Propshafts are very robust elements. Just grease them regularly and they will last forever. However, their removal is sometimes necessary. For example, to change the oil seals on the transfer box or differential, which have a limited lifespan.
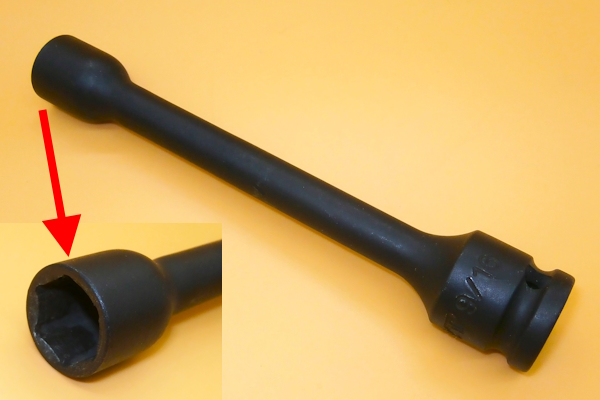
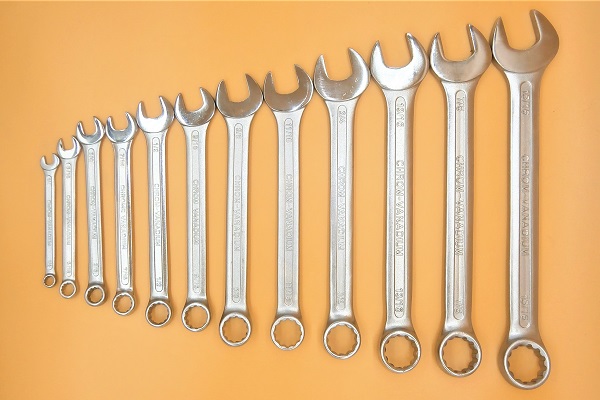
Tool DA1119 is simply a long 9/16'' socket with very thin walls. It allows access to the propshaft fixing bolts and nuts, which are difficult to access with a standard socket.

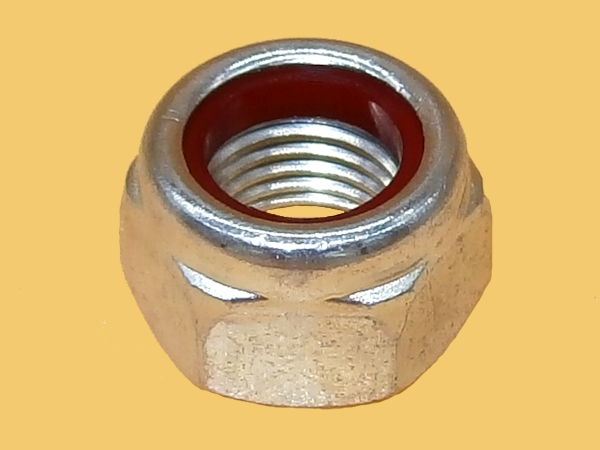
The propshaft fixing nuts (NZ606041L) are nyloc nuts. As a safety measure, each time a nyloc nut is removed, it is best to fit a new one.
Required Tools
Sponsored links by


Spare Parts
Our Partner

Advertisement
Remove the rear propshaft
Op 01
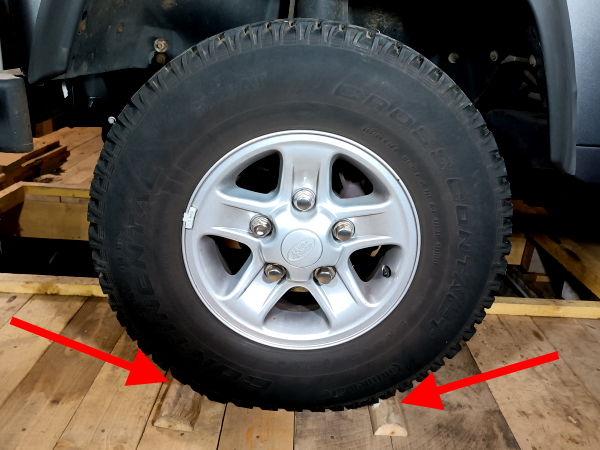
Immobilize the front wheels. Place wooden chocks.
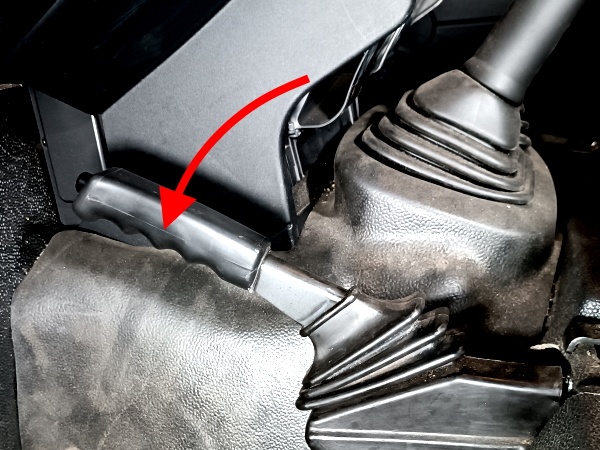
Release the handbrake.
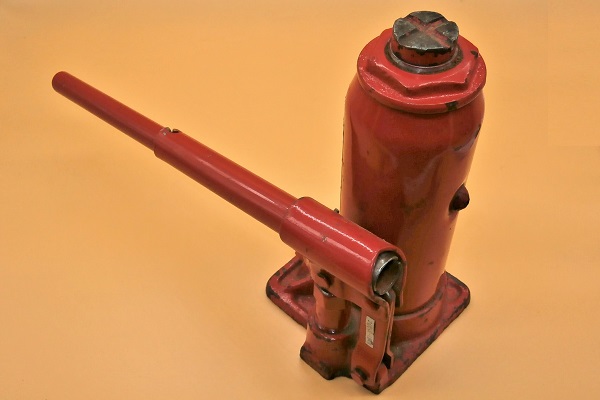
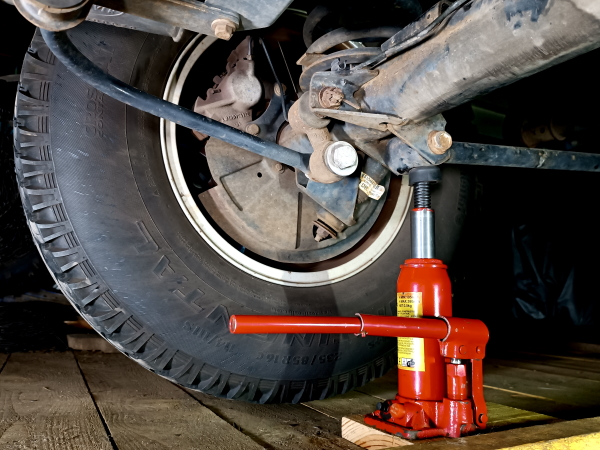
Raise a rear wheel. Use the jack
The raised rear wheel will allow you to rotate the propshaft to access the fixing bolts and nuts.
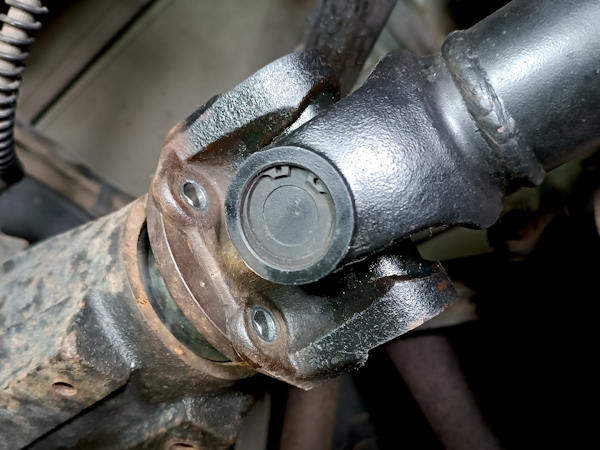
Op 02
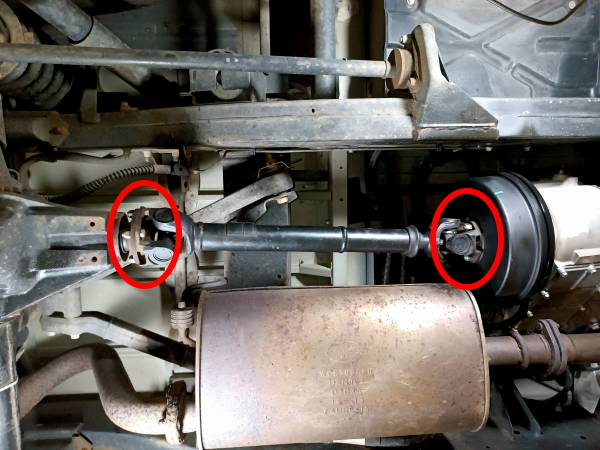
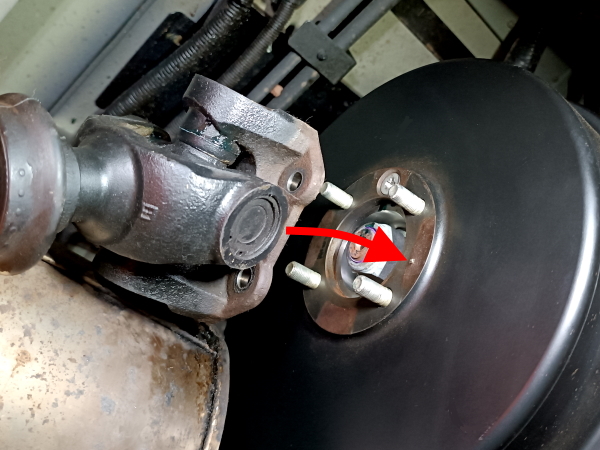
Identify the location of the rear propshaft fixing points :
•
On the handbrake drum at the transfer box output.
•
On the rear differential.
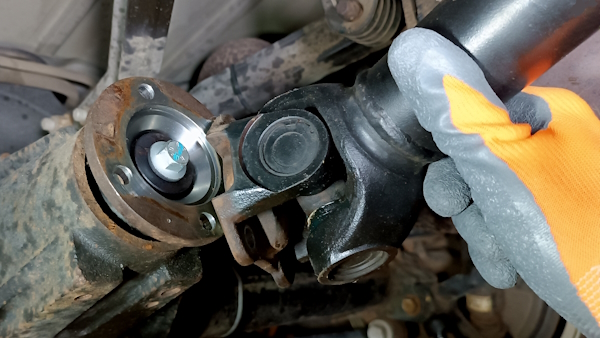
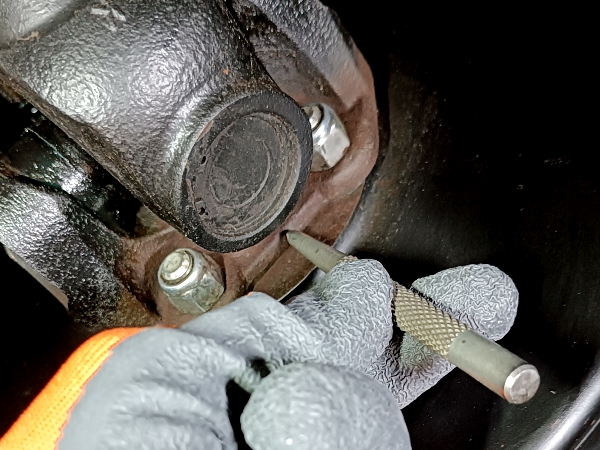
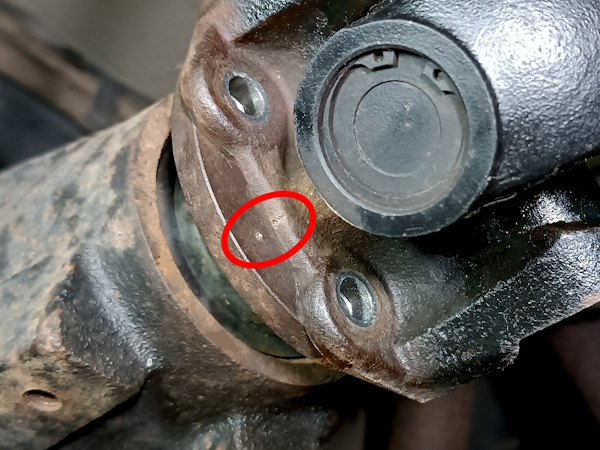
Op 03
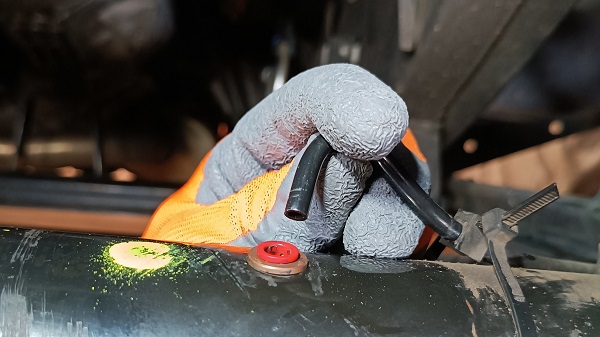
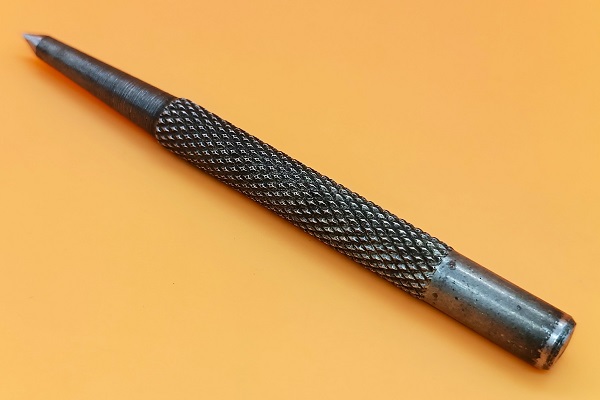
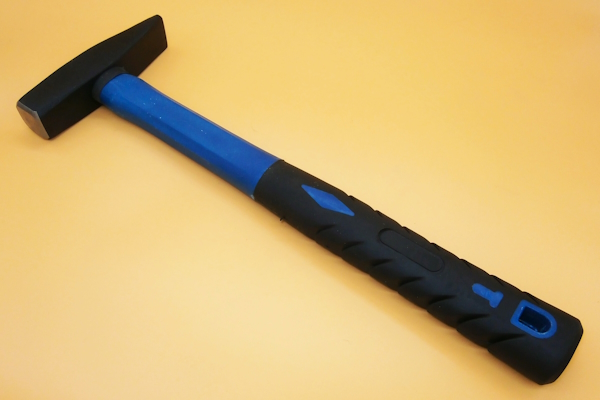
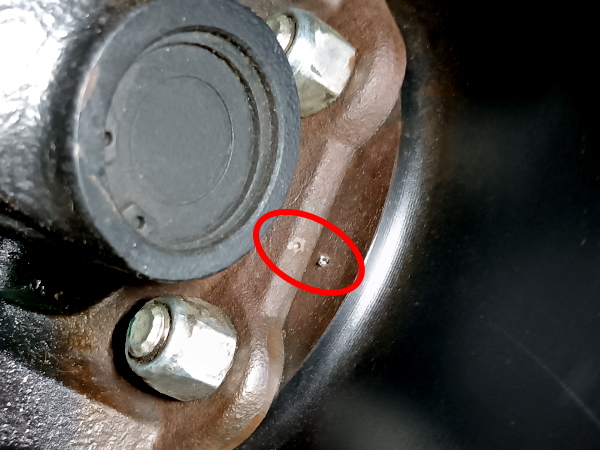
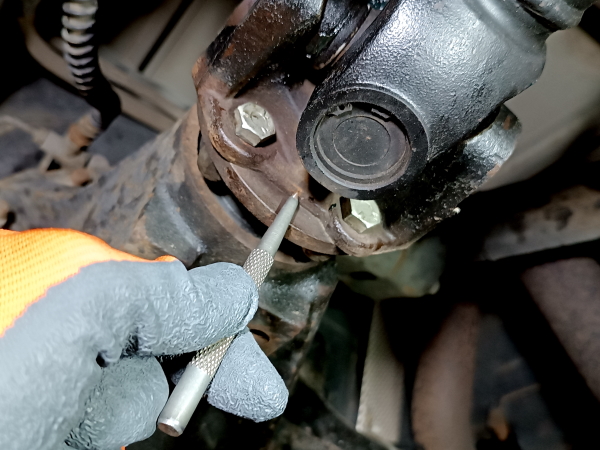
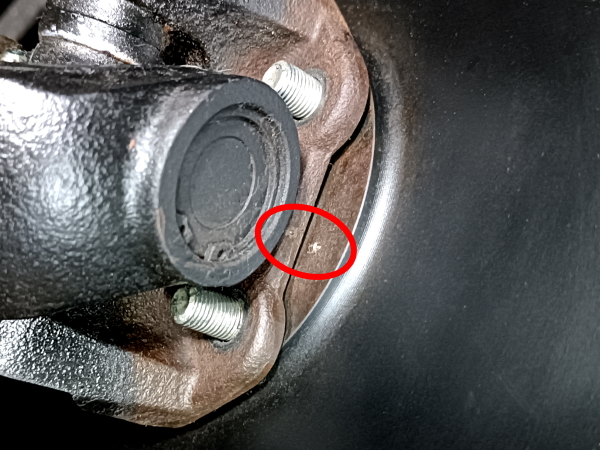
Mark the position of the propshaft on the handbrake drum. Use the punch and hammer :
•
1 mark on the propshaft.
•
1 mark on the handbrake drum.
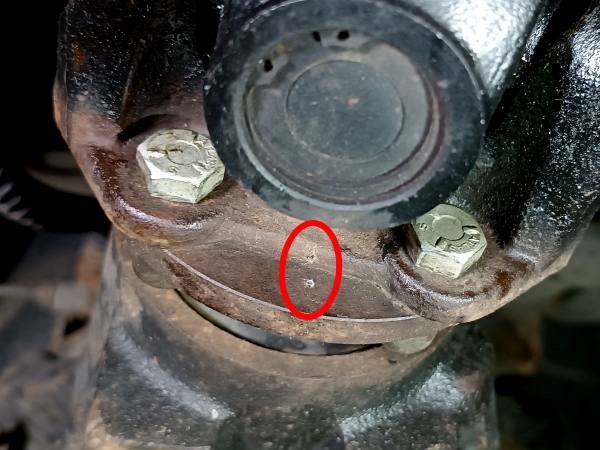
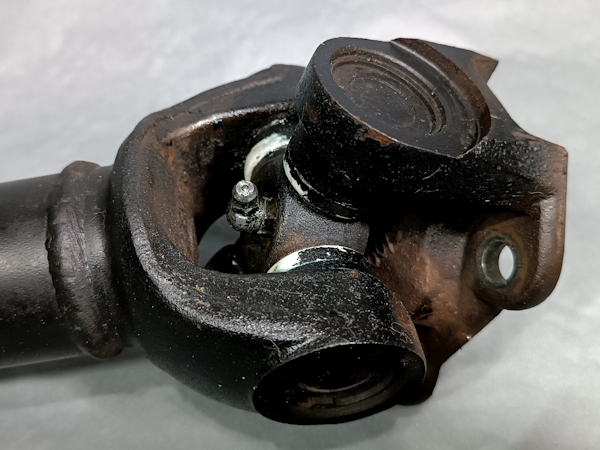
To maintain good balance, when reassembling, it is best to replace the propshaft in the same position as before disassembly. To do this, we will mark the position of the shaft with punch marks (3rd photo).
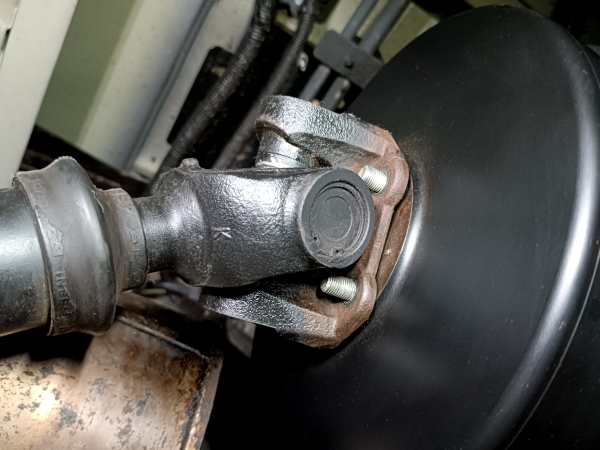
Op 04
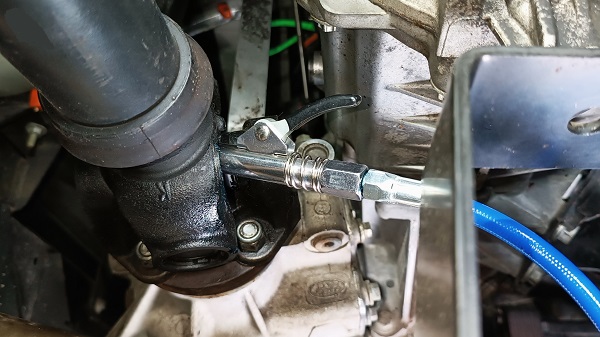
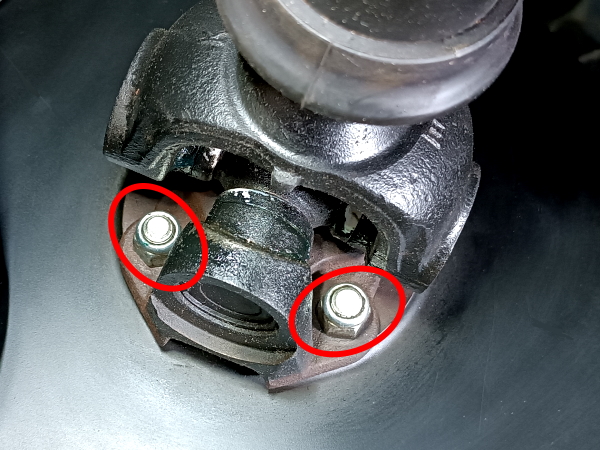
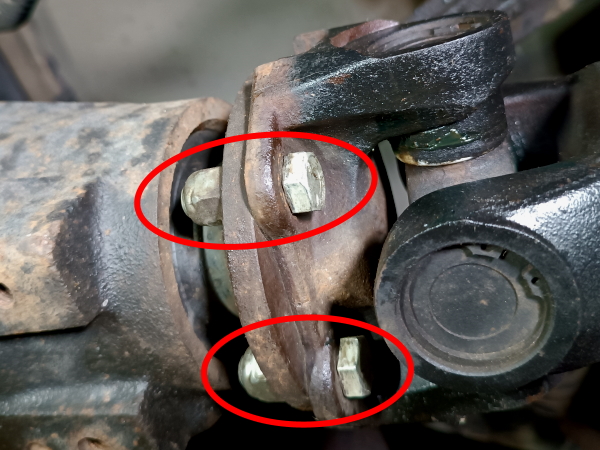
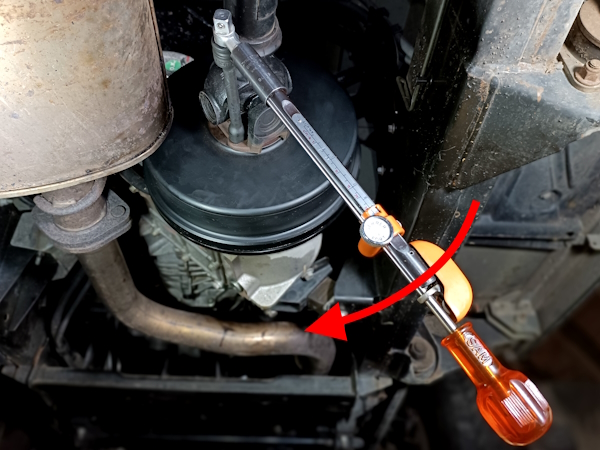
Unscrew the 4 propshaft fixing nuts on the handbrake drum. Use tool DA1119.
Find the location where the nuts are most accessible. Rotate the propshaft by hand to bring the 4 nuts successively into this position and then unscrew them.
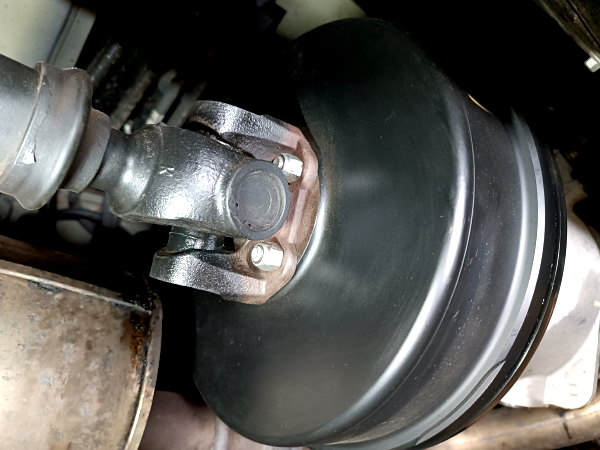
Op 05
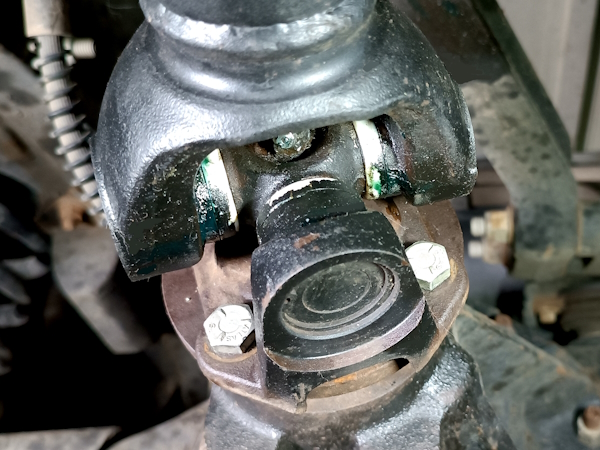
Mark the position of the propshaft on the rear differential flange. Use the punch and hammer :
•
1 mark on the propshaft.
•
1 mark on the rear differential flange.

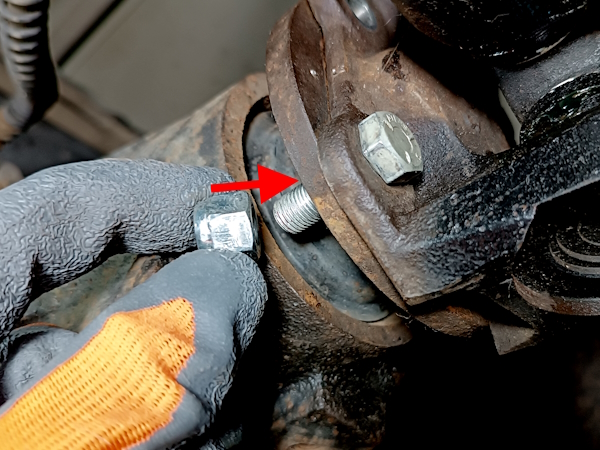
Op 06
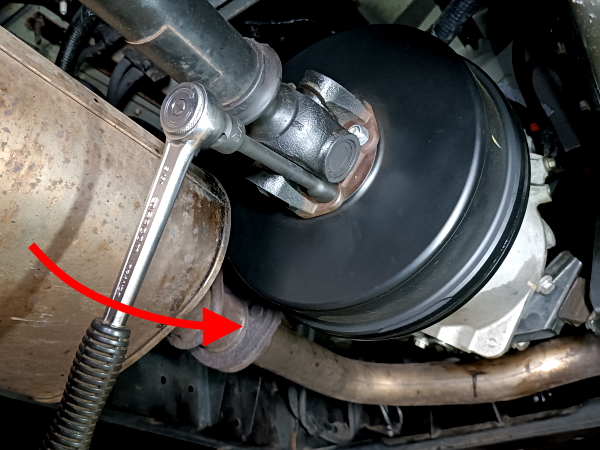
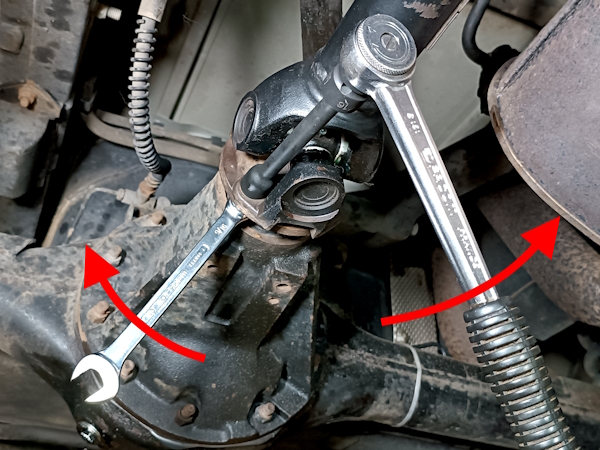
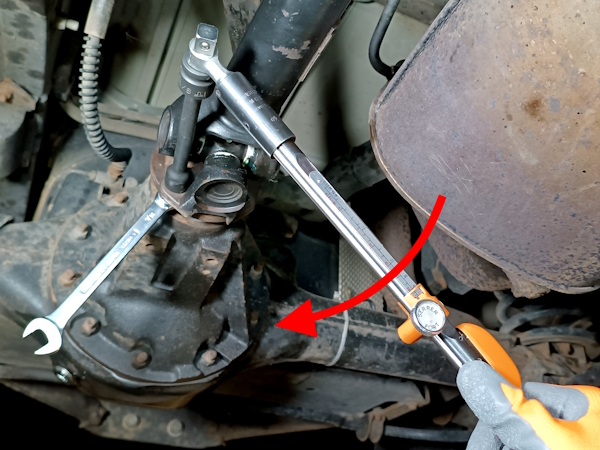
Unscrew the 4 propshaft fixing nuts on the rear differential flange. Use tool DA1119 and a 9/16'' spanner.
As in Op04, find the location where the nuts are most accessible. Rotate the propshaft by hand to bring the 4 bolts successively into this position and then unscrew the nuts.
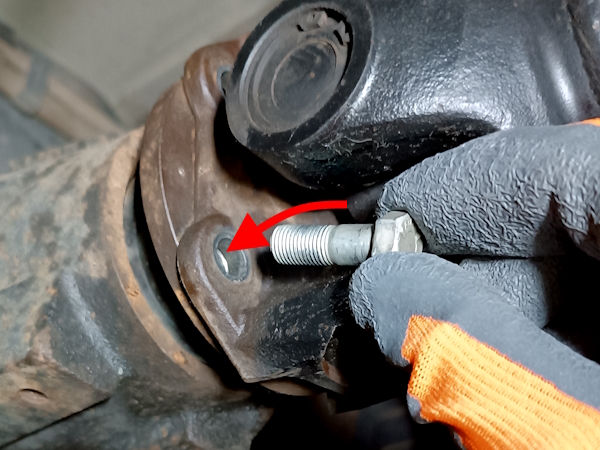
Op 07
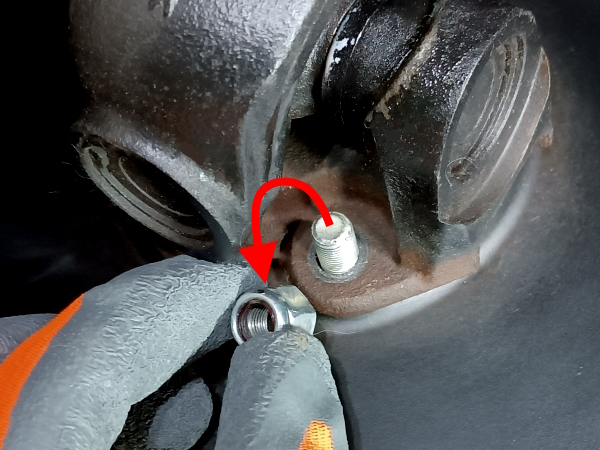
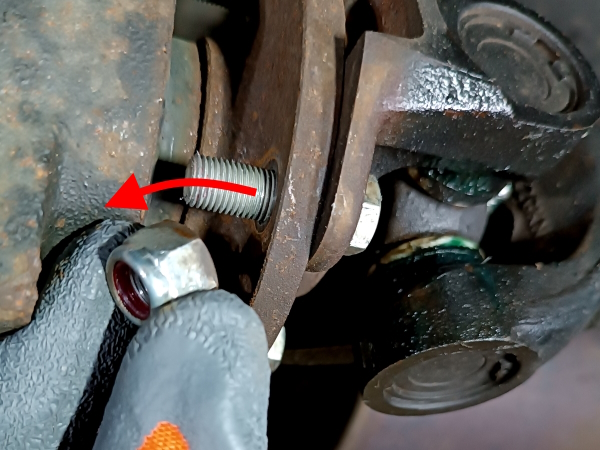
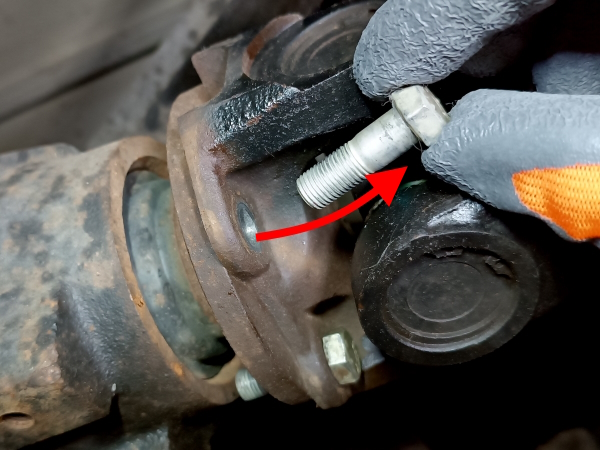
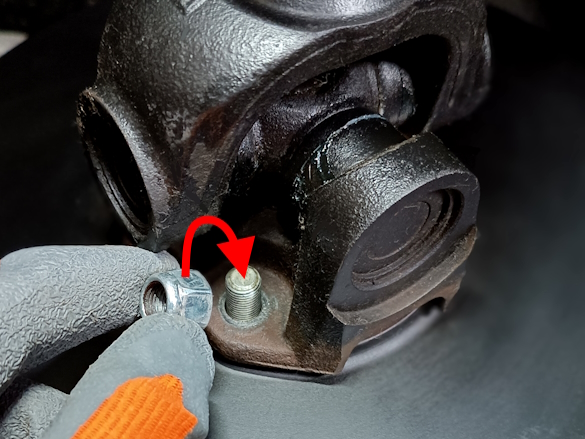
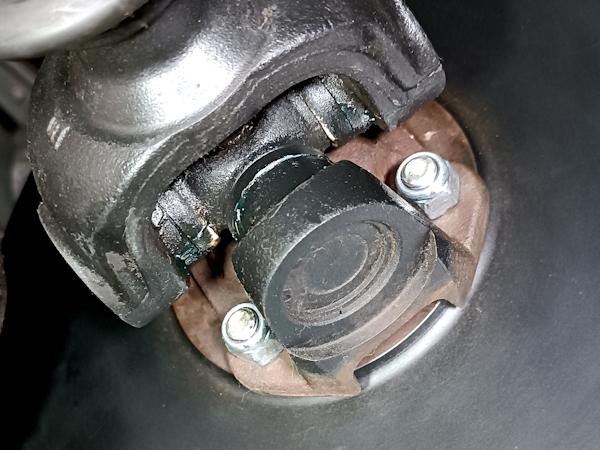
Remove the 4 bolts fixing the propshaft on the rear differential flange.
Once the fixing bolts have been removed, the propshaft is only held on the differential by a small collar. Be careful as it can come loose very easily.
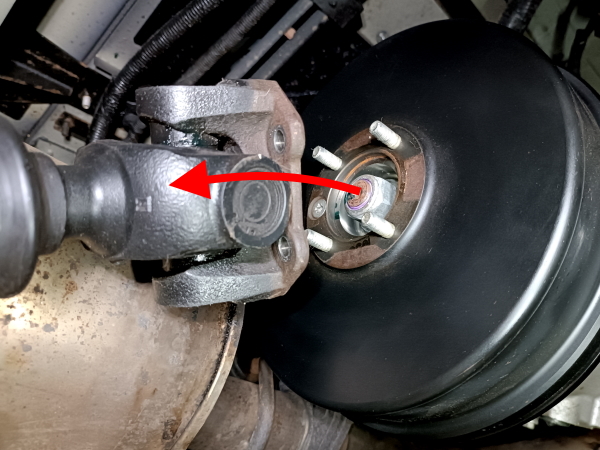
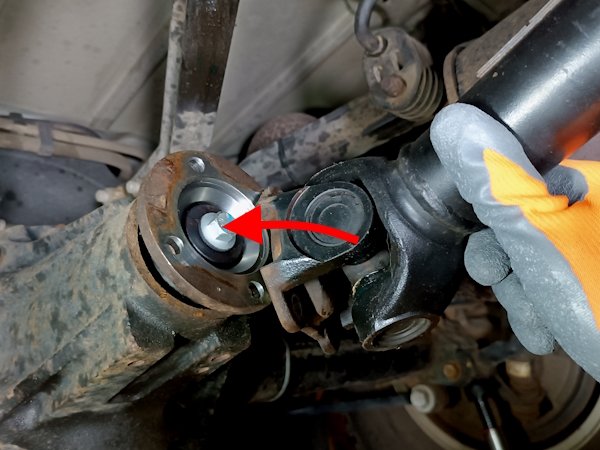
Op 08
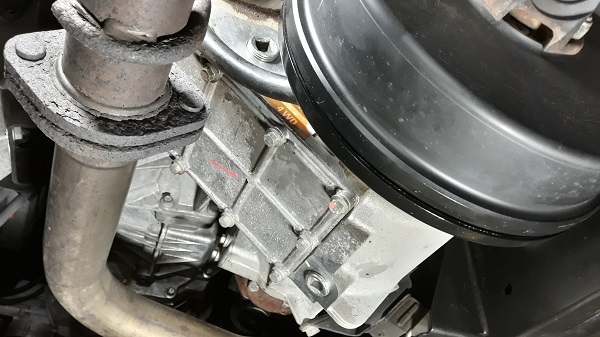
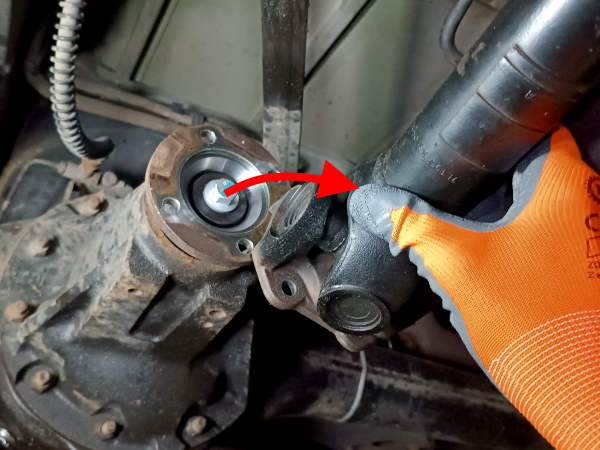
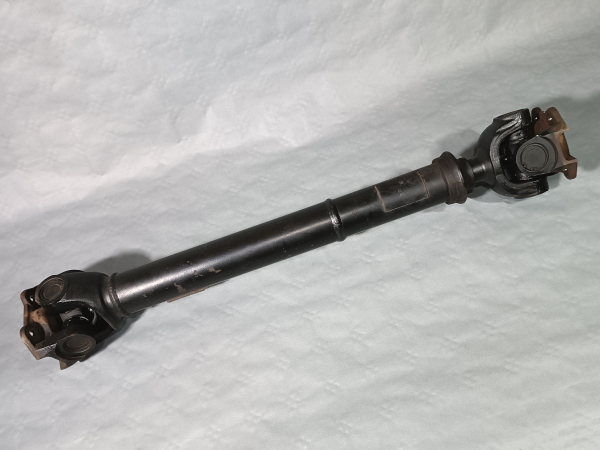
Remove the propshaft. Pull by hand, starting by disengaging the shaft from the differential side (1st photo) and then from the brake drum side (2nd photo).
The propshaft is very heavy. Don't be surprised.
Advertisement
Fit the rear propshaft
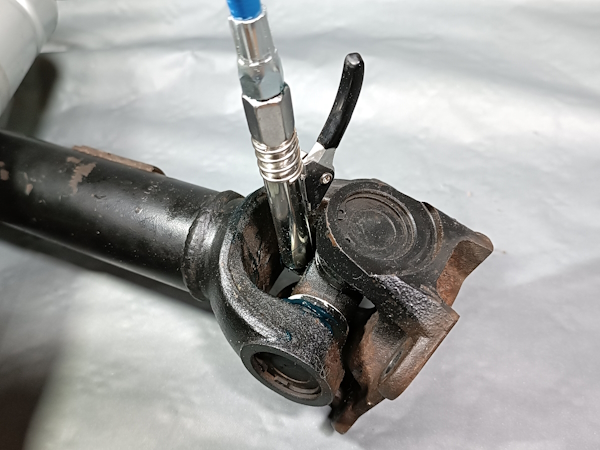
Op 09
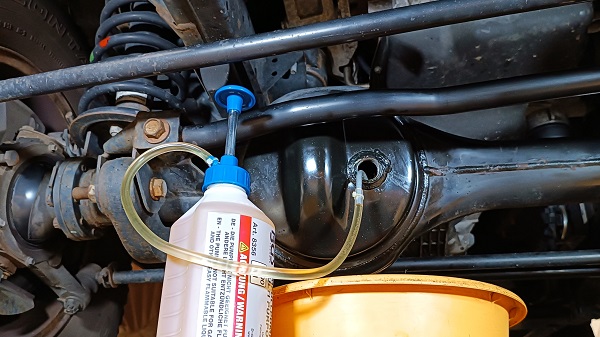
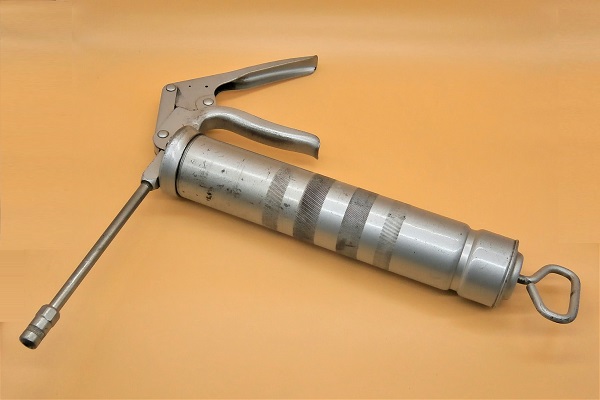
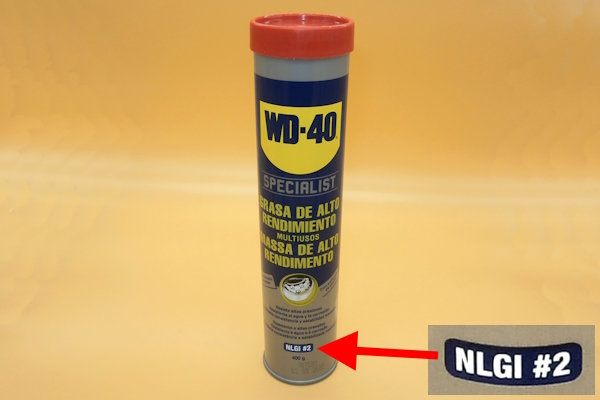
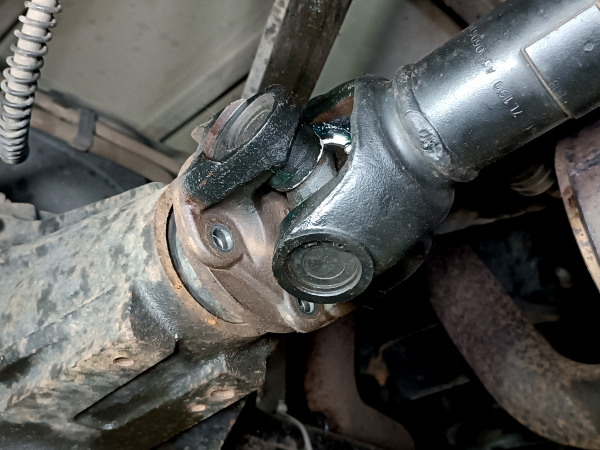
Grease the propshaft universal joints. Use the grease gun and NLGI-2 grease.
Once the propshaft is removed, take the opportunity to grease the universal joints. It will be much easier to do on a workbench than under the Defender.

Op 10
Engage the propshaft on the 4 bolts of the handbrake drum.
Before installation, clean the surfaces of the propshaft and brake drum that will come into contact.
Respect the positioning of the marks you made during disassembly (3rd photo).
Op 11
Position the propshaft on the rear differential flange.
Before installation, also clean the surfaces of the propshaft and differential that will come into contact.
Also respect the positioning of the marks you made during disassembly (3rd photo).
Op 12
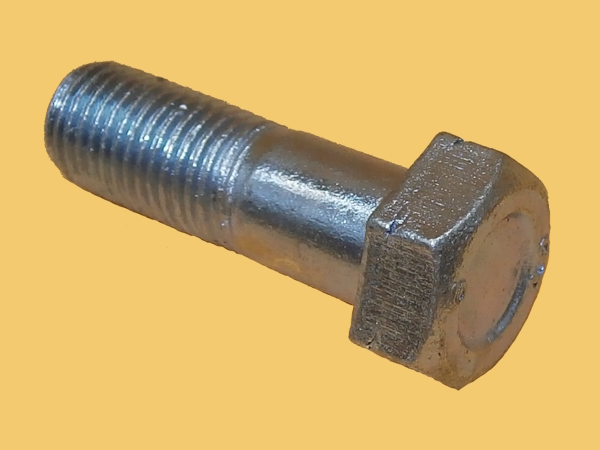
Engage the 4 bolts (LR045409) fixing the propshaft on the rear differential flange.
Screw on the 4 nuts (NZ606041L). Use tool DA1119 and a 9/16'' spanner.
Tighten the 4 bolts to a torque of 47 mN. Use the torque wrench.
Op 13
Screw on the 4 nuts (NZ606041L) fixing the propshaft on the handbrake drum. Use tool DA1119.
Tighten the 4 nuts to a torque of 50 mN. Use the torque wrench.
Op 14
Remove the jack.
Apply the handbrake.
Remove the chocks.
The End