This tutorial is also available in French
➔

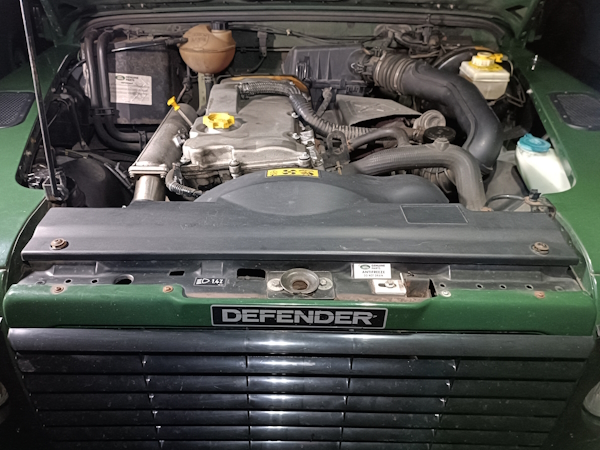
Viscous fan change on Defender Td5

Vehicle ➔ Defender 110 Td5 2002
Difficulty ➔ Easy

Time ➔ 2 hours
Summary
Advertisement
Advertisement

Recommendations

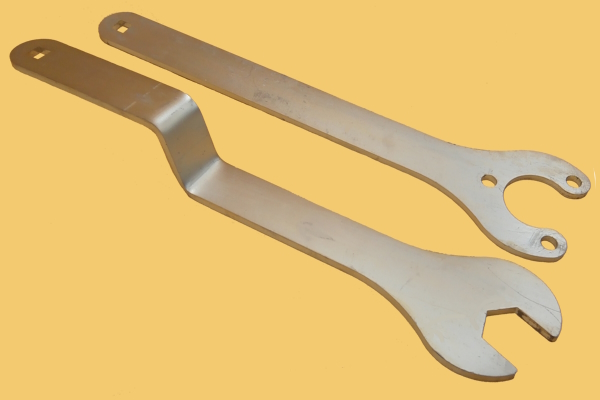
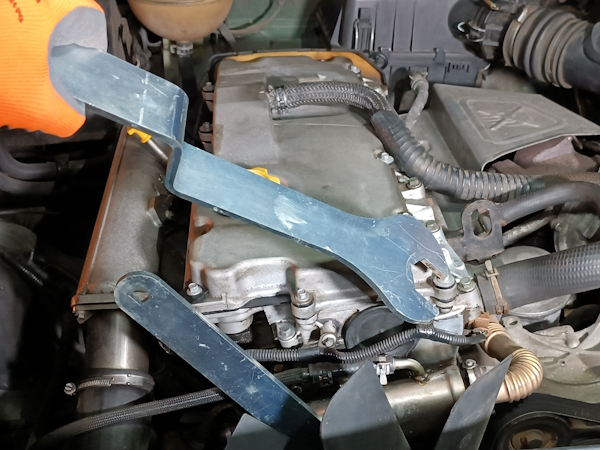
Land Rover parts dealers sell several tools for unscrewing the fan and viscous assembly. We use the reference PM1278 which is composed of 2 spanners : one allows to immobilize the pulley in rotation and the other is a 36 mm spanner which allows to unscrew the nut.
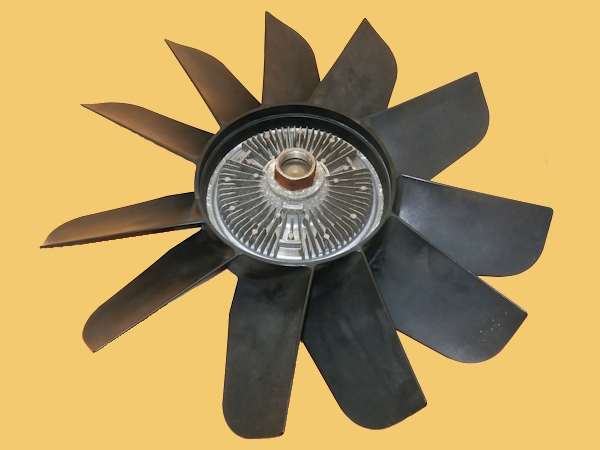
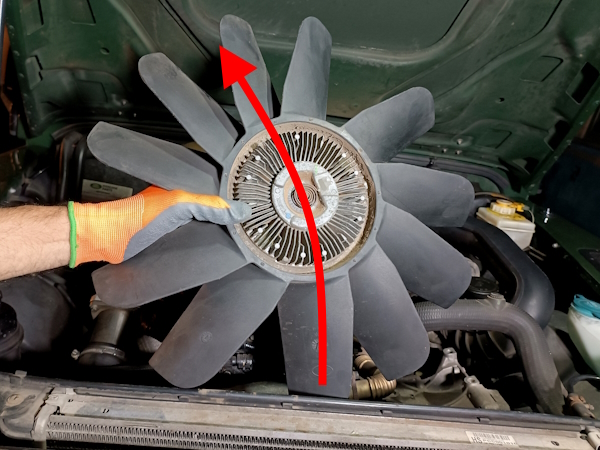
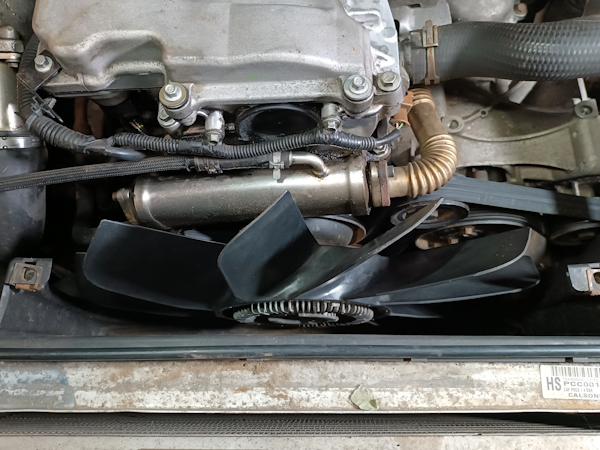
You will probably be surprised to see that the fan blades are unevenly spaced. This arrangement of the blades avoids a resonance phenomenon during fan rotation. This limits the operating noise.
Required Tools
Sponsored links by


Spare Parts
Our Partner

Advertisement
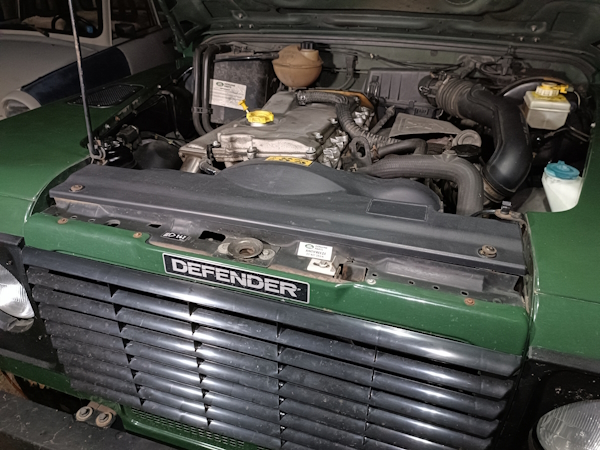
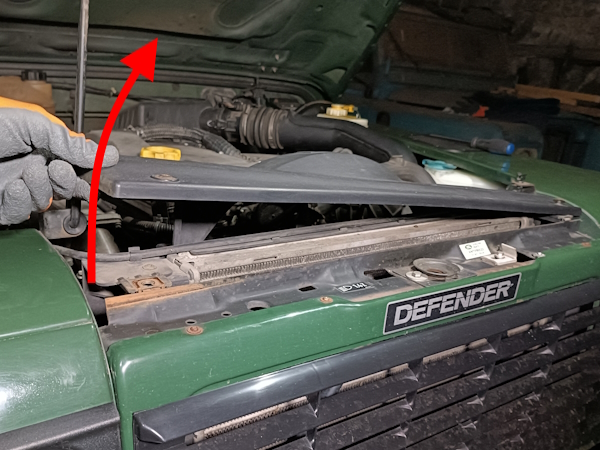
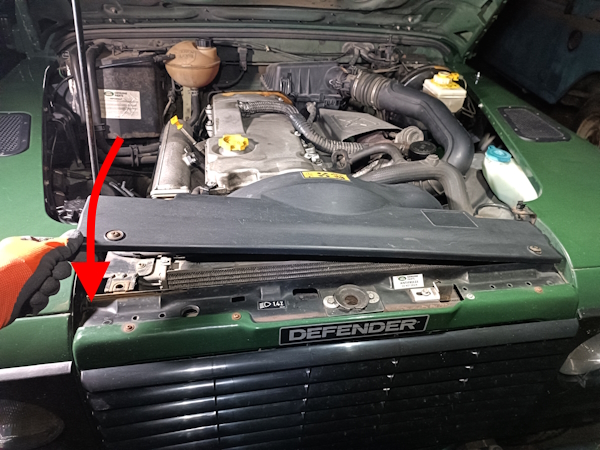
Remove the acoustic cover
Op 01
Remove the acoustic cover (➔ see the tutorial ''Engine oil change on Defender Td5'' Op 05 to 07).
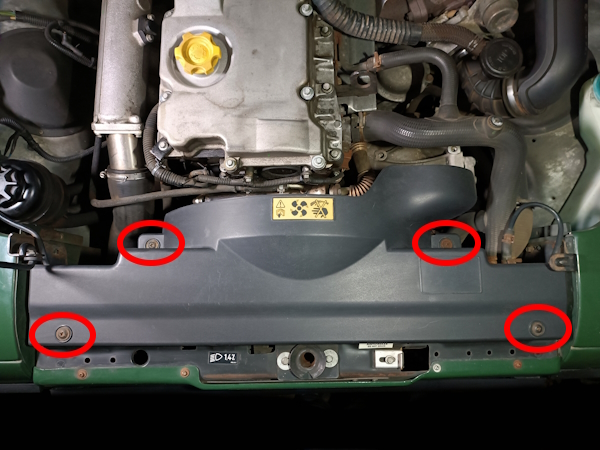
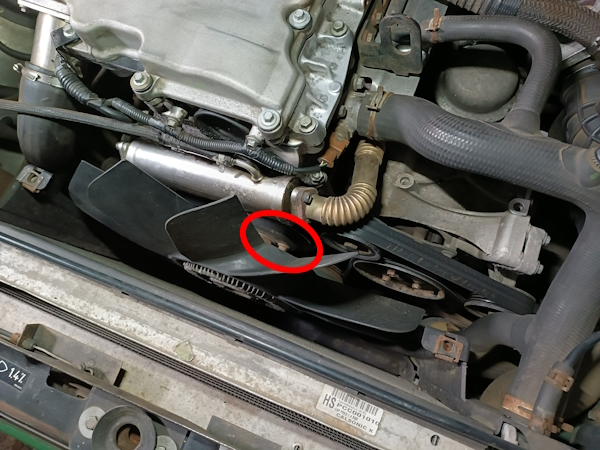
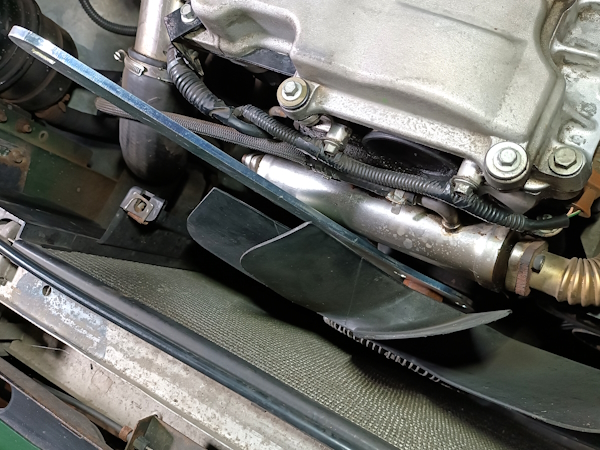
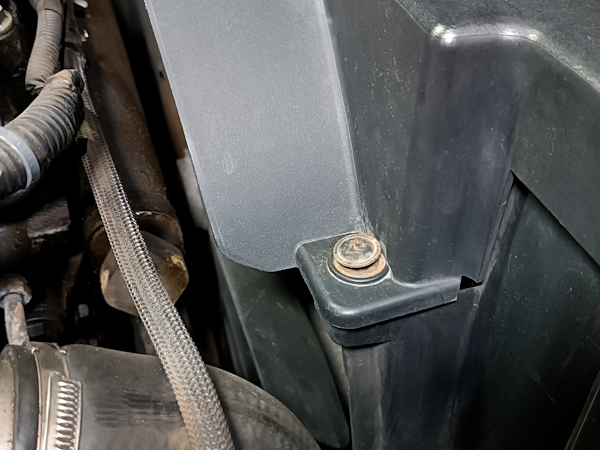
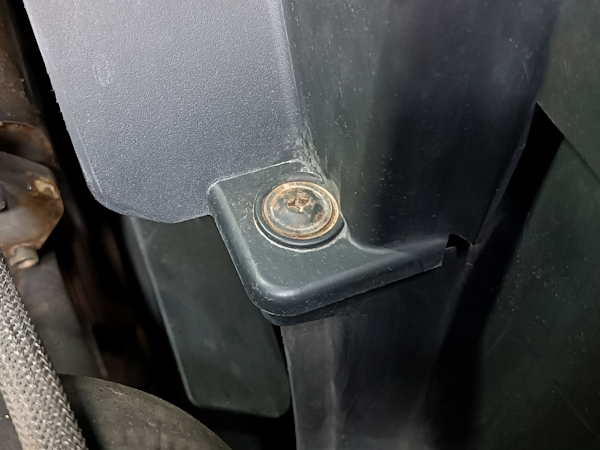
Remove the cooling fan cowl
Op 02
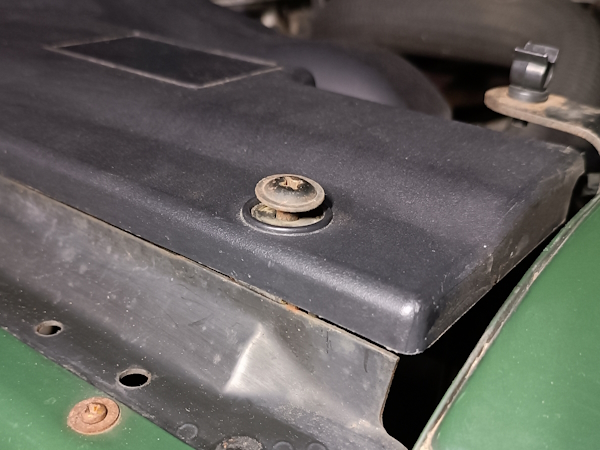
Unscrew the 4 screws of the cooling fan cowl. Use the Phillips screwdriver.
The cooling fan cowl fixing screws are quarter-turn screws. In addition, these screws are captive to the cover. This prevents us from losing them.

Op 03
Remove the cooling fan cowl. Lift by hand.

Advertisement
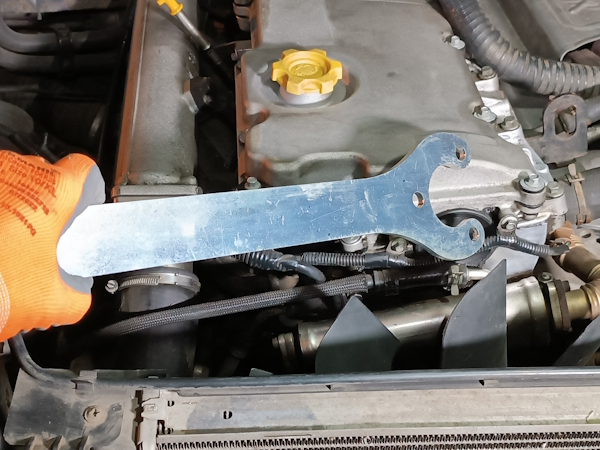
Remove the fan and viscous assembly
Op 04
Locate the viscous unit fixing nut.

Op 05
Position the spanner to immobilize the pulley in rotation. Place the 1st spanner of the PM1278 tool.
The spanner is positioned on the 3 bolt heads located on the pulley.
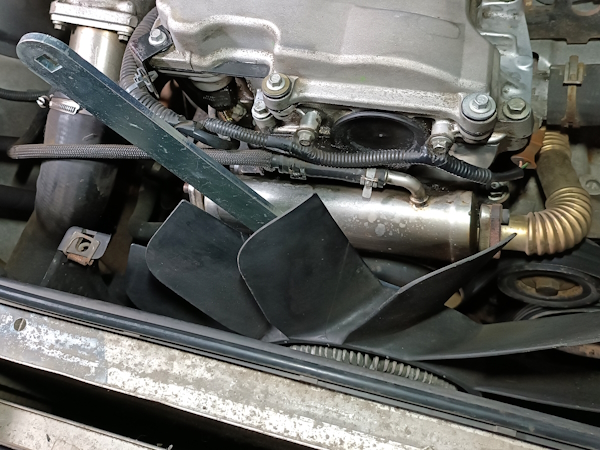
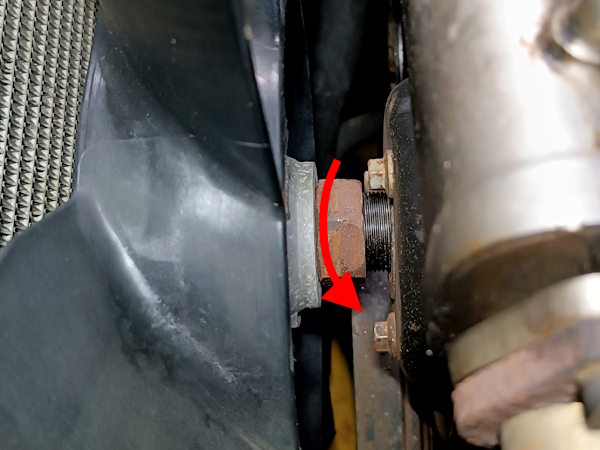
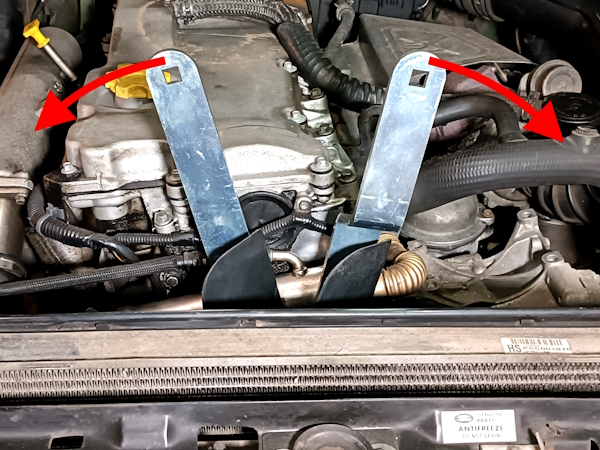
Op 06
Position the spanner to unscrew the viscous unit nut. Place the 2nd spanner of the PM1278 tool.
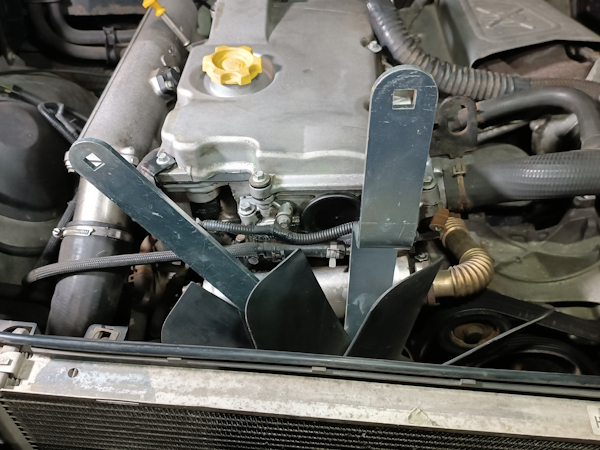
Op 07
Remove the fan and viscous assembly. Unscrew with the PM1278 tool.
The viscous unit fixing nut is a right-hand thread.

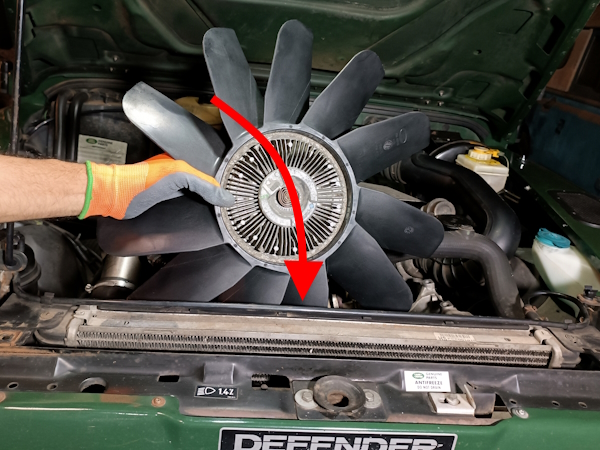
Fit the fan and viscous assembly
Op 08
Fit the fan and viscous assembly (PGG500340). Start by screwing the nut by hand (2nd photo) then use the PM1278 tool.

There is no recommended tightening torque for the viscous unit nut. Just tighten very hard.
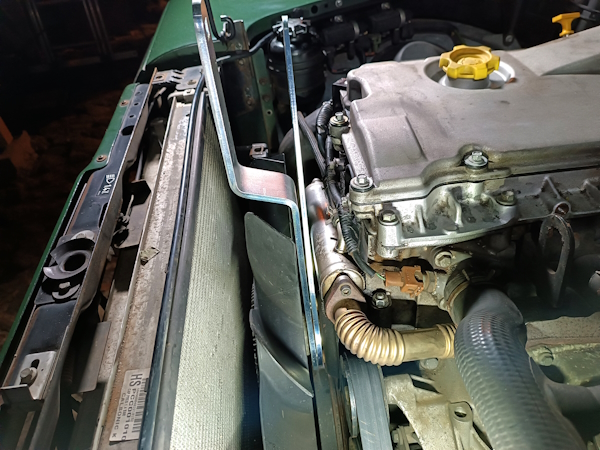
Fit the cooling fan cowl
Op 09
Fit the cooling fan cowl.
Op 10
Screw in the 4 screws of the cooling fan cowl. Use the Phillips screwdriver.

Advertisement
Fit the acoustic cover
Op 11
Fit the acoustic cover (➔ see the tutorial ''Engine oil change on Defender Td5'' Op 44 to 46).
The End