This tutorial is also available in French
➔

Clutch slave cylinder change on Defender Td5

Vehicle ➔ Defender 110 Td5 2002
Difficulty ➔ Medium

Time ➔ 2 hours
Summary
Advertisement
Advertisement

Recommendations

If you have just changed the clutch master cylinder of your venerable Defender Td5 because it was faulty, don't hesitate to also change the slave cylinder. If the master cylinder seals have given up the ghost, the slave cylinder seals will not last much longer.
Required Tools
Sponsored links by


Spare Parts
Sponsored links by


Packaging :
•
The above parts are sold individually.
Advertisement
Drain the clutch hydraulic system
Op 01
Remove the air duct (➔ see the tutorial ''Air filter change on Defender Td5'' Op 02 to 06).

It is best to remove the air duct. This will make it easier to access the clutch slave cylinder.
Op 02
Drain the clutch hydraulic system (➔ see the tutorial ''Clutch hydraulic system bleeding on Defender Td5'' Op 01 to 07).
Remove the clutch slave cylinder
Op 03
Unscrew the upper fixing bolt of the slave cylinder. Use a 10 mm socket.
This bolt is hidden by the hydraulic hose bracket (2nd photo).
Removing the upper bolt releases the hydraulic hose bracket. During the next Op, this will make it easier to unscrew the hydraulic hose nut.


Op 04
Unscrew the hydraulic hose nut. Use a 13 mm spanner.
Disconnect the hydraulic hose from the slave cylinder. Pull by hand.
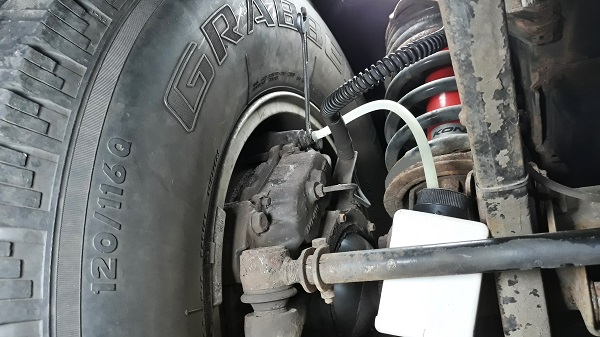
Place a drain pan under the slave cylinder as a few drops of brake fluid may leak.


Op 05
Unscrew the lower fixing bolt of the slave cylinder. Use a 10 mm socket.
The slave cylinder will come out of its housing slightly because it is pushed by the clutch fork.


Op 06
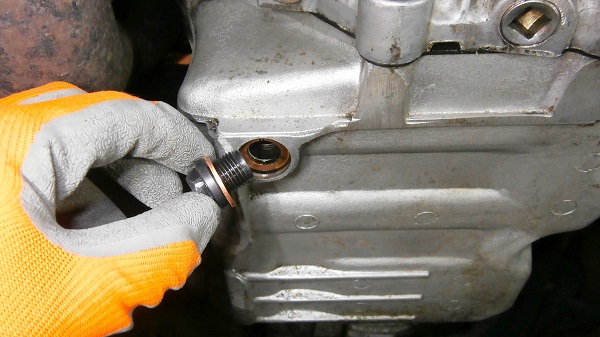
Remove the clutch slave cylinder. Pull by hand.
Remove the slave cylinder, making sure to leave the push rod in place. Simply pull gently on the slave cylinder, keeping it in line with the push rod (2nd photo).
Leaving the push rod in place avoids any risk of breaking the clutch fork clip. This clip is a small, very fragile plastic part that connects the push rod to the fork. It is essential to avoid breaking this clip because, placed where it is (inside the clutch housing), it is extremely difficult to fit it back (5th photo).


Fit the clutch slave cylinder
Op 07
Remove the plug from the new clutch slave cylinder (FTC5202). Use a flathead screwdriver.


Op 08
Clean the slave cylinder's bearing surface on the clutch housing.


Op 09
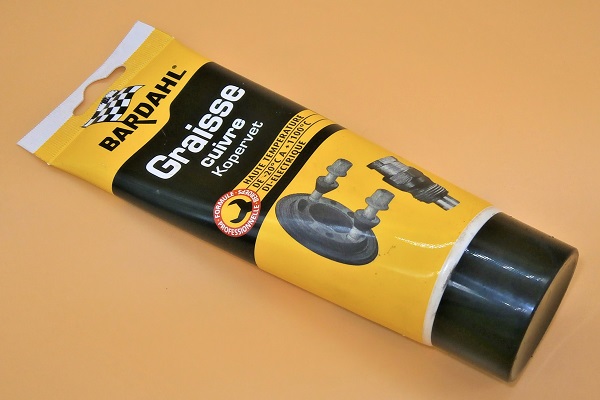
Clean and lightly grease the push rod. Use copper grease.


Op 10
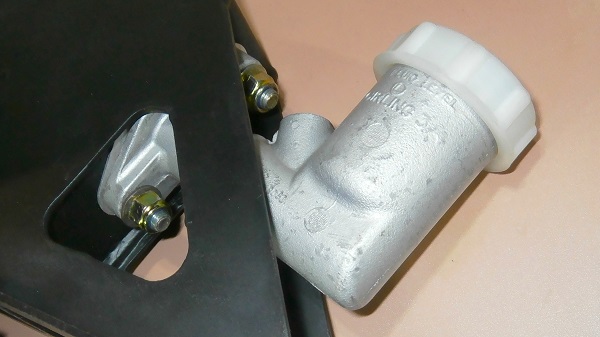
Position the new clutch slave cylinder on the clutch housing. Push by hand.
When installing the slave cylinder, make sure to place the bleed screw in the upper position (4th photo). This is essential for being able to bleed the clutch hydraulic system correctly.
You will have to push hard to get the slave cylinder into its housing because it will be pushed back by the clutch fork.


Op 11
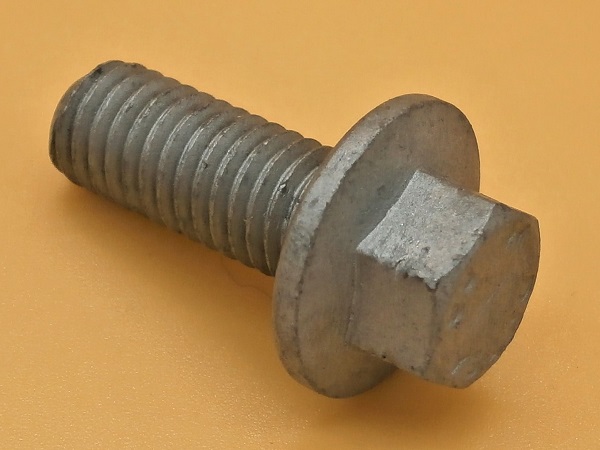
Screw in the lower fixing bolt (FS108257L) of the slave cylinder. Use a 10 mm socket.
Apply a little copper grease on the thread of the fixing bolt. This will limit oxidation and make it easier to unscrew during the next disassembly.
Do not tighten the bolt for now.


Op 12
Screw the hydraulic hose nut onto the clutch slave cylinder. Use a 13 mm spanner.
Also put a little copper grease on the thread of the nut.
Do not tighten the nut for now. We must first position the upper fixing bolt of the slave cylinder.


Op 13
Screw in the upper fixing bolt (FS108257L) of the slave cylinder. Use a 10 mm socket.
Apply a little copper grease on the thread of the fixing bolt. This will limit oxidation and make it easier to unscrew during the next disassembly.


Op 14
Tighten the upper fixing bolt of the slave cylinder to 25 Nm. Use a 10 mm socket and a torque wrench.


Op 15
Tighten the lower fixing bolt of the slave cylinder to 25 Nm. Use a 10 mm socket and a torque wrench.

Op 16
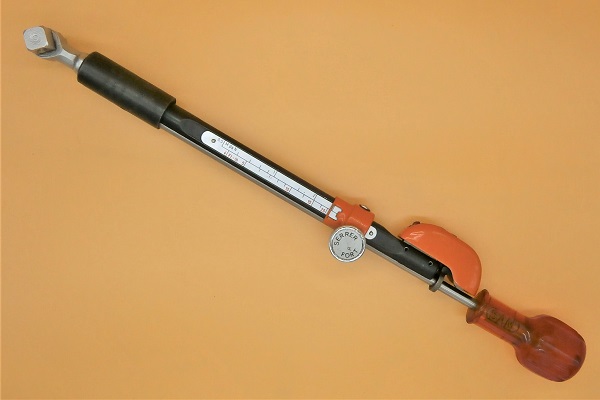
Tighten the hydraulic hose nut. Use a 13 mm spanner.
The hydraulic hose nut must be tightened to 15 mN. This operation requires a specific torque wrench with an open-end spanner. If, like me, you don't have this type of wrench, tighten moderately.


Advertisement
Bleed the clutch hydraulic system
Op 17
Fill and bleed the clutch hydraulic system (➔ see the tutorial ''Clutch hydraulic system bleeding on Defender Td5'' Op 14 to 21).
Op 18
Fit the air duct (➔ see the tutorial ''Air filter change on Defender Td5'' Op 22 to 26).
Op 19
Take a road test to check that the clutch is working perfectly.
On the way back, check that there are no brake fluid leaks at the clutch slave cylinder.
The End