This tutorial is also available in French
➔

Crankshaft sensor change on Defender Td5
Vehicle ➔ Defender 110 Td5 2002
Difficulty ➔ Easy

Time ➔ 1 hour
Summary
Advertisement
Advertisement

Recommendations

This tutorial concerns only the Defender Td5.
What is the role of the crankshaft sensor ?
• When the engine is running, the crankshaft sensor continuously detects the presence or absence of holes on the circumference of the flywheel.
• The crankshaft sensor communicates this information to the ECU (Engine Control Unit).
• Thanks to this information, the ECU knows perfectly the position of each of the 5 pistons. It can thus control the fuel injection in each of the cylinders.
• In addition, if the Defender was equipped with a rev counter, it is the crankshaft sensor that would give it the information of the engine speed.
What are the symptoms of a faulty crankshaft sensor ?
• Generally, when the crankshaft sensor is faulty, the engine simply refuses to start.
• As the ECU does not receive any information on the position of the pistons, it does not trigger the fuel injection into the cylinders.
• The starter motor turns the engine, the engine refuses to start and there is no emission at the exhaust.

Before changing the crankshaft sensor, start by checking the condition of the wiring harness. It frequently happens that a wire is cut at the connector.

Sometimes the crankshaft sensor and its harness become saturated with oil. This causes micro-cuts in the injection and the engine misfires. In this case, simply clean the connectors with contact cleaner.
On the Defender Td5, the crankshaft sensor is sometimes mounted with a spacer (this is not the case on our Defender). This spacer separates the sensor by a few millimeters from the flywheel. If you see this spacer during disassembly, retrieve it to fit it back during reassembly.
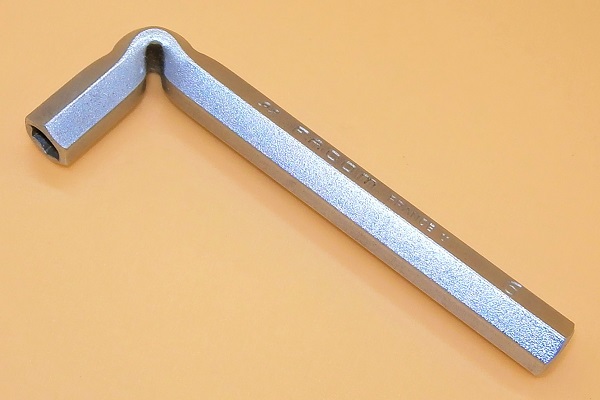
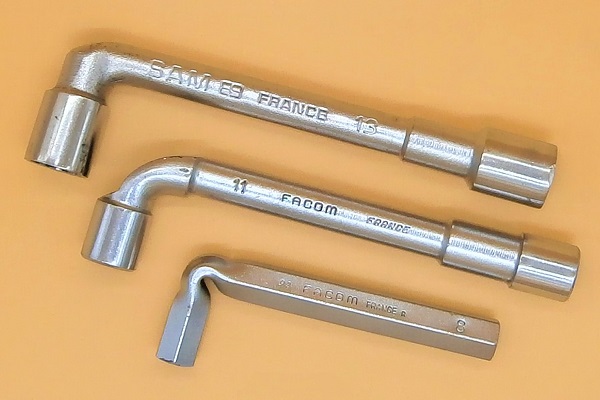
Required Tools
Sponsored links by

Spare Parts
Our Partner


Advertisement
Remove the air inlet duct
Op 01
Locate where the air inlet duct is.
The crankshaft sensor is hidden by this duct. We will have to remove it.

Op 02
Loosen the duct clip on the air box. Use a 6 mm socket.


Op 03
Loosen the duct clip on the air inlet grille side. Use the 6 mm socket.


Op 04
Disconnect the duct from the air box. Pull by hand.


Op 05
Disconnect the duct from the air inlet grille side. Pull by hand.
Remove the duct.


Advertisement
Remove the crankshaft sensor
Op 06
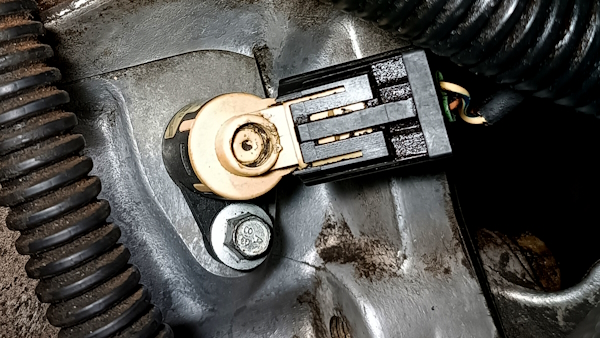
Locate where the crankshaft sensor is.


Op 07
Disconnect the crankshaft sensor connector :
•
Press the locking tab (1st photo).
•
Pull by hand (2nd photo).


Op 08
Unscrew and remove the crankshaft sensor retaining bolt. Use an 8 mm socket.


Op 09
Remove the crankshaft sensor. Pull by hand.
As we can see (2nd photo), on our Defender, the crankshaft sensor does not have a spacer.
Of course, if on your Defender, the crankshaft sensor is mounted with a spacer, be sure to retrieve it.


Advertisement
Fit the crankshaft sensor
Op 10
Fit the crankshaft sensor (NSC100790). Push by hand.
If you recovered it during disassembly, also fit the crankshaft sensor spacer.


Op 11
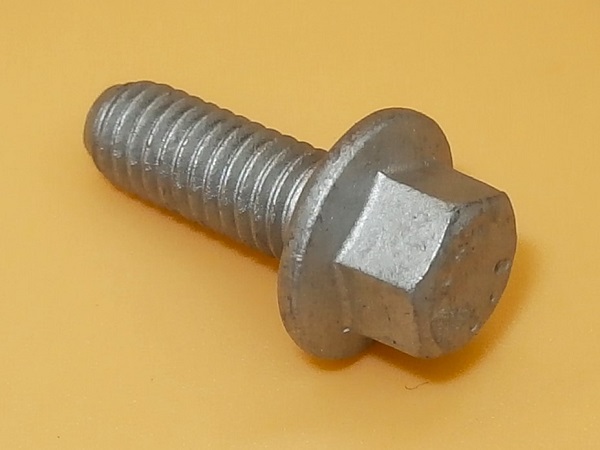
Fit the crankshaft sensor retaining bolt (FS106127L). Use the 8 mm socket.


Op 12
Connect the connector to the crankshaft sensor. Push by hand.


Advertisement
Fit the air inlet duct
Op 13
Fit the duct on the air inlet grille side. Push by hand.


Op 14
Fit the duct on the air box side. Push by hand.


Op 15
Tighten the duct clips on the air inlet grille side and on the air box. Use the 6 mm socket.


The End