This tutorial is also available in French
➔

Front brake pads change on Austin Mini
Vehicle ➔ Mini 1000 year 1988
Difficulty ➔ Easy

Time ➔ 1 hour
Summary
Advertisement
Advertisement

Recommendations

Regularly check the front brake pads. Replace them before they reach 1.6 mm thickness.
Always change the pads in pairs (RH wheel + LH wheel).
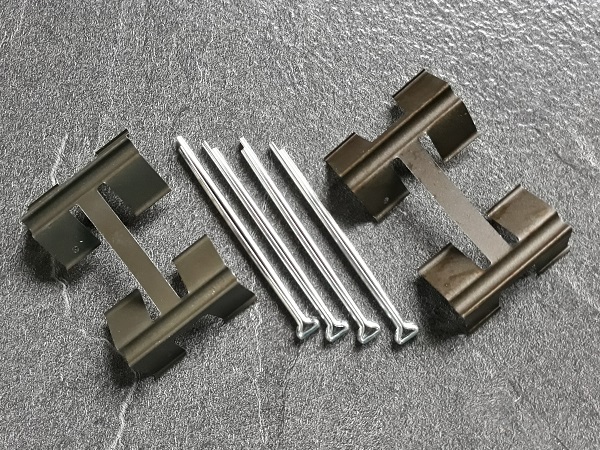
Always change the pads retaining pins and the clips when changing pads. The pins and the clips are not included in the brake pad set.
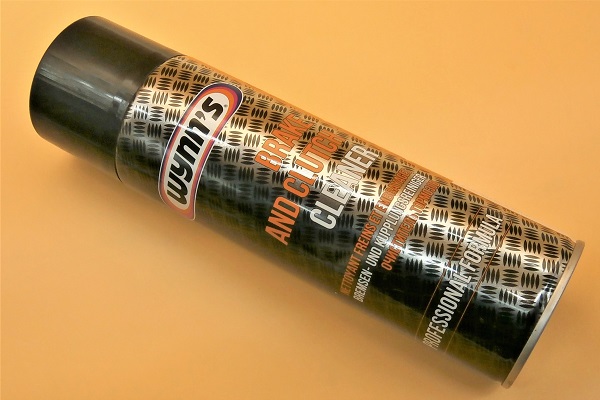
Never use compressed air when cleaning the brake system. You could inhale very harmful dust. Use brake cleaner and a cloth. Your lungs will thank you.
Brake fluid is extremely aggressive to paint. Be careful not to spill any on the bodywork. Clean any stains immediately with a cloth and water.

Bed in the new brake pads. Do not brake suddenly during the first few kilometers. This allows the pads to adjust with the disc and prevents them from glazing.
Required Tools
Sponsored links by


Spare Parts
Our Partners


Packaging :
•
GHK1140 : Bearing kit for one wheel (2 bearings + 1 spacer + 2 seals + 1 water shield + 1 split pin). This kit can only be fitted on swivel hubs with disc brakes.
• The nuts and washers above are sold individually.
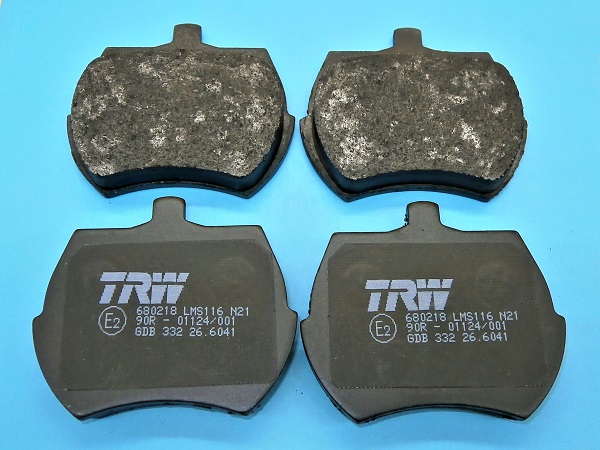
• GBP281MS : Brake pads set for 2 front brake calipers.
• The nuts and washers above are sold individually.
• GBP281MS : Brake pads set for 2 front brake calipers.
Advertisement
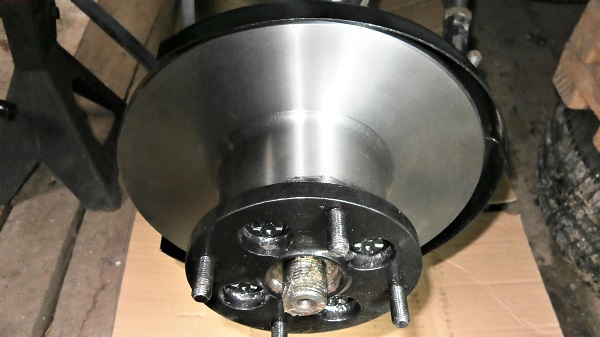
Remove the LH front wheel
Op 01
Lift the wheel :
•
Apply the handbrake.
•
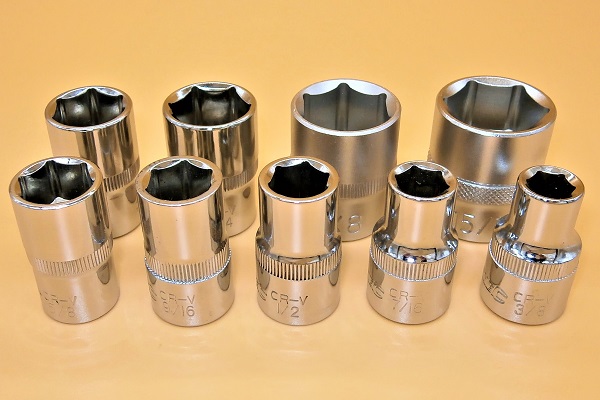
Slightly loosen the 4 wheel nuts. Use the 11/16'' socket.
•
Lift the wheel. Use the jack.
•
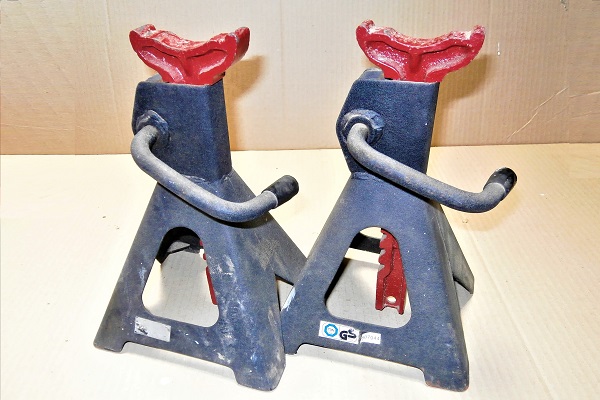
Fit jack stands or rigid chocks to guarantee your safety.
Before working under the vehicle, make sure to secure it properly with jack stands or rigid chocks. Never work under a vehicle supported only by a jack. It is too dangerous.


Op 02
Remove the wheel :
•
Remove the 4 wheel nuts. Unscrew by hand.
•
Remove the wheel. Pull by hand.


Remove the brake pads
Op 03
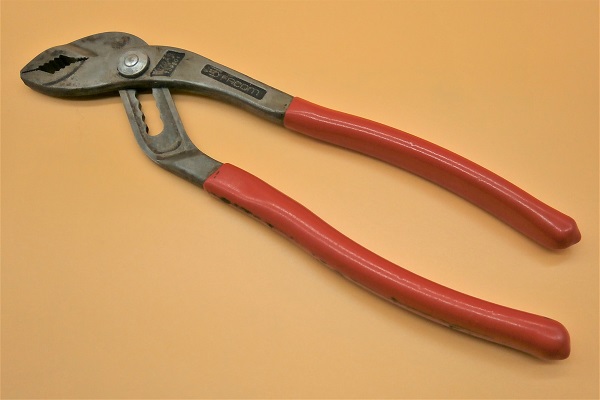
Remove the 2 pads retaining pins. Use the multigrip pliers.


Op 04
Remove the clip. Pull by hand.

Op 05
Slightly push the caliper pistons back into their housings by compressing the pads. Use the multigrip pliers.
The pistons must be retracted enough to release the pads and allow their extraction.
When pushing the pistons back, monitor the brake fluid level in the master cylinder reservoir. The brake fluid must not overflow as it is very aggressive against bodywork paints.
If one of the pistons does not easily retract into its housing, it is probably oxidized. In this case, plan to refurbish the caliper
(➔ see the tutorial ''Front brake calipers refurbishment'').

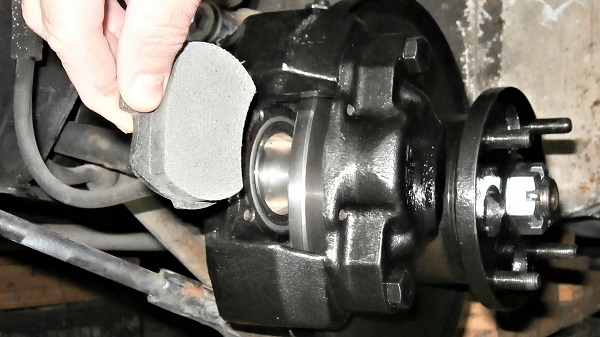
Op 06
Remove the brake pads and anti-squeal shims. Pull by hand.


Advertisement
Push back the caliper pistons
Op 07
Remove the dust from the caliper. Use brake cleaner.
Op 08
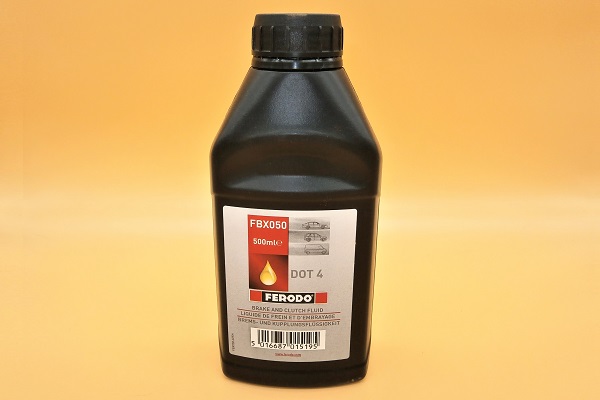
Clean the visible surfaces of the pistons. Use new brake fluid (Dot 4).
If necessary, lightly press the brake pedal to extract the pistons a few millimeters and facilitate their cleaning.
Watch out ! Do not eject the pistons !
As soon as the pistons are clean, clean any traces of brake fluid on the caliper, disc and hub. Use a cloth.
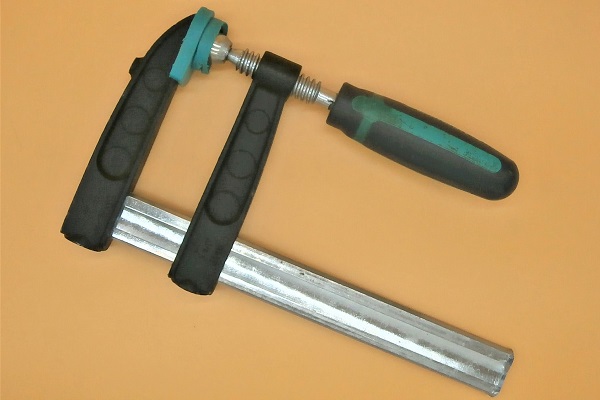
Op 09
Push the 2 pistons back into their housings. Use the screw clamp.
The pistons must be retracted enough to allow the new pads to be positioned.
When pushing the pistons back, monitor the brake fluid level in the master cylinder reservoir. The brake fluid must not overflow as it is very aggressive against bodywork paints.
Fit the brake pads
Op 10
Fit the new brake pads (set GBP281MS).


Op 11
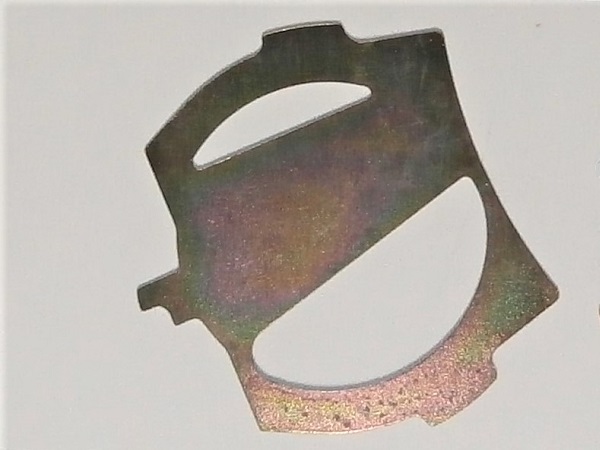
Fit the 2 anti-squeal shims (17H2460) between the pads and the caliper pistons. Slide them by hand.


Op 12
Fit the clip (kit GBK1026).


Op 13
Fit the 2 split pins (kit GBK1026). Engage them by hand.


Op 14
Spread the legs of the 2 split pins. Use the multigrip pliers.


Op 15
Press the brake pedal several times to bring the pads closer to the discs.

Advertisement
Fit the wheel
Op 16
Fit the wheel :
•
Fit the wheel on the drive flange.
•
Screw on the 4 nuts. Use the 11/16'' socket.
•
Lower the Mini to the ground. Remove the jack stands.
•
Tighten the 4 nuts to the torque corresponding to the type of rim. Use the torque wrench.
The tightening torque of the wheel nuts is :
• 63 mN for steel rims.
• 50 mN for alloy rims.
• 63 mN for steel rims.
• 50 mN for alloy rims.
Change the brake pads on the RH side
Op 17
Change the pads on the RH side. Proceed in the same way.
Top up the brake master cylinder reservoir
Op 18
Check the level of the brake master cylinder reservoir. Add or remove brake fluid (DOT4) if necessary.
The minimum level and the maximum level are marked on the side of the master cylinder reservoir (2nd photo).


The End