This tutorial is also available in French
➔

Engine + automatic gearbox oil change on Austin Mini
Vehicle ➔ Mini 1000 year 1991 automatic gearbox
Difficulty ➔ Easy

Time ➔ 2 hours
Summary
Advertisement
Advertisement

Recommendations

This tutorial only concerns the Mini with an automatic gearbox. There is another tutorial about how to change the oil on a Mini with manual gearbox
(➔ see the tutorial).
The oil is common to the engine and the gearbox.
Drain every 10,000 km or every 6 months.
Drain every 10,000 km or every 6 months.
Total capacity of engine + automatic gearbox ➔ 7.38 liters.
Amount of oil required for draining ➔ 5 liters (approximately).
Amount of oil required for draining ➔ 5 liters (approximately).
The workshop manual recommends an oil :
• SAE 10W40 for temperatures from -20 to +35°C
• SAE 20W50 for temperatures from 0 to +50°C
• SAE 10W40 for temperatures from -20 to +35°C
• SAE 20W50 for temperatures from 0 to +50°C
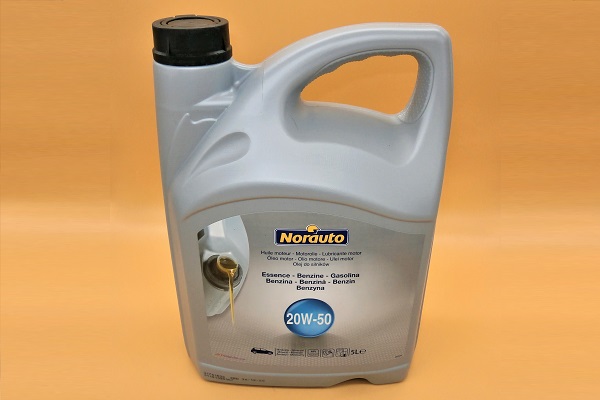
It is recommended to use a modern mineral oil specially formulated for classic vehicles (Castrol Classic XL 20W50, Motul Classic Oil 20W50, Elf HTX Collection 20W50, Mini Spares Classic Oil 20W50, Norauto 20W50).
• These oils do not deteriorate the rubber seals of old vehicles.
• They have a high rate of ZDDP (anti-wear additive) which improves the protection against the oxidation of the metallic parts in contact (e.g. : rocker and push rod).
• They have reinforced adhesion even during long periods of immobilization of the vehicle.
We use Norauto 20W50 oil on our Mini. At €23 for 5 liters, it's an excellent value for money.
Before draining, drive a few kilometers to warm up the oil. The oil will then be more fluid and will drain better.

Used oils, brake fluids, seals and filters are hazardous waste for the environment. They must in no circumstances be thrown neither in the natural environment, nor in the sanitation network, nor in household waste. They must be deposited in a recycling center.
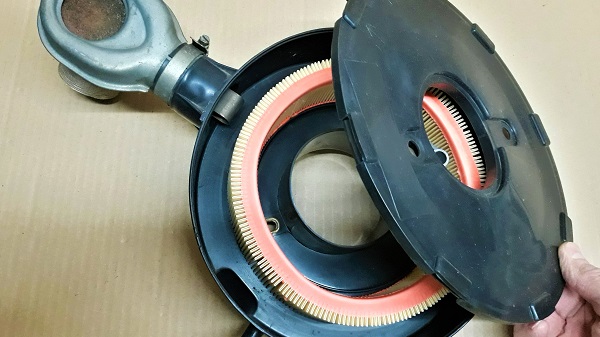
The GFE104 oil filter
The GFE104 oil filter is specific to the Mini with an automatic gearbox. It is a paper cartridge type. It is located inside a metal housing located at the front of the engine.
Depending on the supplier, the glued seals on either side of the GFE104 oil filter are sometimes made of rubber (1st photo) and sometimes made of paper (2nd photo). This is no problem at all. The sealing is good regardless of the type of seal used.


The GFE104 oil filter is often supplied with 2 seals of different thicknesses (1st photo). Only one of these 2 seals is necessary when changing the filter. It is used to guarantee the tightness of the filter housing on its base. When reassembling the filter, use the seal having the same thickness as the seal you have just removed.

When reassembling the oil filter housing, you will also need an O-ring and a flat seal. These seals are not included in the packaging of the oil filter. They must be ordered separately.
The sealing at the housing fixing bolt is ensured by an O-ring. The standard assembly is as follows : bolt, collar, O-ring and filter housing (1st photo).
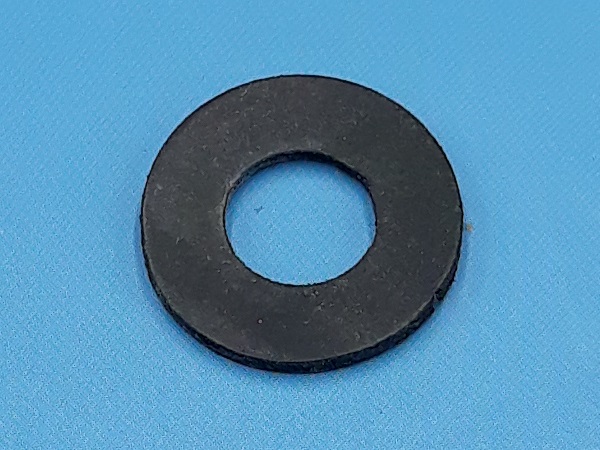
If you have respected this assembly and you have an oil leak despite everything (experienced), you just have to add a flat washer between the collar and the O-ring (2nd photo). This should solve the problem.
The flat washer must have (3rd photo) :
• An inside diameter of 10 mm mini to be able to engage on the bolt.
• An outside diameter of 15 mm maxi to be able to fit into the recess of the collar.
• A thickness of 1 mm.
On our Mini, we use the reference 233220A.


Required Tools
Sponsored links by


Spare Parts
Our Partners


Packaging :
•
All the above parts are sold individually.
Advertisement
Drain the engine and gearbox oil
Op 01
Remove the grille (➔ see the tutorial ''Grille removal'' Op 01 to 04).
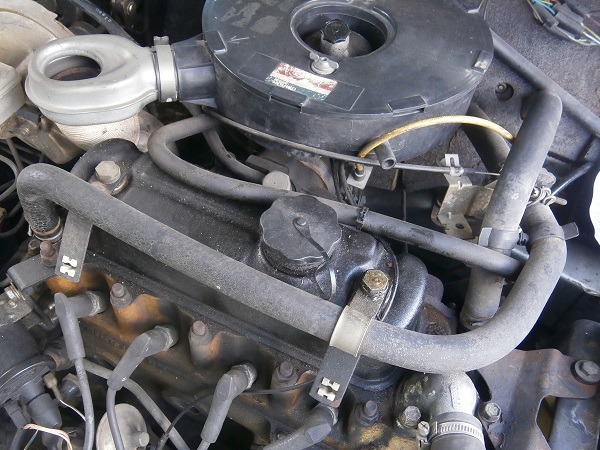
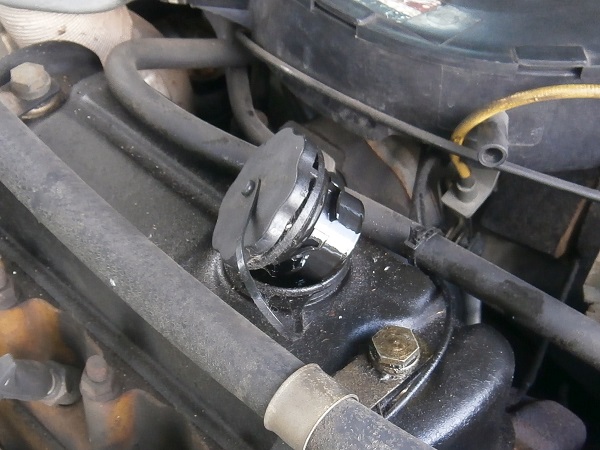
Op 02
Remove the oil filler cap :
•
Unscrew 1/4 turn by hand.
•
Remove the cap.
Removing the oil filler cap will facilitate the flow of oil.

Op 03
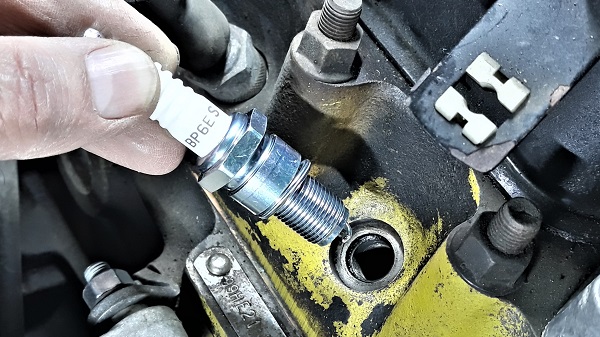
Check that you can position the 24 mm socket on the drain plug (2nd photo).
•
If there is enough space between the drain plug and the linkage cover (1st photo) to be able to put the socket in place, go to the next Op.
•
Otherwise, you will have to remove the linkage cover
(➔ see the tutorial ''Automatic gearbox valve operating rod oil seal change'' Op 02 to 04).
On the Mini automatic gearbox, the linkage cover is very close to the drain plug. If your 24 mm socket is too thick, it will not pass.


Op 04
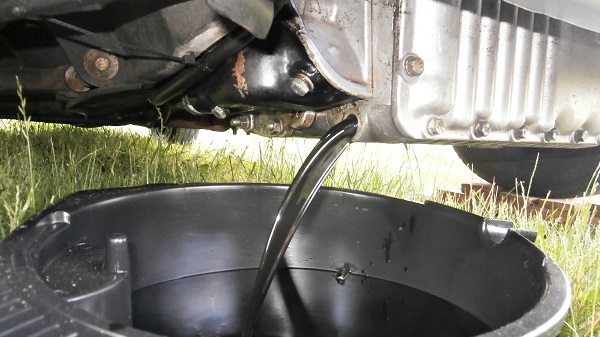
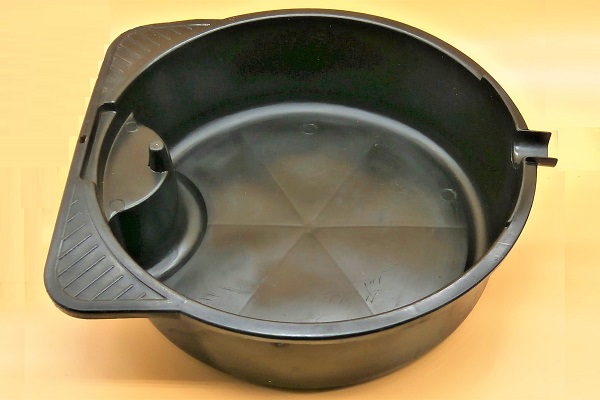
Place a drain pan under the gearbox.
Unscrew the drain plug. Use a 24 mm socket.
Let the oil drain.
Discard the sealing washer.
The oil will flow sideways. Position the drain pan accordingly.
The oil and drain plug are very hot. Be careful not to burn yourself.
The drain plug is magnetic. It retains the filings. It will have to be cleaned well before reassembly.


Remove the oil filter
Op 05
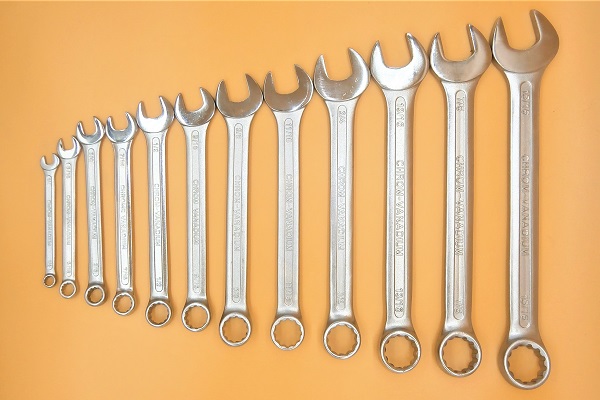
Unscrew the oil filter housing bolt. Use a 9/16'' (or 14 mm) spanner.


Op 06
Remove the filter housing (with its filter). Pull firmly by hand.
Place a drain pan under the filter housing because oil will flow when unscrewing.


Op 07
Remove the housing seal.
Discard the seal.


Op 08
Remove the oil filter from the housing.
Discard the used filter.


Advertisement
Fit the new oil filter
Op 09
Remove the housing completely.
Discard the used flat seal and O-ring.
Perfectly clean all the elements (housing, bolt, collar, spring, washer, pressure plate).

Op 10
Fit the collar and the new O-ring (508380) on the bolt.
Engage the bolt in the housing.
Lightly lubricate the seal with new engine oil before positioning it.
Respect the mounting direction of the collar. The O-ring must be housed in the recess of the collar.
As described above, if you have detected a leak at the housing fixing bolt, it is at this moment that it is necessary to insert a flat washer between the collar and the O-ring.


Op 11
Fit the spring, the flat washer, the new flat seal (7H28) and the pressure plate on the bolt.
Push the whole assembly to the bottom of the housing.
Lightly lubricate the seal with new engine oil before positioning it.
Respect the mounting direction of the pressure plate. The shoulder must be fitted on the oil filter side. It will allow the centering of the filter.


Op 12
Fit the new housing seal (GFE104 kit) on the base.
Lightly lubricate the seal with new engine oil before positioning it.


Op 13
Fit the filter (GFE104 kit) in the housing.
Slightly lubricate the filter seals with new engine oil before positioning it.

Op 14
Fit the housing and its filter on the base.


Op 15
Screw in the housing bolt. Use a 9/16'' (or 14 mm) spanner.
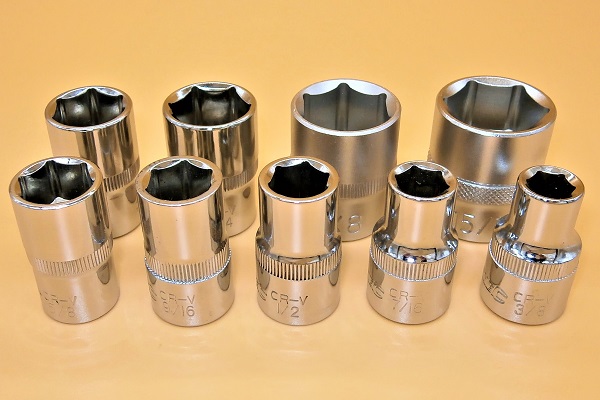
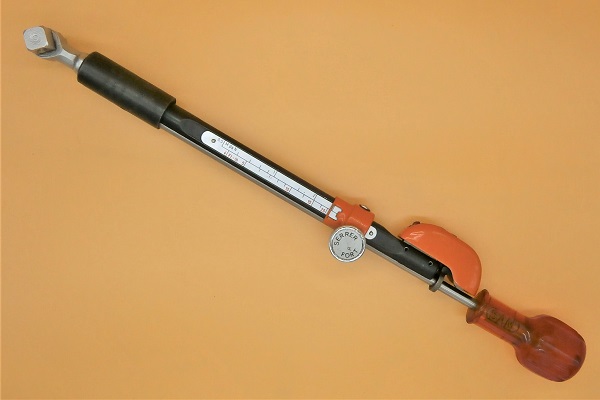
Tighten the bolt to a torque of 19 mN. Use a 9/16'' (or 14 mm) socket and a torque wrench.
Rotate the housing while tightening so that it engages correctly on its base.


Advertisement
Add oil to the engine and gearbox
Op 16
Clean the drain plug thoroughly.
Fit the new sealing washer (AED172) on the drain plug.


Op 17
Screw in the drain plug with its washer. Tighten by hand.
Tighten the drain plug to a torque of 34 mN. Use the 24 mm socket and the torque wrench.
The oil pan is made of aluminum. It is therefore very fragile. Start screwing the drain plug by hand, taking every precaution not to strip the thread.


Op 18
If you had to remove the linkage cover during Op03, put it back in place (➔ see the tutorial ''Automatic gearbox valve operating rod oil seal change'' Op 27).
Op 19
Pour 4.5 liters of oil into the engine.

Op 20
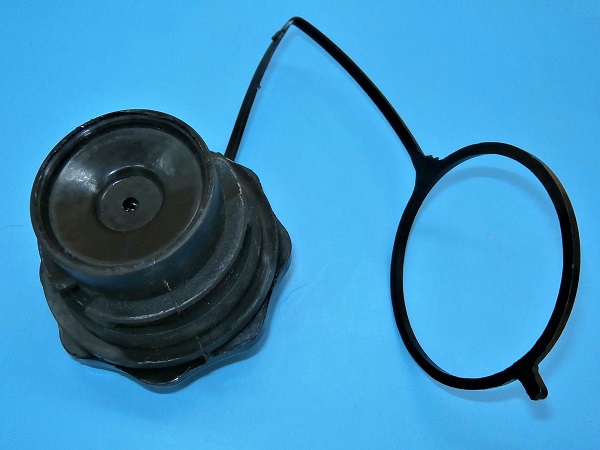
Fit the oil filler cap (GFE6003MS).
The oil filler cap is equipped with a breather. It must be cleaned or changed every 20,000 km (12,000 miles).


Op 21
Start the engine for a few seconds. Turn off the engine.
Check the oil level. Use the dipstick.
Add engine oil if necessary until approaching the ''max'' mark on the dipstick.
Check that there are no leaks at the oil filter and the drain plug.
After turning off the engine, wait a few minutes for the oil to drain back into the engine oil sump before checking the oil level. If you do not respect this delay, the level reading may be distorted.
The amount of oil between the ''min'' and ''max'' marks on the dipstick is 0.6 liters.
Do not exceed the maximum oil level (''max'' mark). This could damage the engine.


Op 22
Fit the grille (➔ see the tutorial ''Grille removal'' Op 05 to 06).
Op 23
Drive a few kilometers with the vehicle.
Check the oil level again and the absence of leaks at the oil filter and the drain plug.

The End