This tutorial is also available in French
➔

Rear quarter opening glass seal change on Austin Mini
Vehicle ➔ Mini 1000 year 1991 automatic gearbox
Difficulty ➔ Easy

Time ➔ 1 hour
Summary
Advertisement
Advertisement

Recommendations

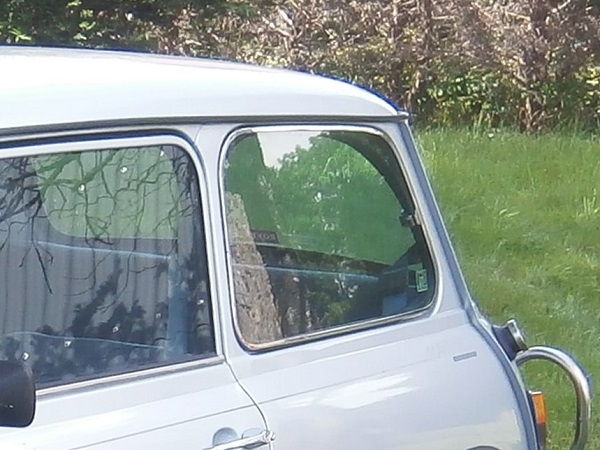
Over time, the rear quarter opening glass seal shortens and eventually breaks. It lets water in, causing oxidation of the bodywork.
Required Tools
Sponsored links by


Spare Parts
Our Partners


Packaging :
•
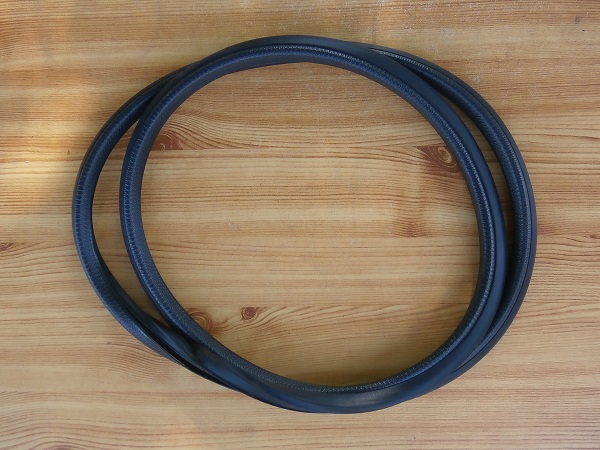
EAM7724 : Rear quarter glass seal sold individually.
Advertisement
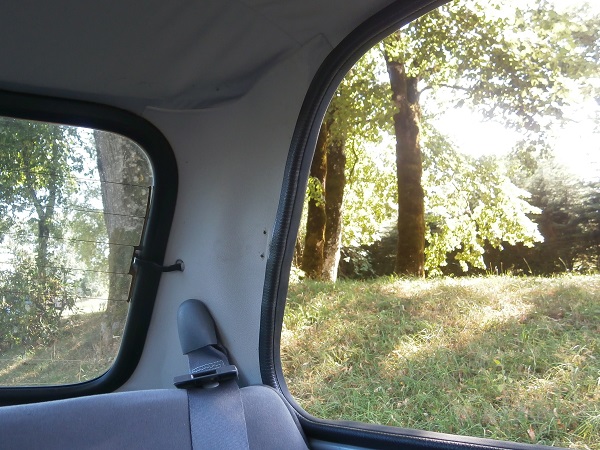
Remove the rear quarter glass seal
Op 01
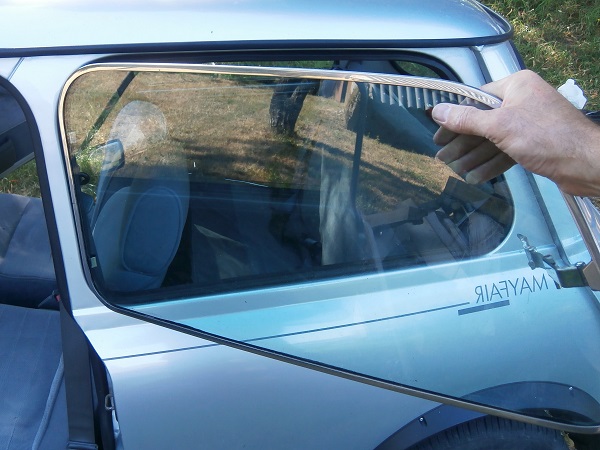
Open the rear quarter glass.
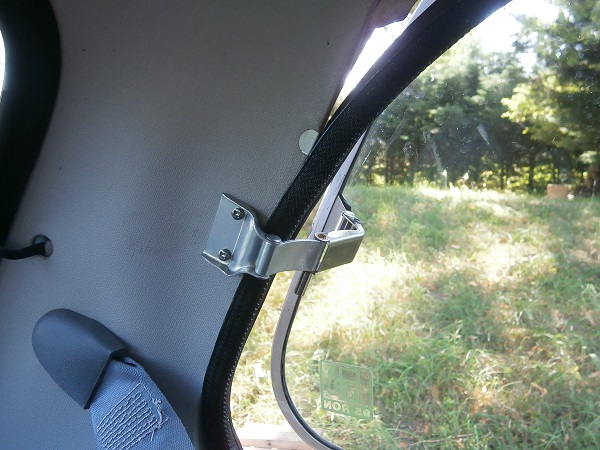
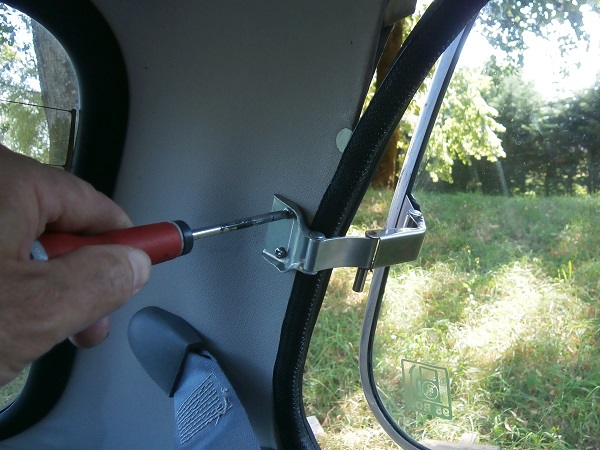
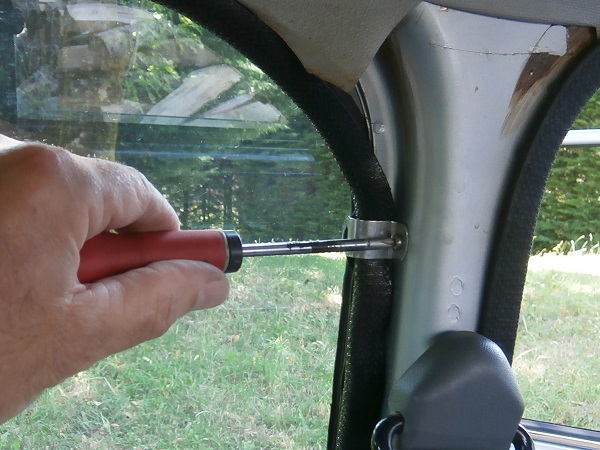
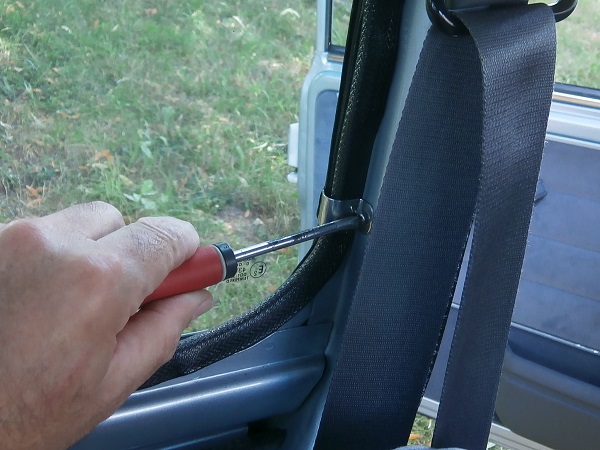
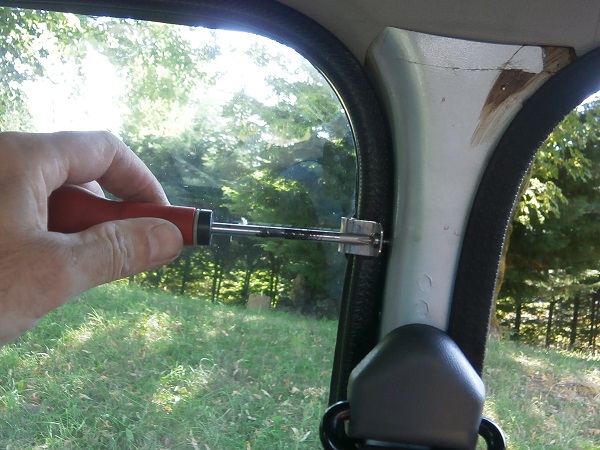
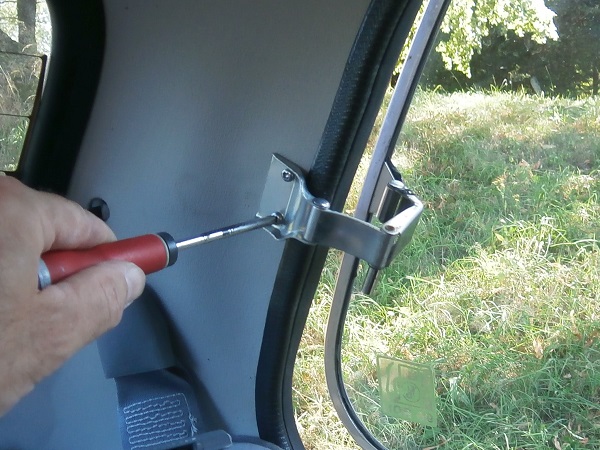
Op 02
Unscrew the 2 window catch fixing screws. Use a Phillips screwdriver.
Op 03
Unscrew the 2 front fixing screws of the rear quarter glass. Use a Phillips screwdriver.

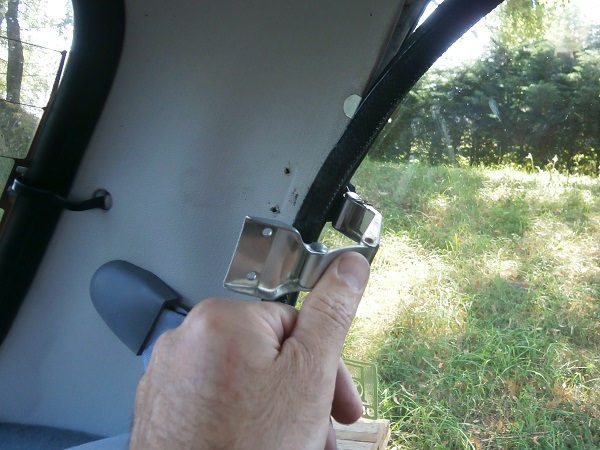
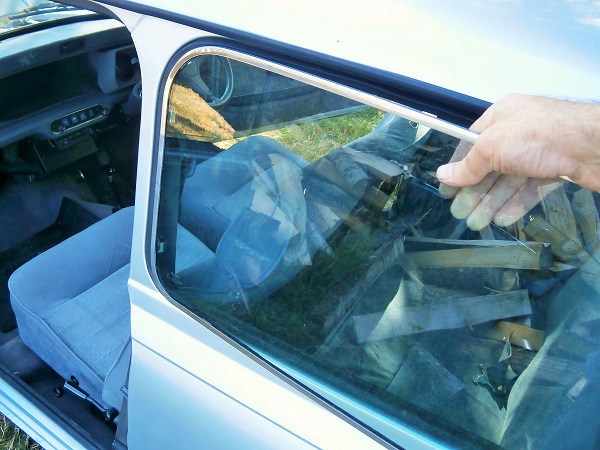
Op 04
Remove the rear quarter glass. Pull firmly by hand to disengage the front fixings.

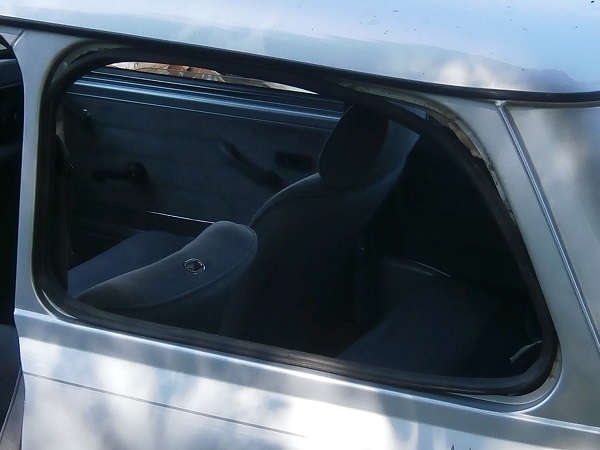
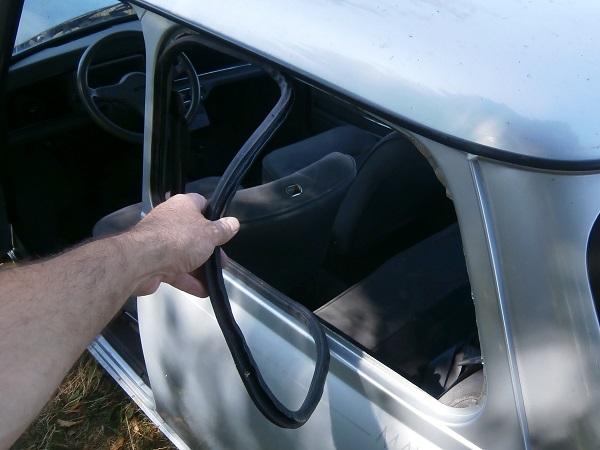
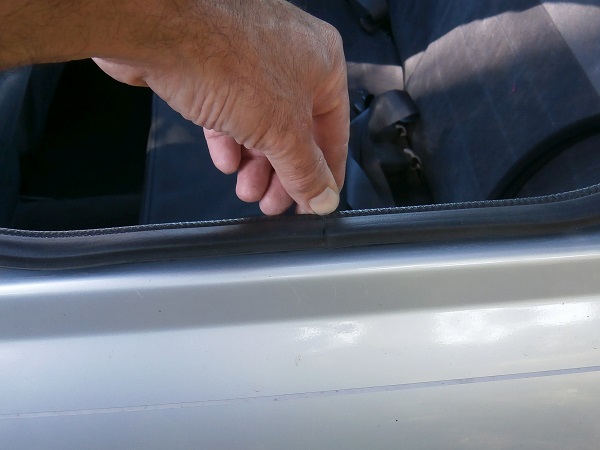
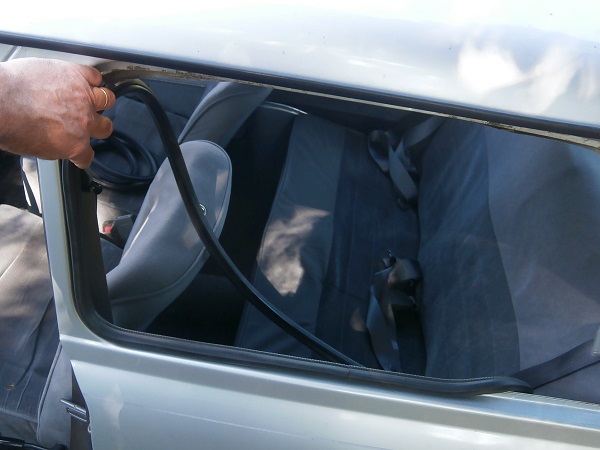
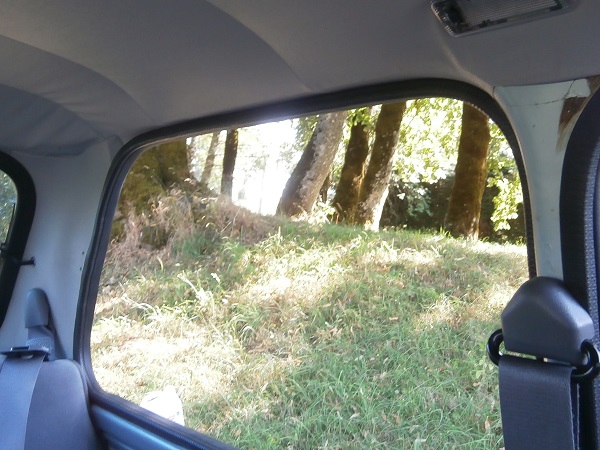
Op 05
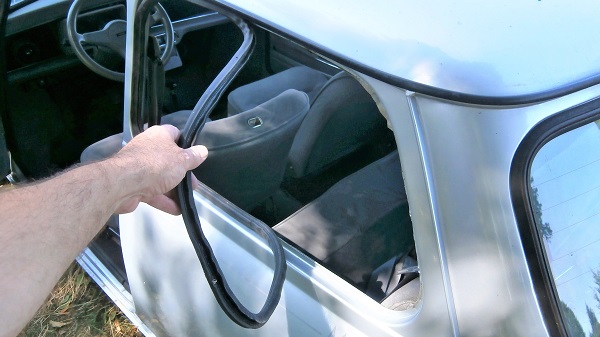
Remove the old seal.
Advertisement
Fit the rear quarter glass seal
Op 06
Fit the joint of the new seal (EAM7724) at the bottom of the rear quarter.

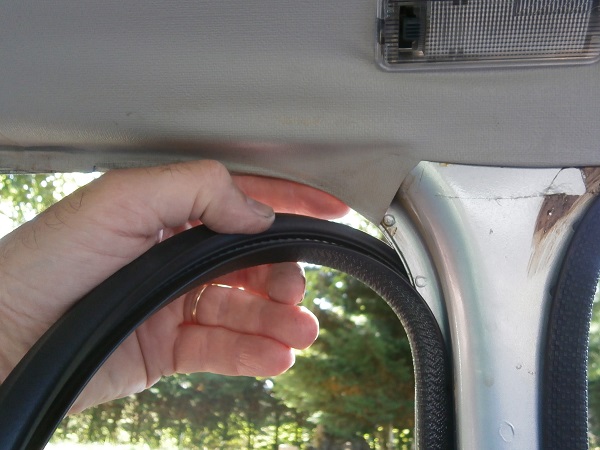
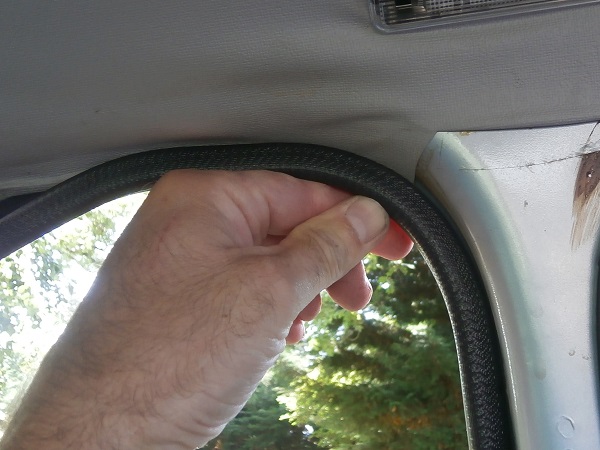
Op 07
Finish installing the seal.
Make sure to pinch the headlining trim and the rear quarter trim in the seal.
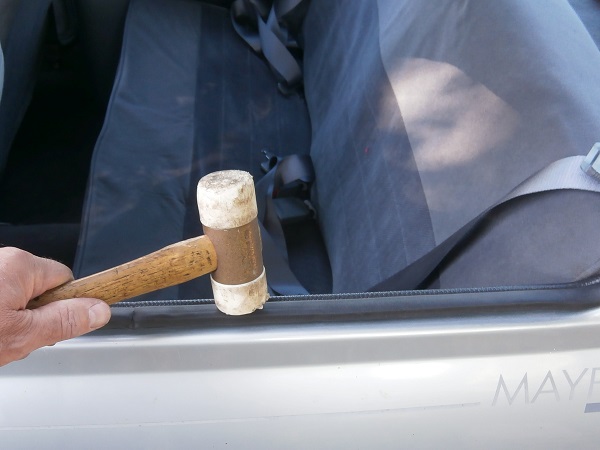
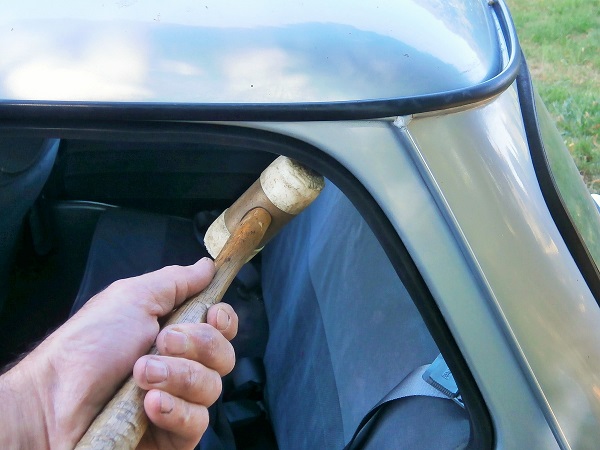
Op 08
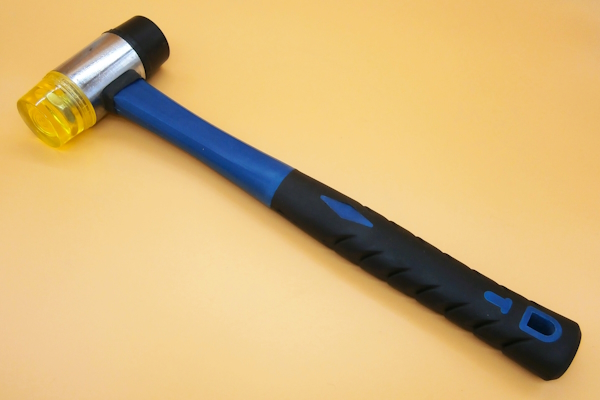
Press the seal into place. Use a mallet.
Op 09
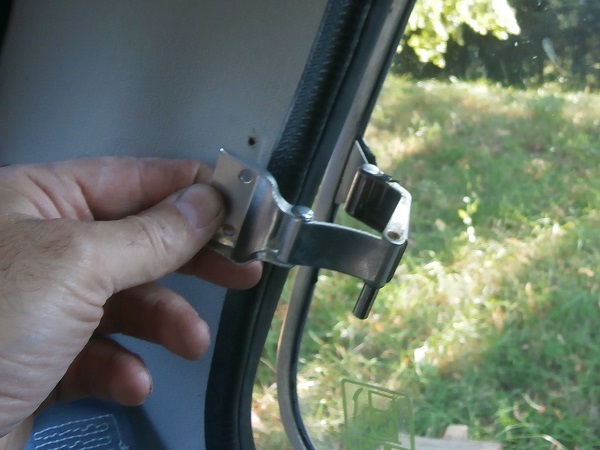
Engage the 2 front fixing brackets of the rear quarter glass.

To facilitate this operation, position the glass at 45°, engage the front fixings brackets (push hard) and fold the rear part of the glass into position.
You can also put a little dish soap on the seal. The glass will then find its place without deforming the seal.
Be careful not to tear the seal with the fixing brackets of the glass.
Op 10
Screw in the 2 front fixing screws of the rear quarter glass. Use a Phillips screwdriver.

Op 11
Fit the window catch and screw in the 2 fixing screws. Use a Phillips screwdriver.

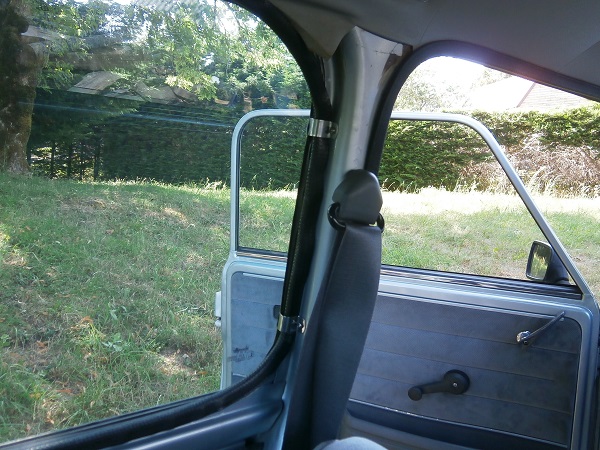
Op 12
Close the rear quarter glass.
The End