This tutorial is also available in French
➔

Renew the coolant on Austin Mini
Vehicle ➔ Mini 1000 year 1991 automatic gearbox
Difficulty ➔ Easy

Time ➔ 1 hour
Summary
Advertisement
Advertisement

Recommendations

This tutorial was done on a Mini with an automatic gearbox but the process is the same on a Mini with a manual gearbox.
What is the role of coolant ?
• Regulate the engine operating temperature and prevent overheating.
• Resists freezing in winter. This is why it is commonly called antifreeze.
• Protects engine parts against corrosion thanks to its anticorrosive properties.
• Do not deposit any residue (e.g. scale) in the cooling system.
• Regulate the engine operating temperature and prevent overheating.
• Resists freezing in winter. This is why it is commonly called antifreeze.
• Protects engine parts against corrosion thanks to its anticorrosive properties.
• Do not deposit any residue (e.g. scale) in the cooling system.
Why change the coolant regularly ?
• Over time, the coolant becomes loaded with impurities. It takes on a brown color. It can then clog the cooling system and the heater system.
• Over time, the anticorrosive properties of the coolant decrease and the cooling system is less well protected against rust.
• Over time, the coolant becomes acidic and can then damage the seals.
Use an ethylene glycol-based coolant (without methanol).
It is recommended to drain the coolant every 2 years.
Total capacity of the cooling system (with heating circuit) :
• 3.6 liters for a classic circuit
• 4.0 liters for a circuit with expansion tank
• 3.6 liters for a classic circuit
• 4.0 liters for a circuit with expansion tank
If the cooling system is clogged, you can clean it with Saint Marc detergent. Fill the cooling system with water + Saint Marc detergent and drive a few kilometers. Drain again, rinse well with a water jet and add coolant.

Never open the radiator cap when the engine is hot. When the engine is hot, the coolant is under pressure. You could generate projections and serious burns.
Coolant is polluting. Its release into nature is prohibited. When draining, collect the used coolant in a container and take it to the recycling center.
Required Tools
Sponsored links by


Spare Parts
Our Partners


Packaging :
•
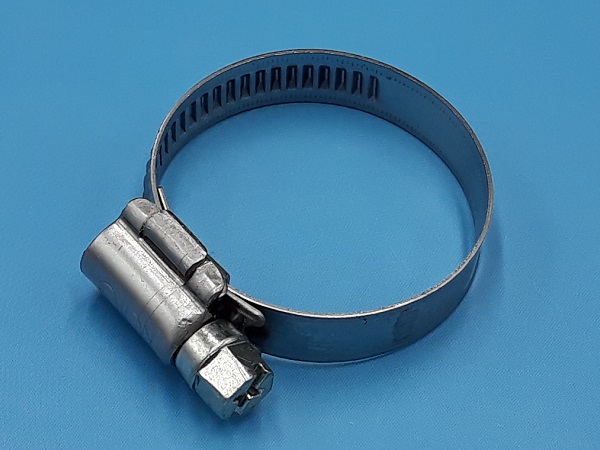
GHC811: Hose clip sold individually.
Advertisement
Drain the cooling system
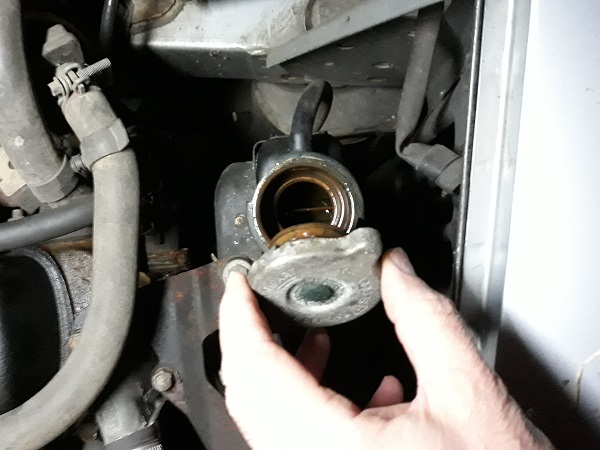
Op 01
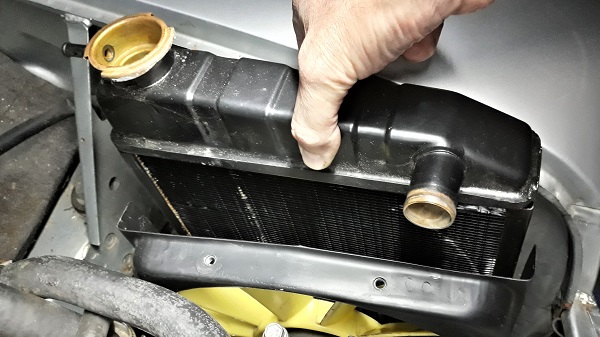
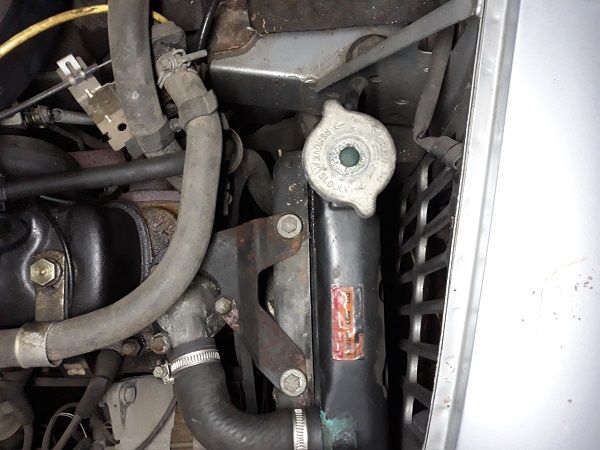
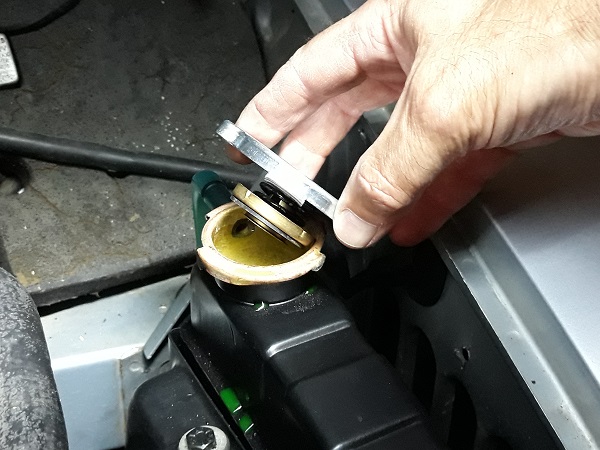
Remove the radiator cap.
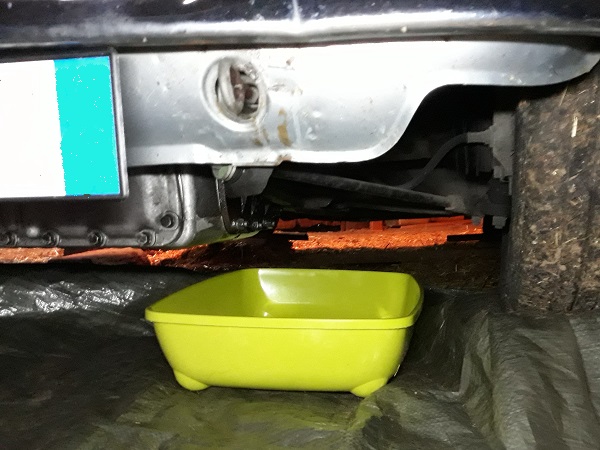
Op 02
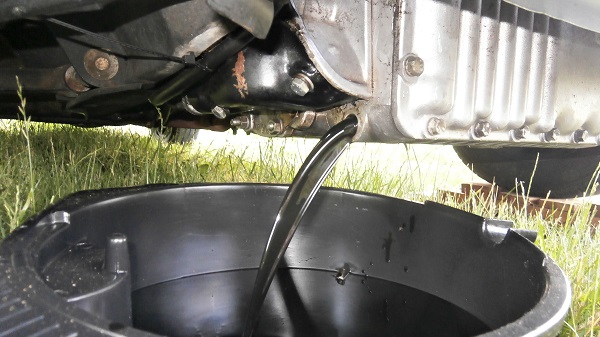
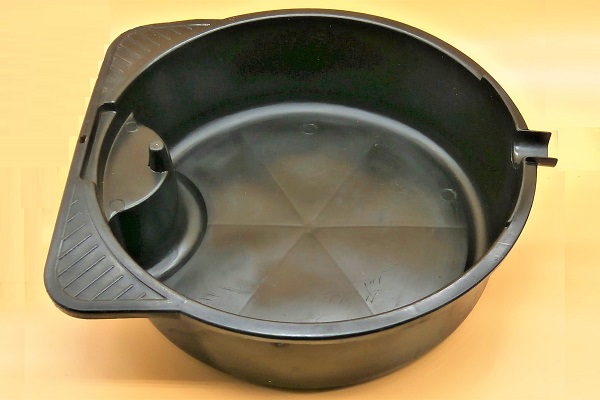
Place the drain pan under the vehicle to collect the coolant.
Use a large drain pan because when it flows, it flows !
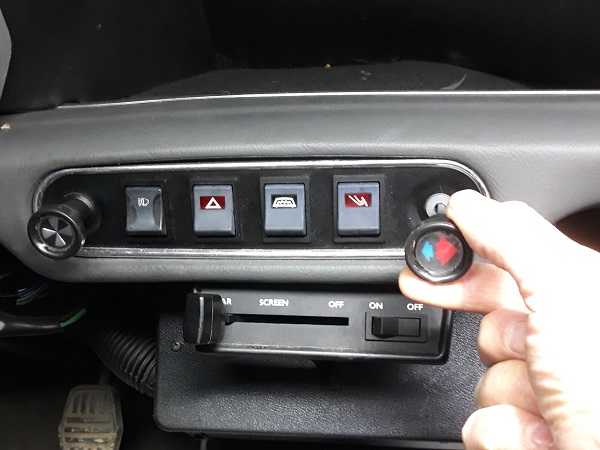
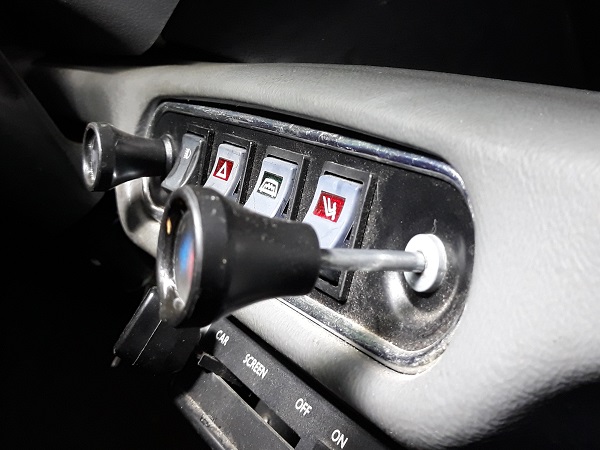
Op 03
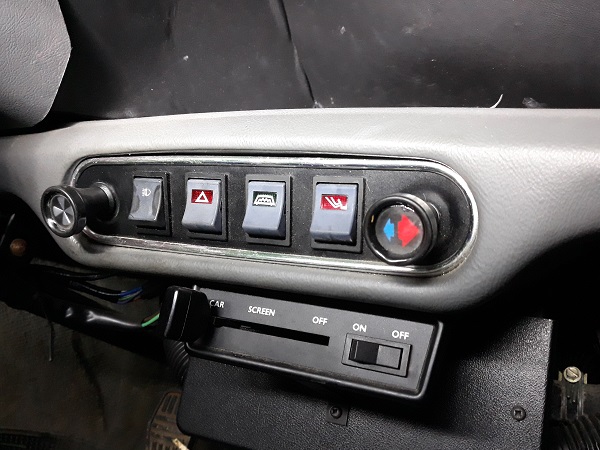
Open the heater valve.
The heater knob has been reversed from the 1989 model :
• Until 1988: push the knob for heat.
• From 1989: pull the knob for heat.
• Until 1988: push the knob for heat.
• From 1989: pull the knob for heat.
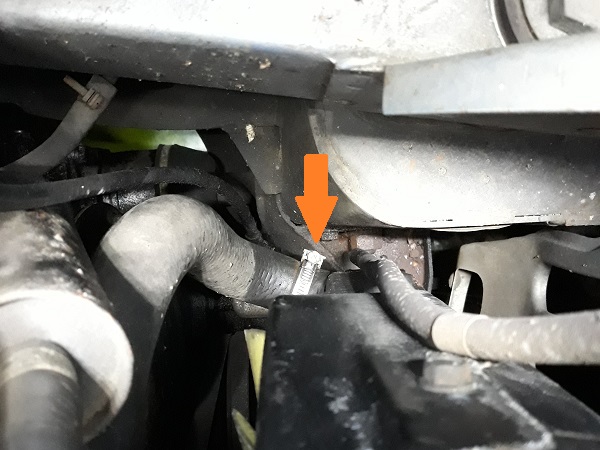
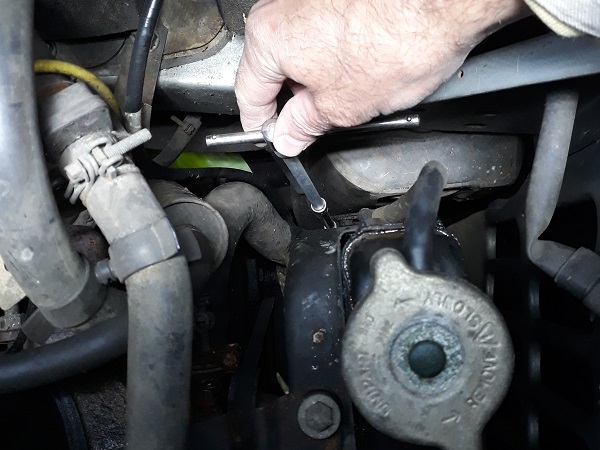
Op 04
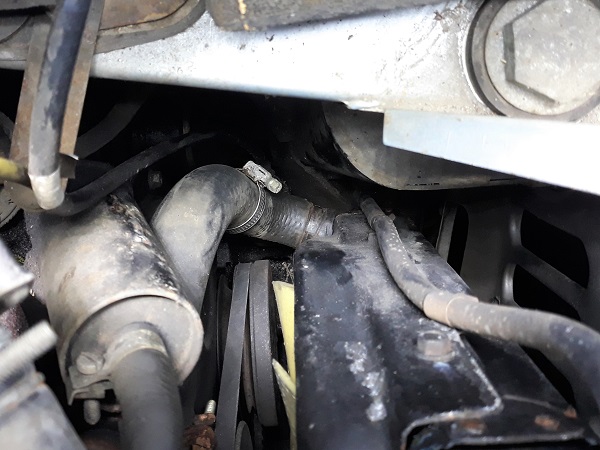
Loosen the clip securing the lower hose to the radiator. Use an 8 mm socket (or 7 mm depending on the clip) and several extensions.
Provide several ratchet extensions because the clip is located very low. It is difficult to access.
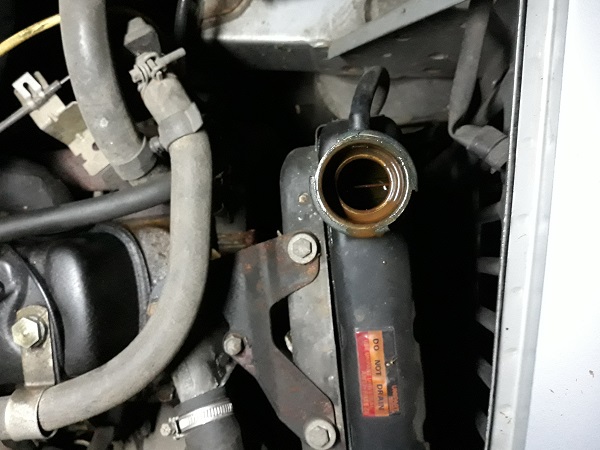
Op 05
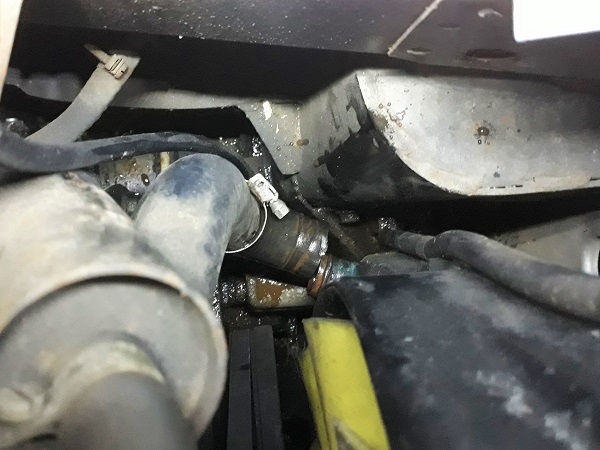
Disconnect the lower hose from the radiator. Pull firmly by hand.
Let the coolant flow.
Advertisement
Fill the cooling system
Op 06
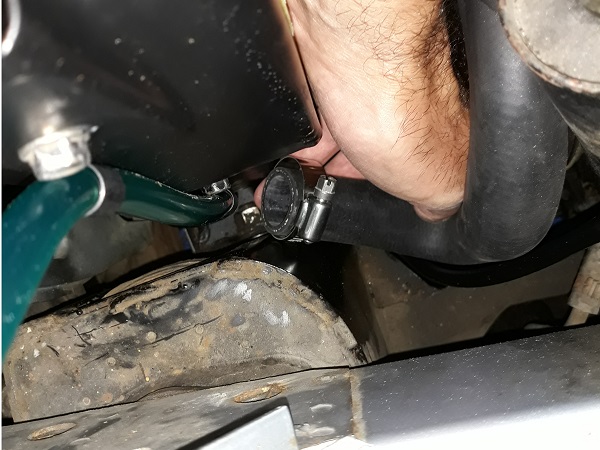
Fit the hose clip (GHC811) on the lower hose without tightening it.
Engage the hose on the radiator. Push firmly by hand.

Op 07
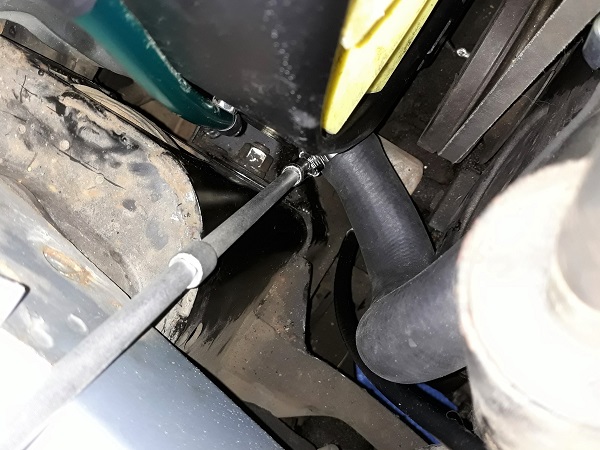
Fit the hose clip in its final location.
Tighten the hose clip. Use the 8 mm socket and several extensions.
Op 08
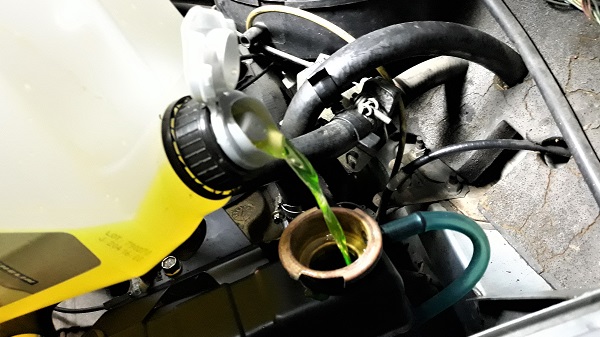
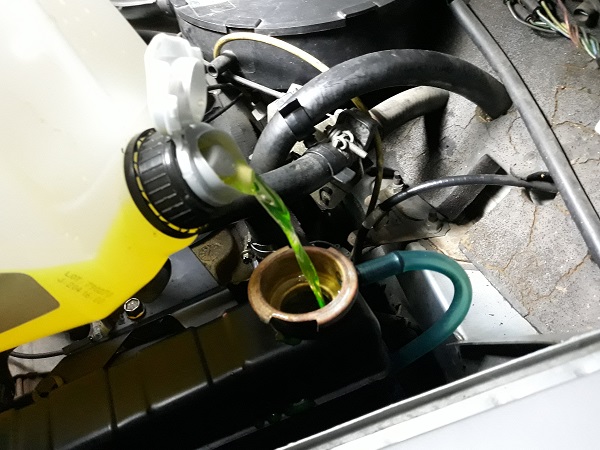
Slowly fill the radiator with coolant.
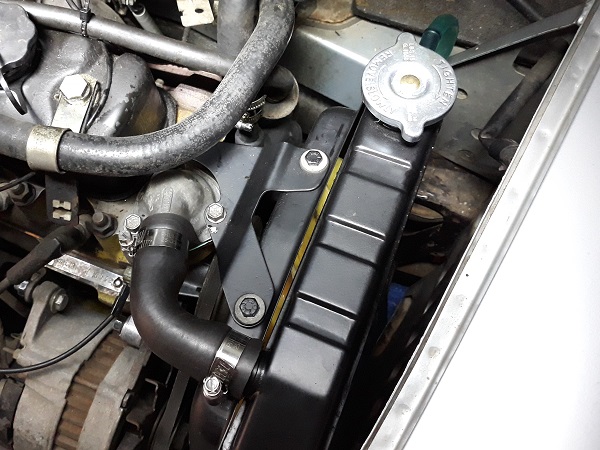
Fit the radiator cap.
Op 09
Run the engine for a few seconds to circulate the coolant.
Op 10
Stop the engine and top up the coolant.
The End