This tutorial is also available in French
➔

Radiator change on Austin Mini
Vehicle ➔ Mini 1000 year 1991 automatic gearbox
Difficulty ➔ Easy

Time ➔ 2 hours
Summary
Advertisement
Advertisement

Recommendations

When you change the radiator, remember to also change the radiator cap. Its seal tends to deteriorate over time.

Also check the hoses and grommets. If you detect cracks, don't hesitate. Replace them.
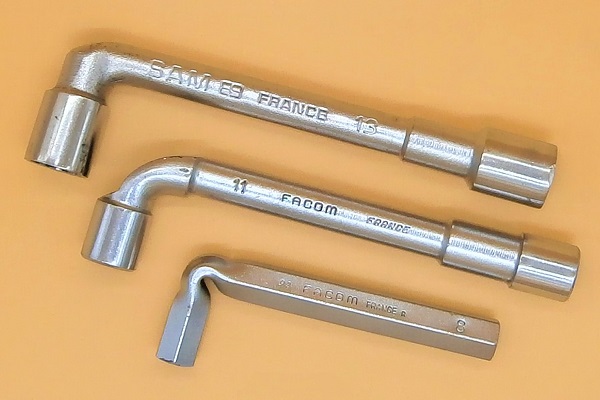
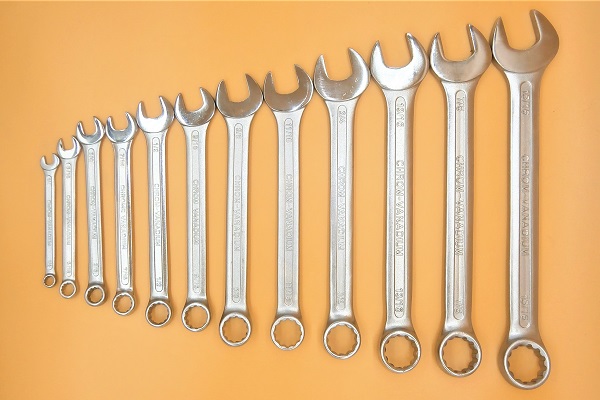
Required Tools
Sponsored links by


Spare Parts
Our Partners


Packaging :
•
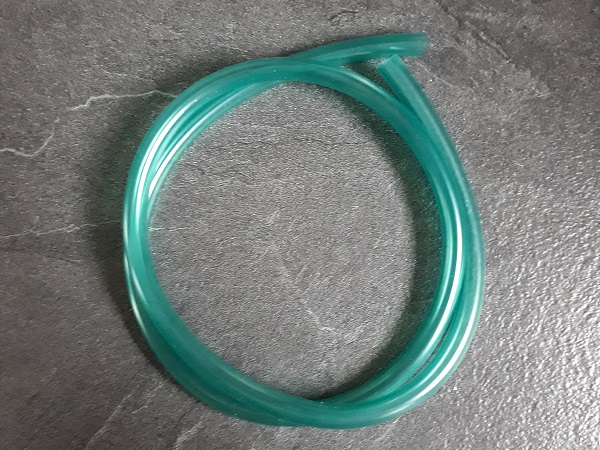
GRH1001M : The radiator overflow hose is sold by the meter.
• All the above parts are sold individually.
• All the above parts are sold individually.
Advertisement
Remove the radiator
Op 01
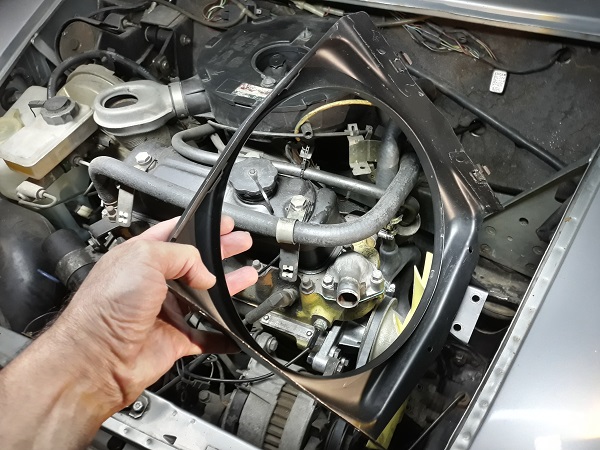
Remove the grille (➔ see the tutorial ''Grille removal'' Op 01 to 04).
Once the grille is removed, the front radiator fixing bolts will be much easier to unscrew.
Op 02
Drain the cooling system (➔ see the tutorial ''Renew the coolant'' Op 01 to 05).
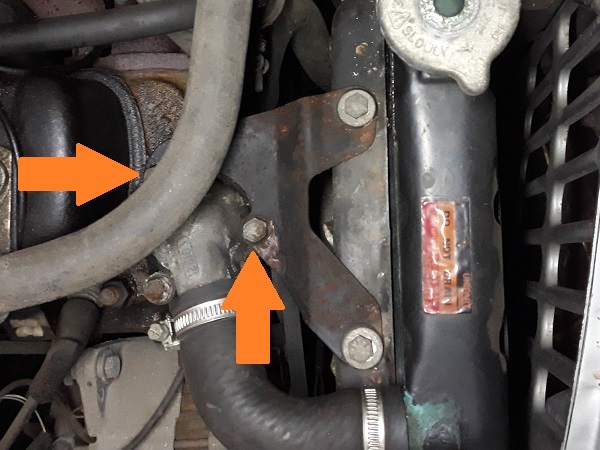
Op 03
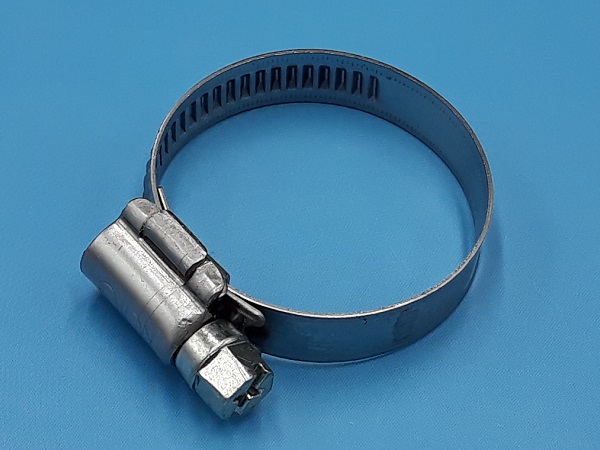
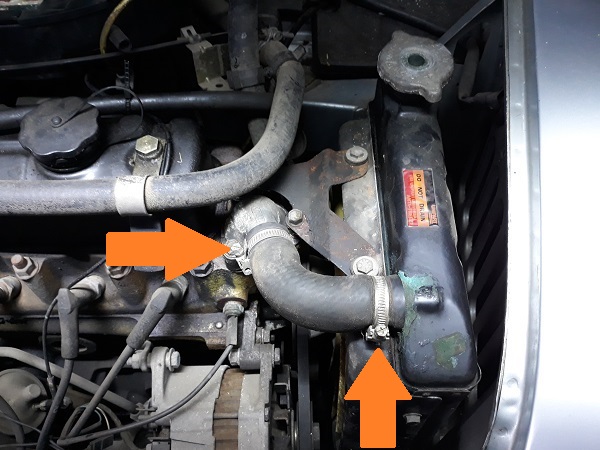
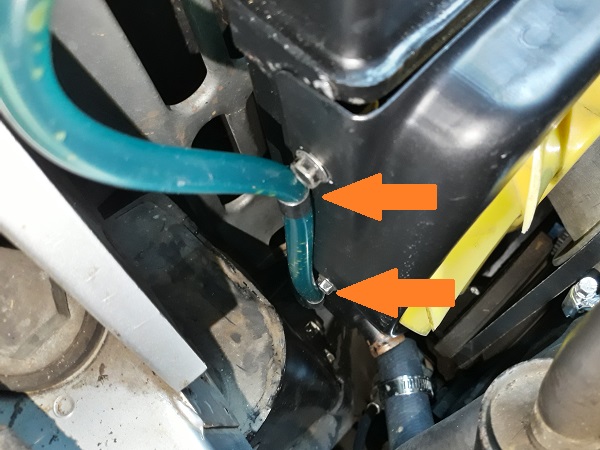
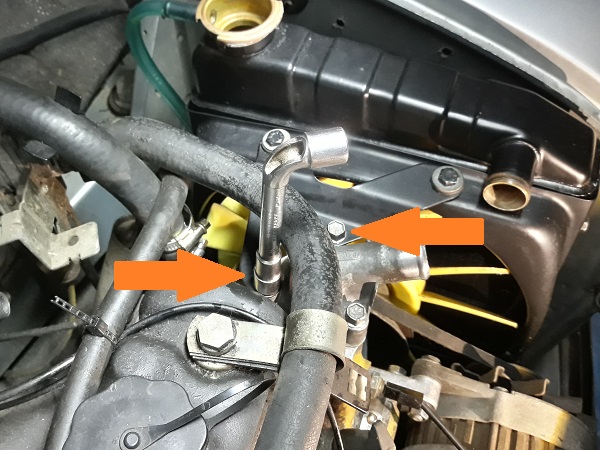
Loosen the 2 clips securing the upper hose. Use a 7 mm socket spanner (or 8 mm depending on the clip).
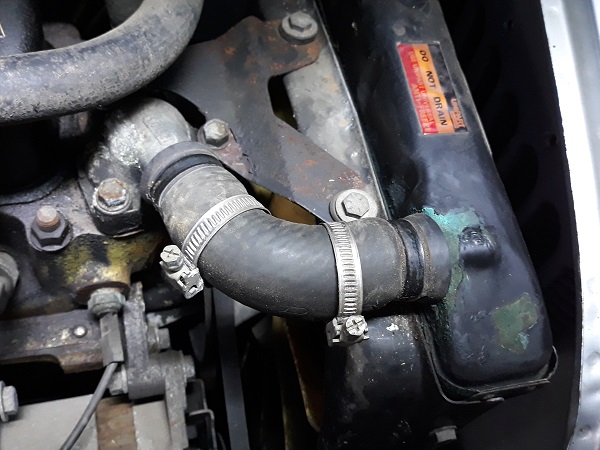
Op 04
Remove the upper hose. Pull firmly by hand.
Op 05
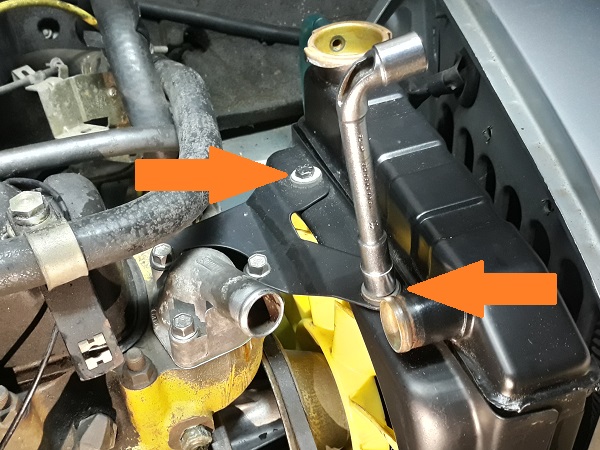
Remove the 2 fixing bolts from the radiator top bracket on radiator side. Use the 11 mm socket spanner.
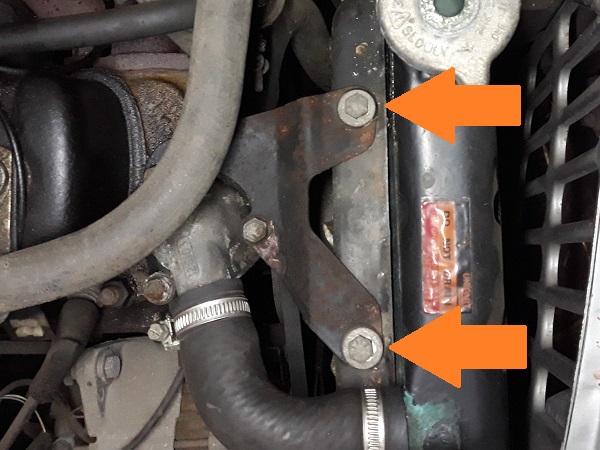
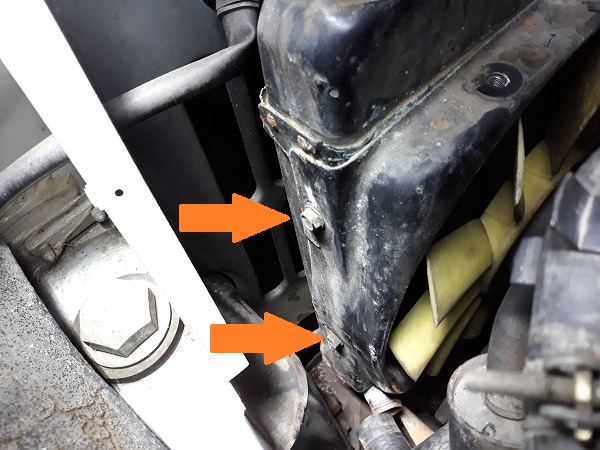
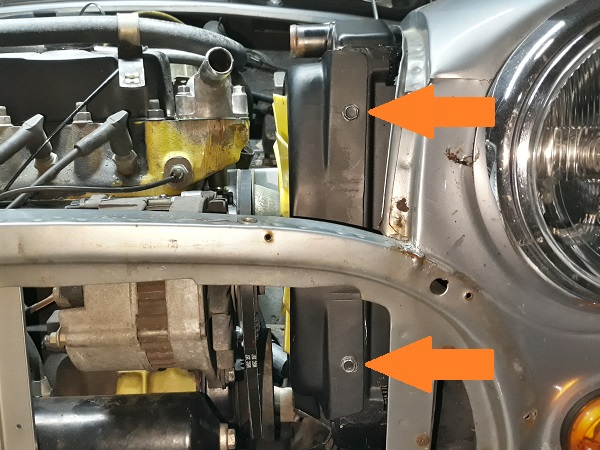
Op 06
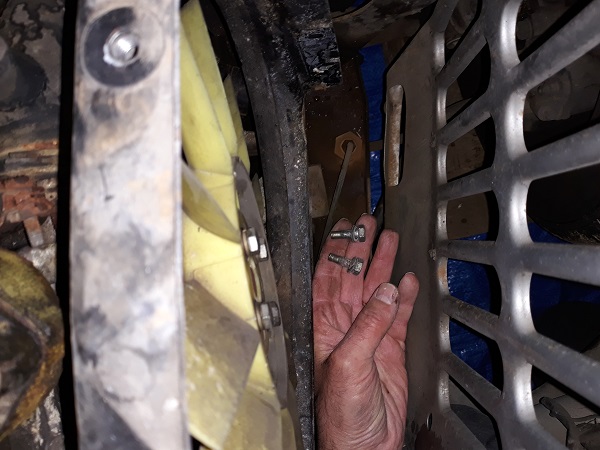
Remove the 2 fixing bolts from the radiator top bracket on thermostat side. Use the 11 mm socket spanner.
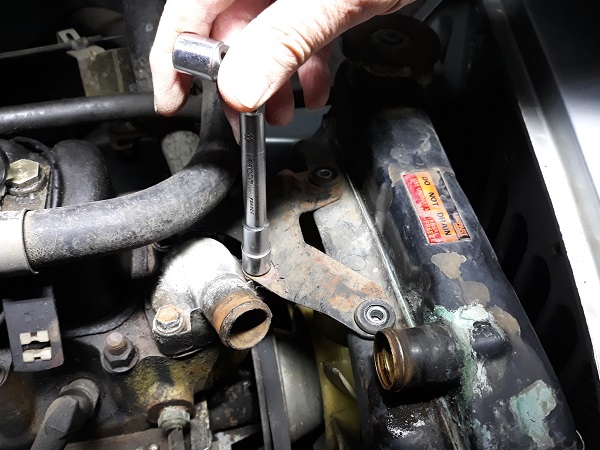
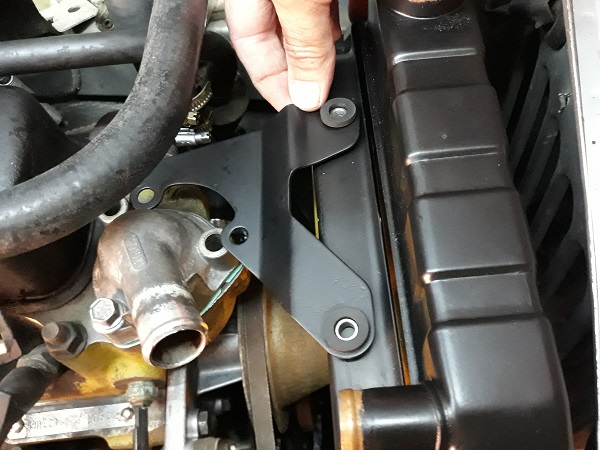
Op 07
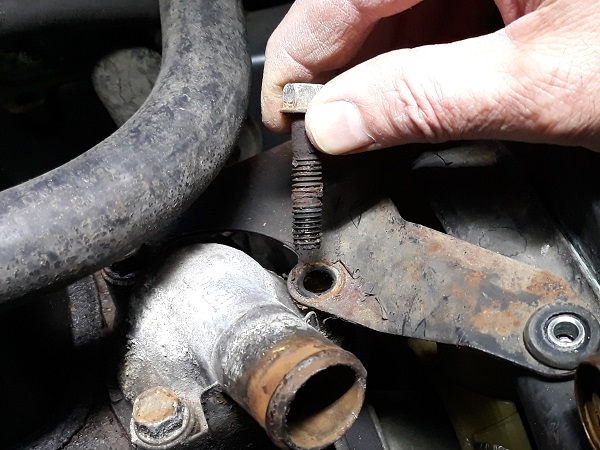
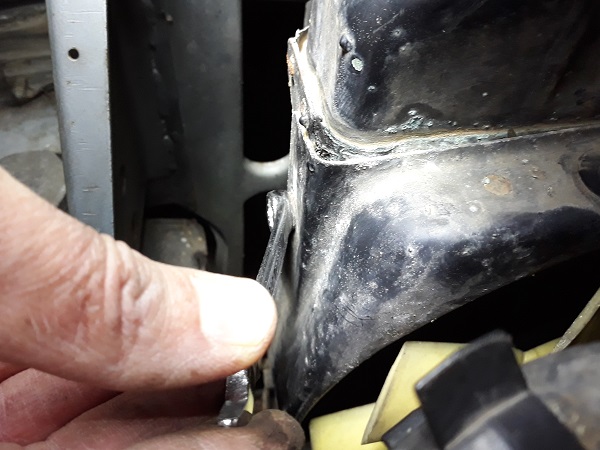
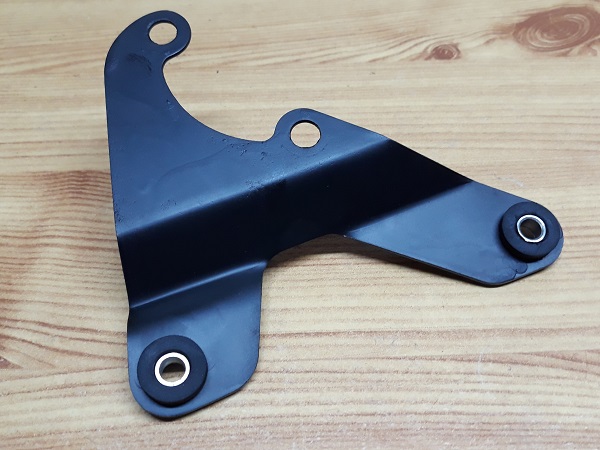
Remove the radiator top bracket.
Op 08
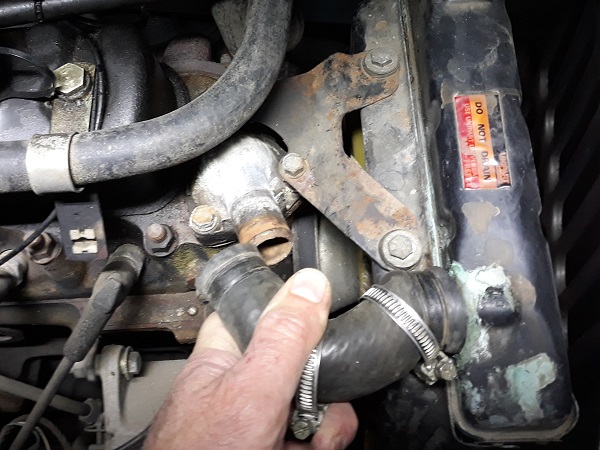
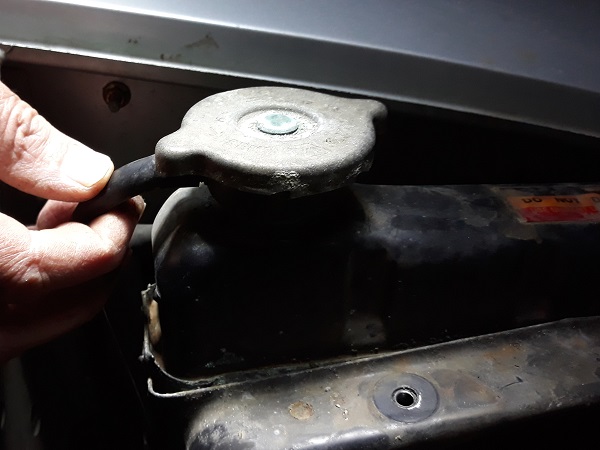
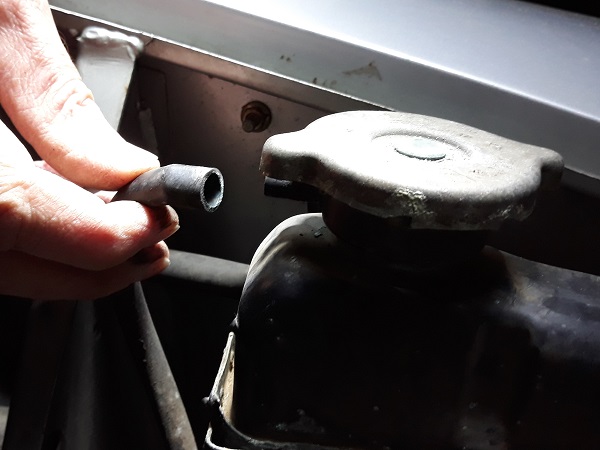
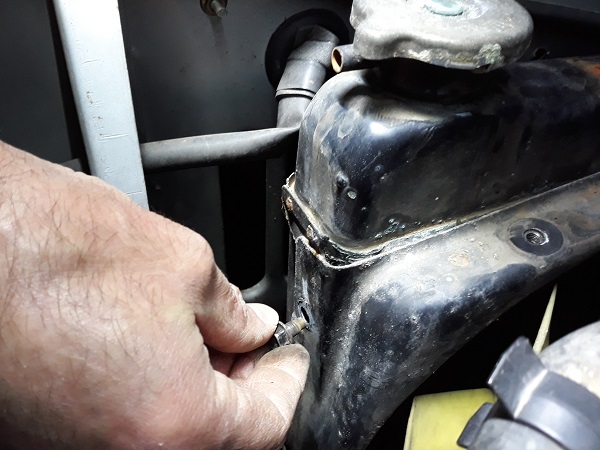
Disconnect the radiator overflow hose. Pull firmly by hand.
You can leave the overflow hose on the radiator cowling (it is fixed there by 2 clips). It will not hinder the removal of the radiator.
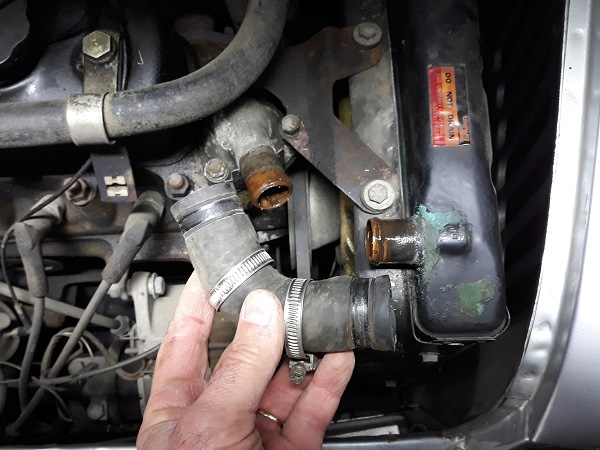
Op 09
Unscrew the 2 rear fixing bolts of the radiator. Use the 3/8'' spanner.
Op 10
Unscrew the 2 front fixing bolts of the radiator. Use the 3/8'' spanner.
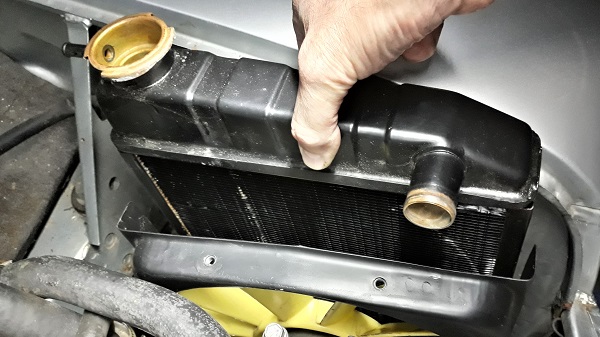
Op 11
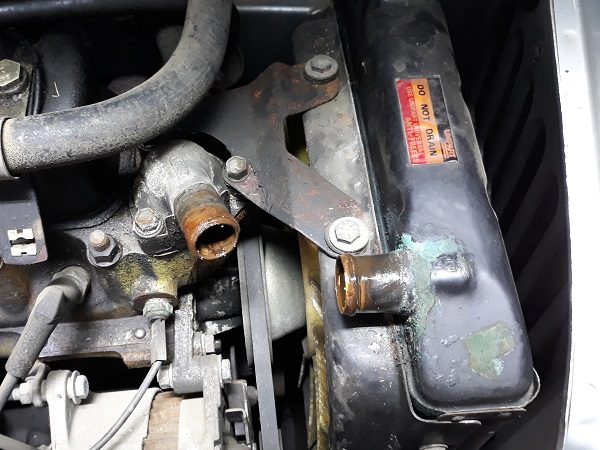
Remove the radiator from its cowling. Pull firmly upwards.
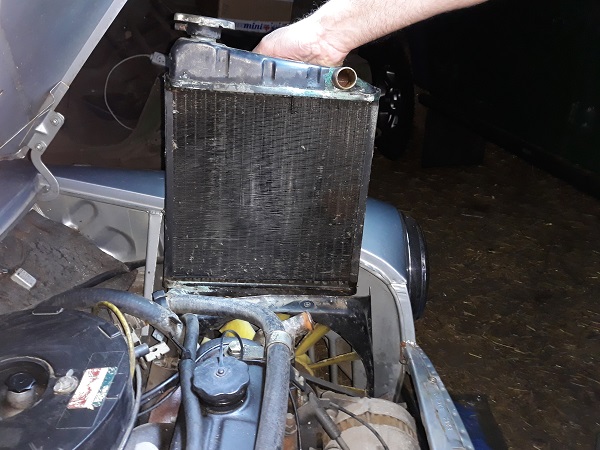
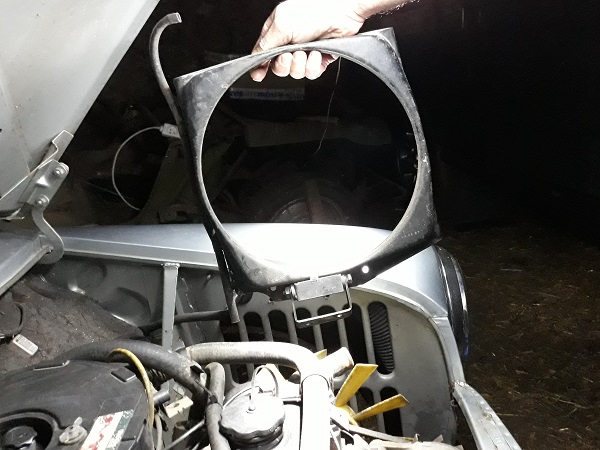
Op 12
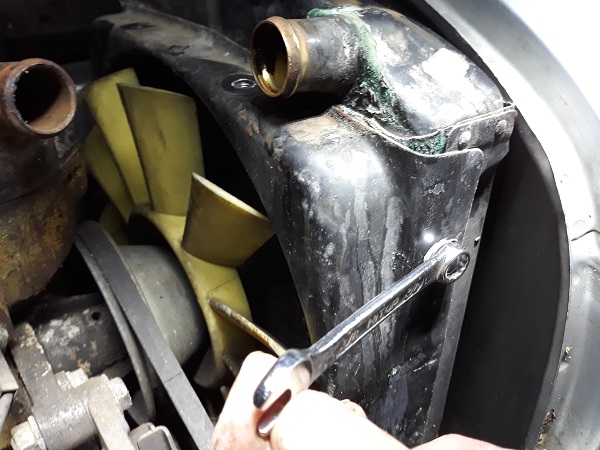
Unscrew the 2 fixing bolts of the radiator cowling. Use the 13 mm socket spanner.
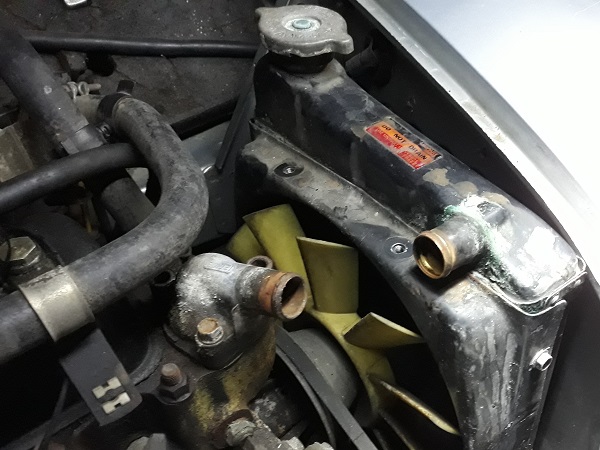
Op 13
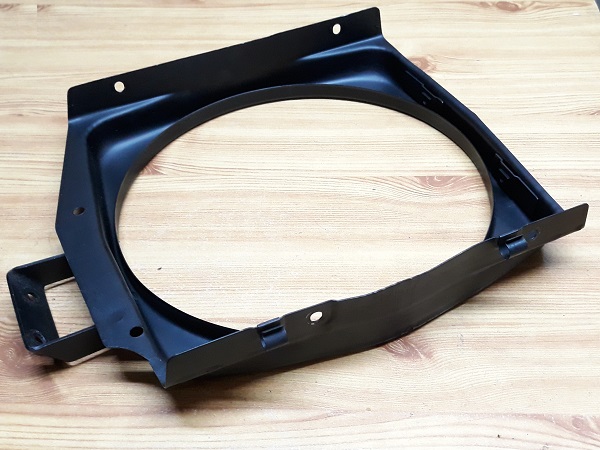
Remove the radiator cowling.
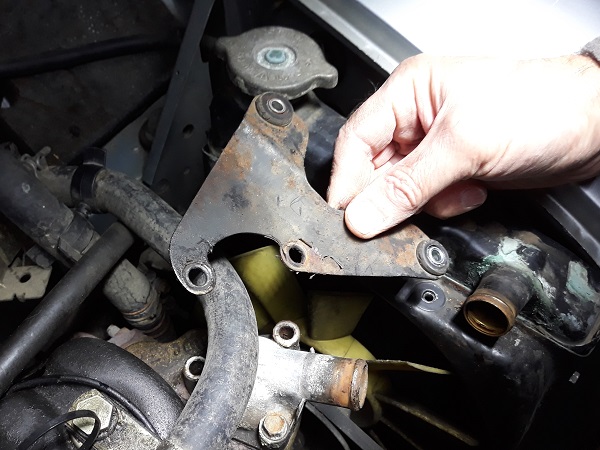
Op 14
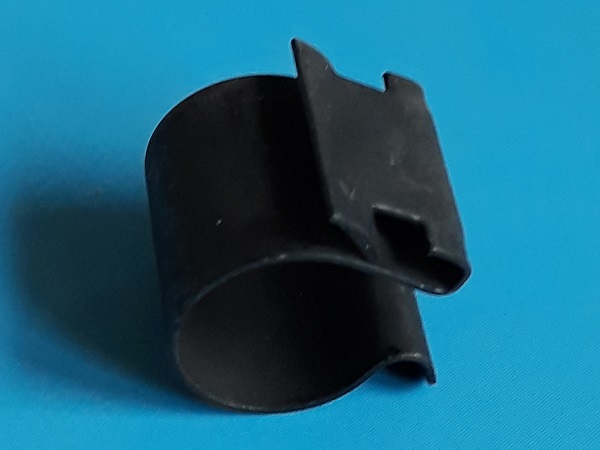
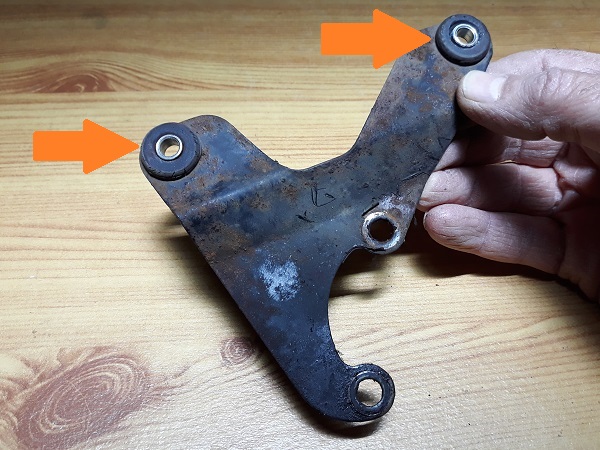
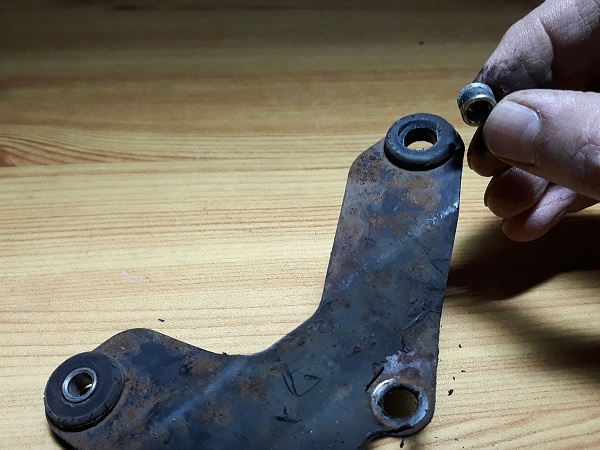
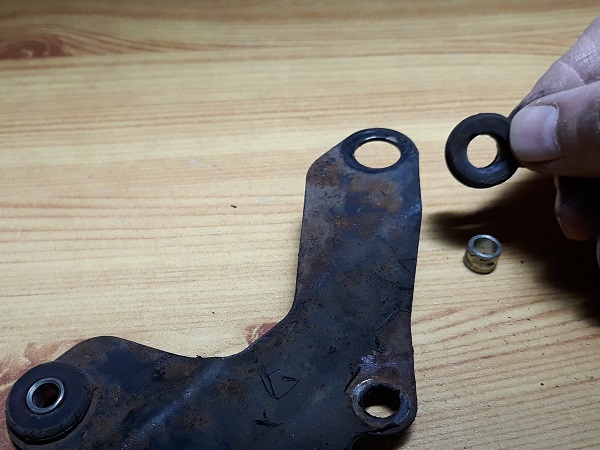
Remove the sleeves and grommets from the radiator top bracket. They come off very easily by hand.
Advertisement
Fit the radiator
Op 15
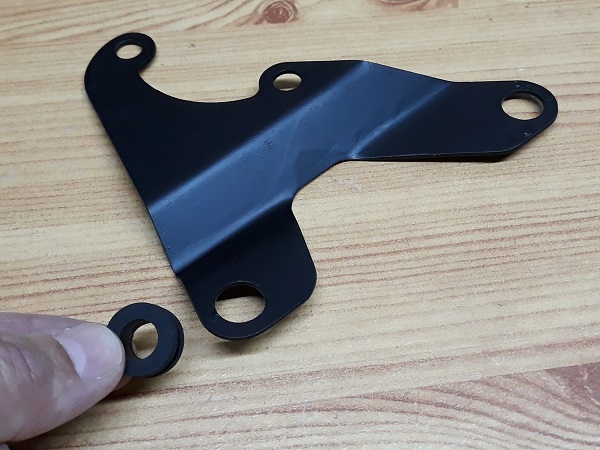
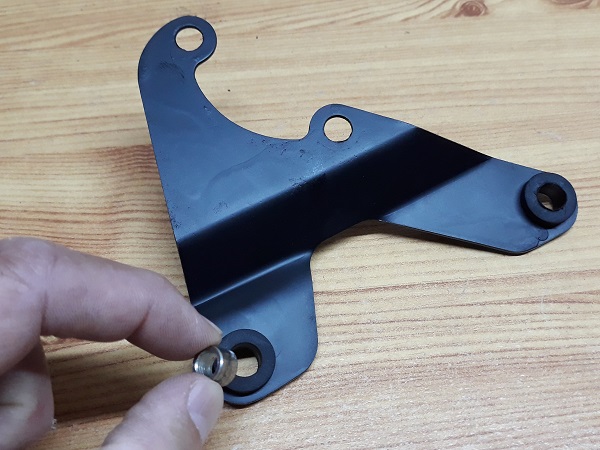
Fit 2 new grommets (11G227) and the 2 sleeves on the radiator top bracket.
The grommets are flexible. They are easily positioned by hand.
Op 16
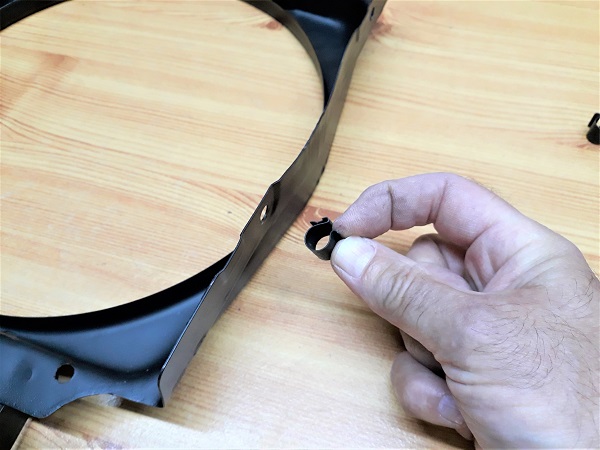
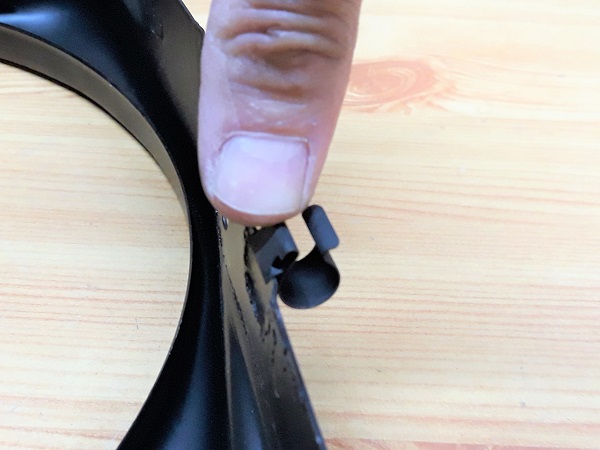
Change the 2 radiator overflow hose clips (ARA951) on the radiator cowling.
They are easily removed by hand or with a small screwdriver and fitted by pressing with your thumb.
Op 17
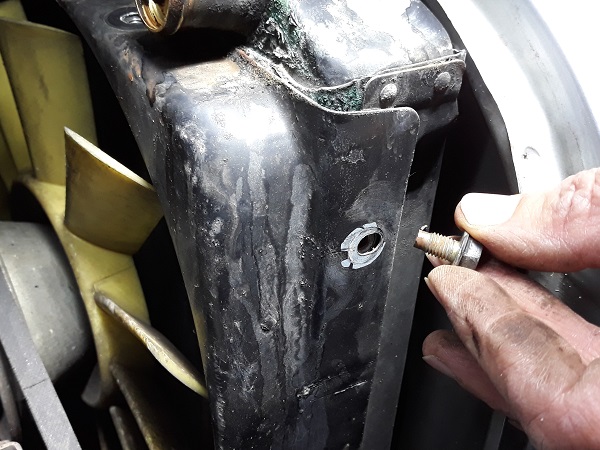
Fit the radiator cowling.
Screw in the 2 fixing bolts with their washers (GFK1125). Use the 13 mm socket spanner.
Op 18
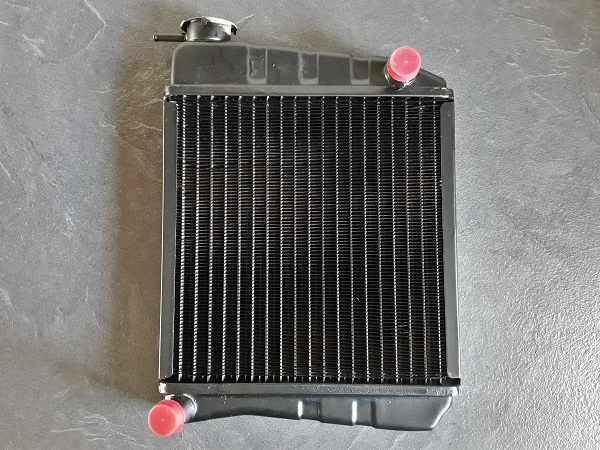
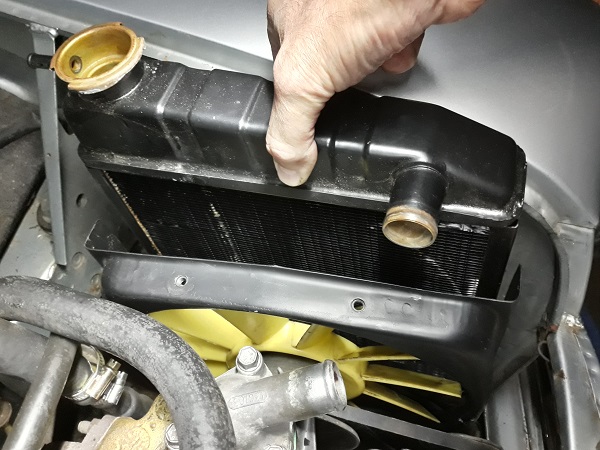
Fit the radiator (ARP2000).
Screw in the 2 front fixing bolts and the 2 rear fixing bolts. Use the 3/8'' spanner.
Op 19
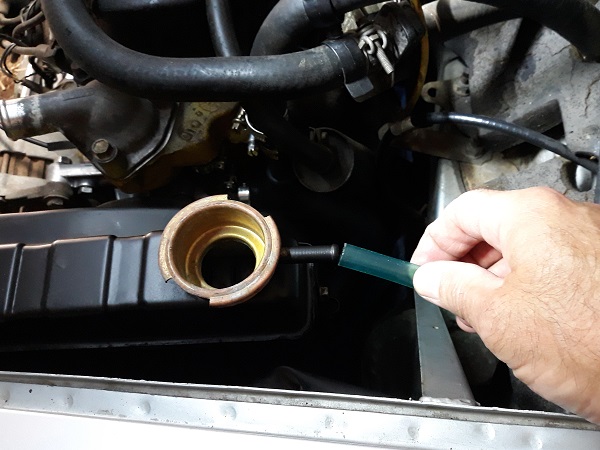
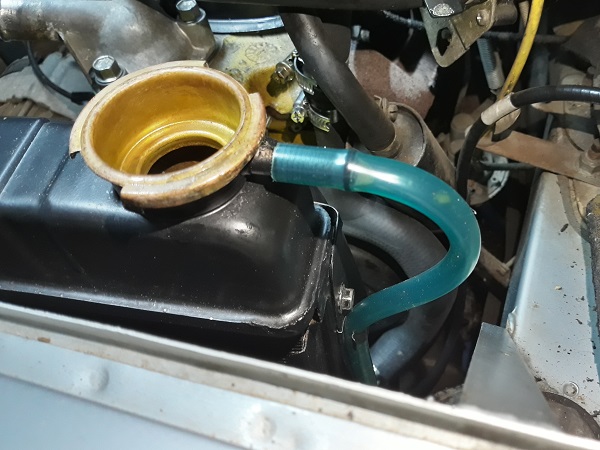
Fit the radiator overflow hose (GRH1001M).
Push the hose onto the overflow pipe at the top of the radiator. Push firmly by hand.
Clip the hose onto the 2 clips on the side of the radiator cowling. Push with your fingers.
Op 20
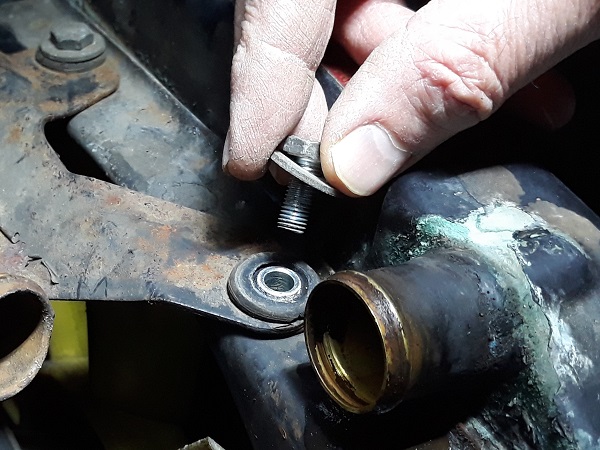
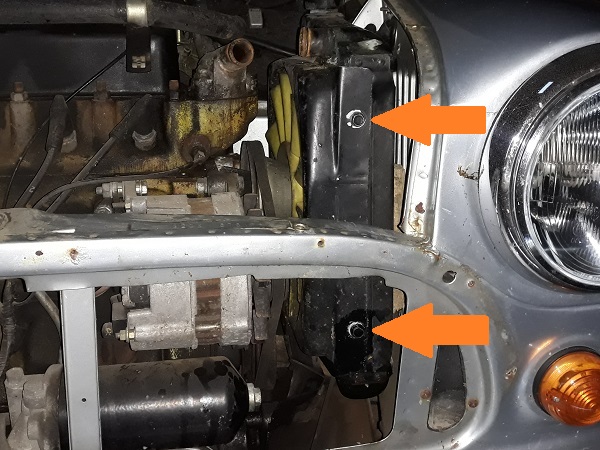
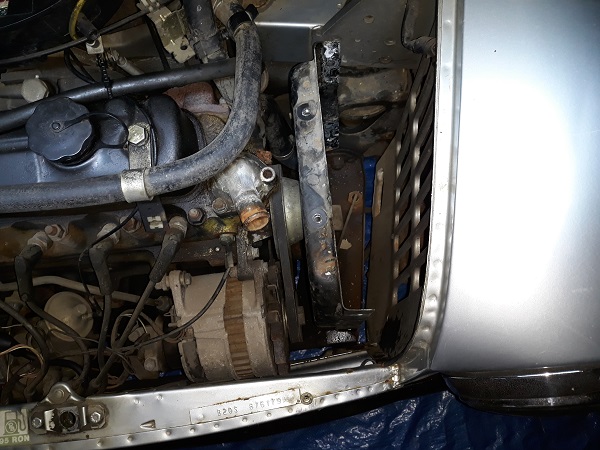
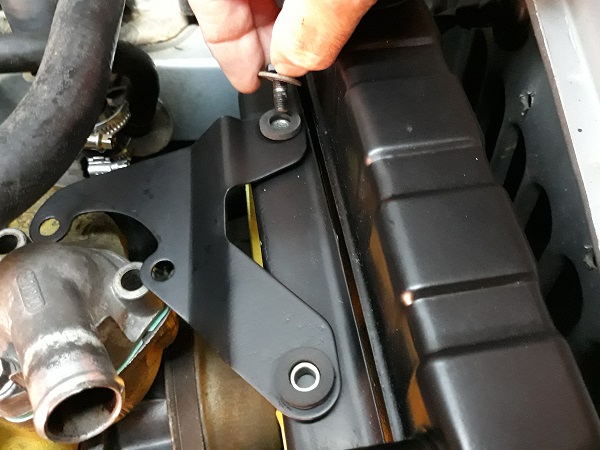
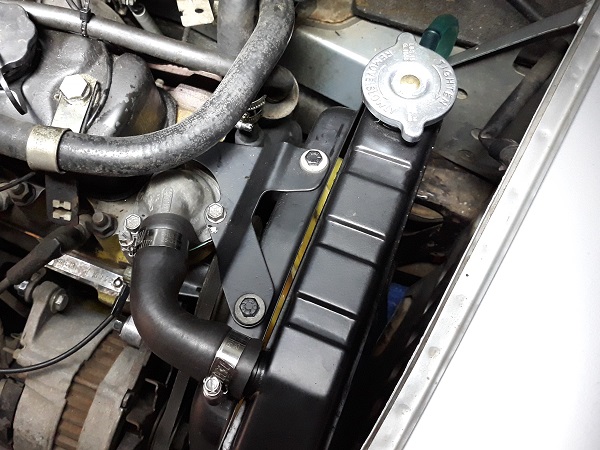
Fit the radiator top bracket with its 2 fixing bolts on the radiator side and its 2 fixing bolts on the thermostat side.
Apply a little copper grease on the thread of the fixing bolts. This will limit oxidation and make it easier to unscrew during the next disassembly.
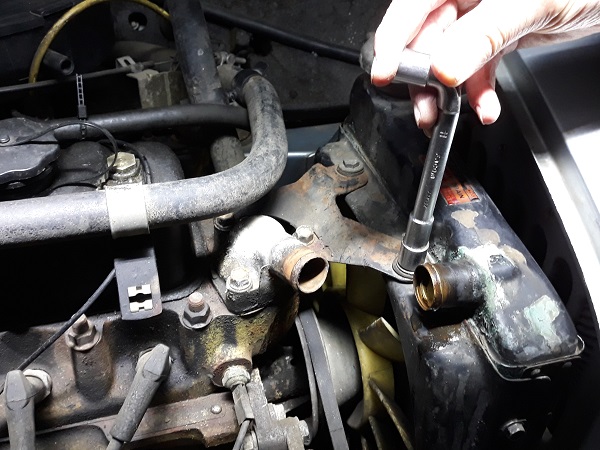
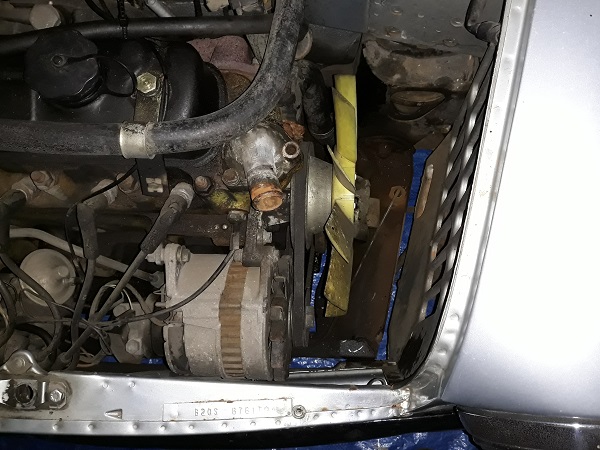
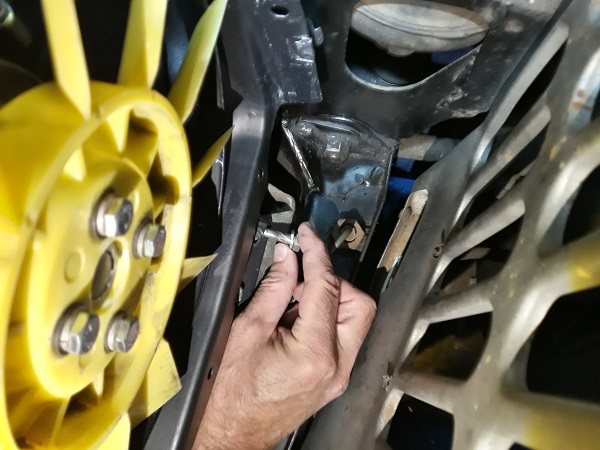
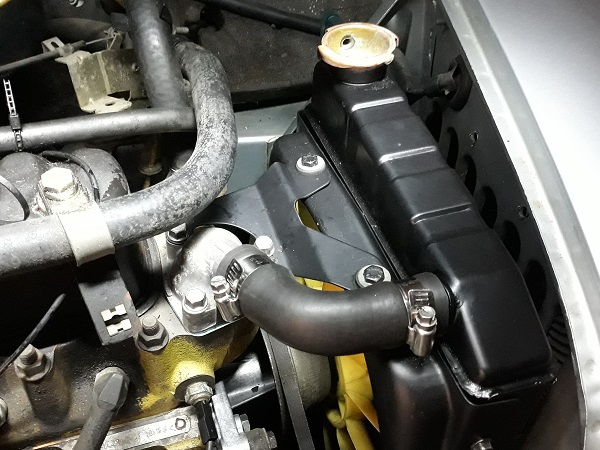
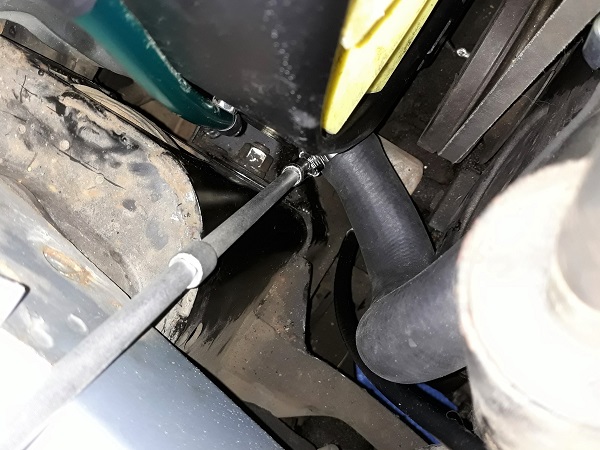
Op 21
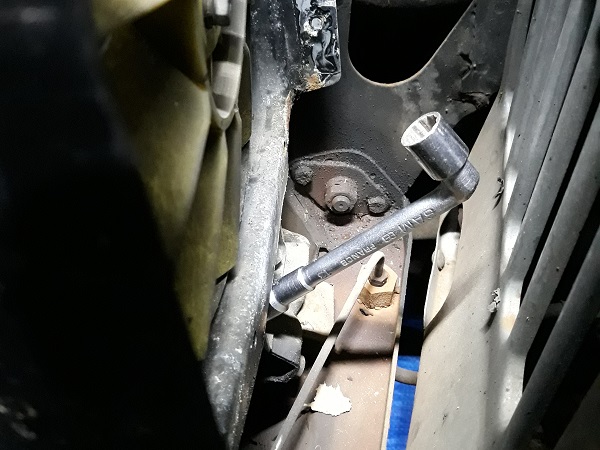
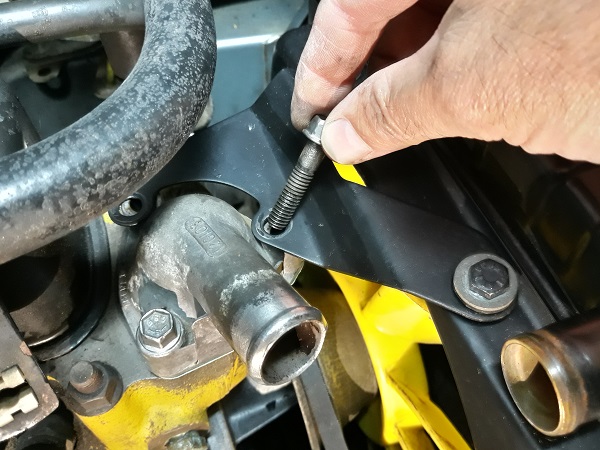
Tighten the 2 fixing bolts on the radiator side and the 2 fixing bolts on the thermostat side. Use the 11 mm socket spanner.
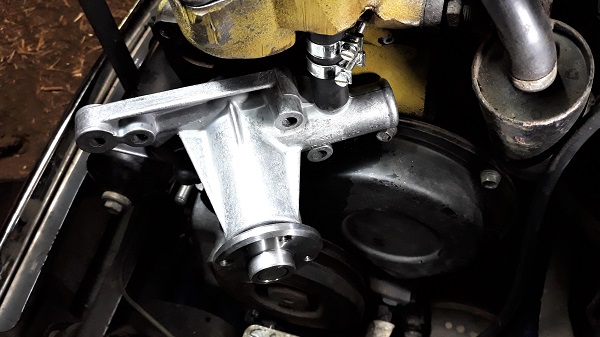
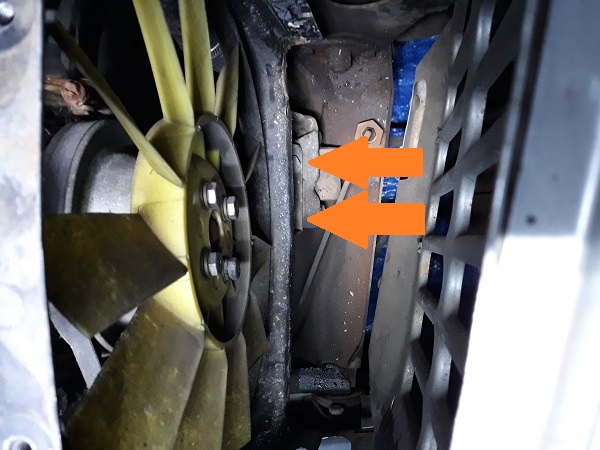
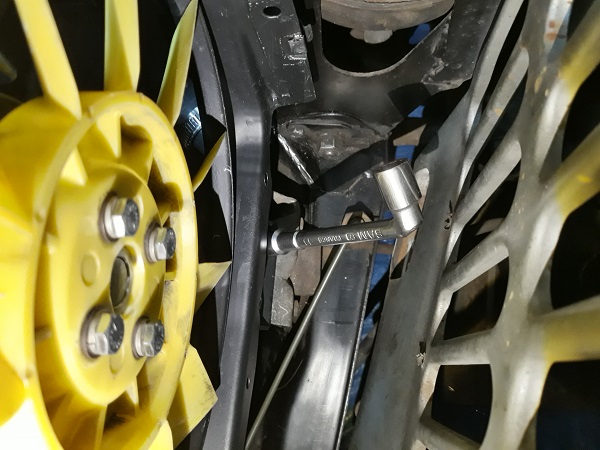
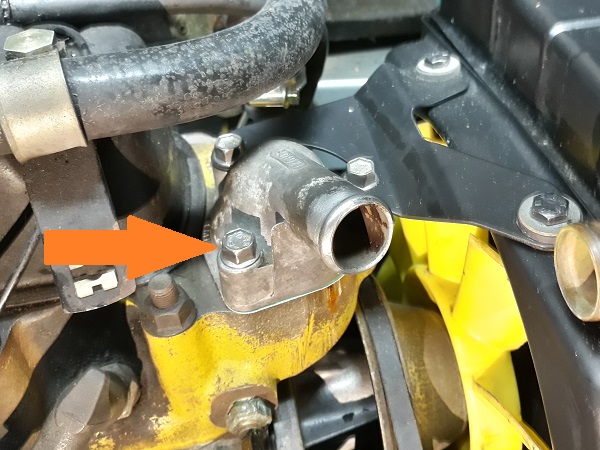
Check the tightening of the 3rd thermostat housing fixing bolt (3rd photo).
The tightening torque for the thermostat housing fixing bolts is not specified in the workshop manual. On our Mini, we apply the same torque as the water pump fixing bolts : 23 mN.
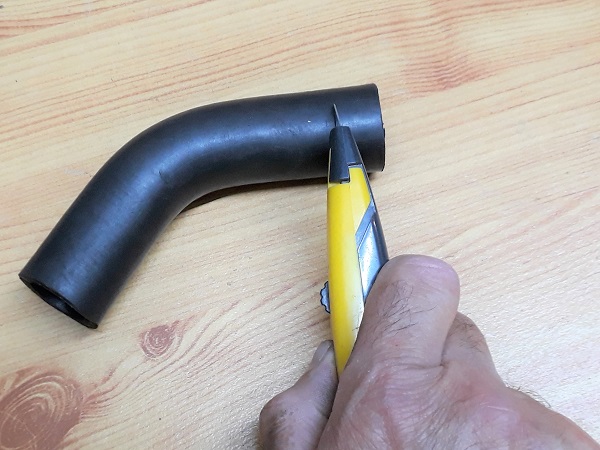
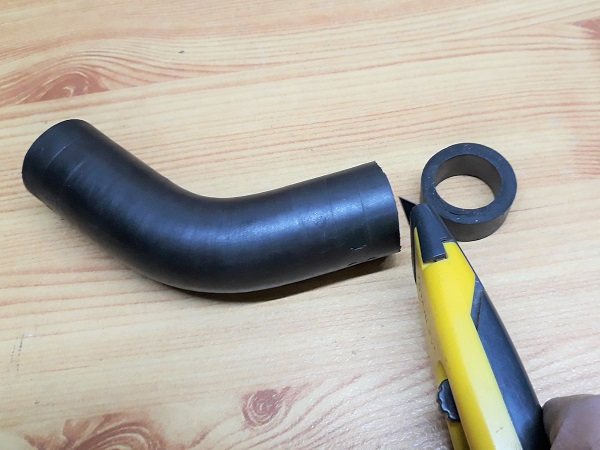
Op 22
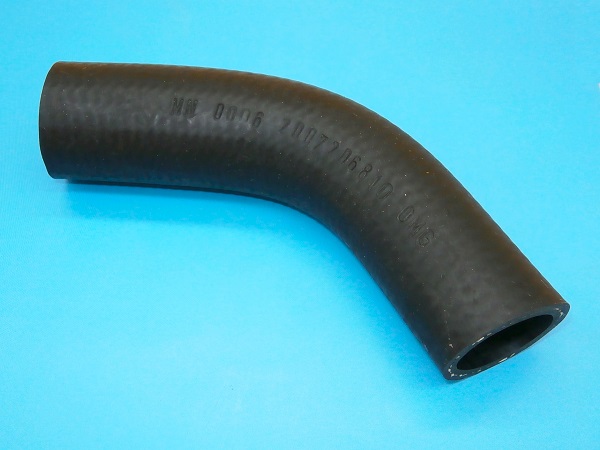
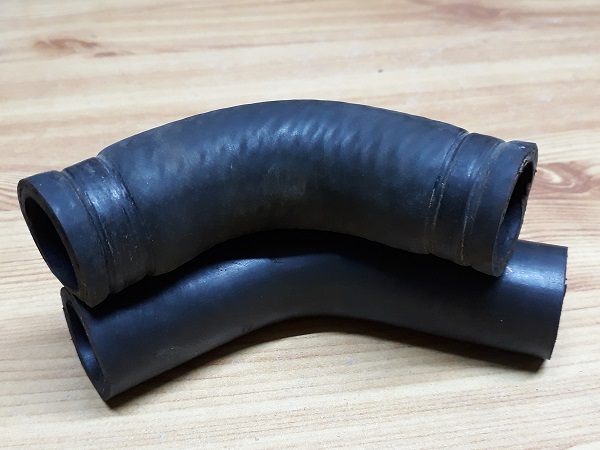
Check that the length of the new top radiator hose (GRH245) is identical to the old one.
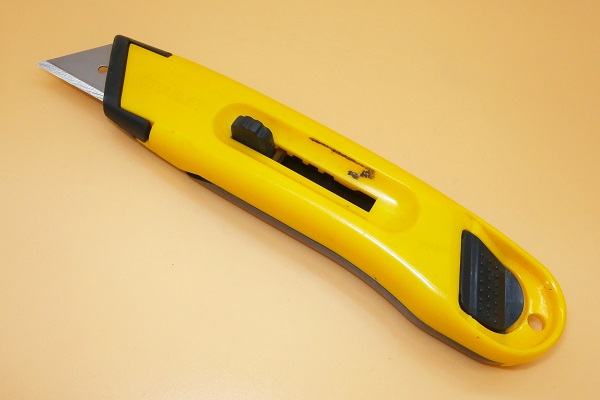
If necessary, reduce the length of the new hose. Use a cutter.
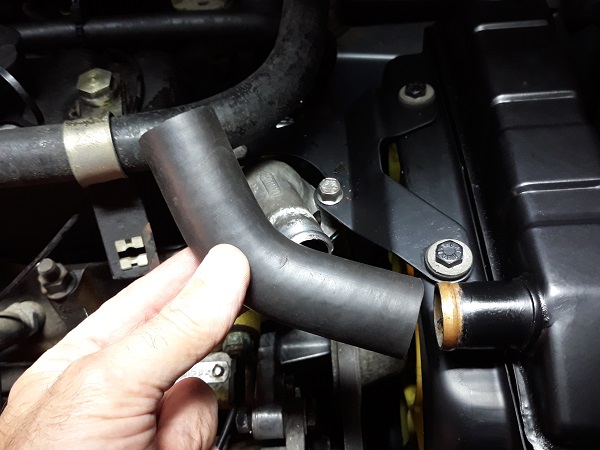
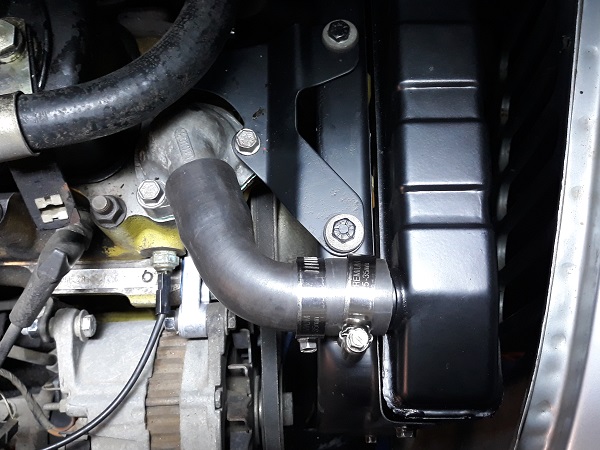
Op 23
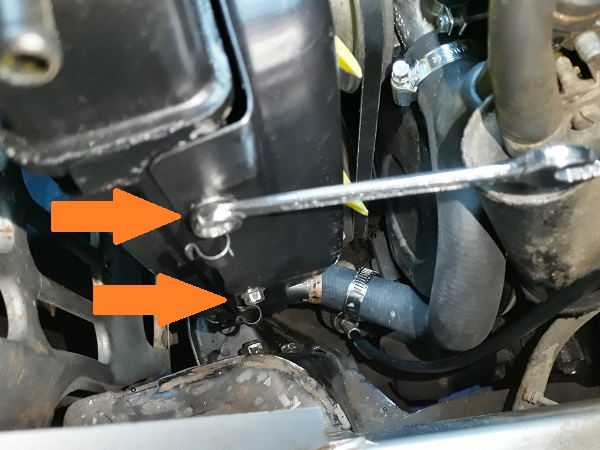
Engage the upper hose on the radiator. Push firmly by hand.
Fit the 2 clips (GHC811) on the hose. Leave them on standby without tightening them for now.
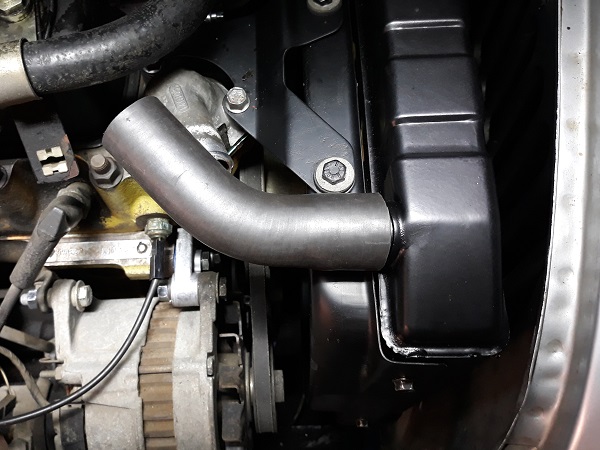
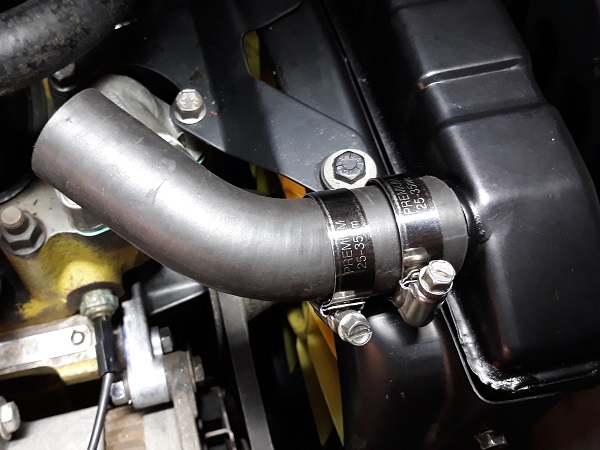
Op 24
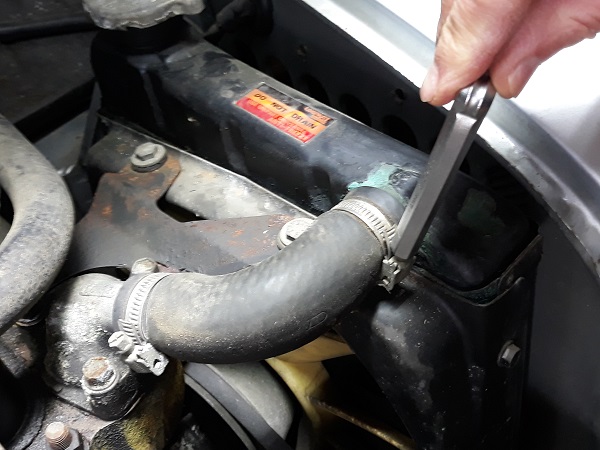
Engage the upper hose on the thermostat housing. Push firmly by hand.
Fit the 2 clips in their final locations and tighten them. Use the 8 mm socket spanner.

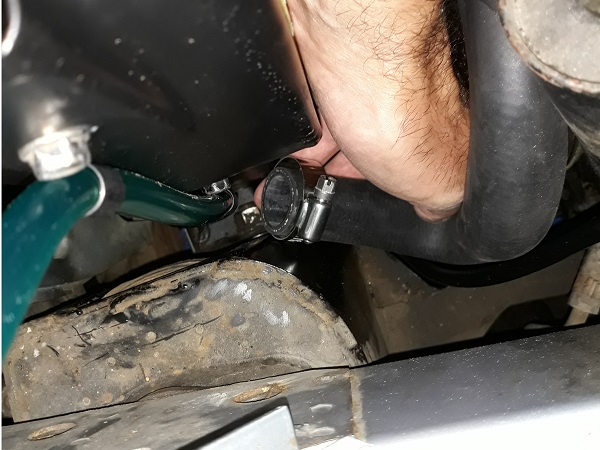
Op 25
Fit the hose clip (GHC811) on the lower hose without tightening it.
Engage the hose on the radiator. Push firmly by hand.
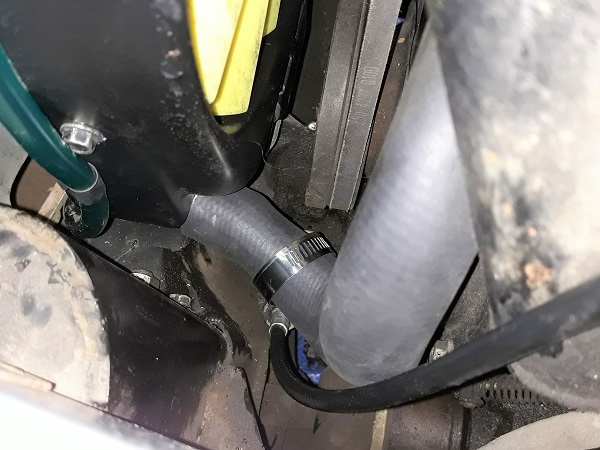
Op 26
Fit the hose clip in its final location.
Tighten the hose clip. Use the 8 mm socket and several extensions.
Op 27
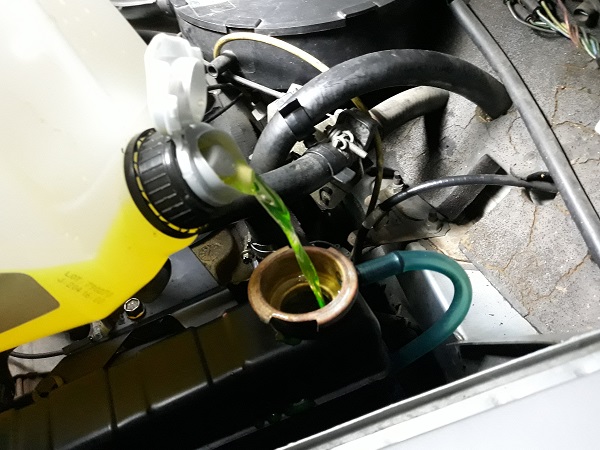
Slowly fill the radiator with coolant.
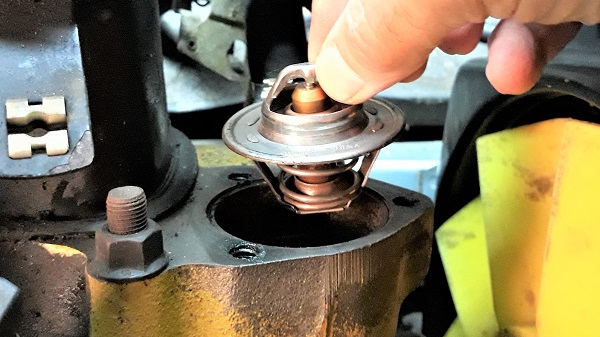
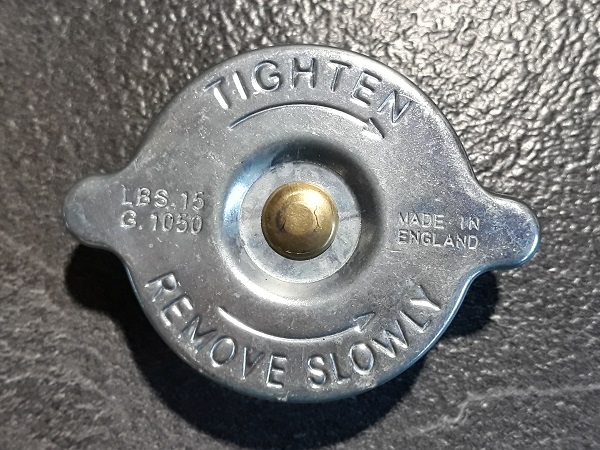
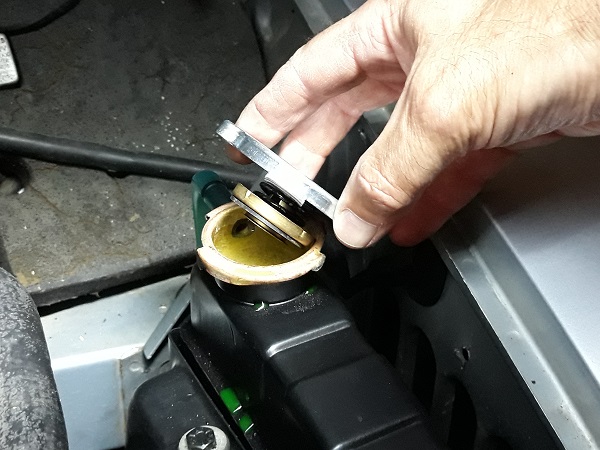
Fit the radiator cap.
Take the opportunity to install a new radiator cap (GRC1110).
Op 28
Run the engine for a few seconds to circulate the coolant.
Op 29
Stop the engine and top up the coolant.
Op 30
Fit the grille (➔ see the tutorial ''Grille removal'' Op 05 to 06).
The End