This tutorial is also available in French
➔

Alternator change on Austin Mini
Vehicle ➔ Mini 1000 year 1991 automatic gearbox
Difficulty ➔ Easy

Time ➔ 1 hour
Summary
Advertisement
Advertisement

Recommendations

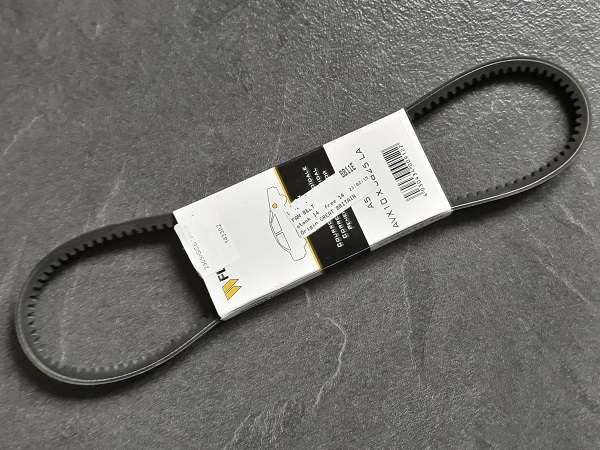
There are 3 lengths of accessory belt : 813, 825 and 838 mm. Check the length of the belt fitted to your Mini before ordering.
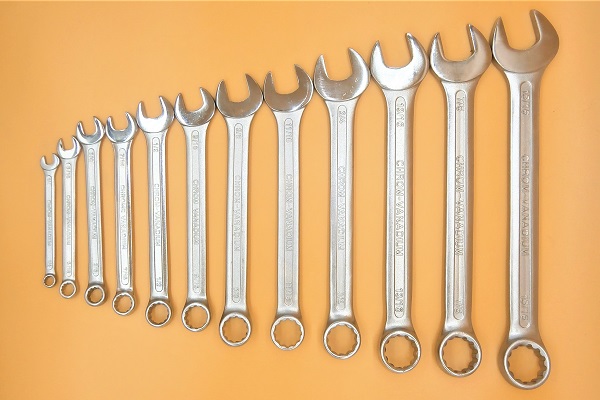
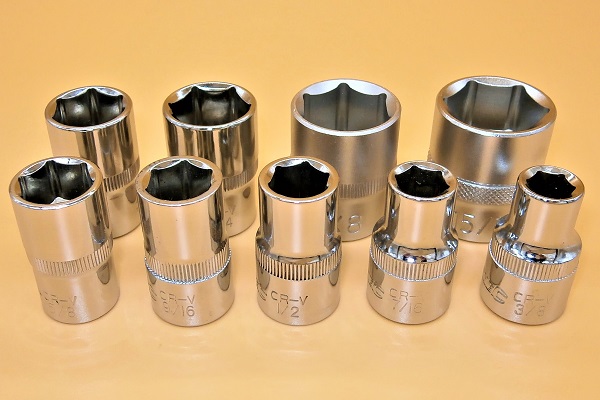
Required Tools
Sponsored links by


Spare Parts
Our Partners


Packaging :
•
All the above parts are sold individually.
Advertisement
Remove the alternator
Op 01
Remove the grille (➔ see the tutorial ''Grille removal'' Op 01 to 04).
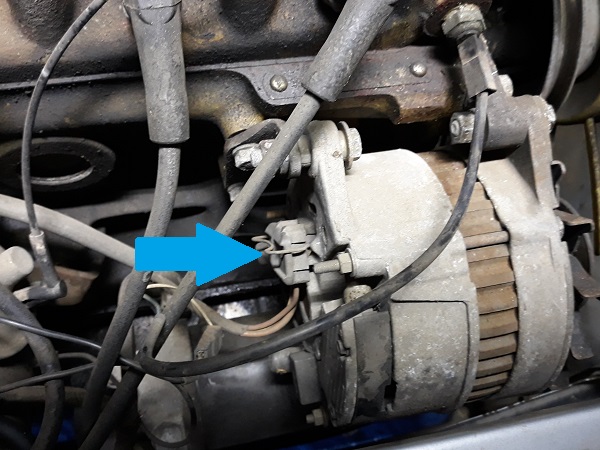
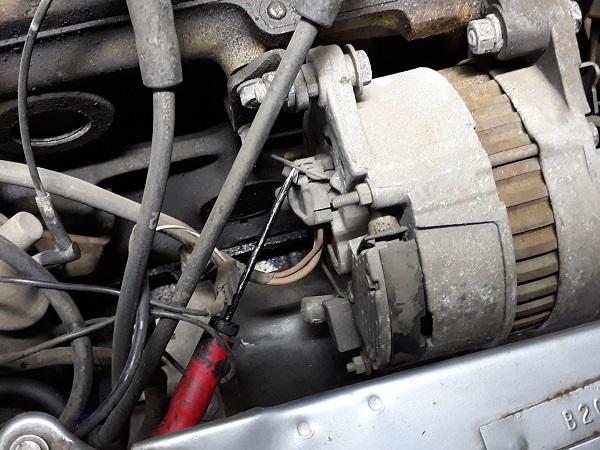
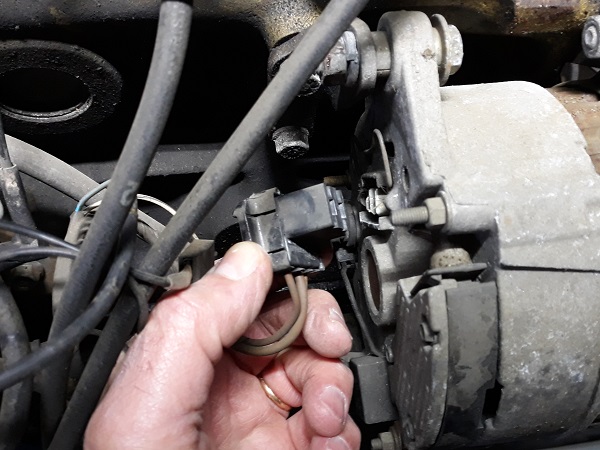
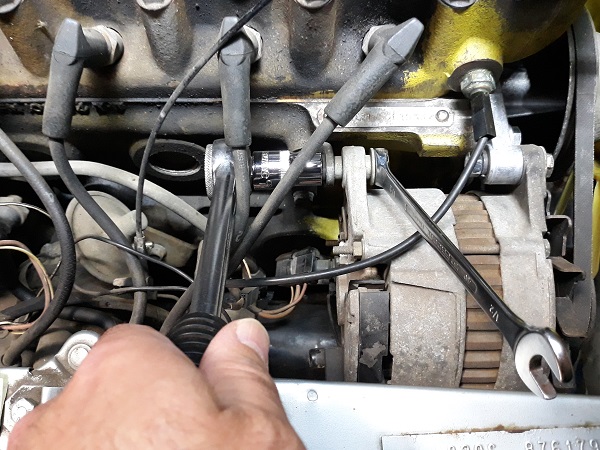
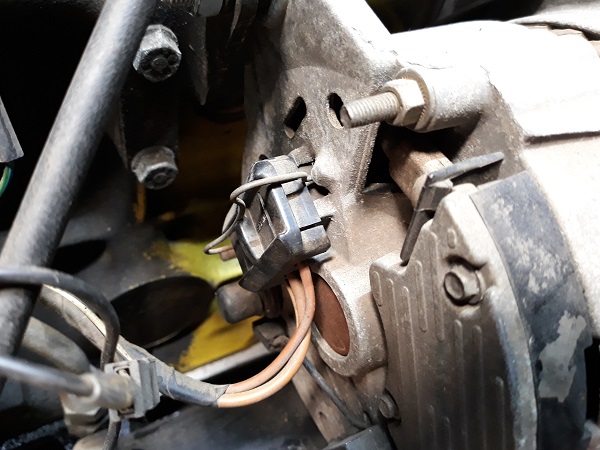
Op 02
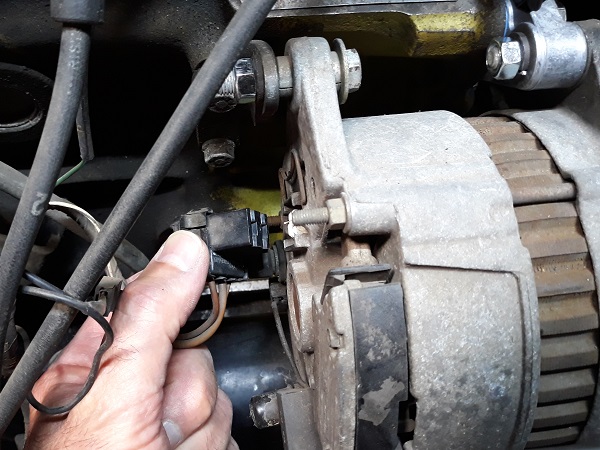
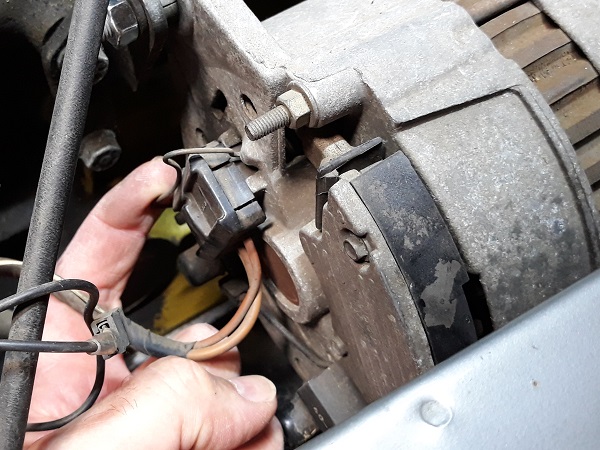
Disconnect the alternator connector. Use a flathead screwdriver to release the clip and then pull firmly by hand.
Op 03
Loosen the 2 alternator fixing bolts on the engine slightly. Use the 1/2'' spanner and the 1/2'' socket.
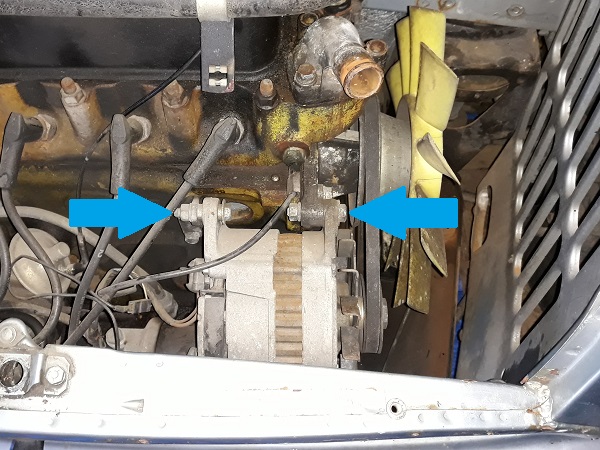
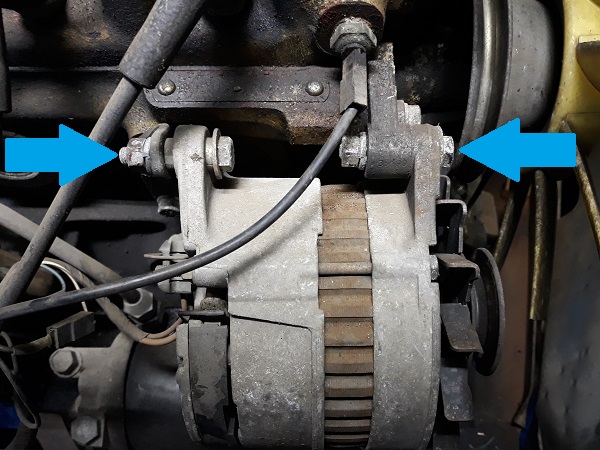
Op 04
Loosen the alternator adjuster bracket fixing bolt and nut slightly. Use the 1/2'' spanner and the 9/16'' spanner.

The alternator is very heavy. Be careful when loosening the bolts because it will pivot downwards. Be careful not to get your fingers caught.
Op 05
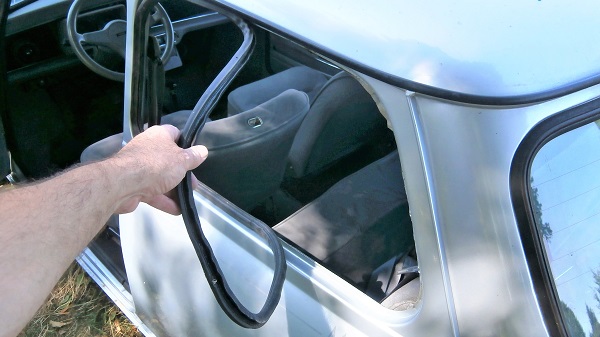
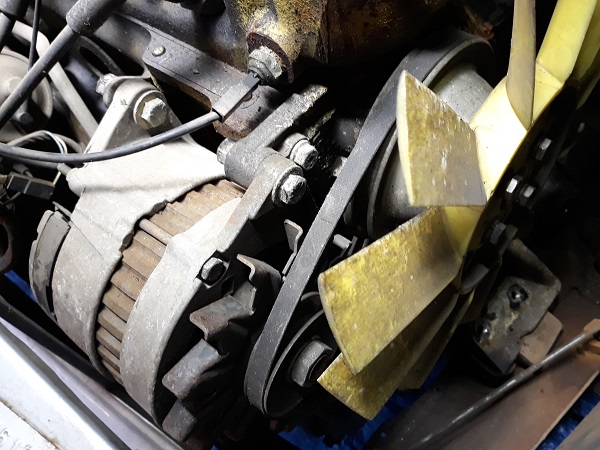
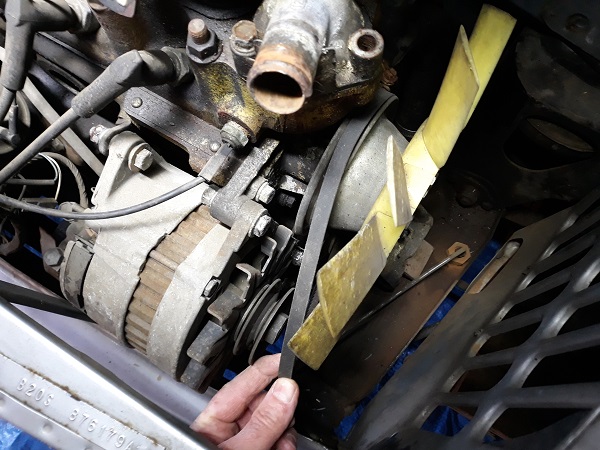
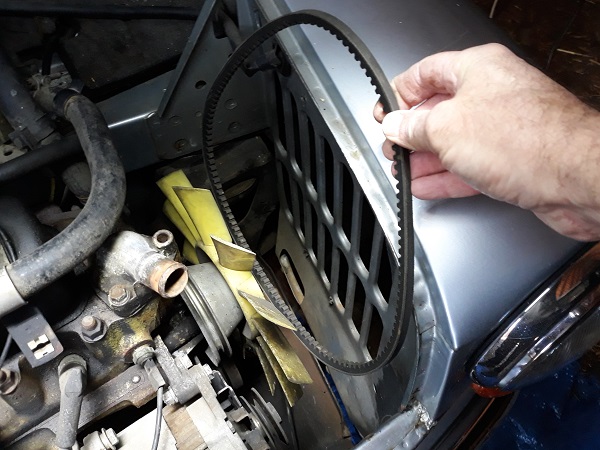
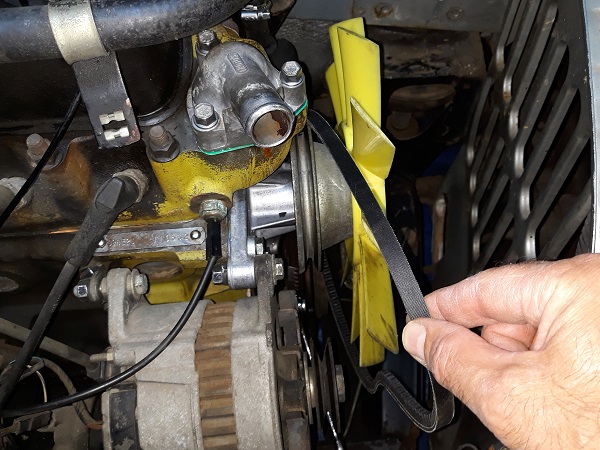
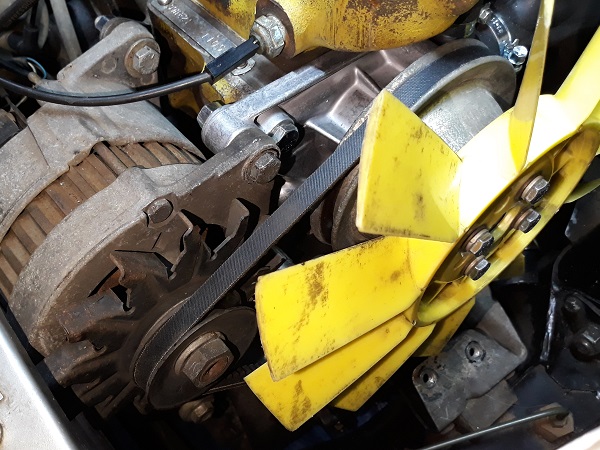
Remove the fan belt.
In the photos below, the radiator had been removed. But this is not necessary to remove the belt. With the radiator in place, simply slide the belt between the fan and the radiator to remove it.
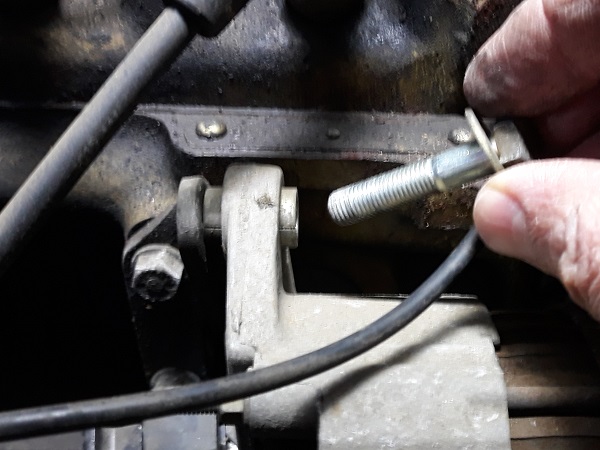
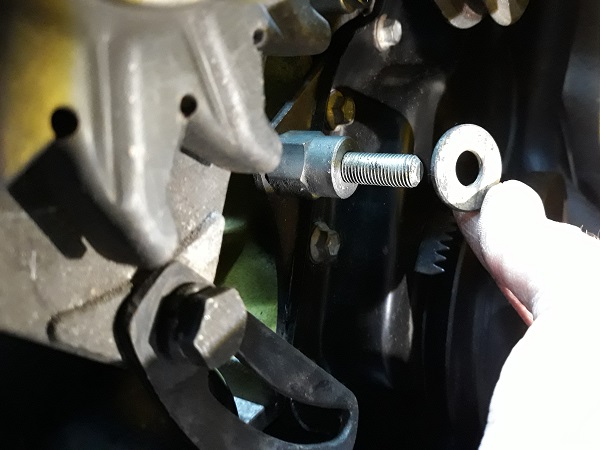
Op 06
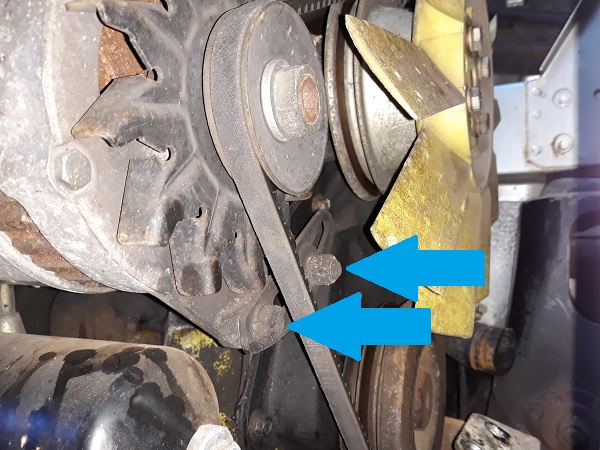
Remove the nut and washer from the engine-side alternator adjuster bracket. Use the 9/16'' socket.
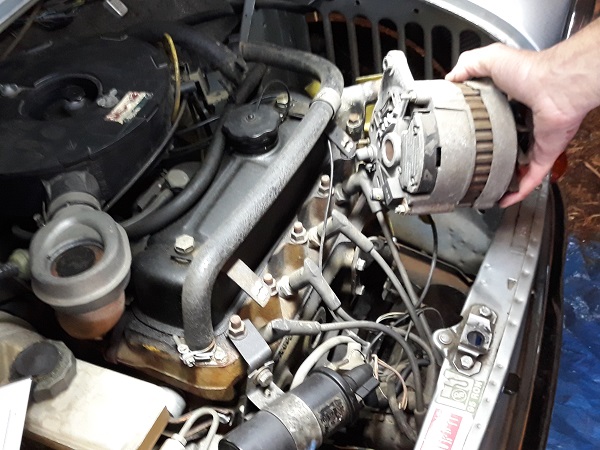
Op 07
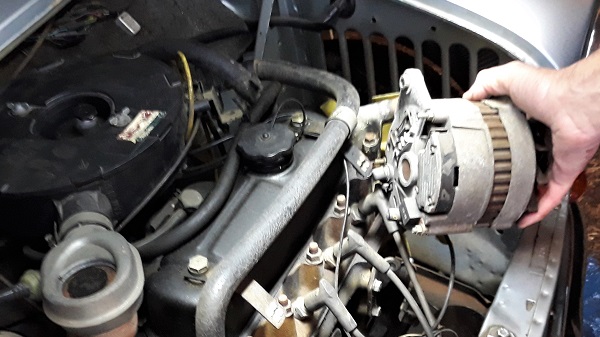
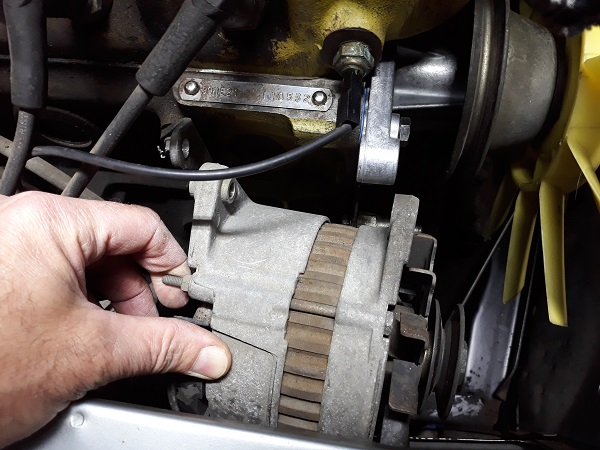
Remove the 2 alternator fixing bolts on the engine. Use the 1/2'' spanner.
Remove the alternator.
The alternator is very heavy. Be sure to hold it firmly when you remove the last bolt.
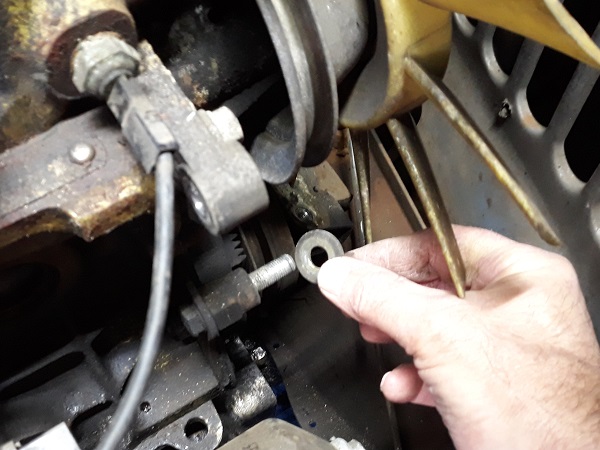
Op 08
Recover the 2nd washer from the alternator adjuster bracket.
Advertisement
Fit the alternator
Op 09
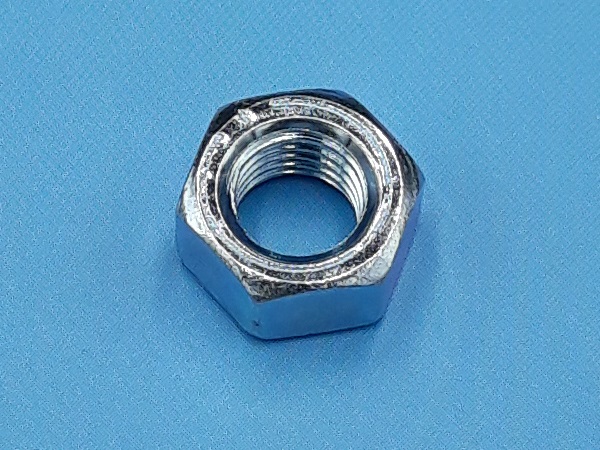
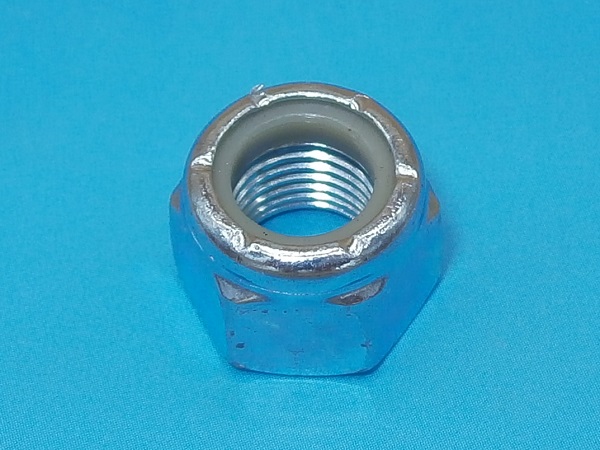
Fit the alternator on the engine using the bolts, washers (GFK1125) and nuts (GFK3212).
Lightly screw in the 2 bolts. Use the 1/2'' spanner.
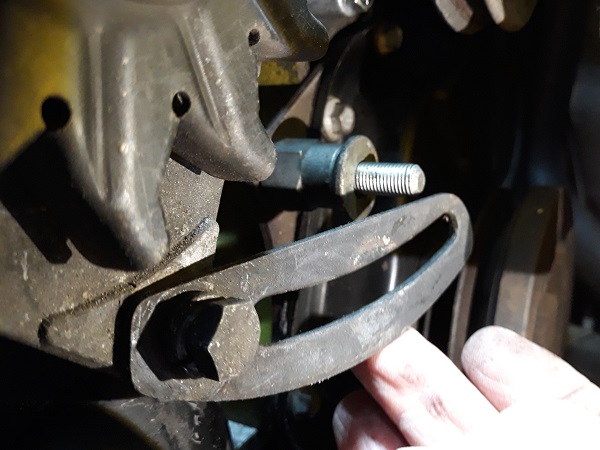
Op 10
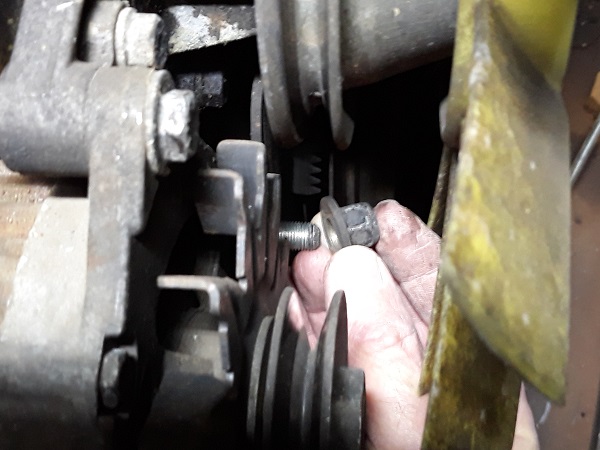
Fit the alternator adjuster bracket on the engine block.
There are 2 washers on the alternator adjuster bracket fixing bolt. One on each side of the bracket.
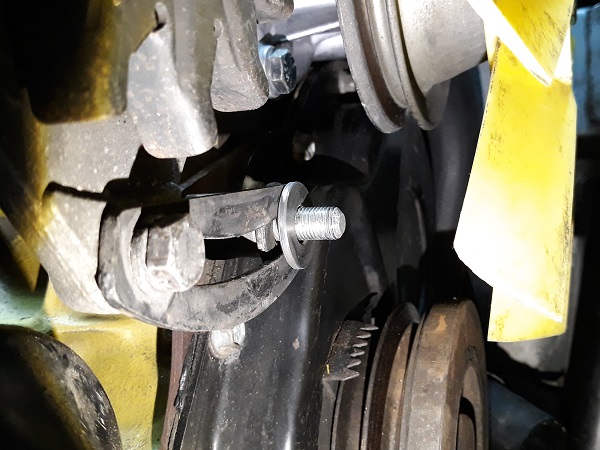
Op 11
Screw in the alternator adjuster bracket nut (GFK3323) without tightening it. Use the 9/16'' spanner.
Op 12
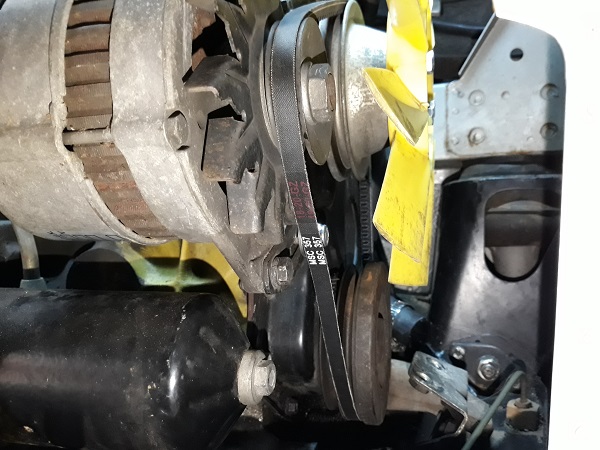
Fit the fan belt (GCB10838).
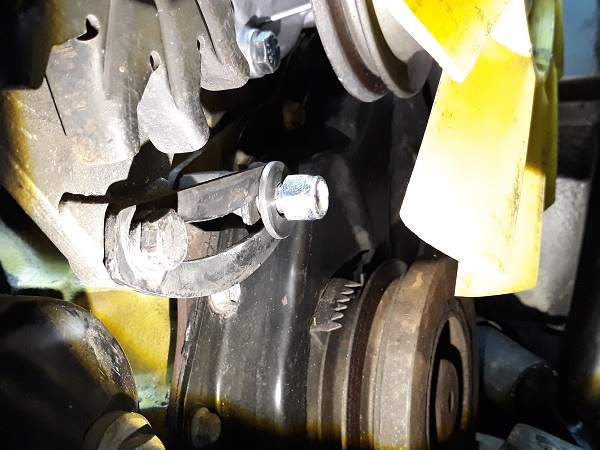
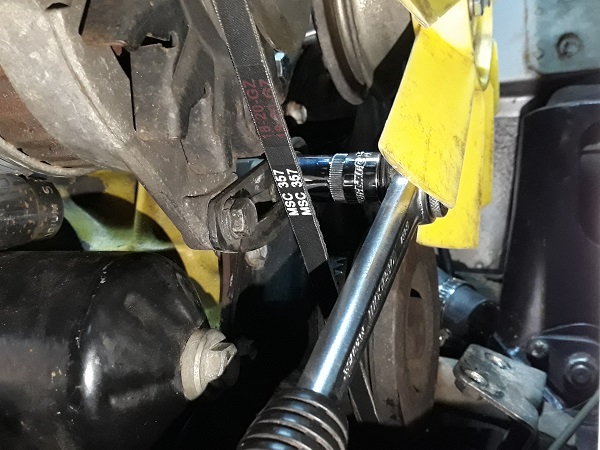
Op 13
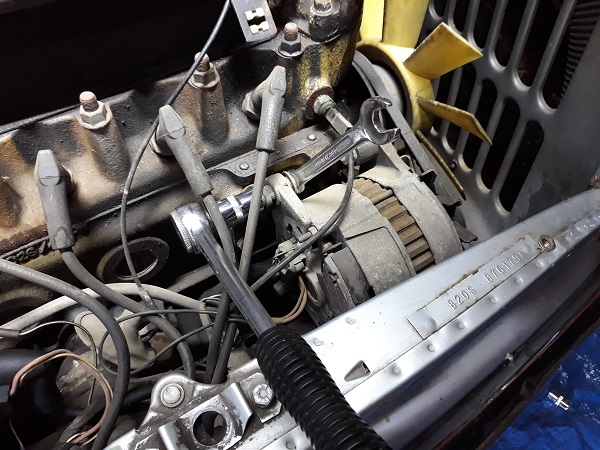
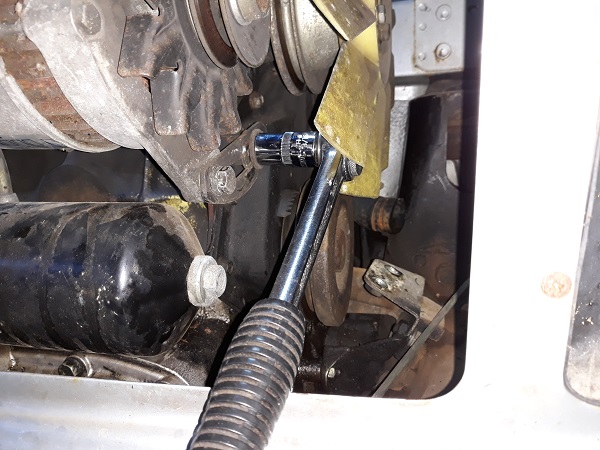
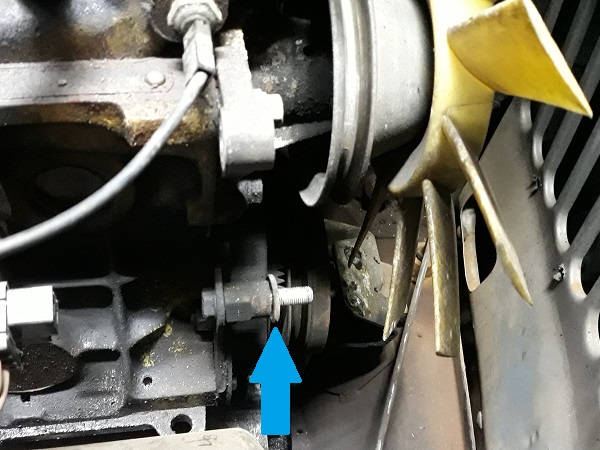
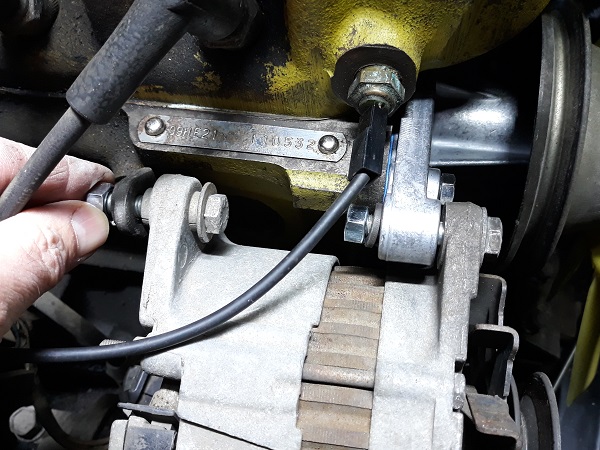
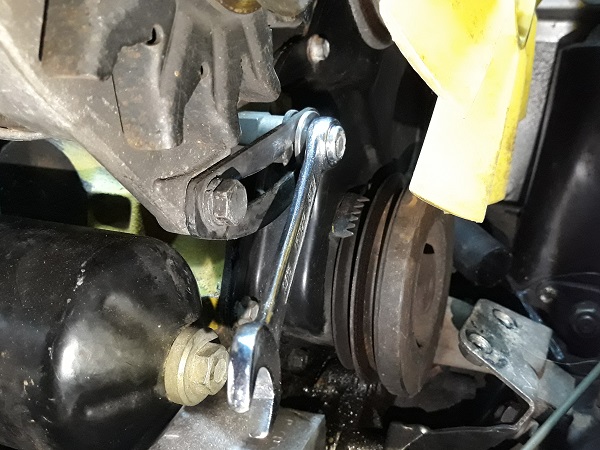
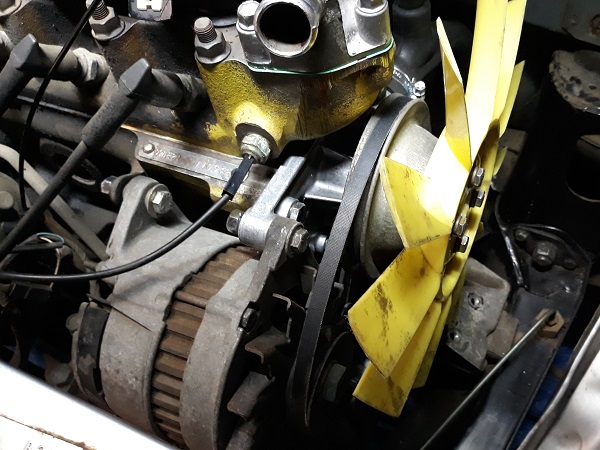
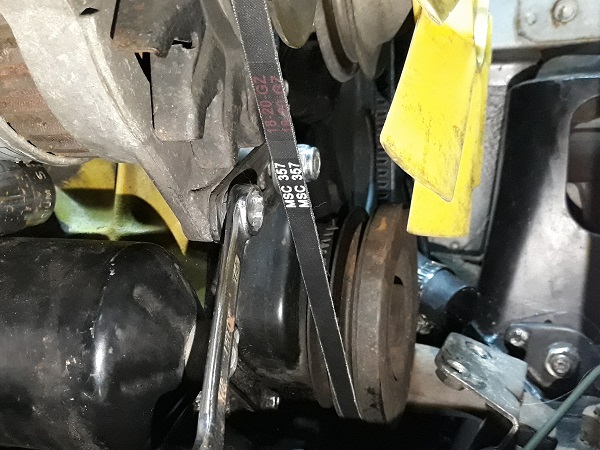
Rotate the alternator upwards to tension the belt. Pull firmly by hand. That should be enough.
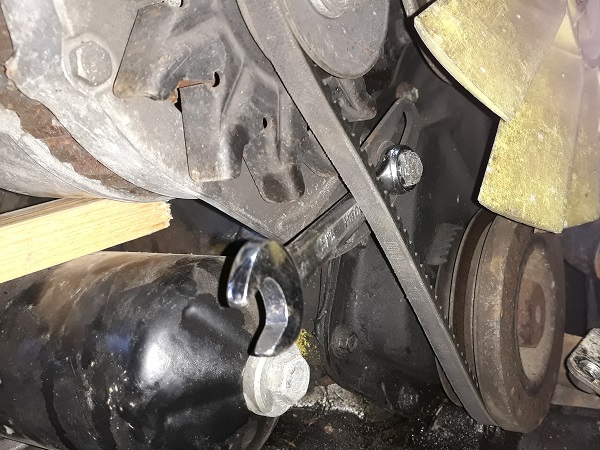
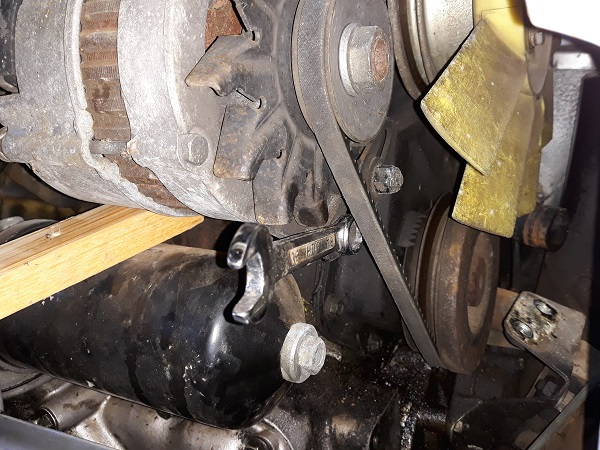
While maintaining tension, firmly tighten the adjuster bracket fixing nut on the engine side (2nd photo). Use the 9/16'' socket.
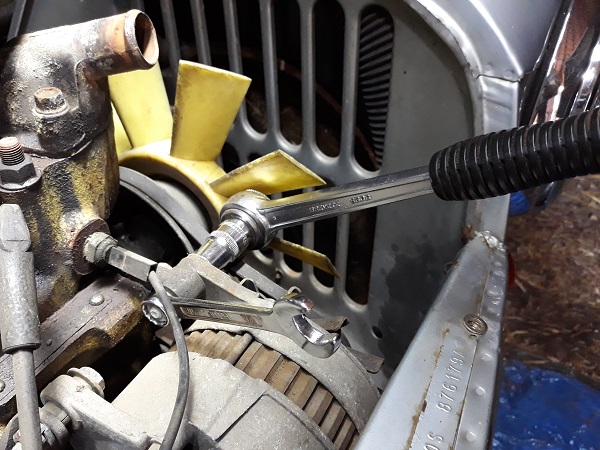
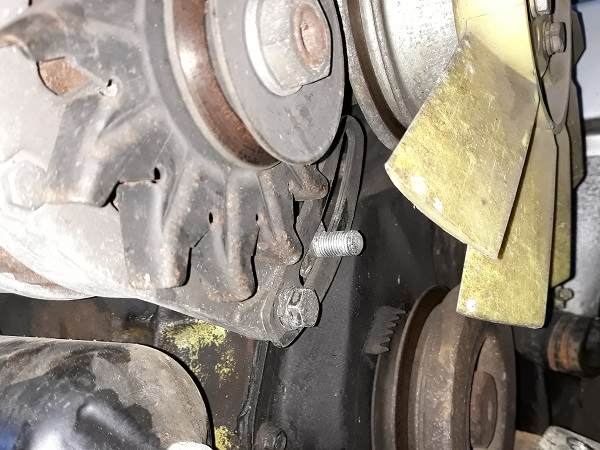
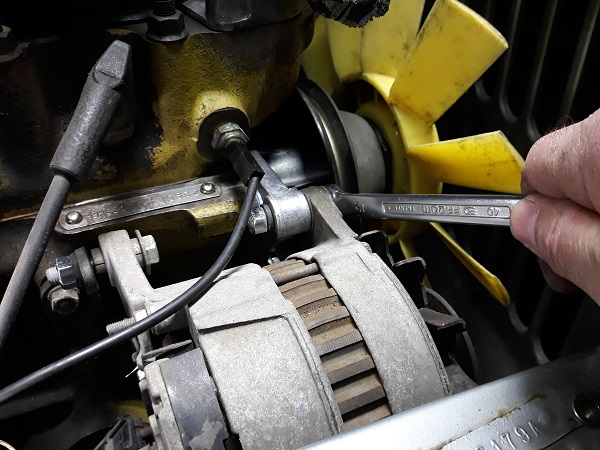
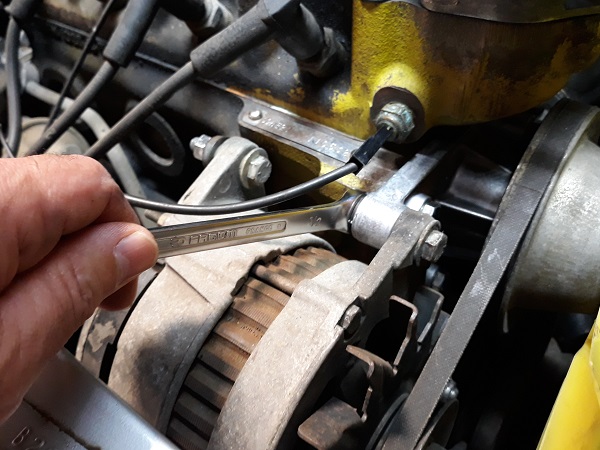
Also tighten the adjuster bracket fixing bolt on the alternator side (3rd photo). Use the 1/2'' spanner.
To tension the belt, you can also use a wooden lever. But be careful not to damage the alternator.

Op 14
Firmly tighten the 2 alternator fixing bolts on the engine. Use the 1/2'' spanner and the 1/2'' socket.
Op 15
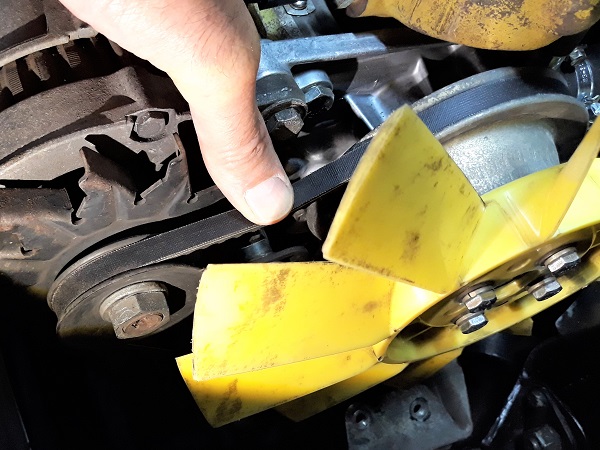
Check the belt tension. Press firmly on the belt with your thumb halfway between the two pulleys. The belt should deflect by 13 mm.
The belt should not be too tight. This could damage the alternator bearings.
Another method for checking belt tension is to twist it with your fingers halfway between the two pulleys. The belt should be able to turn a quarter turn.
Op 16
Connect the connector and lock its fixing clip.
Op 17
Fit the grille (➔ see the tutorial ''Grille removal'' Op 05 to 06).
The End