This tutorial is also available in French
➔

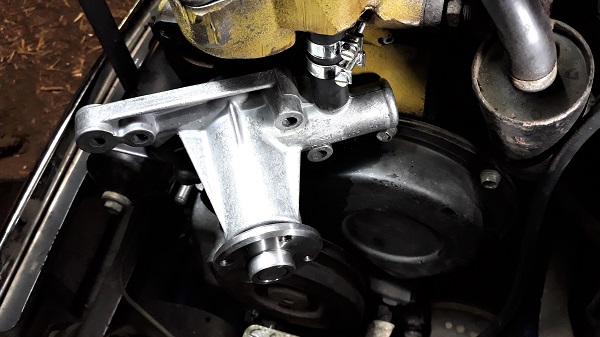
Water pump change on Austin Mini
Vehicle ➔ Mini 1000 year 1991 automatic gearbox
Difficulty ➔ Medium

Time ➔ 3 hours
Summary
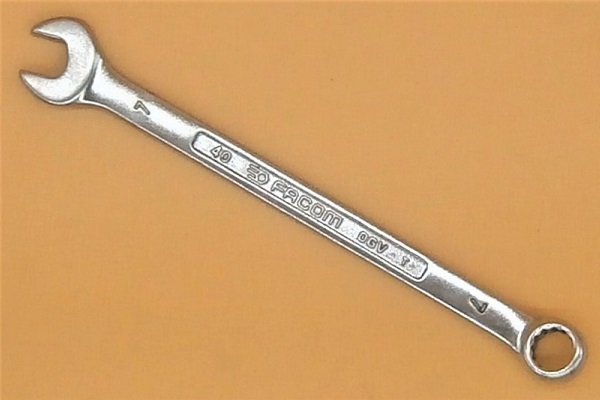
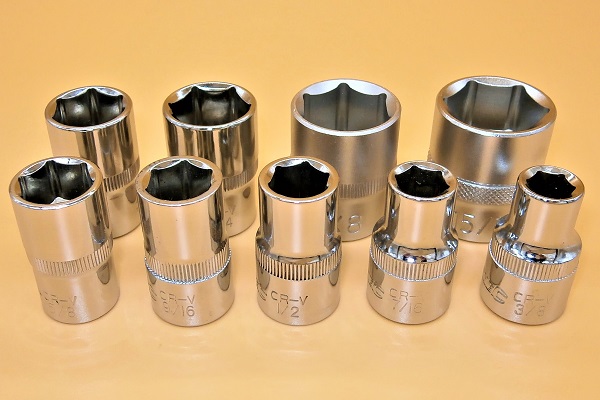
Required Tools
Sponsored links by


Spare Parts
Our Partners


Packaging :
•
GFK1124 and GFK5180 : The bolts and washers are sold individually.
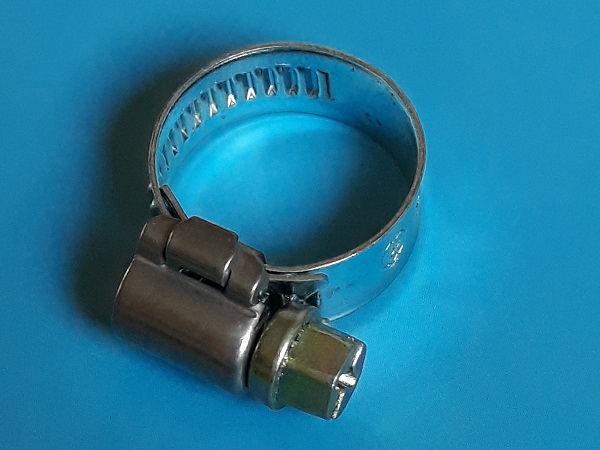
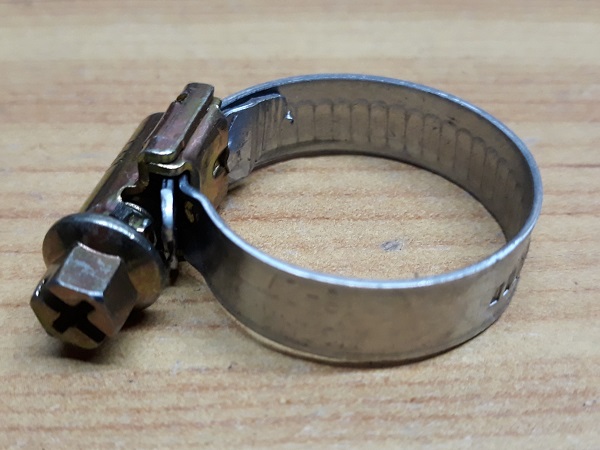
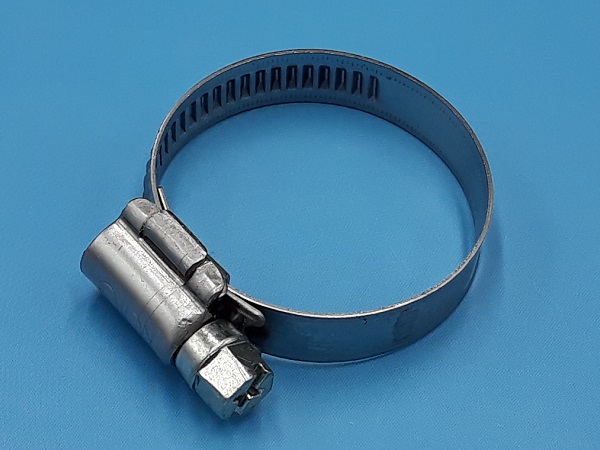
• GHC406, GHC608 and GHC811 : The hose clips are sold individually.
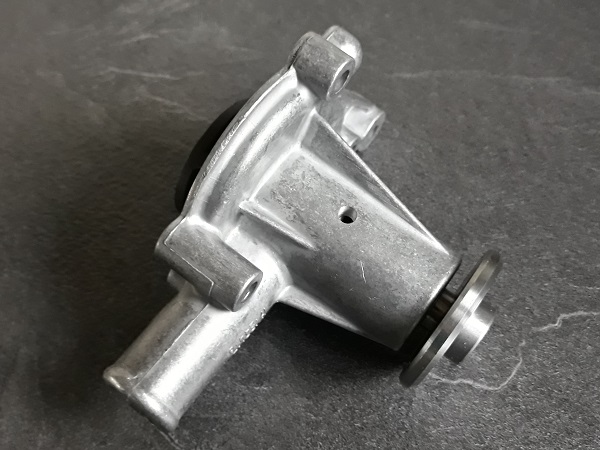
• GWP134EVO : The water pump is sold with its gasket.
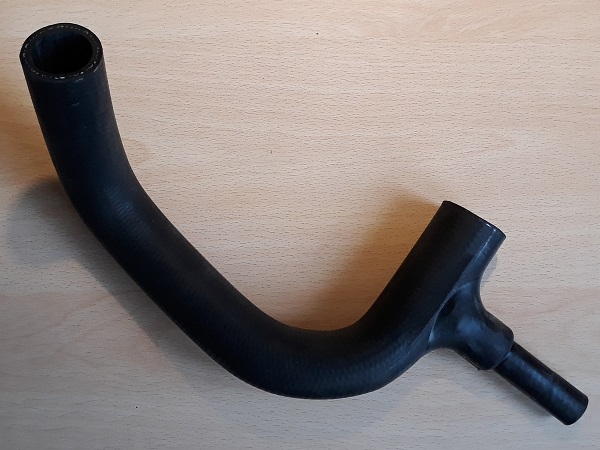
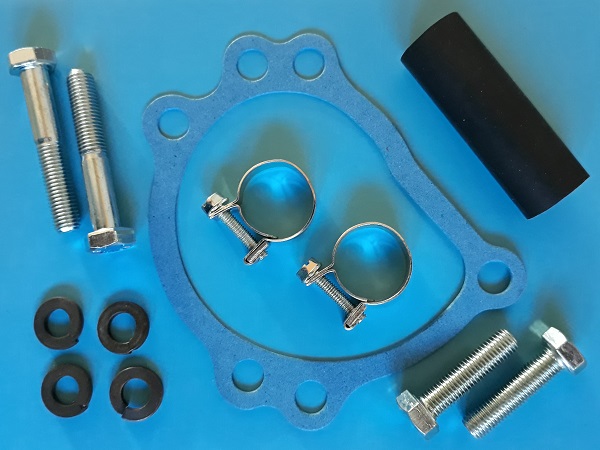
• GWP134FK : The kit includes 1 bypass hose, 1 water pump gasket, 2 hose clips, 4 bolts and 4 spring washers.
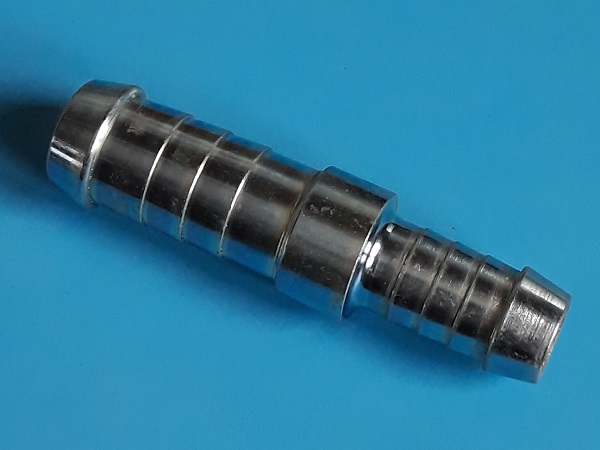
• MOC210 : The hose connector is sold individually.
• GHC406, GHC608 and GHC811 : The hose clips are sold individually.
• GWP134EVO : The water pump is sold with its gasket.
• GWP134FK : The kit includes 1 bypass hose, 1 water pump gasket, 2 hose clips, 4 bolts and 4 spring washers.
• MOC210 : The hose connector is sold individually.
Advertisement
Remove the water pump
Op 01
Remove the grille (➔ see the tutorial ''Grille removal'' Op 01 to 04).

Once the grille is removed, the front radiator fixing bolts will be much easier to unscrew.
Op 02
Drain the cooling system (➔ see the tutorial ''Renew the coolant'' Op 01 to 05).
Op 03
Remove the radiator (➔ see the tutorial ''Radiator change'' Op 03 to 11).
Op 04
Remove the alternator (➔ see the tutorial ''Alternator change'' Op 02 to 07).
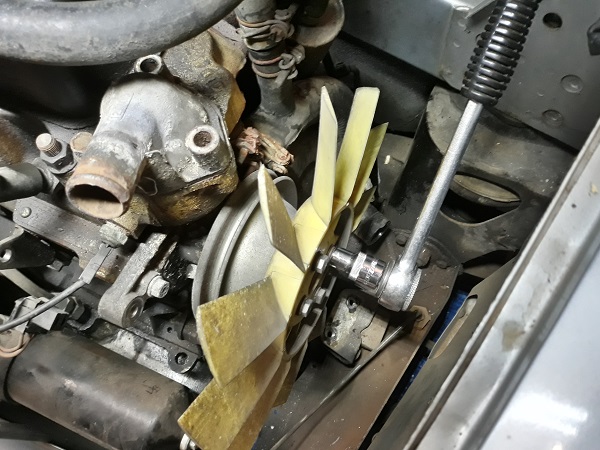
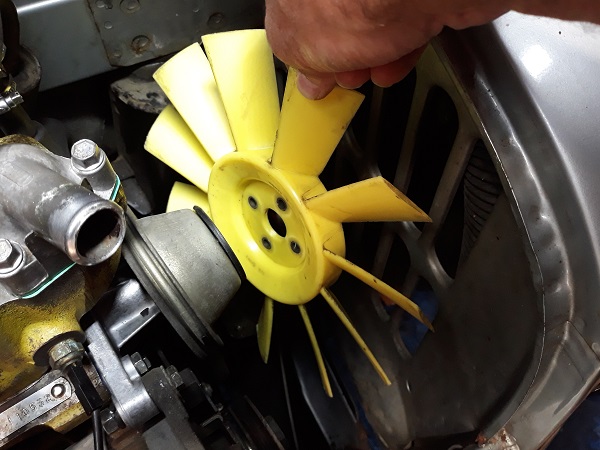
Op 05
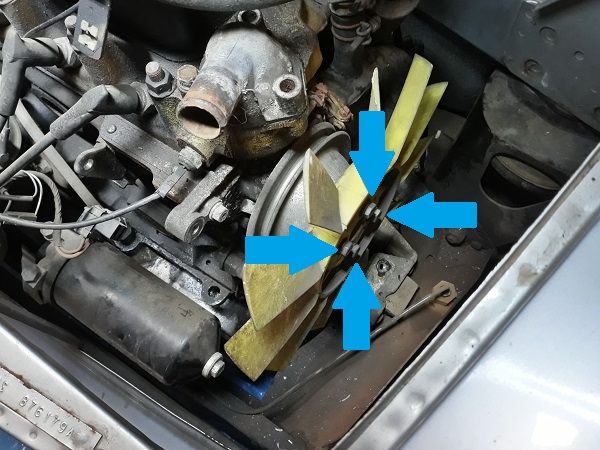
Unscrew the 4 fan fixing bolts. Use the 7/16'' socket.
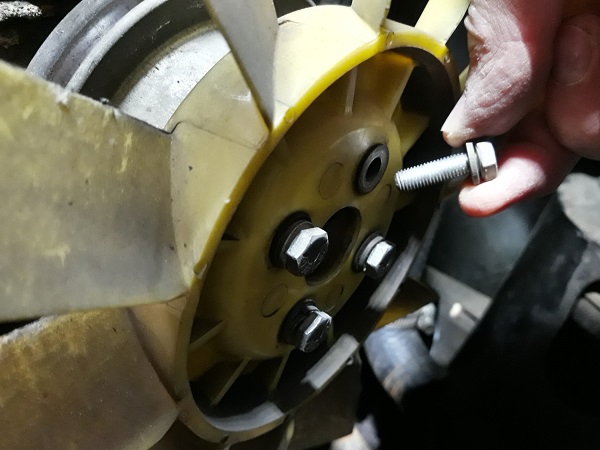
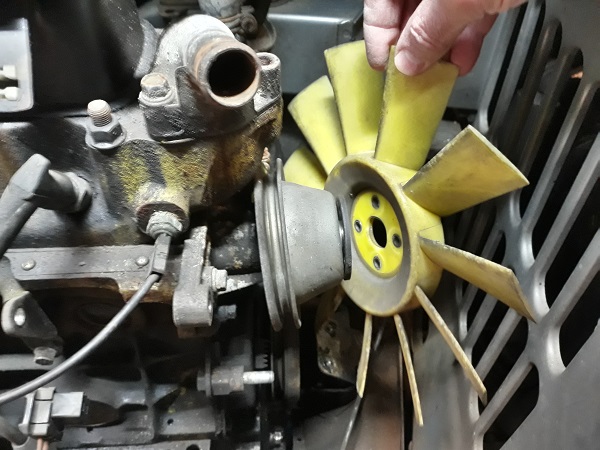
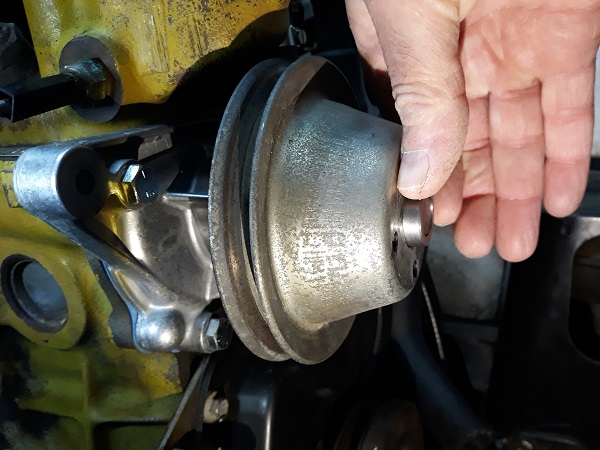
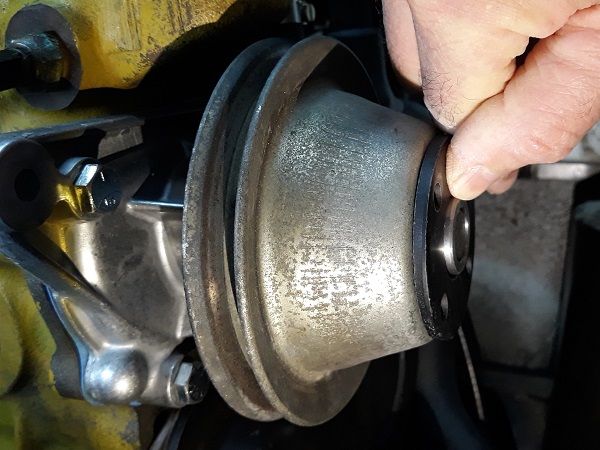
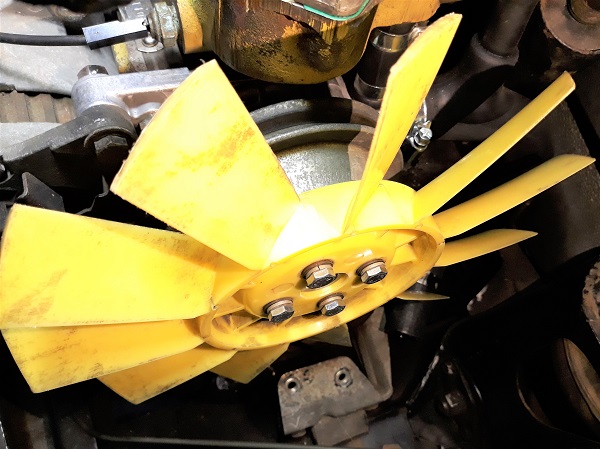
Op 06
Remove the fan, spacer, and pulley.
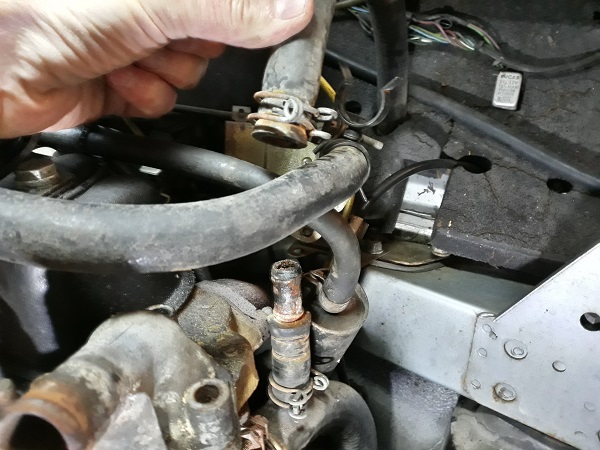
Op 07
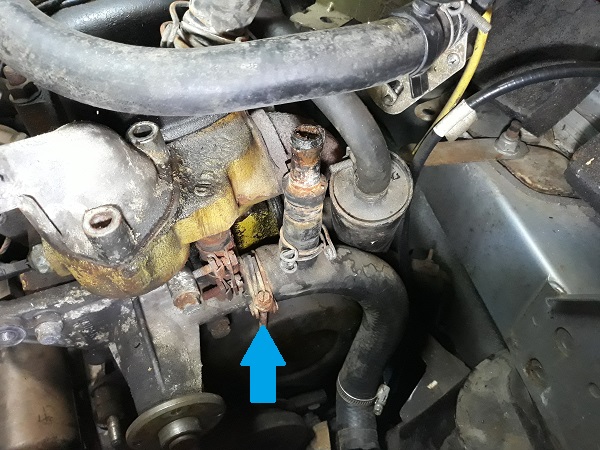
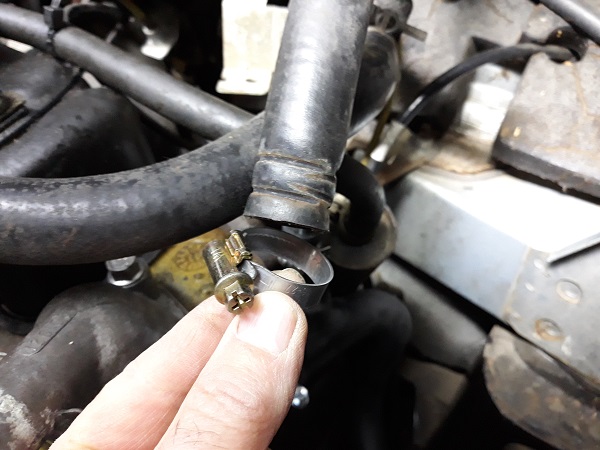
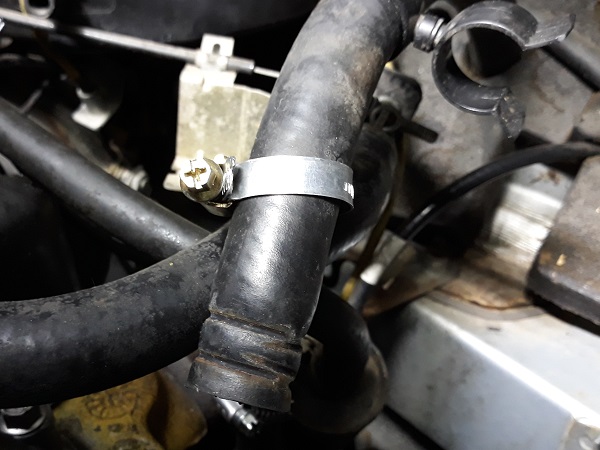
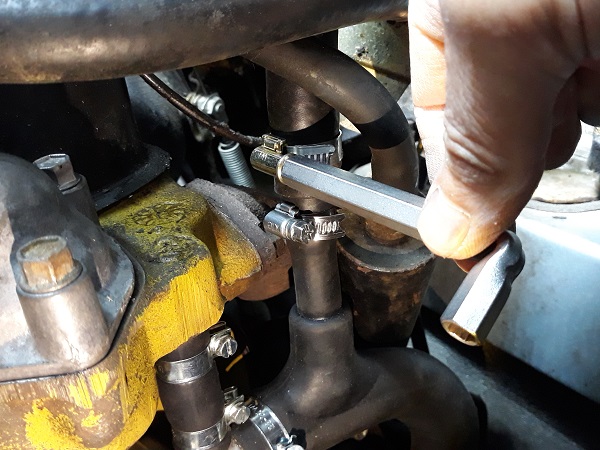
Unscrew the 2 heater hose clips on the lower hose. Use the 7 mm spanner.
Disconnect the 2 hoses. Pull firmly by hand.
This step is not essential when changing the water pump. But after dismantling all this, it would be a shame not to take the opportunity to change the lower hose.

It is best to unscrew the 2 clips to facilitate disassembly. Indeed, the union of the 2 hoses is sometimes welded to the hoses by rust. You have to pull really hard to disconnect them.
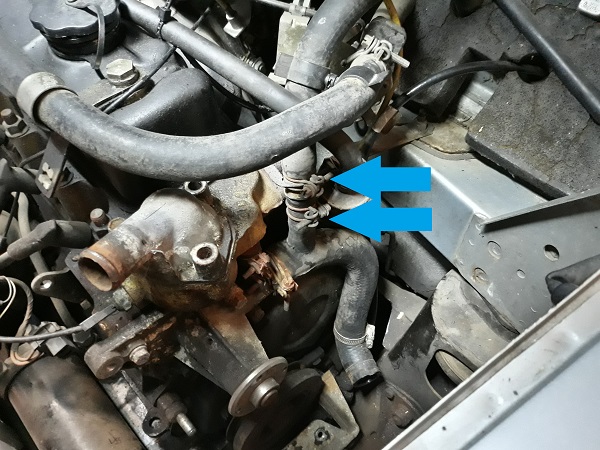
Op 08
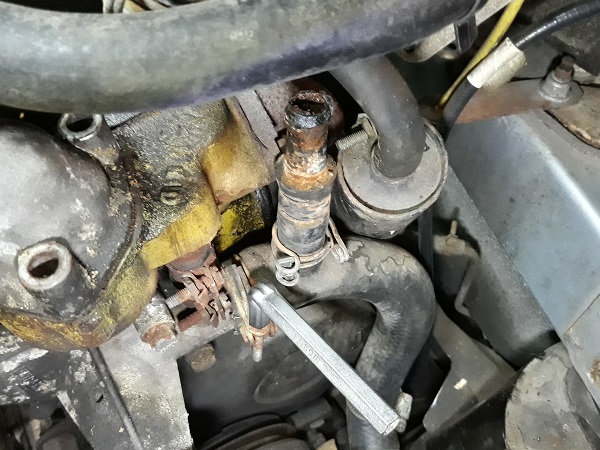
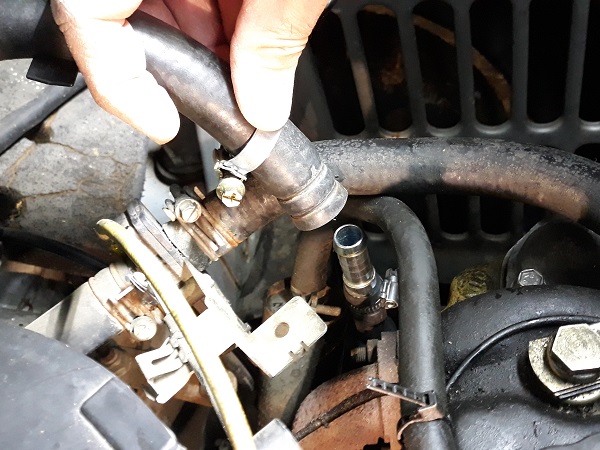
Loosen the lower hose clip on the water pump. Use the 7 mm socket spanner.
Remove hose. Pull by hand.

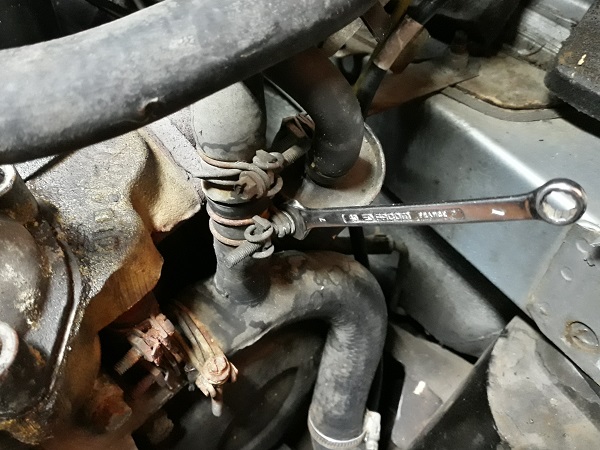
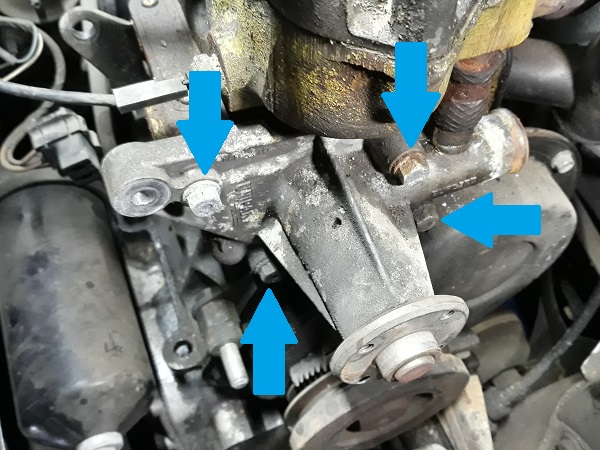
Op 09
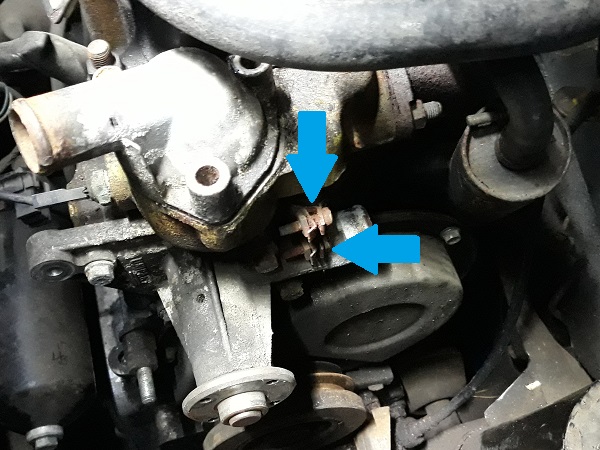
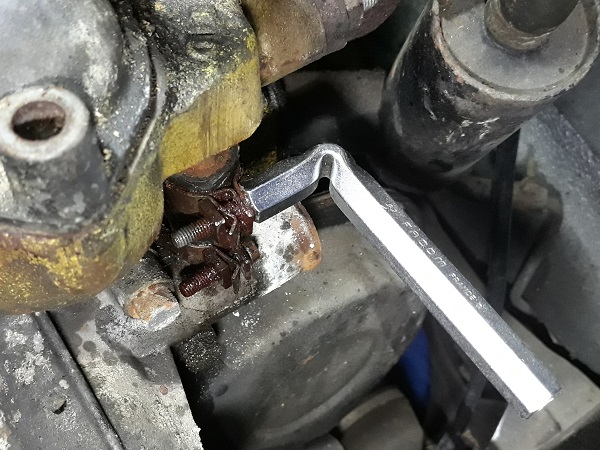
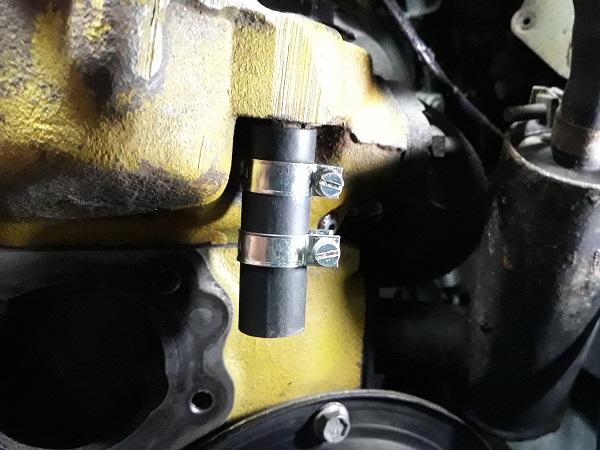
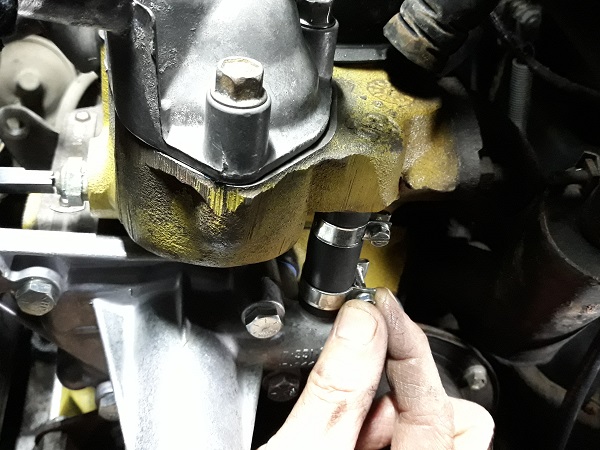
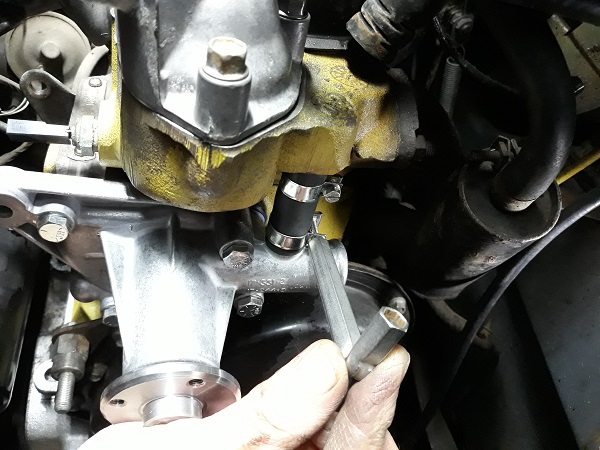
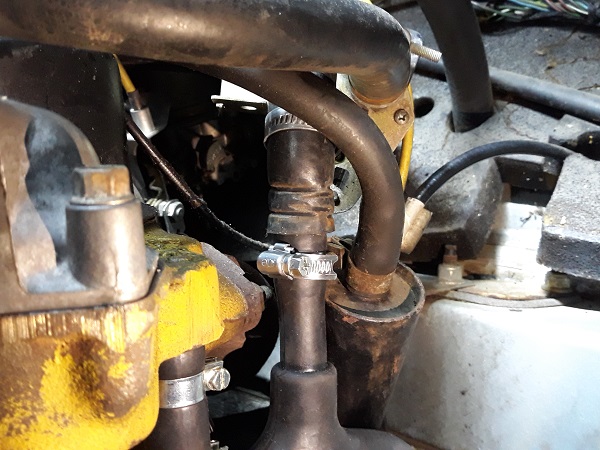
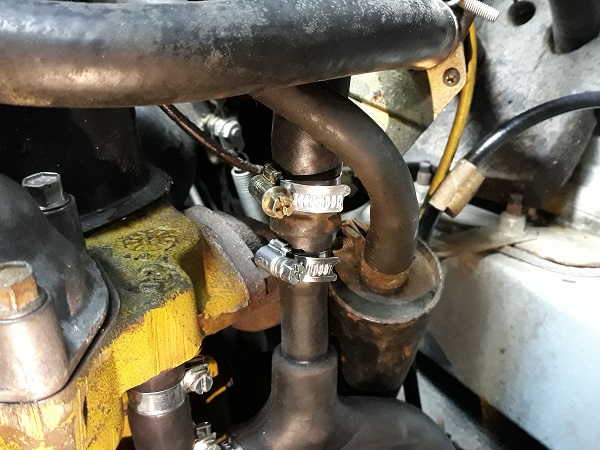
Unscrew the 2 bypass hose clips. Use the 7 mm socket spanner.
Op 10
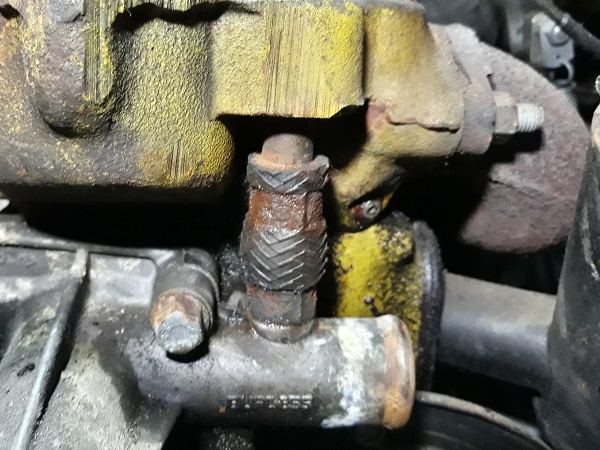
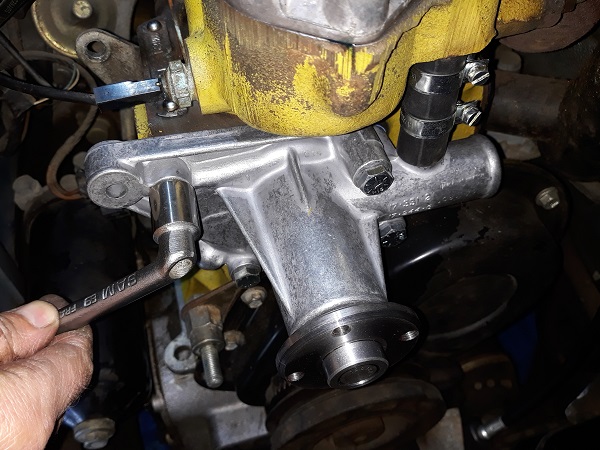
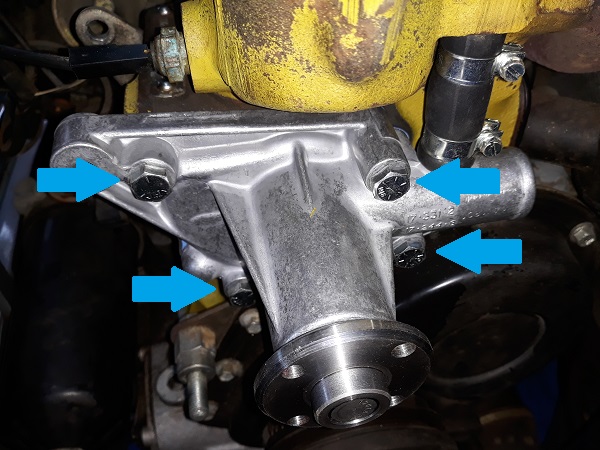
Unscrew the 4 water pump fixing bolts. Use the 7/16'' socket.
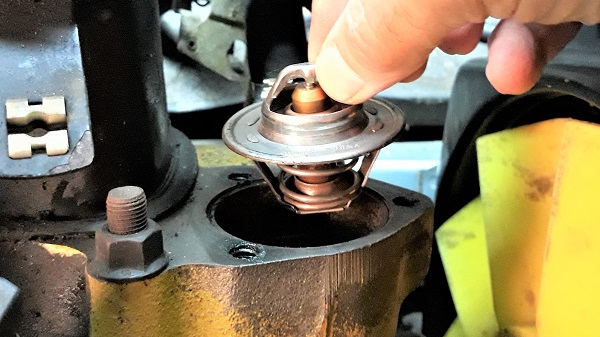
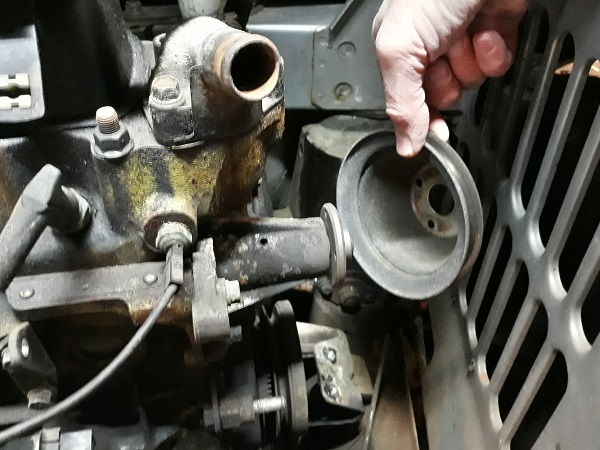
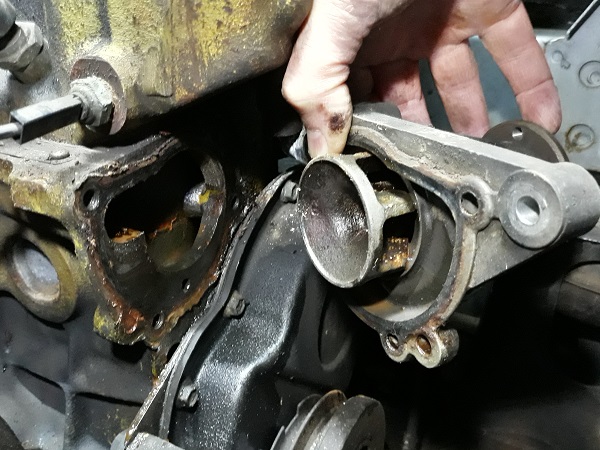
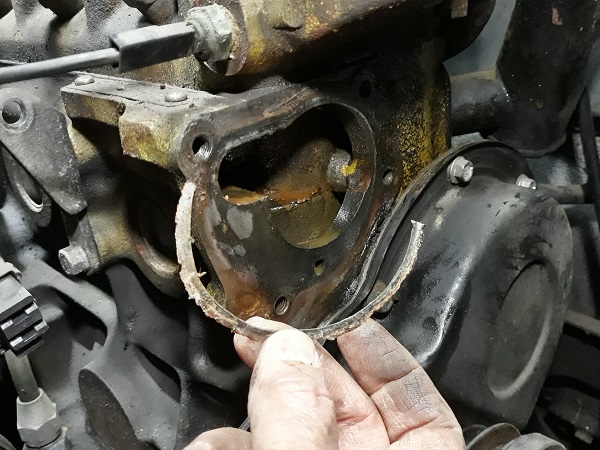
Op 11
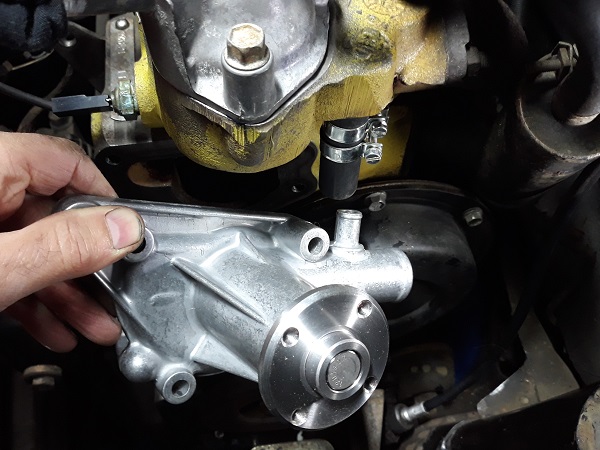
Remove the water pump and the water pump gasket (or what's left of it).
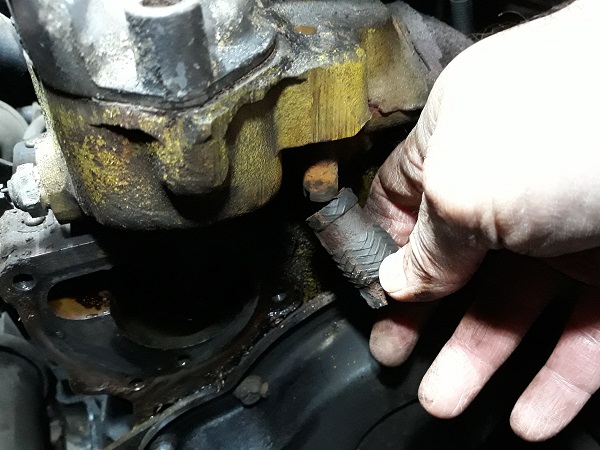
Op 12
Remove the bypass hose.
Advertisement
Fit the water pump
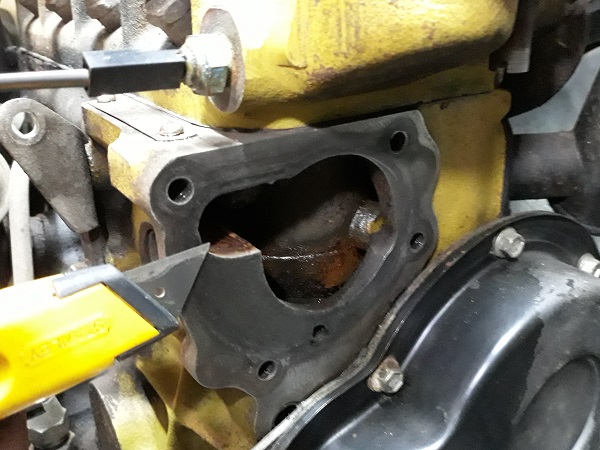
Op 13
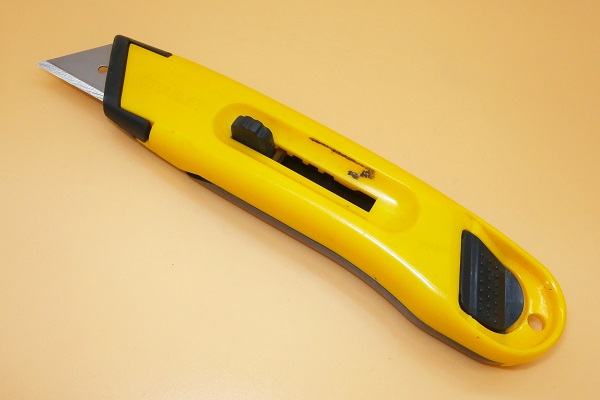
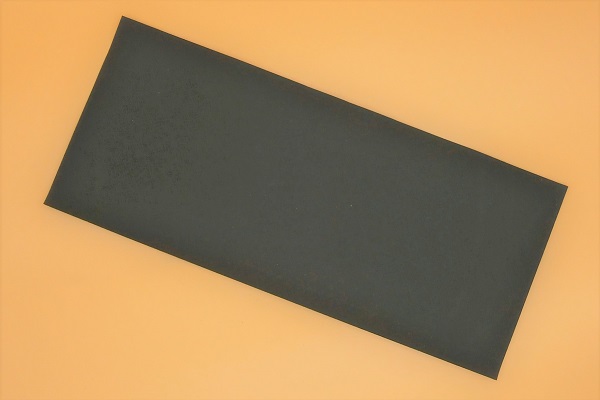
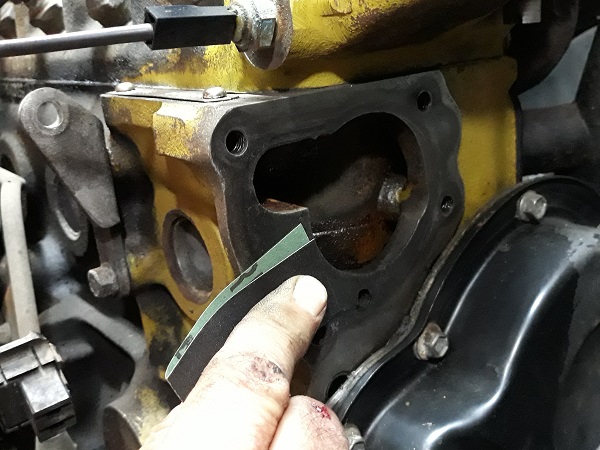
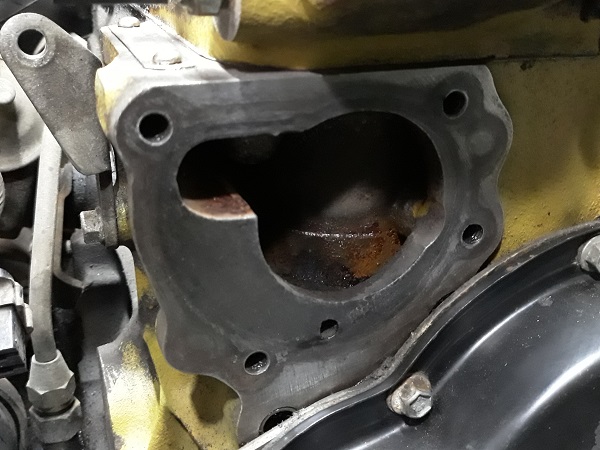
Thoroughly clean the surface on which the water pump seal will rest. Use a cutter and sandpaper.
Op 14
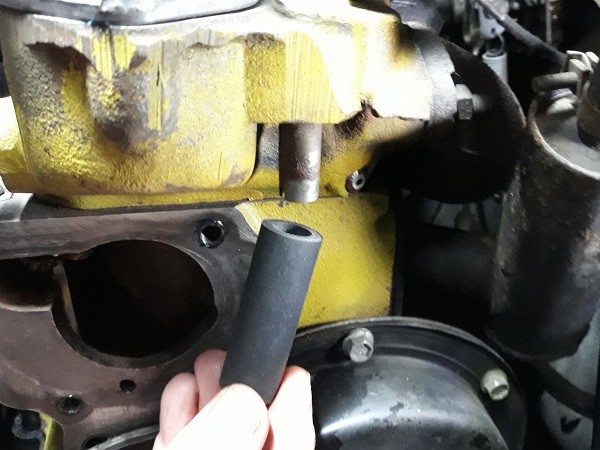
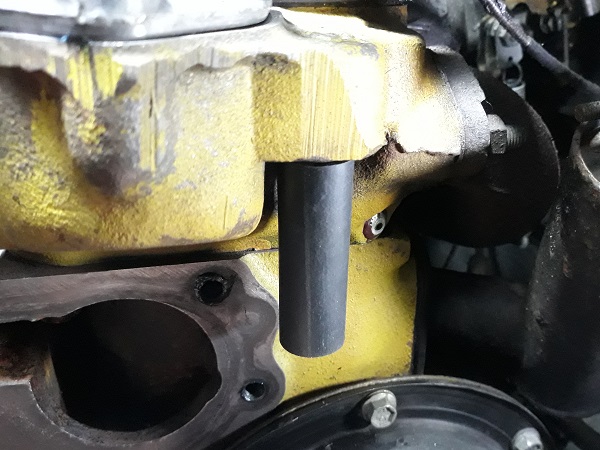
Engage the bypass hose (GWP134FK kit) on the cylinder head.
Op 15
Fit and tighten the upper bypass hose clip (GWP134FK kit). Use the 7 mm socket spanner.
Op 16
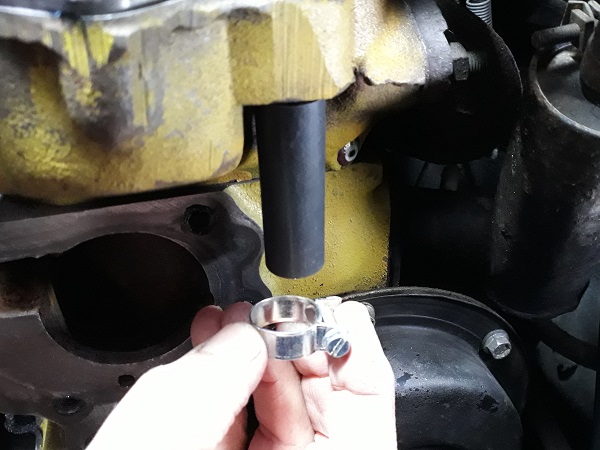
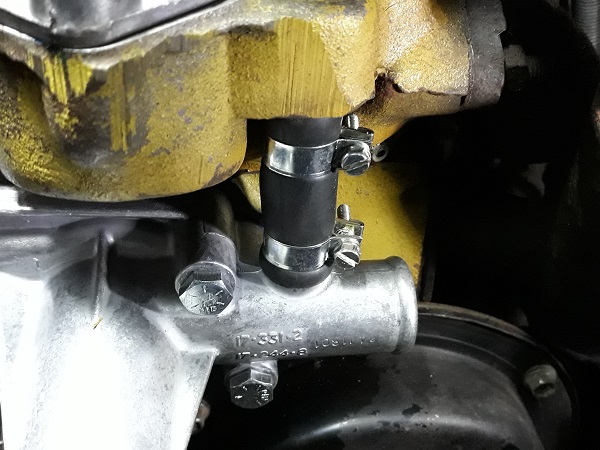
Fit the lower bypass hose clip.
Tighten the clip very slightly so that it stays in place on the hose.
Op 17
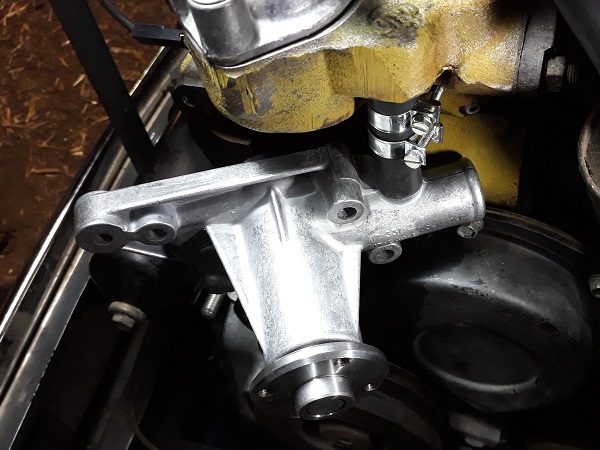
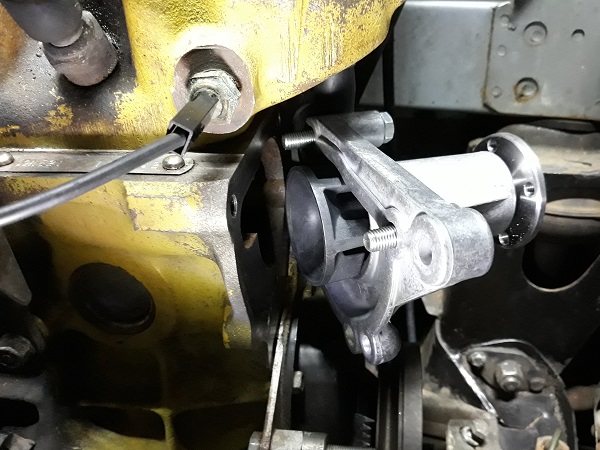
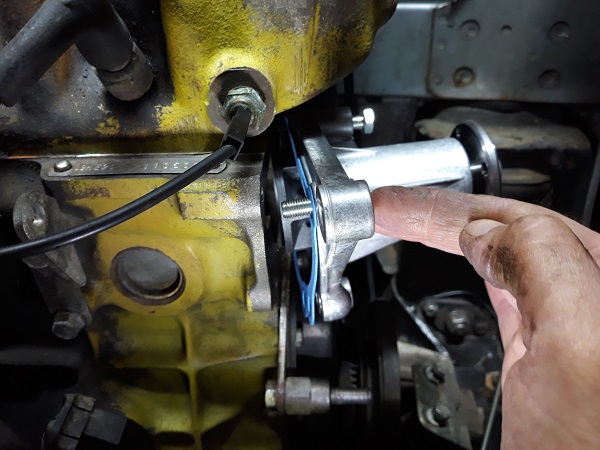
Engage the water pump (GWP134EVO) in the bypass hose.
Do not press the water pump against the engine block for now. This will allow the seal to be slid in later.
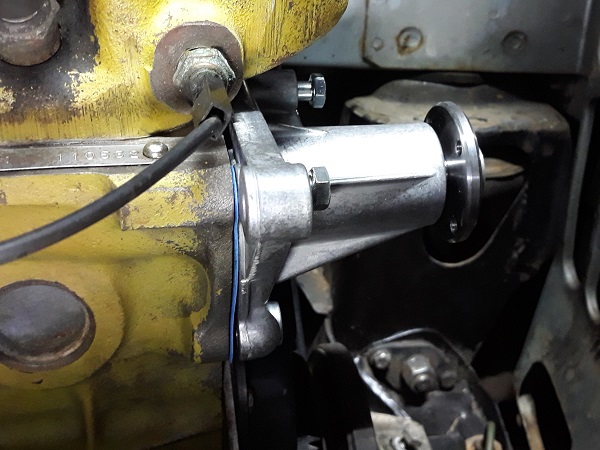
Op 18
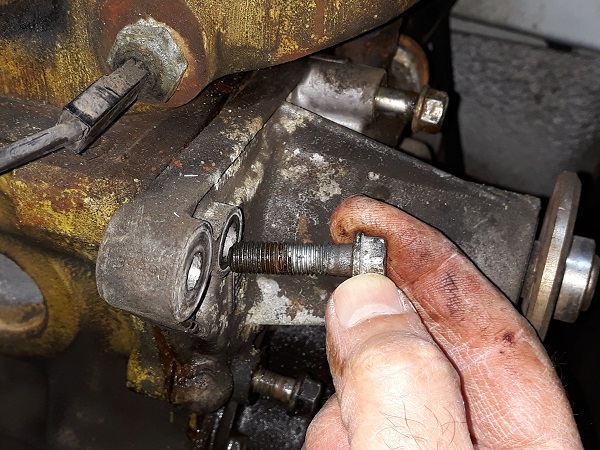
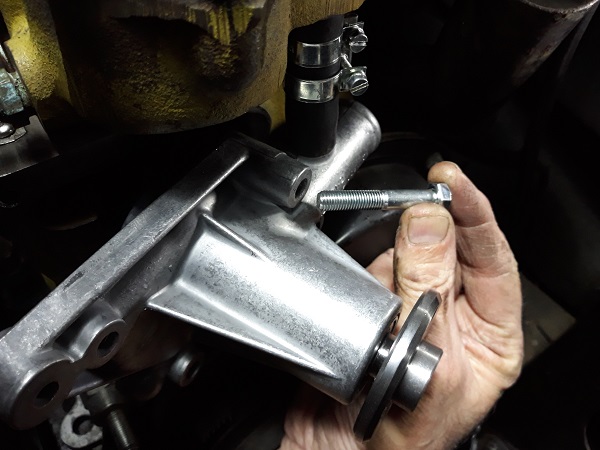
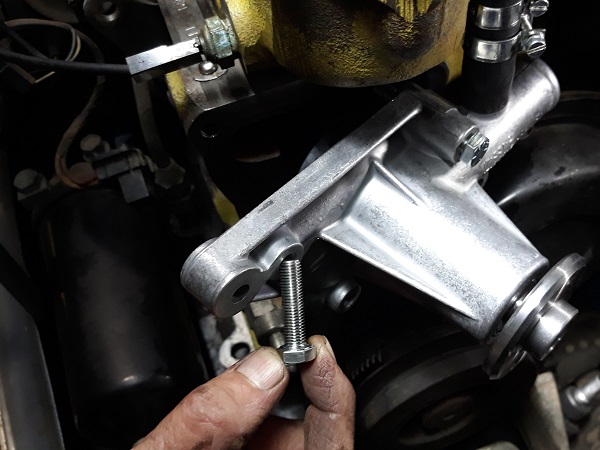
Engage 2 fixing bolts (GWP134FK kit) on the water pump.
The 2 bolts will hold the seal in place during the final installation of the water pump.
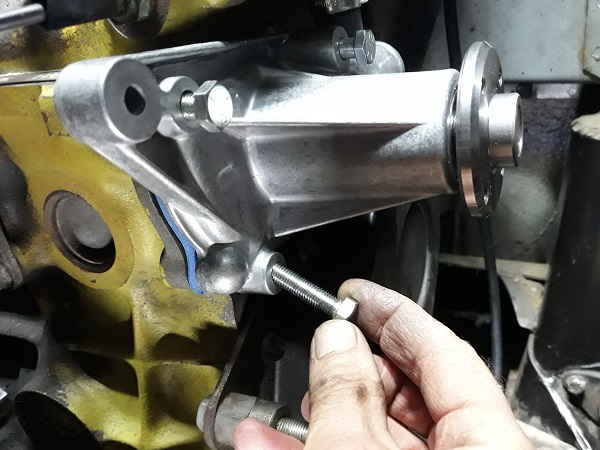
The 4 water pump fixing bolts are of two different lengths :
• The longer ones (47 mm) are located at the rear of the water pump.
• The shorter ones (32 mm) are located at the front.
You can also look at the thickness of the housing at the mounting holes and deduce the position of each bolt.
• The longer ones (47 mm) are located at the rear of the water pump.
• The shorter ones (32 mm) are located at the front.
You can also look at the thickness of the housing at the mounting holes and deduce the position of each bolt.

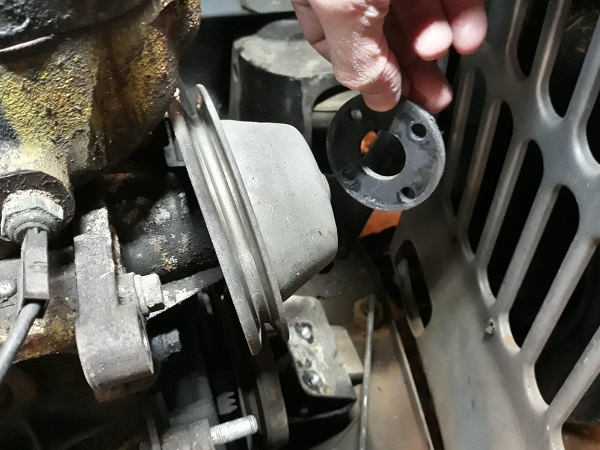
Op 19
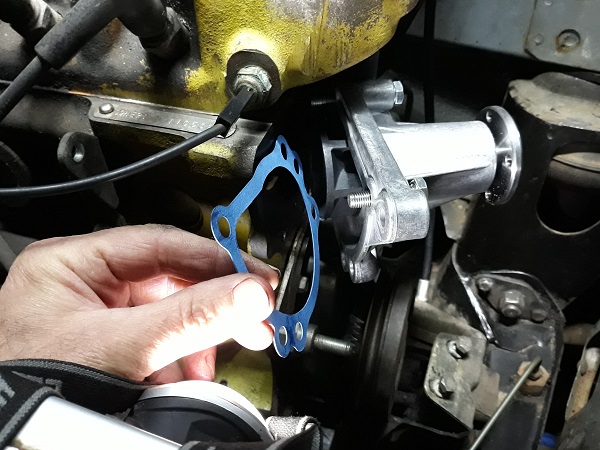
Fit the seal on the water pump (GWP134FK kit).
Op 20
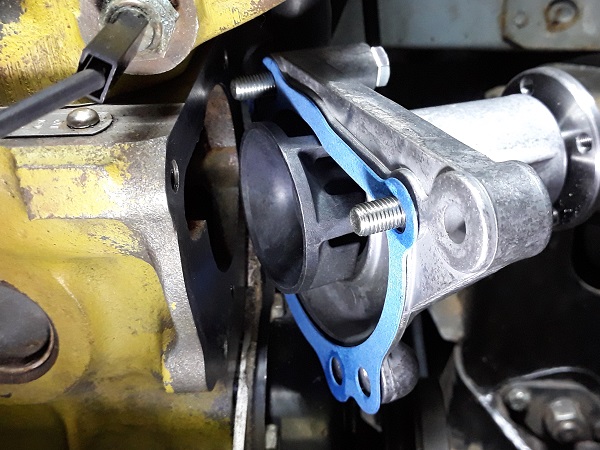
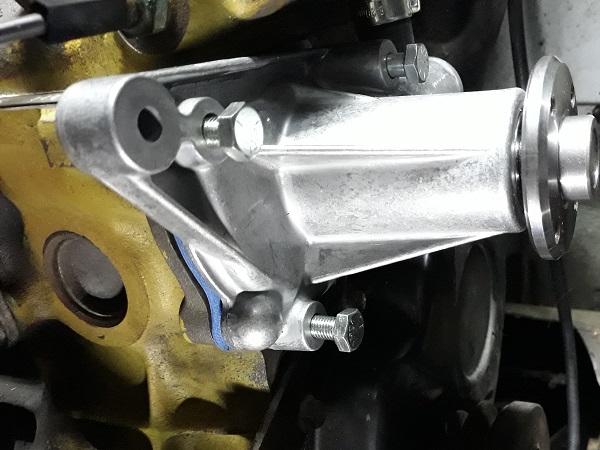
Press the water pump against the engine block.
Op 21
Fit the other 2 water pump fixing bolts.

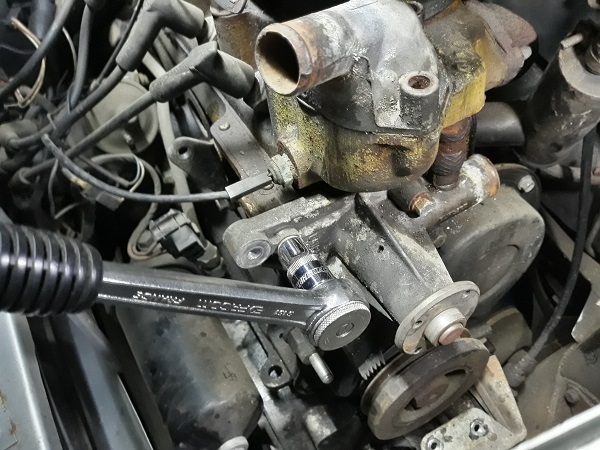
Op 22
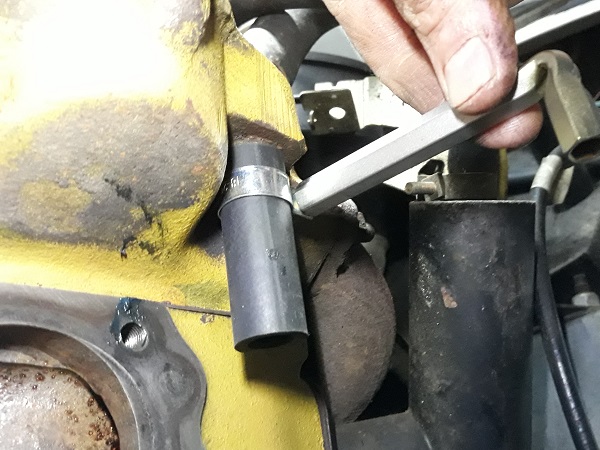
Screw in the 4 water pump fixing bolts. Use the 7/16'' socket.
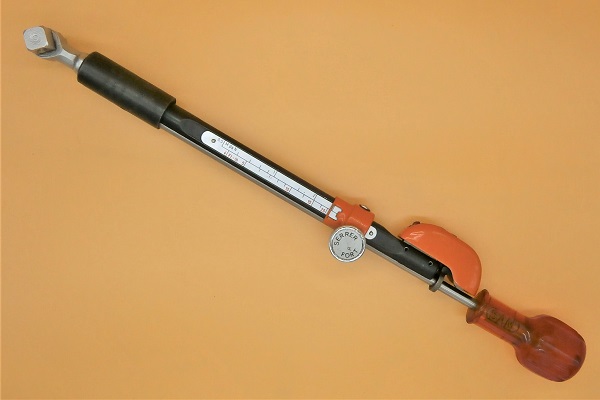
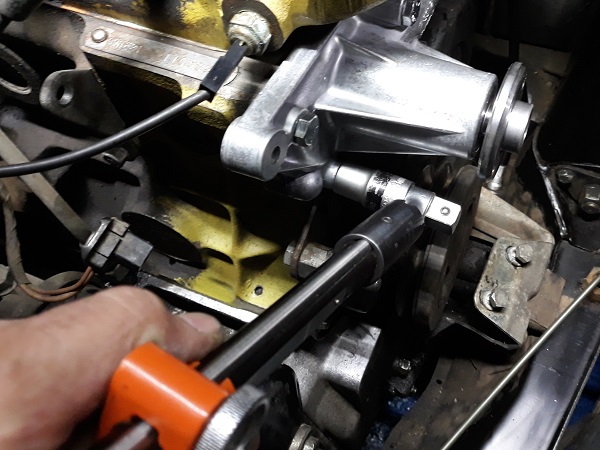
Tighten the 4 bolts to a torque of 23 mN. Use the torque wrench.
Tighten the 4 bolts diagonally and progressively.
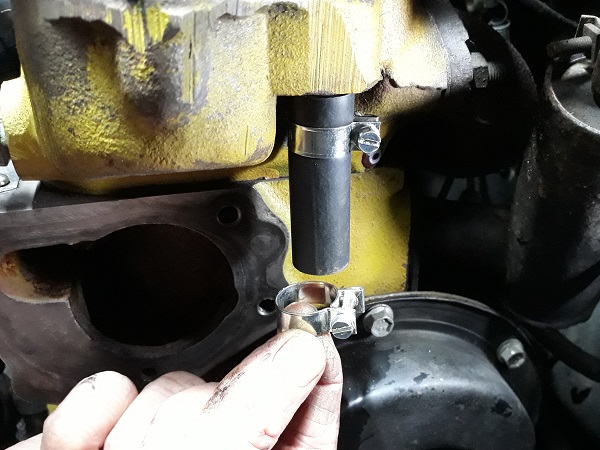
Op 23
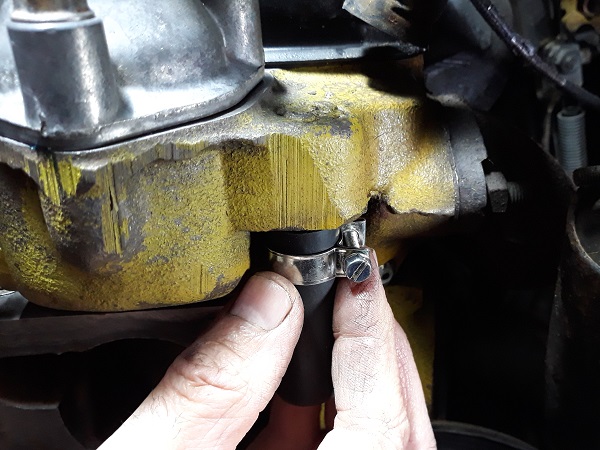
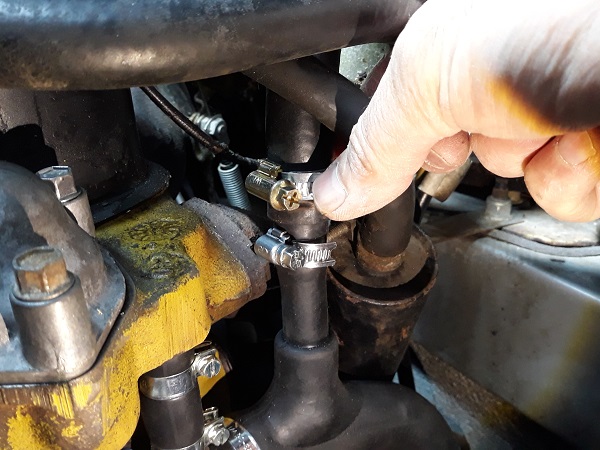
Fit the lower bypass hose clip in its final position.
Tighten the clip. Use the 7 mm socket spanner.
Op 24
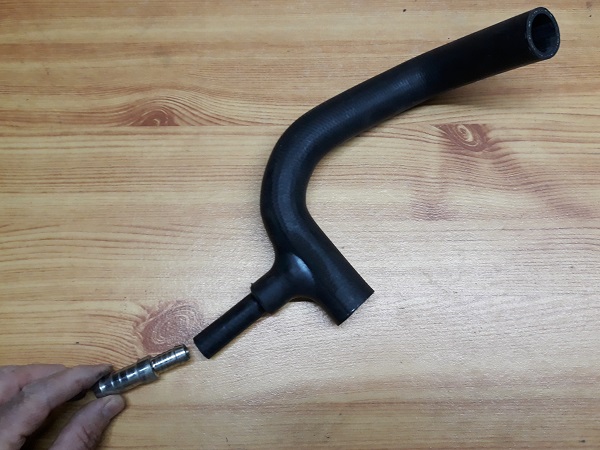
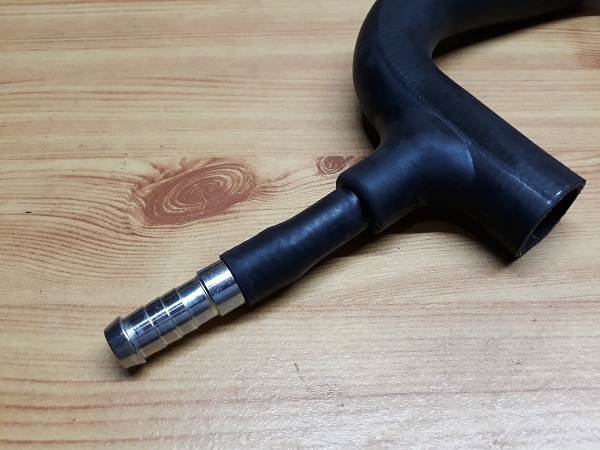
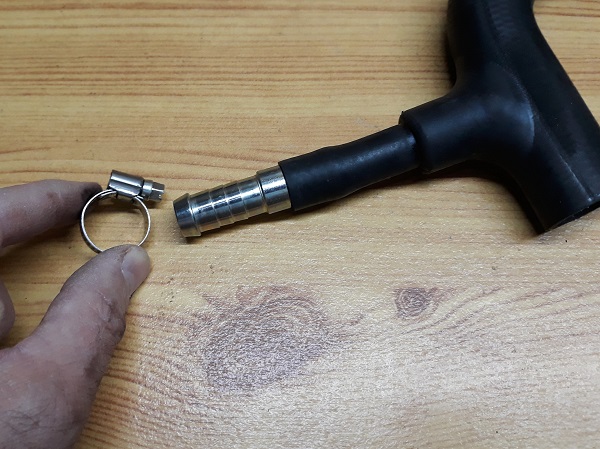
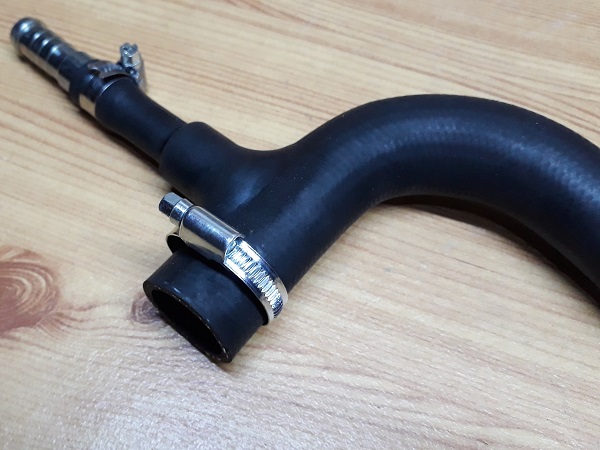
Insert the reducer union (MOC210) into the lower hose (GRH240KEVLAR). Push firmly by hand.
Op 25
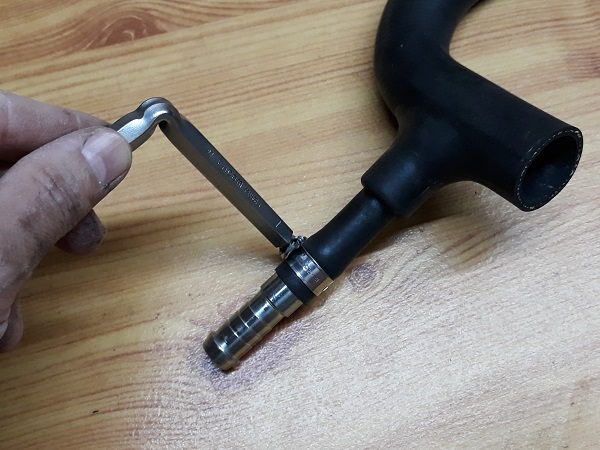
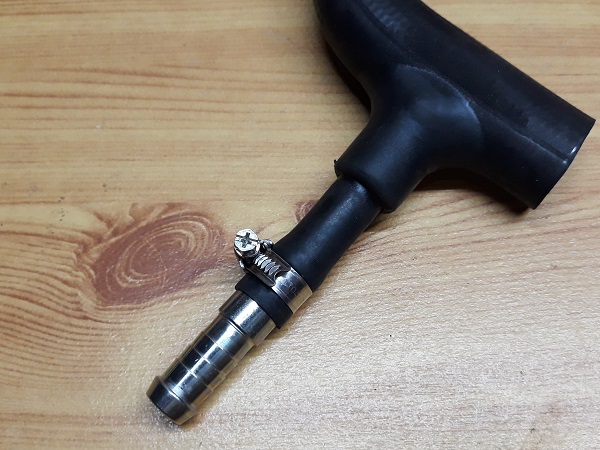
Fit and tighten the clip (GHC406) on the lower hose. Use the 7 mm socket spanner.
Op 26
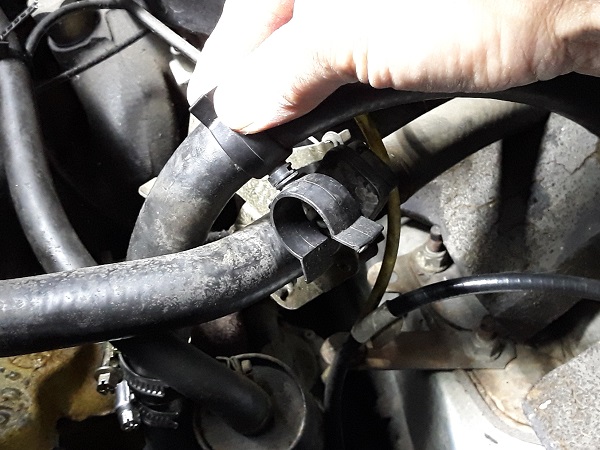
Fit the clip (GHC811) on the lower hose without tightening it.
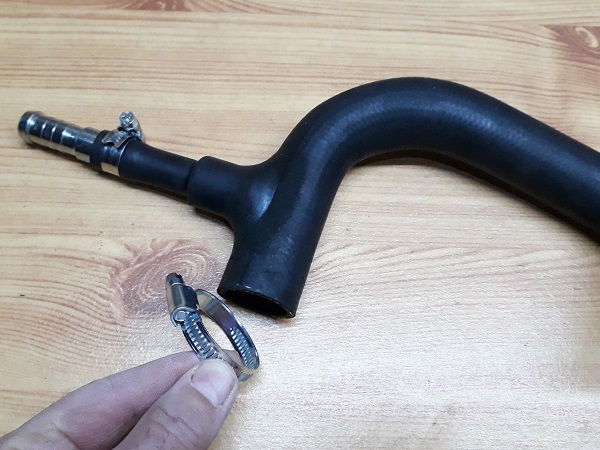
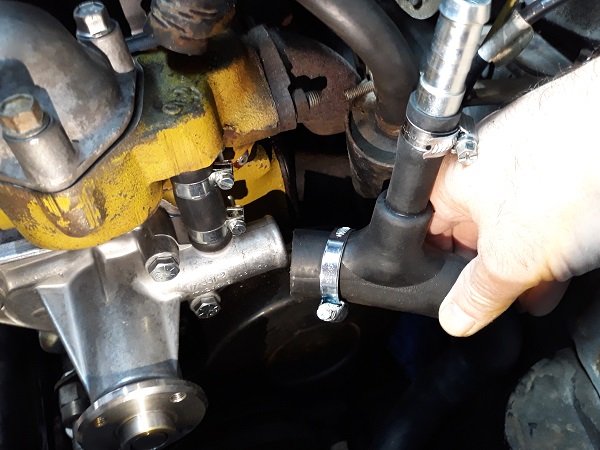
Op 27
Engage the lower hose on the water pump. Push firmly by hand.
Fit the clip.
Tighten the clip. Use the 7 mm socket spanner.

Op 28
Fit the clip (GHC608) on the heater hose without tightening it.
Op 29
Engage the heater hose on the reducer union. Push firmly by hand.
Op 30
Fit and tighten the heater hose clip. Use the 7 mm socket spanner.
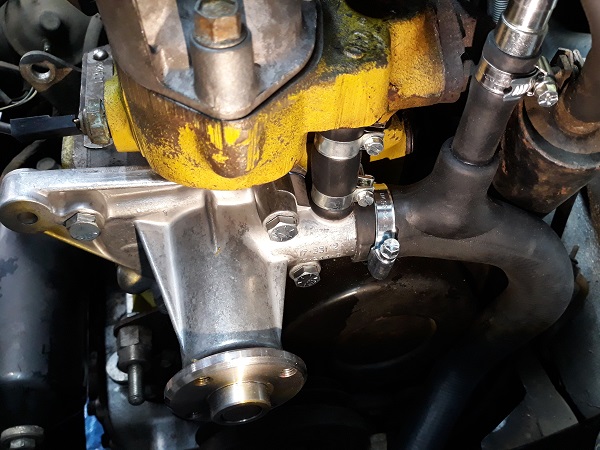
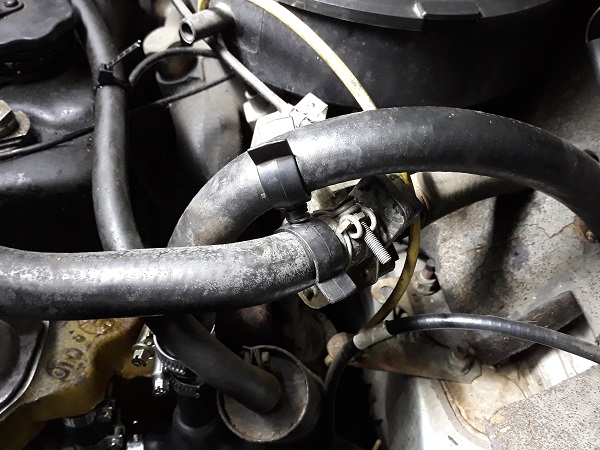
Op 31
Correctly position the clip between the 2 heater hoses.
Op 32
Fit the pulley, spacer, and fan on the water pump.
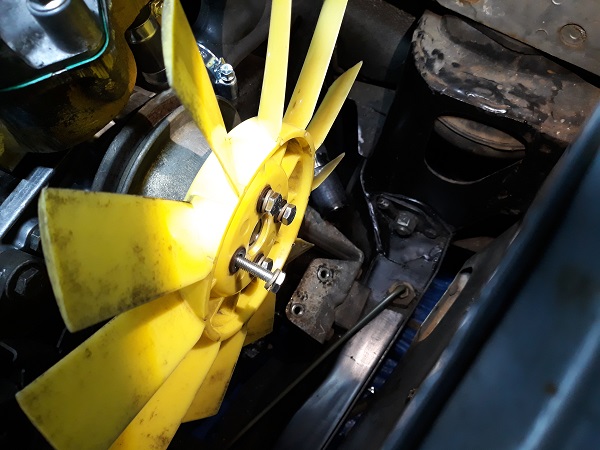
Op 33
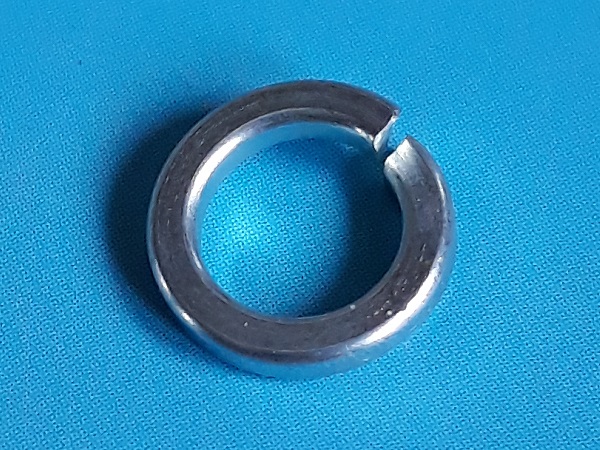
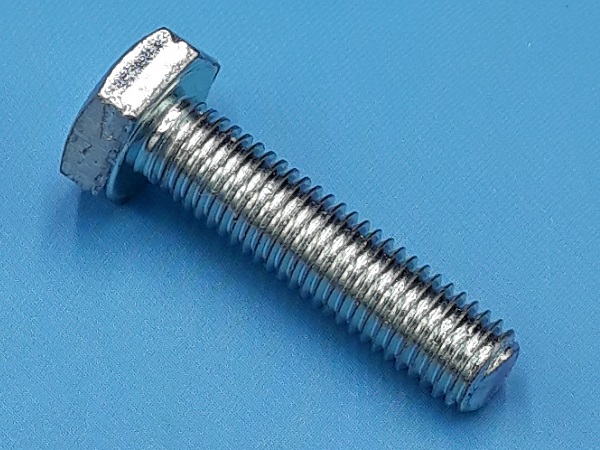
Fit and screw in the 4 fan fixing bolts (GFK5180) and their washers (GFK1124). Use the 7/16'' socket.

Op 34
Fit the alternator (➔ see the tutorial ''Alternator change'' Op 09 to 16).
Op 35
Fit the radiator (➔ see the tutorial ''Radiator change'' Op 18 to 26).
Op 36
Fill and bleed the cooling system (➔ see the tutorial ''Radiator change'' Op 27 to 29).
Op 37
Fit the grille (➔ see the tutorial ''Grille removal'' Op 05 to 06).
The End