This tutorial is also available in French
➔

Thermostat change on Austin Mini
Vehicle ➔ Mini 1000 year 1991 automatic gearbox
Difficulty ➔ Easy

Time ➔ 2 hours
Summary
Advertisement
Advertisement

Recommendations

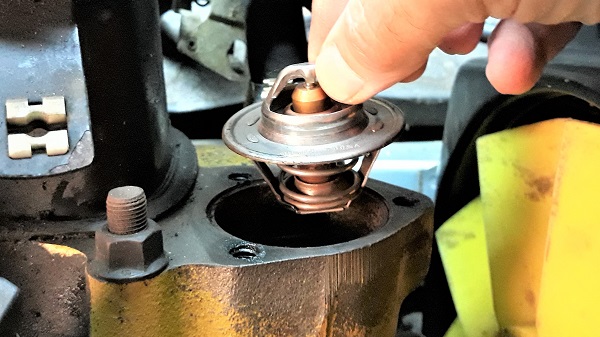
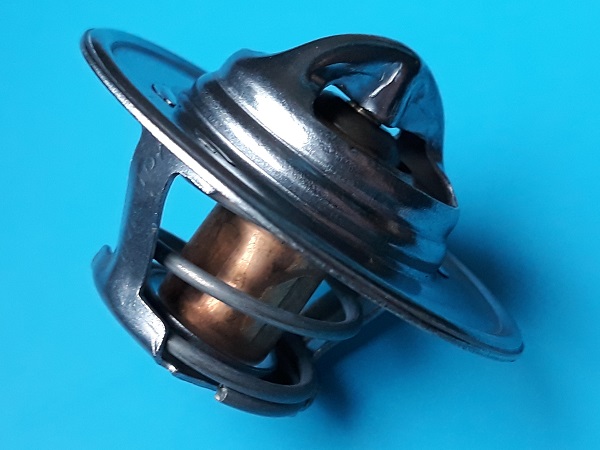
There are 3 thermostats with different opening temperatures : 74°, 82° and 88°C. The opening temperature is engraved at the base of the thermostat.
You can test the thermostat's proper functioning by placing it in a saucepan filled with water. Heat the water and note the temperature at which the thermostat opens.

The engine must be cold before starting this tutorial. You could burn yourself.
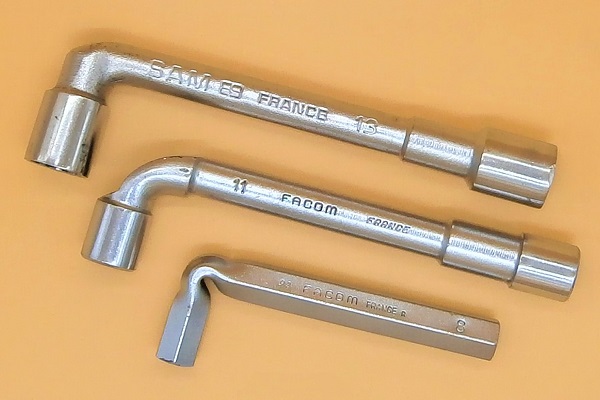
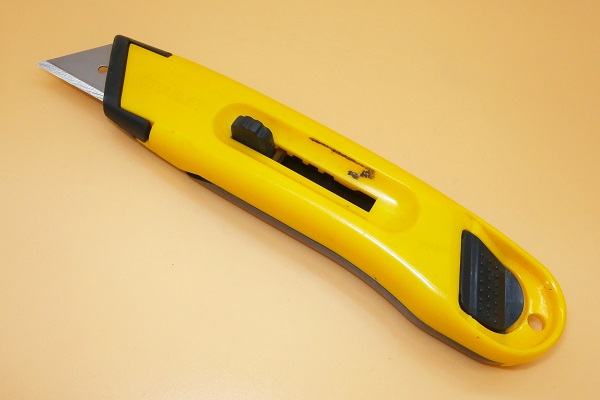
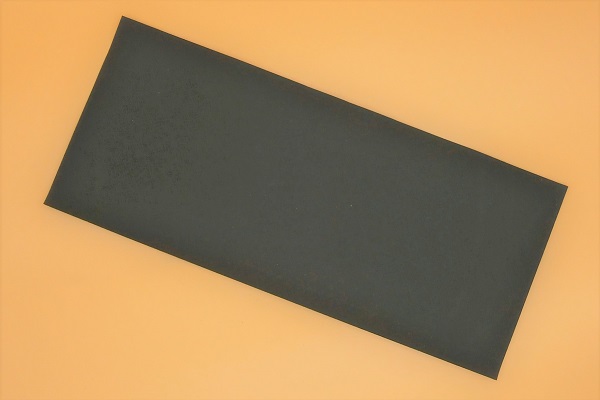
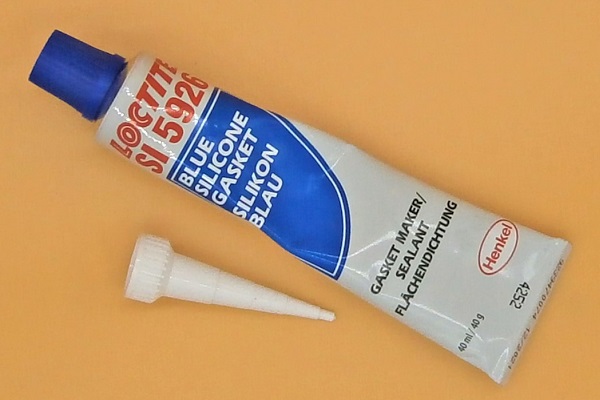
Required Tools
Sponsored links by

Spare Parts
Our Partners


Packaging :
•
All the above parts are sold individually.
Advertisement
Remove the thermostat
Op 01
Drain the cooling system (➔ see the tutorial ''Renew the coolant'' Op 01 to 05).
Op 02
Remove the upper hose (➔ see the tutorial ''Radiator change'' Op 03 and 04).
Op 03
Remove the 2 fixing bolts from the radiator top bracket on radiator side. Use the 11 mm socket spanner.


Op 04
Remove the 2 fixing bolts from the radiator top bracket on thermostat side. Use the 11 mm socket spanner.


Op 05
Remove the radiator top bracket.


Op 06
Remove the 3rd fixing bolt of the thermostat housing. Use the 11 mm socket spanner.


Op 07
Remove the thermostat housing and the thermostat. Simply pull by hand.


Advertisement
Fit the thermostat
Op 08
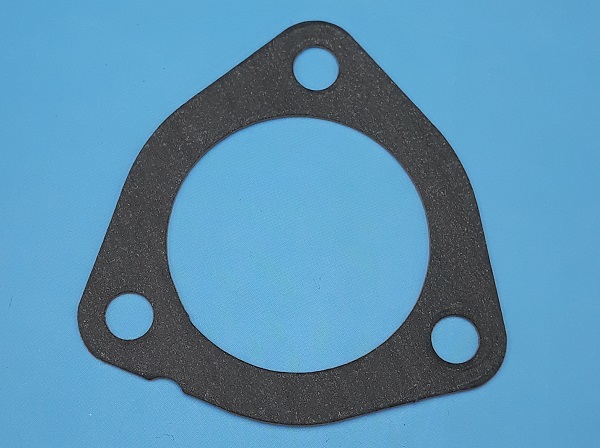
Remove the thermostat housing gasket and perfectly clean the support surfaces of the future gasket. Use a cutter or sandpaper.


Op 09
Fit the new thermostat (GTS106) and the housing gasket (GUG705558GM).
To ensure a good seal of the thermostat housing gasket, you can lightly coat it with gasket sealant.


Op 10
Fit the thermostat housing.
Fit one of the 3 housing fixing bolts (the one that does not hold the radiator top bracket). Screw by hand
Apply a little copper grease on the thread of the fixing bolt. This will limit oxidation and make it easier to unscrew during the next disassembly.
Do not tighten the bolt for now.


Op 11
Fit the radiator top bracket.
Fit the 2 top bracket fixing bolts on the radiator side. Screw in by hand.
Apply a little copper grease on the thread of the fixing bolts. This will limit oxidation and make it easier to unscrew during the next disassembly.
Do not tighten the bolts for now.


Op 12
Fit the other 2 thermostat housing fixing bolts (the ones that hold the radiator top bracket). Screw in by hand.
Tighten the 3 thermostat housing fixing bolts. Use the 11 mm socket wrench.
Apply a little copper grease on the thread of the fixing bolts. This will limit oxidation and make it easier to unscrew during the next disassembly.
The tightening torque for the thermostat housing fixing bolts is not specified in the workshop manual. On our Mini, we apply the same torque as the water pump fixing bolts : 23 mN.


Op 13
Tighten the 2 top bracket fixing bolts on the radiator side. Use the 11 mm socket wrench.

Op 14
Fit the upper hose (➔ see the tutorial ''Radiator change'' Op 23 and 24).
Op 15
Fit the lower hose onto the radiator and fill the cooling system (➔ see the tutorial ''Renew the coolant'' Op 06 to 10).
The End