This tutorial is also available in French
➔

HS4 air filter change on Austin Mini
Vehicle ➔ Mini 1000 year 1991 automatic gearbox
Difficulty ➔ Easy

Time ➔ 20 minutes
Summary
Advertisement
Advertisement

Recommendations

Do not clean the air filter with a blower because the high air pressure could damage the filter paper. The air filter would then be ineffective.

If the air filter is dirty, don't hesitate to change it. An OEM air filter costs only a few pounds.
Required Tools
Sponsored links by


Spare Parts
Our Partners


Packaging :
•
All the above parts are sold individually.
Advertisement
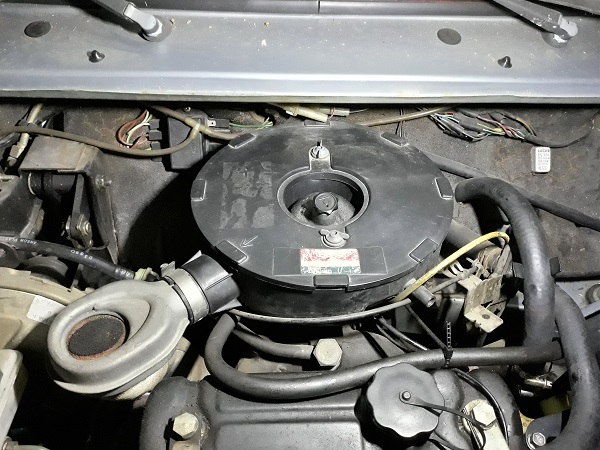
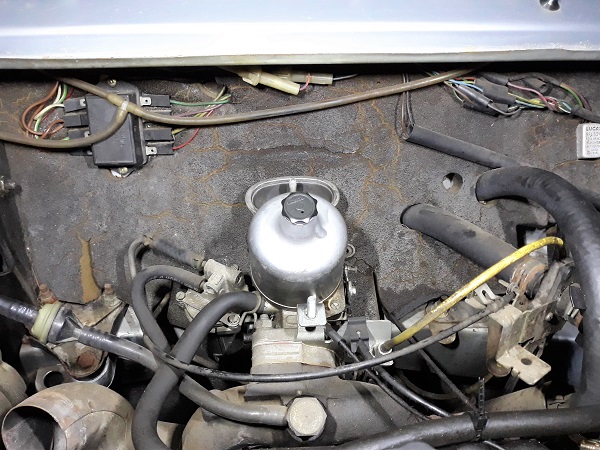
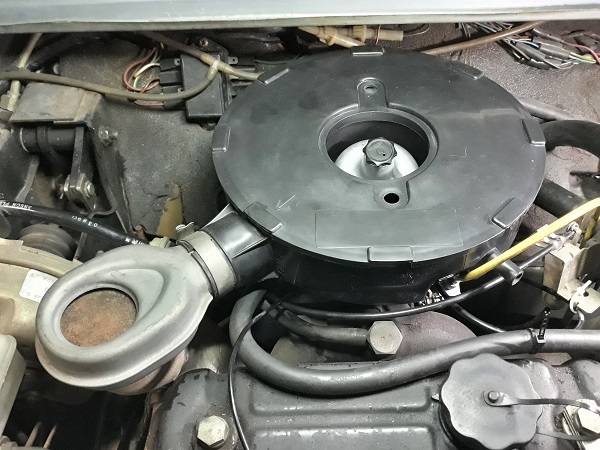
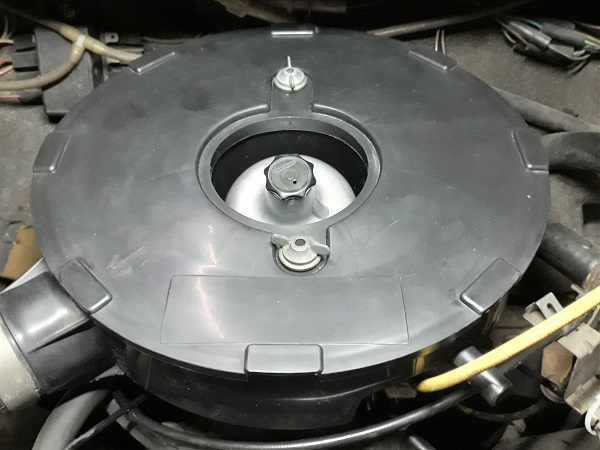
Remove the air filter box
Op 01
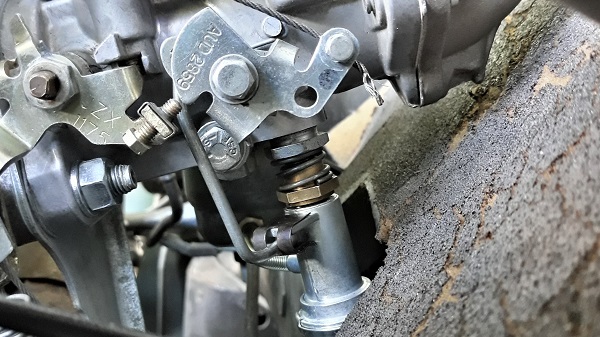
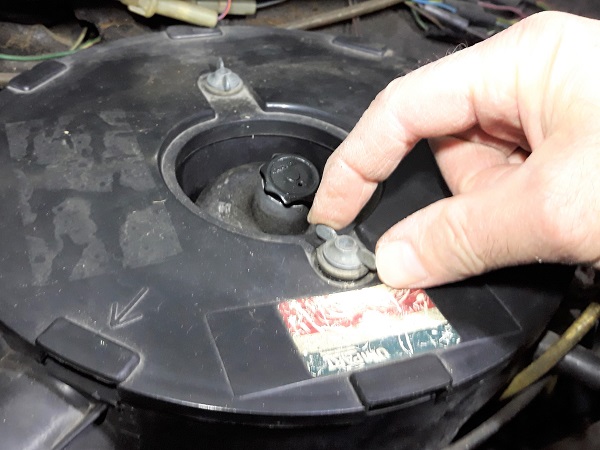
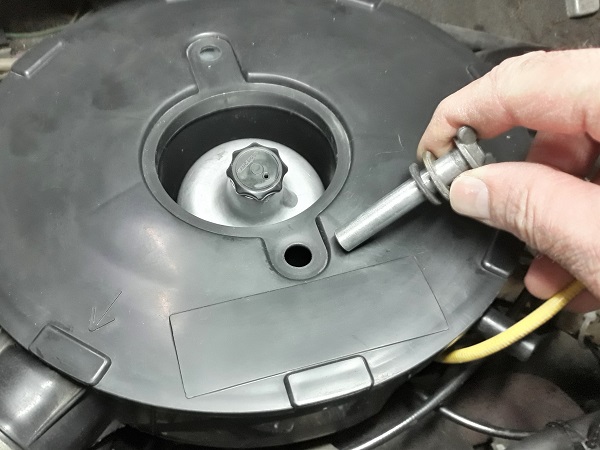
Unscrew the 2 wing nuts securing the air filter box. Unscrew simply by hand or use the multigrip pliers.
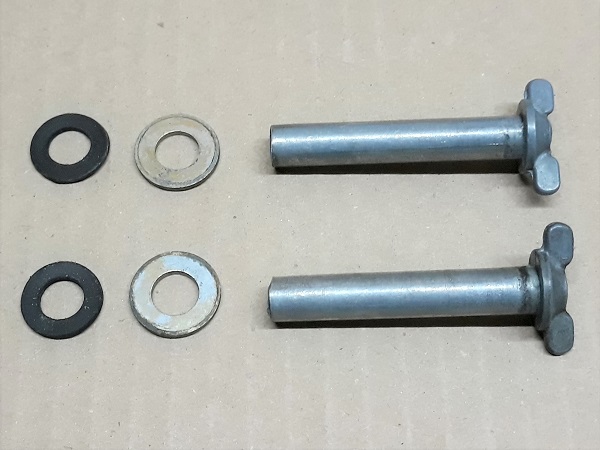
Recover the metal washers and sealing washers.
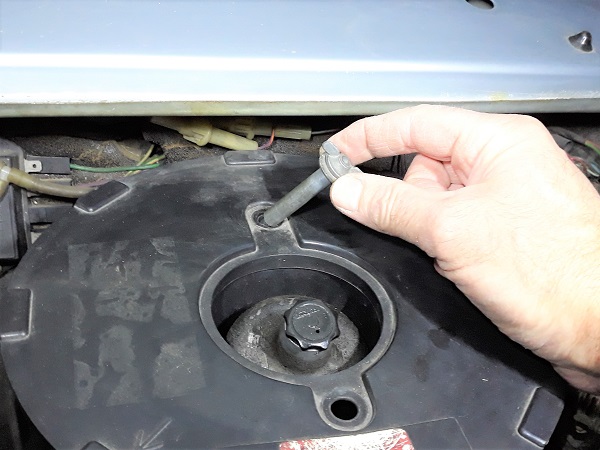
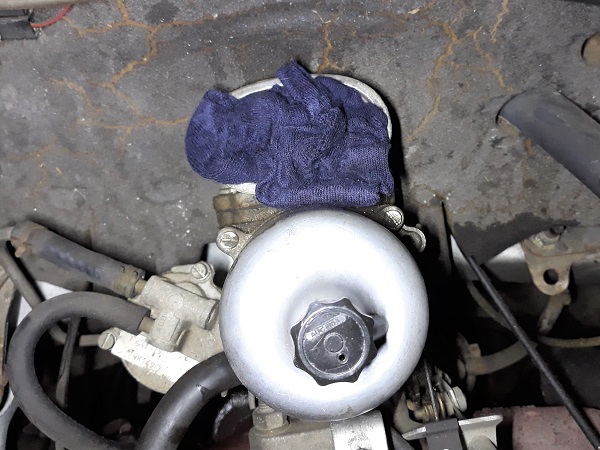
Op 02
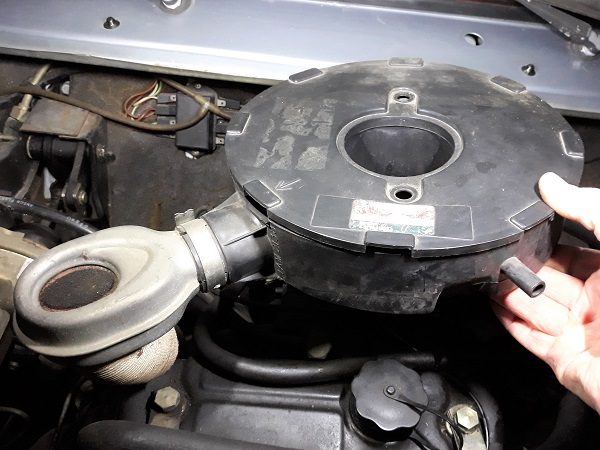
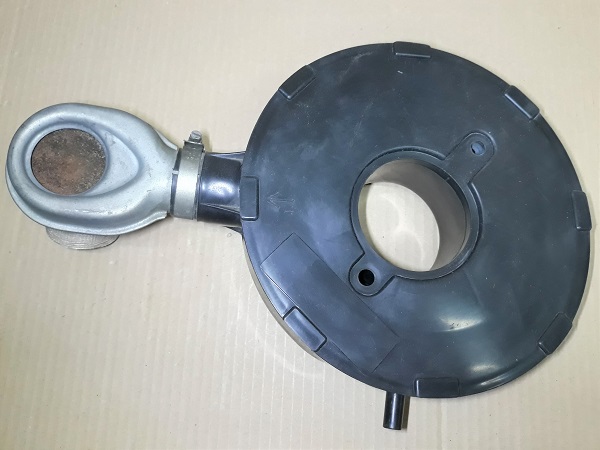
Remove the air filter box. Pull by hand.
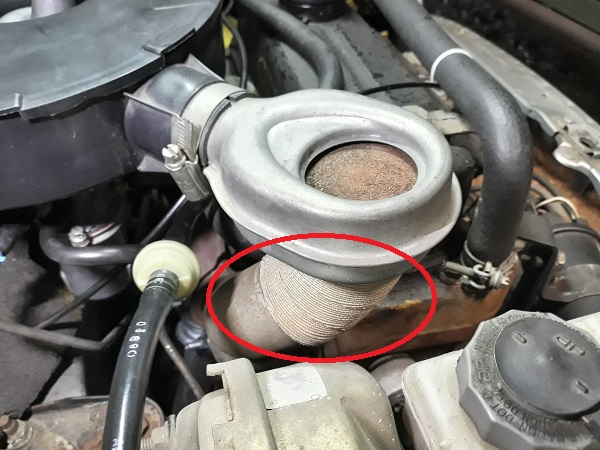
Once the air filter box is removed, it is best to block the air filter elbow with a cloth to prevent the entry of any impurities (3rd photo).
Change the air filter
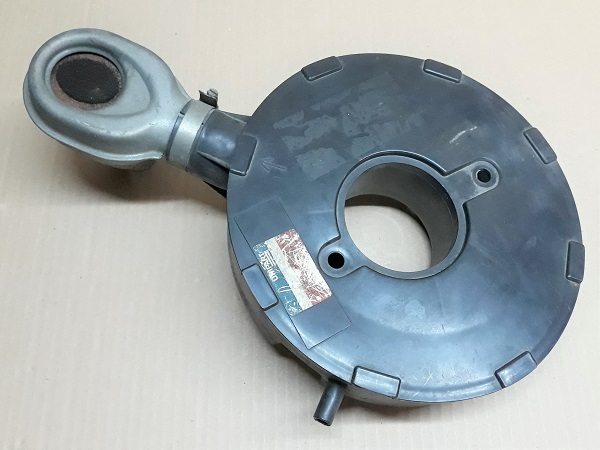
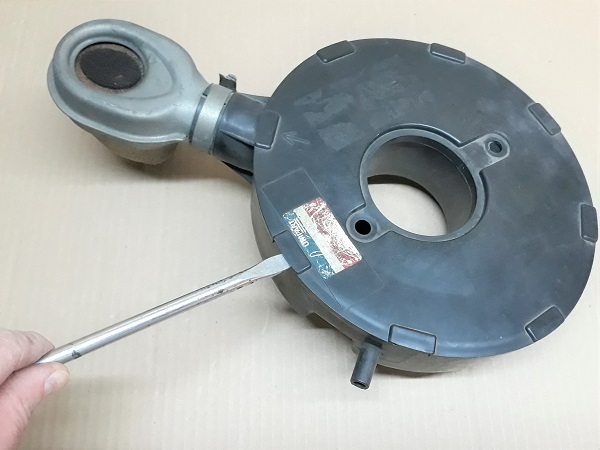
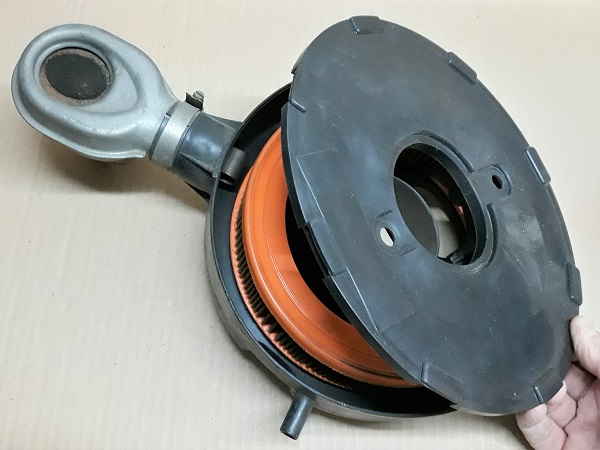
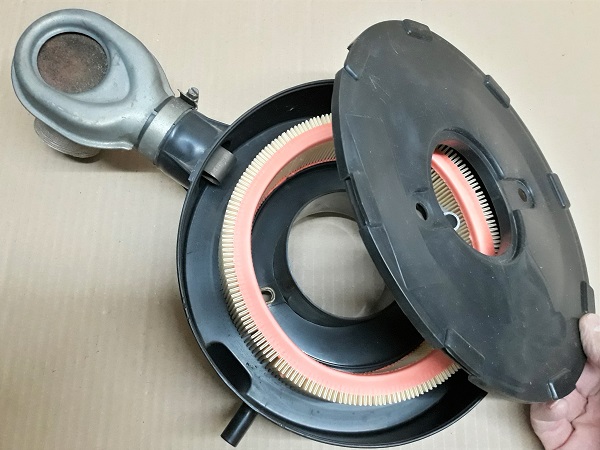
Op 03
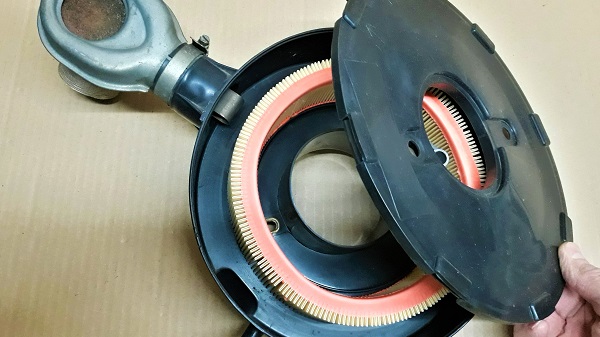
Remove the air filter box cover. Use a large flathead screwdriver.
There are slots between the filter box and its cover in which to engage the screwdriver.
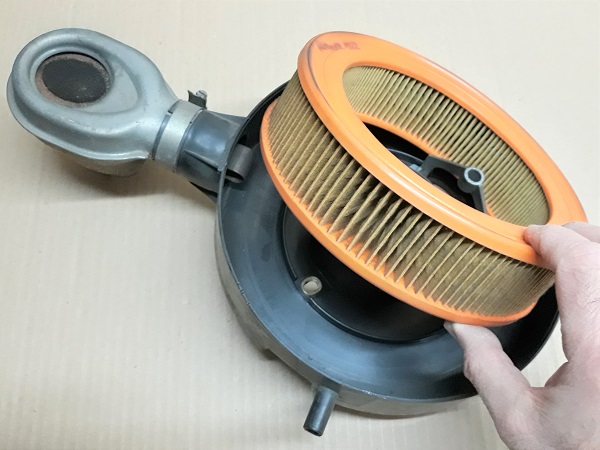
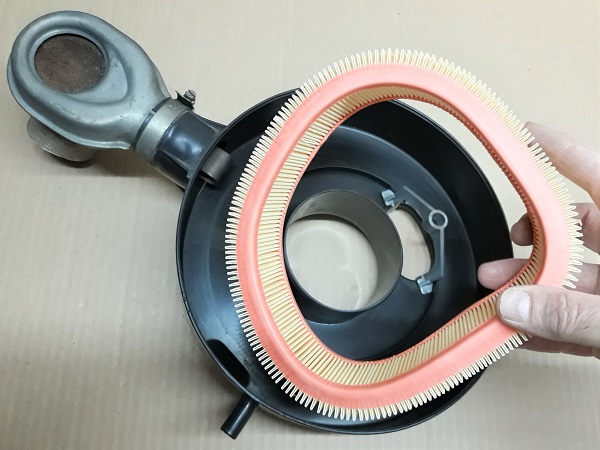
Op 04
Remove the air filter.
Discard the filter.

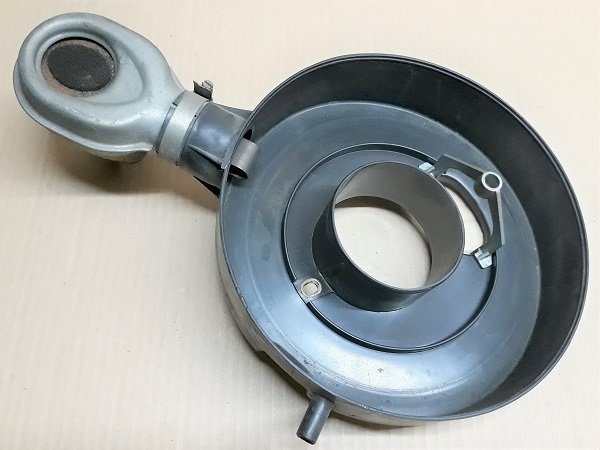
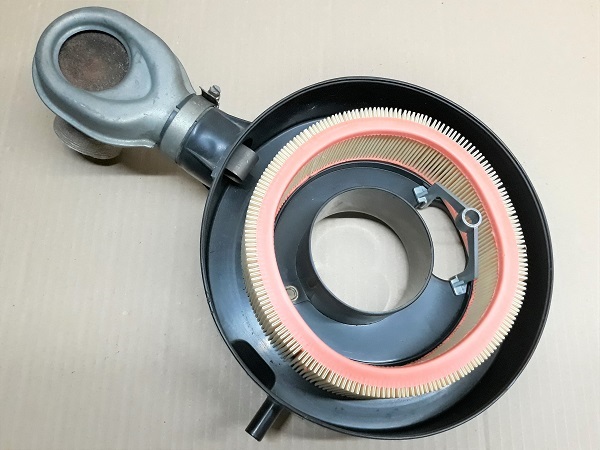
Op 05
Thoroughly clean the air filter box and its cover.
Op 06
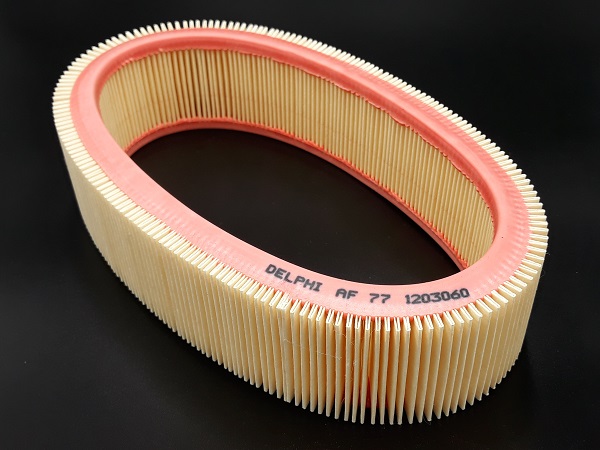
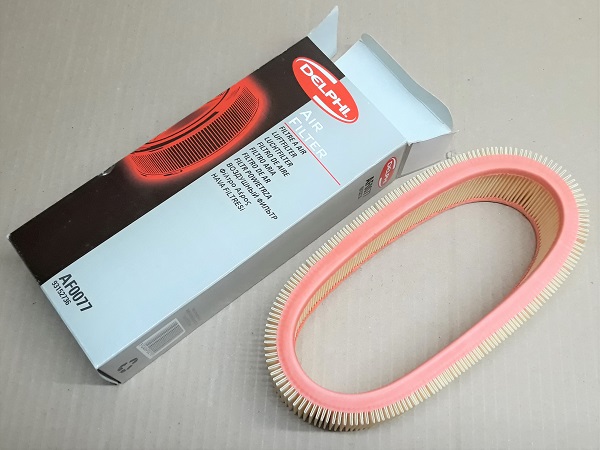
Fit the new air filter (MSF1008) in the box.
The air filter sometimes arrives packaged in a rectangular cardboard box. This is not a problem because the filter is very flexible. It will very easily return to a cylindrical shape and be able to be fitted in the box.
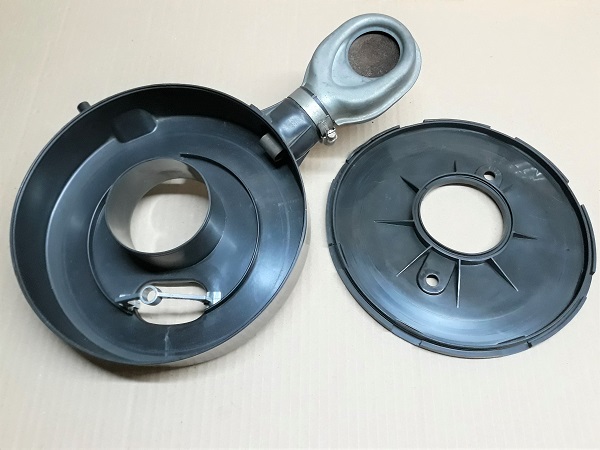
Op 07
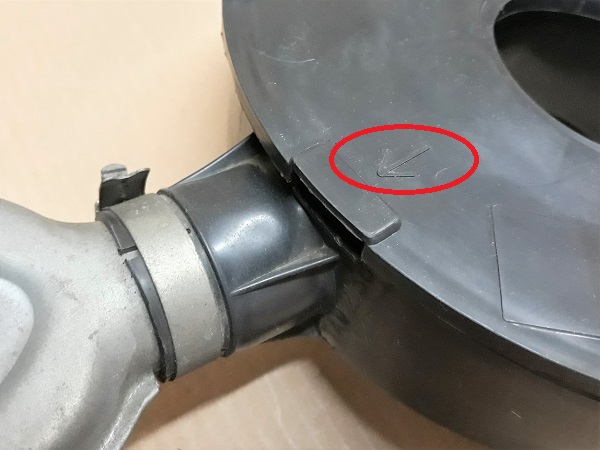
Fit the cover on the air filter box.
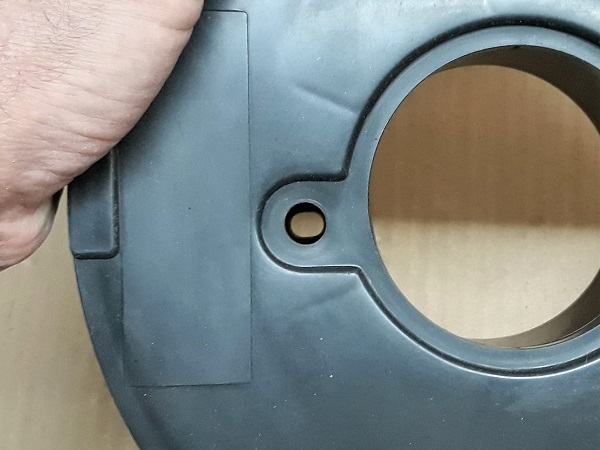
The arrow engraved on the cover must be oriented towards the air inlet (2nd photo).
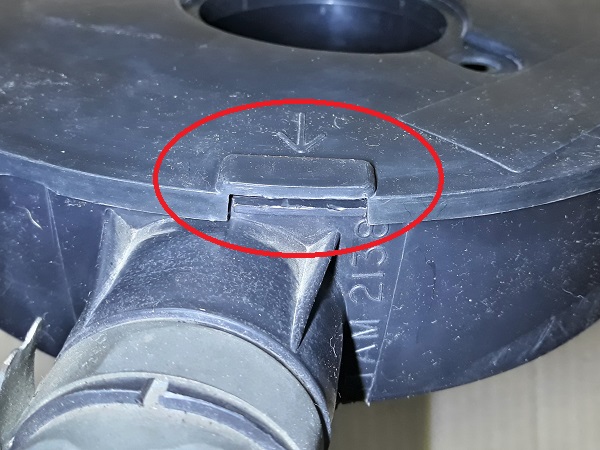
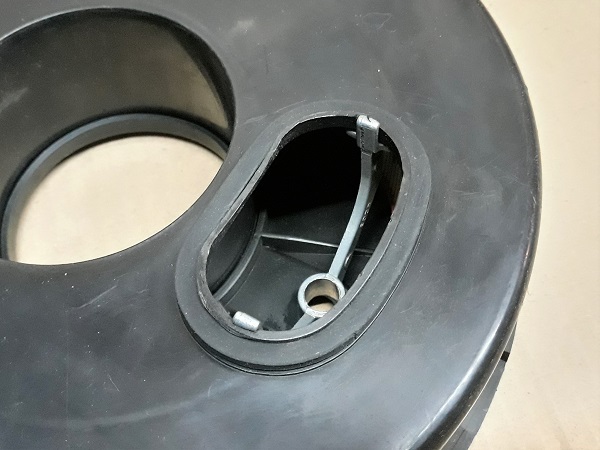
The notch on the cover located to the right of the arrow must be perfectly positioned above the boss of the box (3rd photo).
Op 08
Close the air filter cover. Press firmly by hand.
Make sure that the cover is properly clipped on all its periphery.
Op 09
Check that the 2 cover fixing holes are well in front of the 2 fixing holes of the air filter box.
Advertisement
Fit the air filter box
Op 10
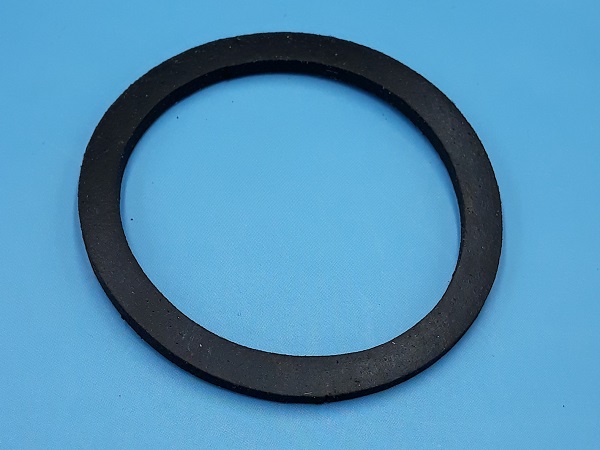
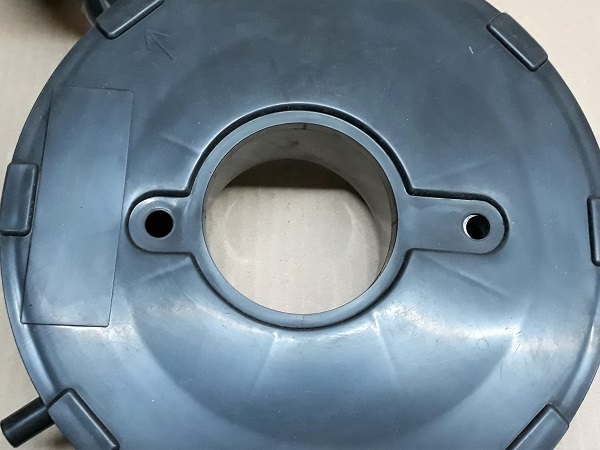
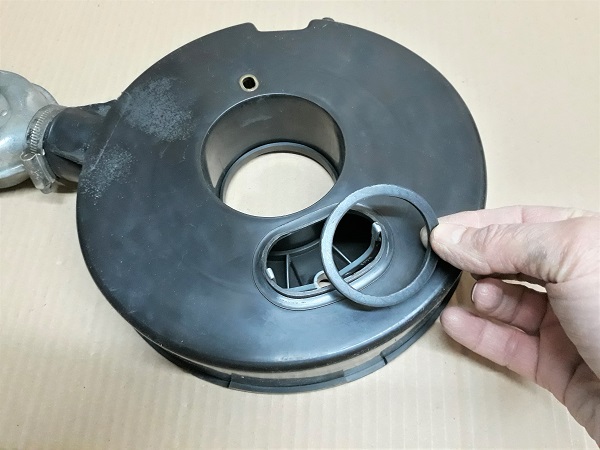
Check that the air filter box seal (12A1433) is in good condition.
Fit the seal.
If in doubt, do not hesitate to change the seal.
Op 11
Fit the air filter box on the carburetor.
Op 12
Check that the air inlet duct is correctly positioned.
Op 13
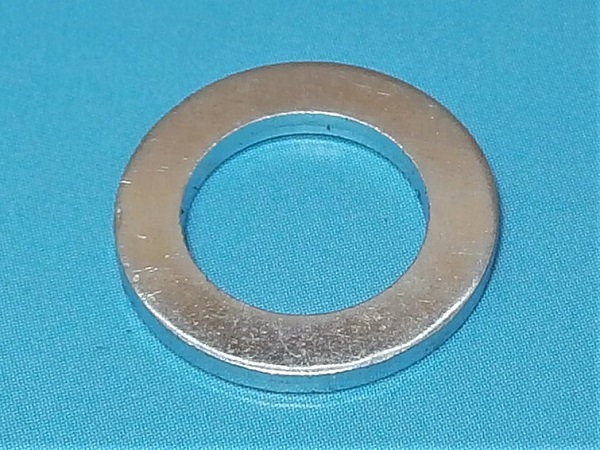
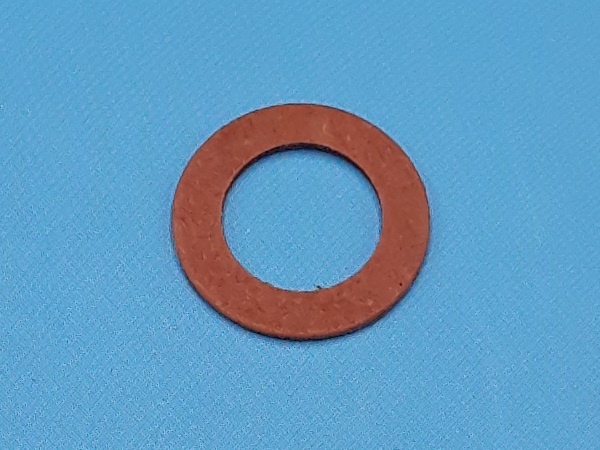
Fit the 2 wing nuts for fixing the air filter on the carburetor with their metal washer (12A1436) and their sealing washer (12A1437).
Tighten the 2 wing nuts by hand.
The End