This tutorial is also available in French
➔

Exhaust system change on Austin Mini
Vehicle ➔ Mini 1000 year 1991 automatic gearbox
Difficulty ➔ Medium

Time ➔ 3 hours
Summary
Advertisement
Advertisement

Recommendations

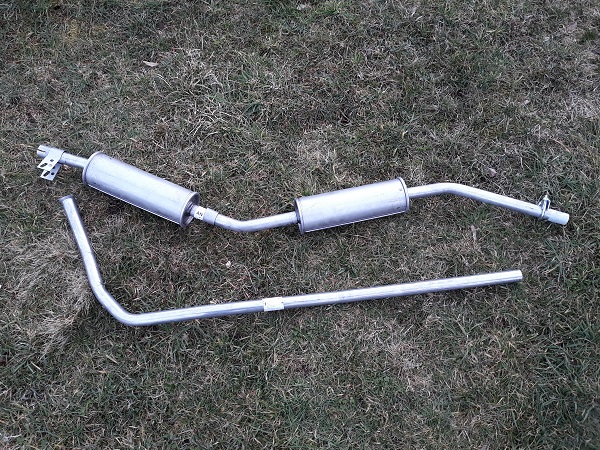
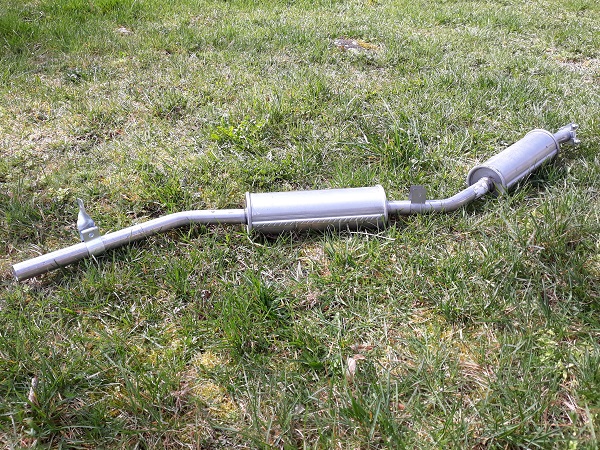
Originally, the exhaust system (GEX177) was in one piece. Nowadays, to facilitate packaging and reduce transport costs, it is in 2 pieces.
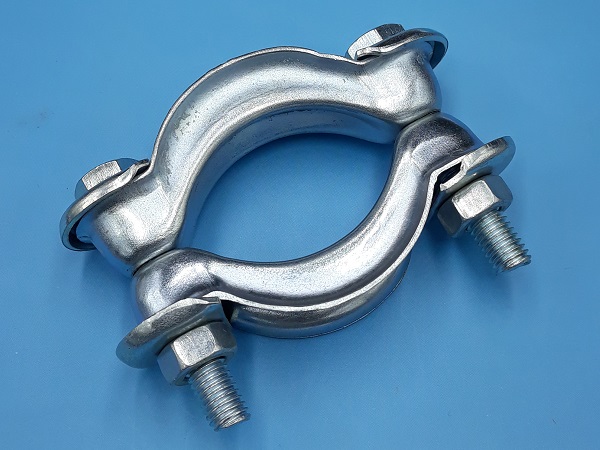
The exhaust system (GEX177) is supplied with the centre clamp (GEX7052), the front clamp (GEX7053) and the centre flange.

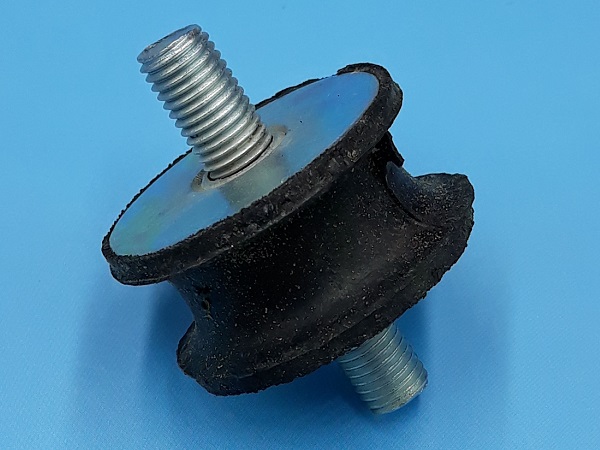
The rubber mountings supporting the exhaust system eventually crack over time. The mountings are then weakened and eventually break. At the slightest doubt, do not hesitate to change them.
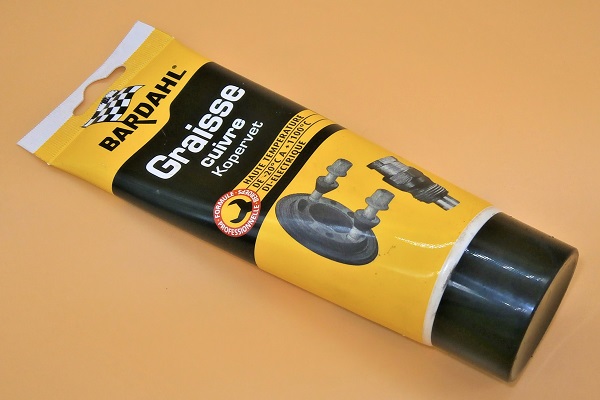
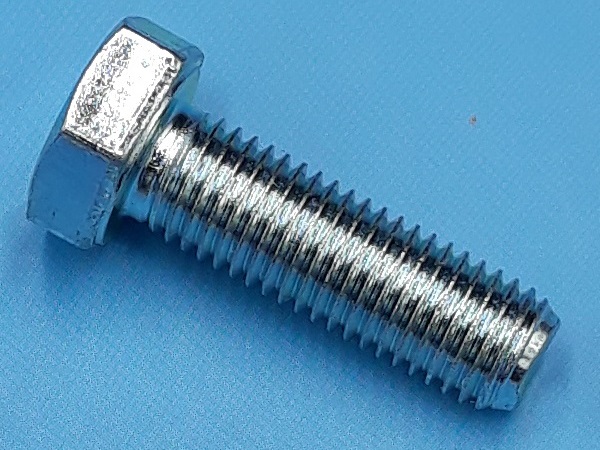
When screwing the exhaust bolts and studs, put a little copper grease on the threads. This will limit oxidation and facilitate unscrewing during the next disassembly.
The installation of the exhaust system requires one person under the car to hold the system and one person above to position the manifold clamp. Get help from a friend, it will be much easier.
Required Tools
Sponsored links by


Spare Parts
Our Partners


Packaging :
•
GEX177 : The exhaust system consists of the downpipe (front part), the silencer (rear part), the centre clamp (GEX7052), the front clamp (GEX7053) and the centre flange.
• GEX7052, GEX7053 : These clamps are supplied with the exhaust system. No need to order them.
• All other parts above are sold individually.
• GEX7052, GEX7053 : These clamps are supplied with the exhaust system. No need to order them.
• All other parts above are sold individually.
Advertisement
Remove the exhaust system
Op 01
Remove the air filter box (➔ see the tutorial ''HS4 air filter change'' Op 01 to 02).
Op 02
Disconnect the accelerator cable from the carburetor (➔ see the tutorial ''Accelerator cable change'' Op 02 to 04).
Op 03
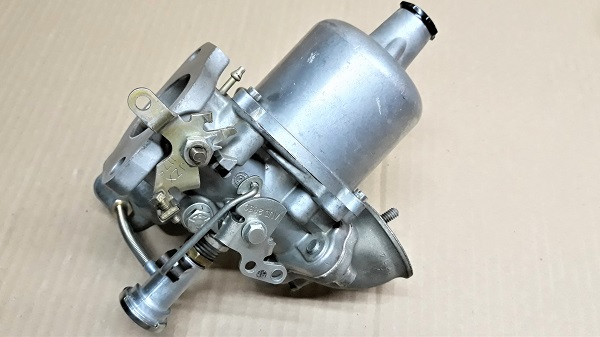
Remove the carburetor (➔ see the tutorial ''HS4 carburetor removal'' Op 03 to 12).
Op 04
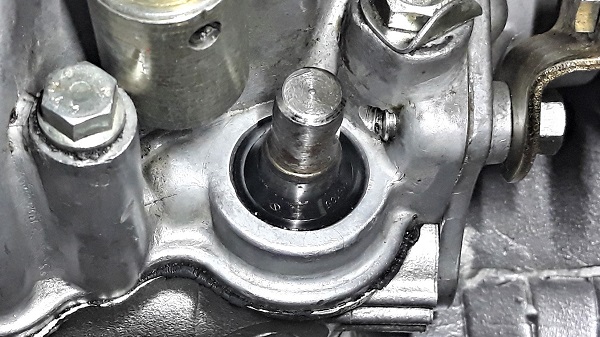
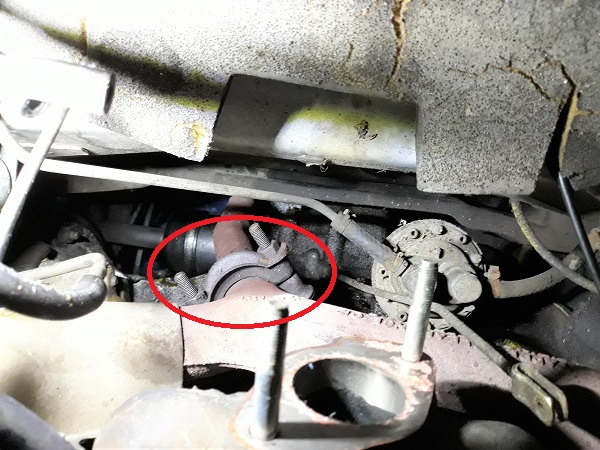
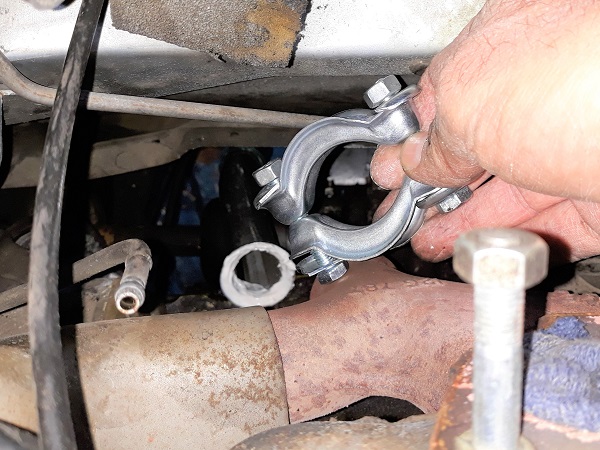
Unscrew the exhaust manifold clamp. Use the 13 mm socket.
Do not hesitate to spray penetrating oil on the clamp fixing bolts as they are very often oxidized.
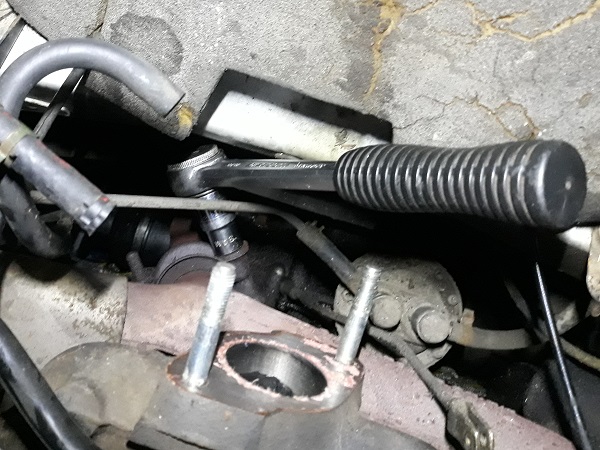
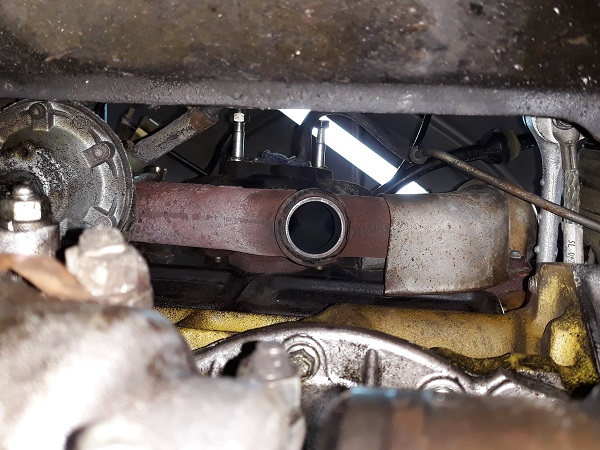
Op 05
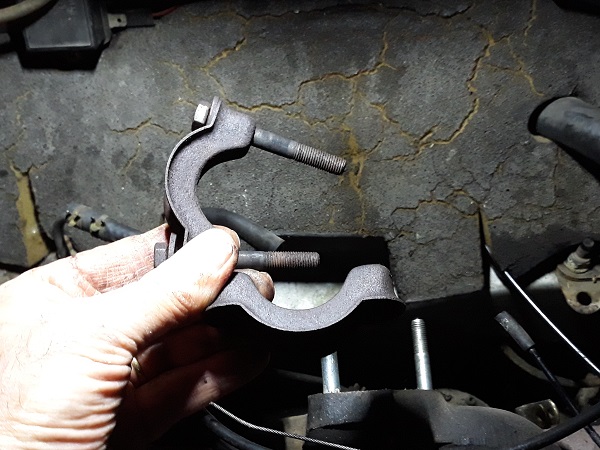
Remove the exhaust manifold clamp.
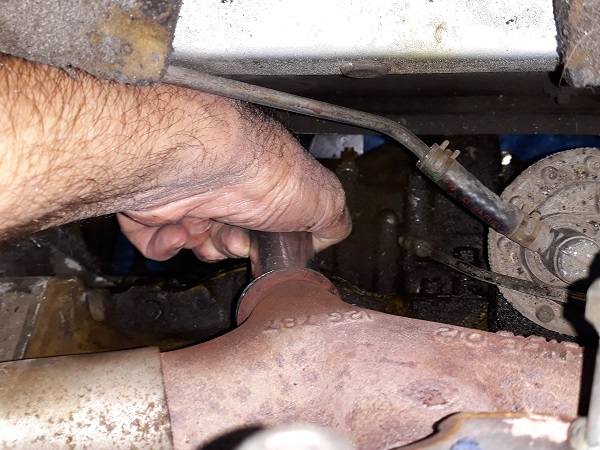
Op 06
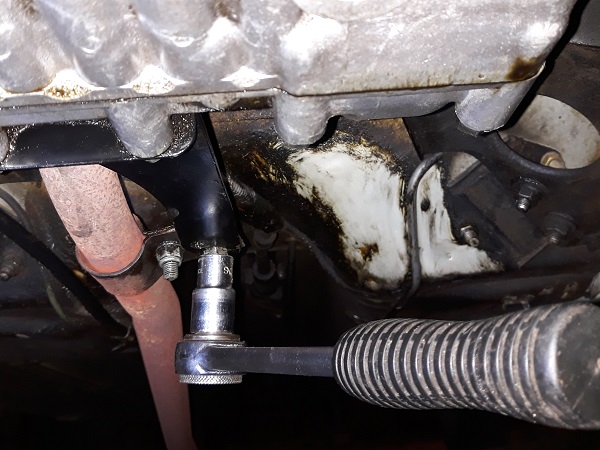
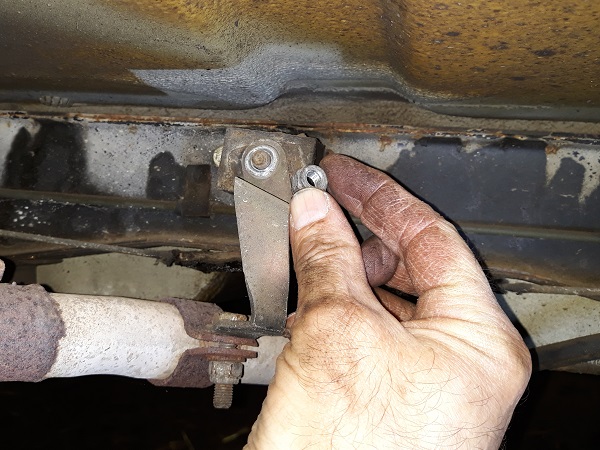
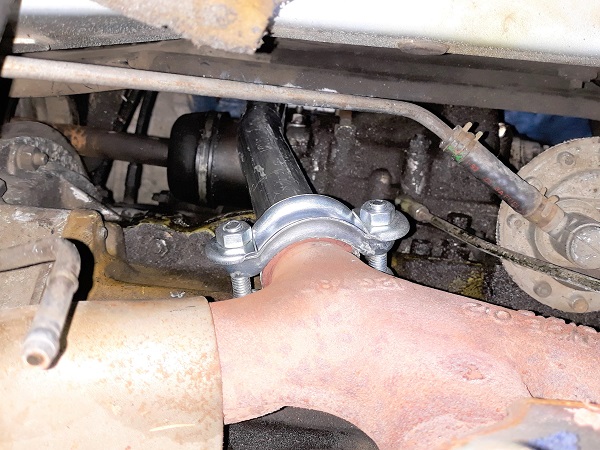
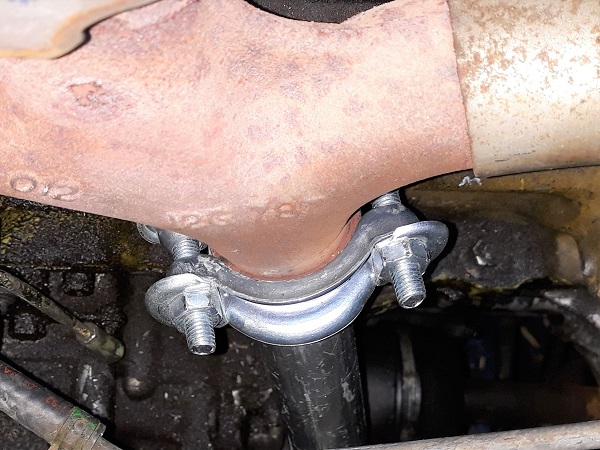
Unscrew the fixing nut of the front exhaust clamp. Use the 13 mm socket.
Remove the bolt and washers.
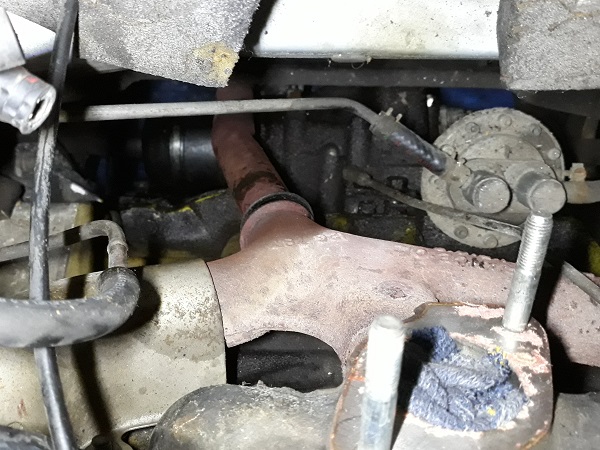
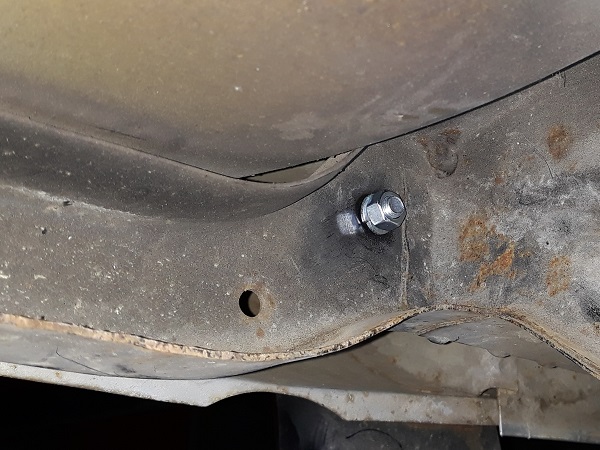
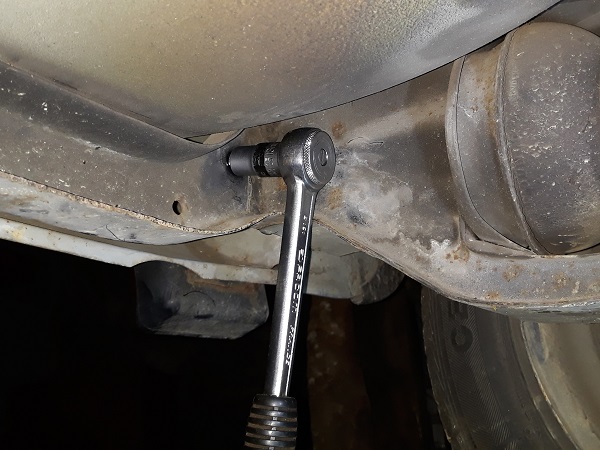
Op 07
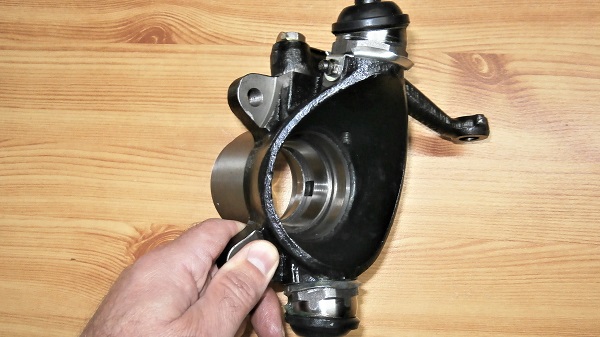
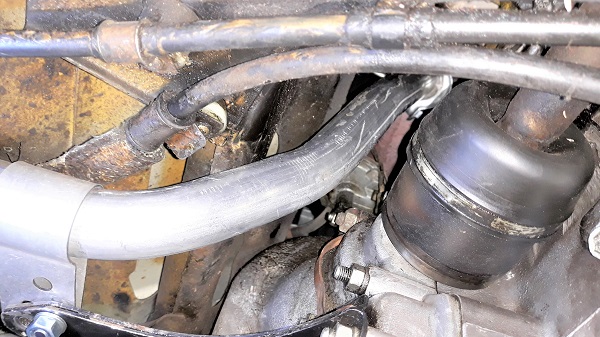
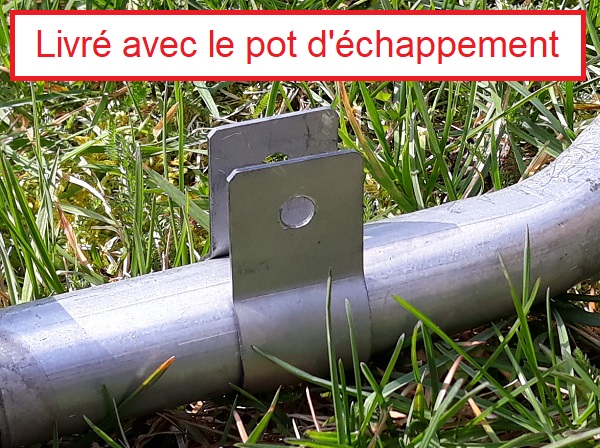
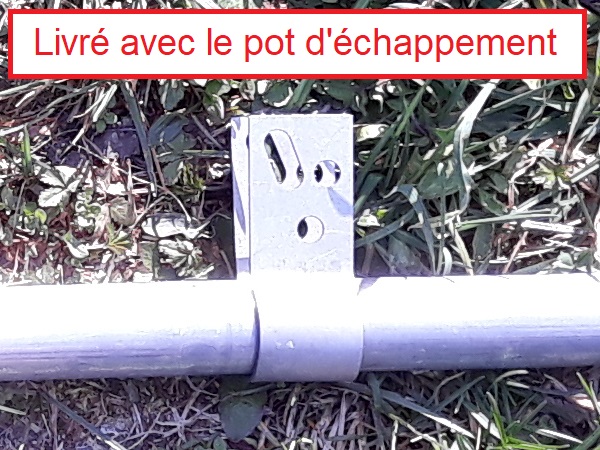
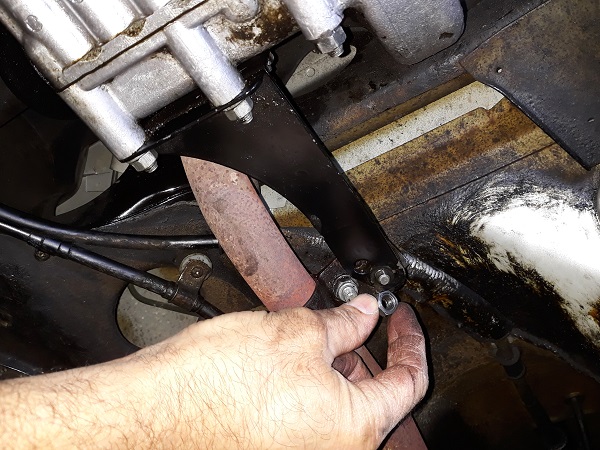
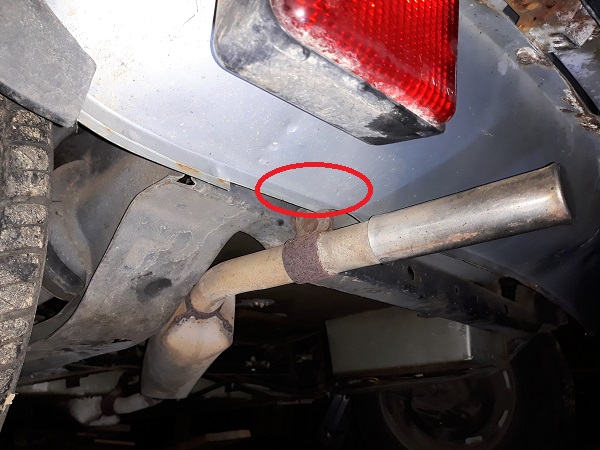
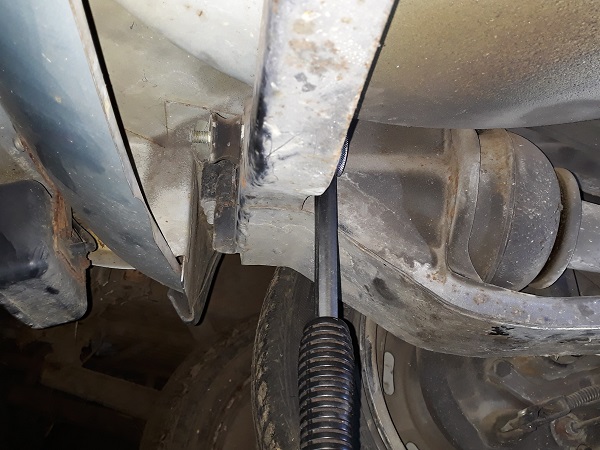
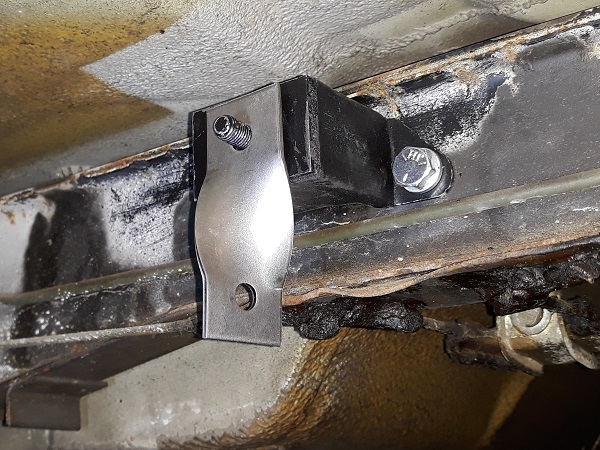
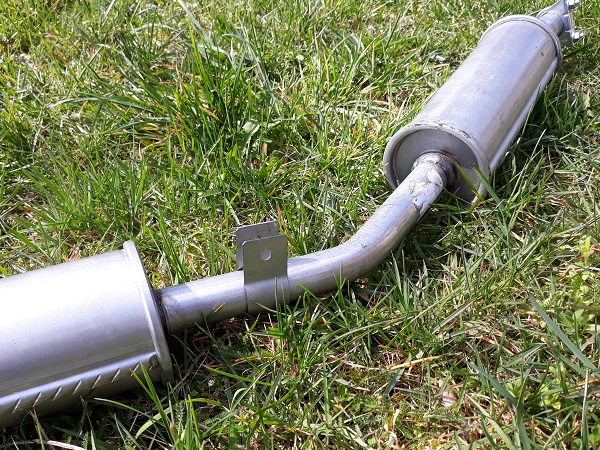
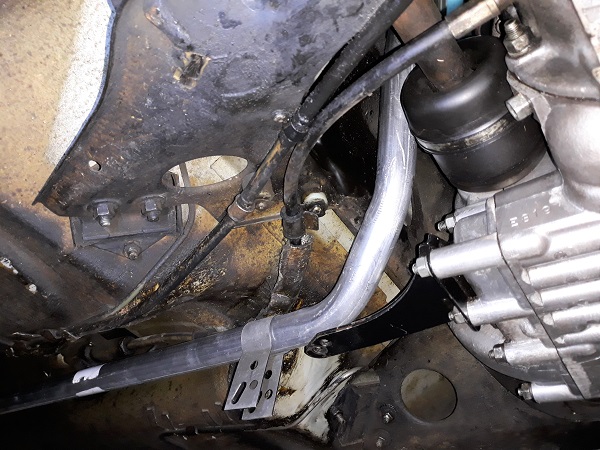
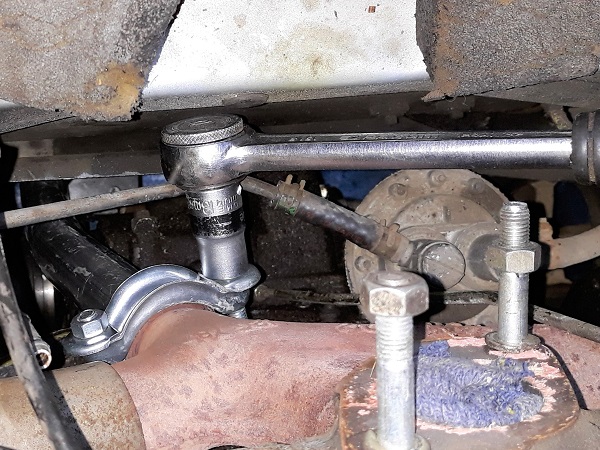
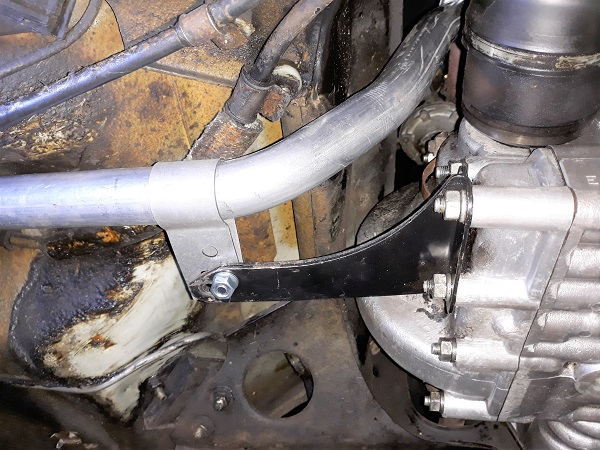
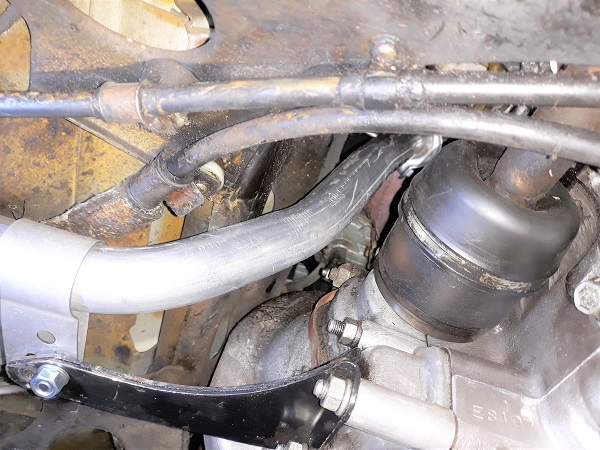
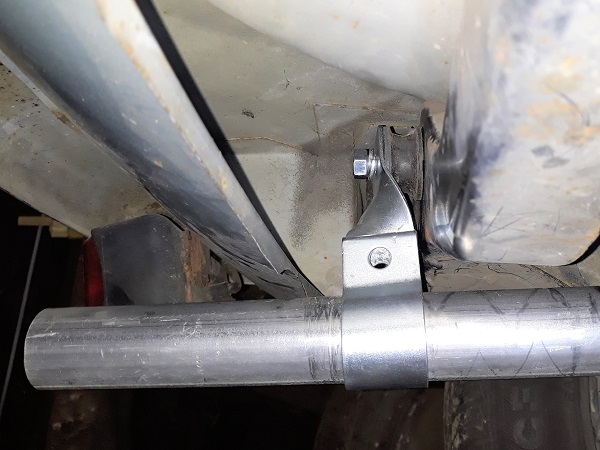
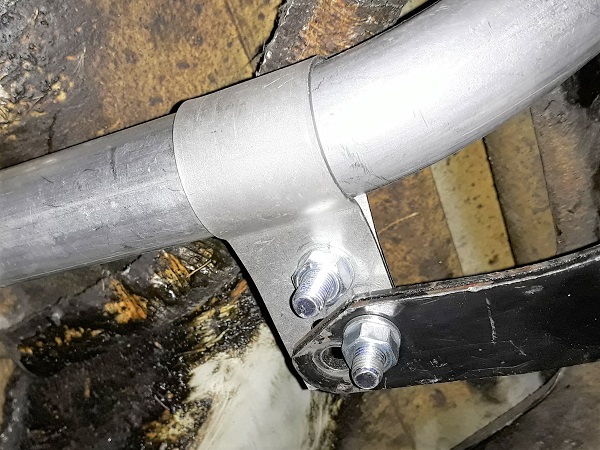
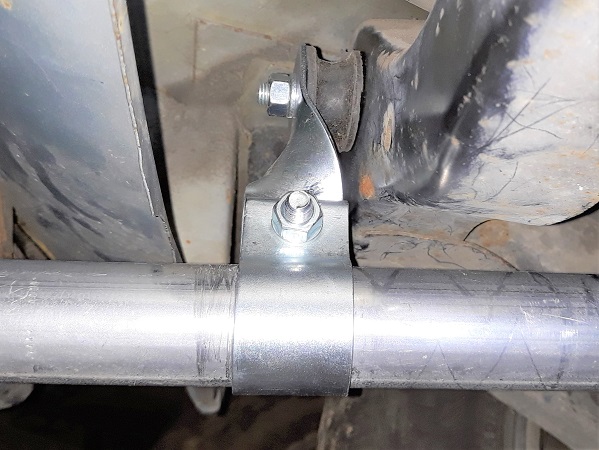
Unscrew the fixing nut of the central exhaust bracket. Use the 13 mm socket.
Do not take into account the bracket that you discover in the photos above. The previous owner of the Mini had apparently tinkered with a homemade bracket.
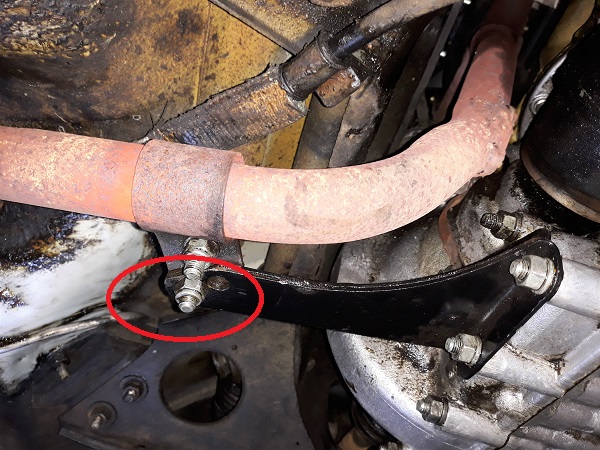
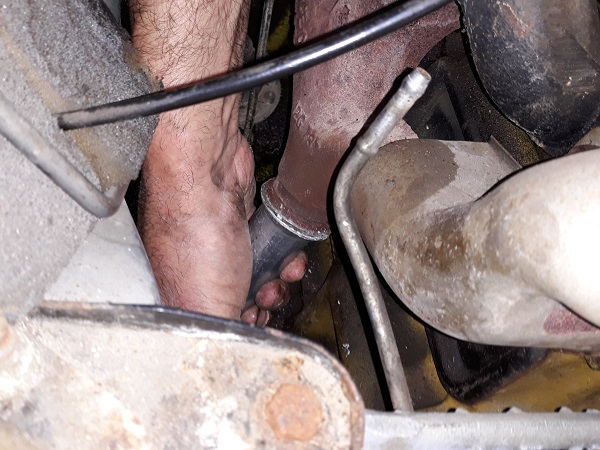
Op 08
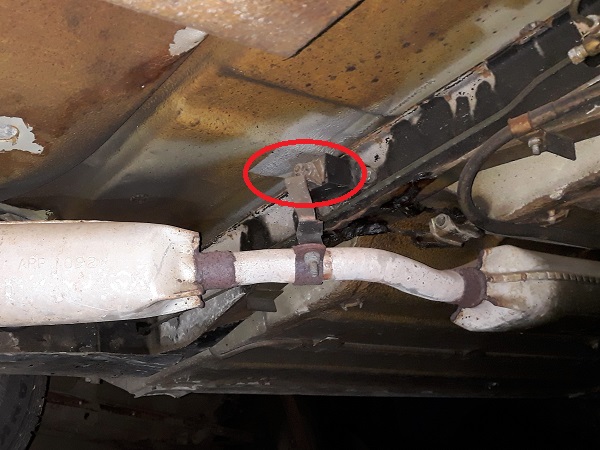
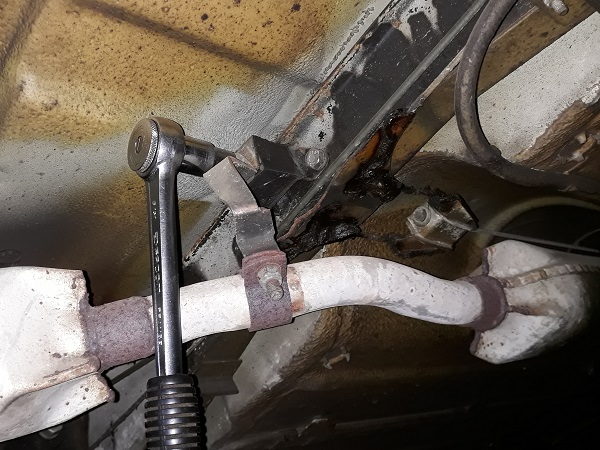
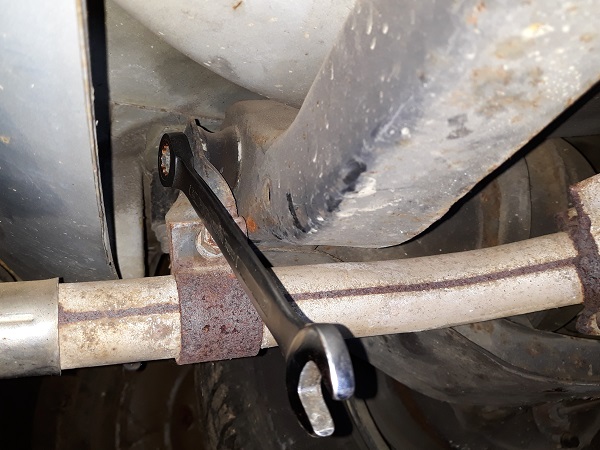
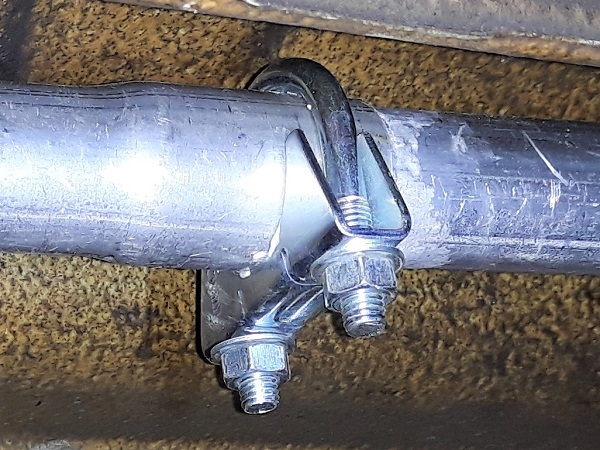
Unscrew the fixing nut of the rear exhaust bracket. Use the 13 mm spanner.

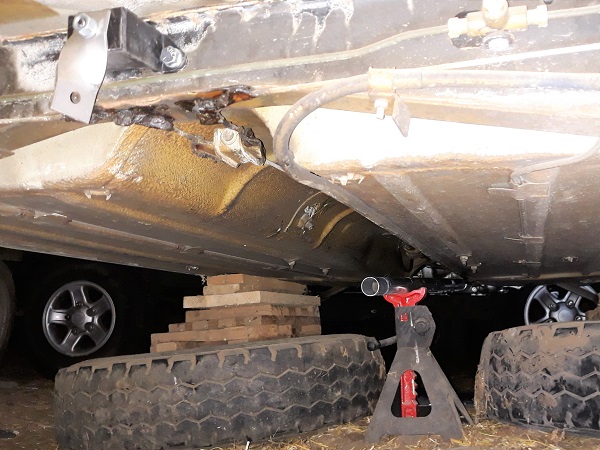
Op 09
Remove the exhaust system. Remove it from under the vehicle.

Op 10
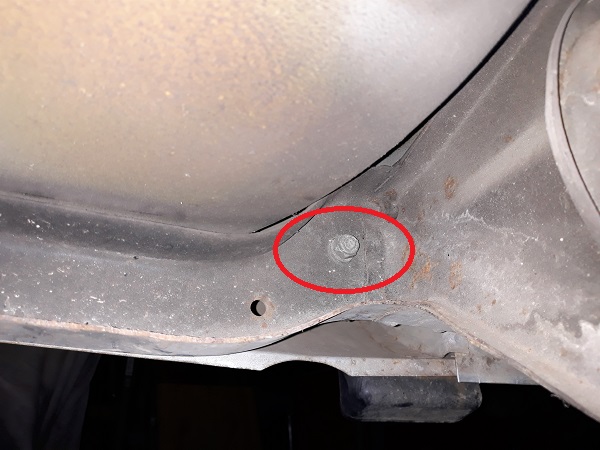
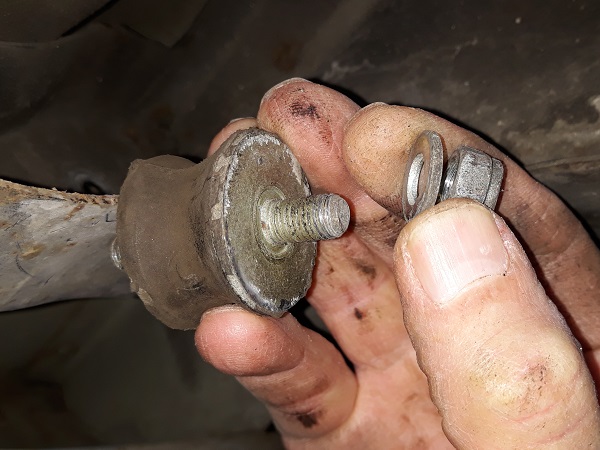
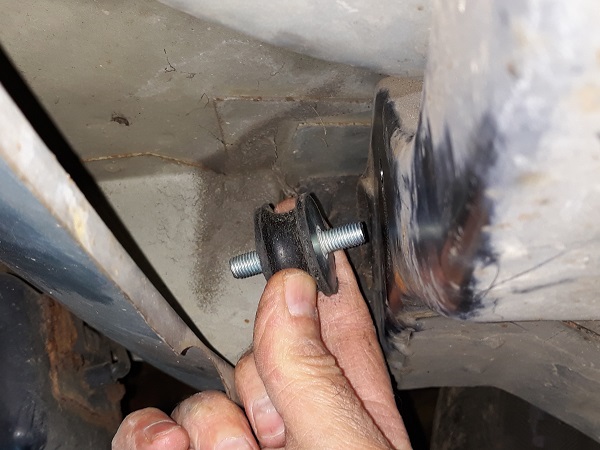
Unscrew the fixing nut of the exhaust rear mounting. Use the 13 mm socket.
Remove the rear mounting.
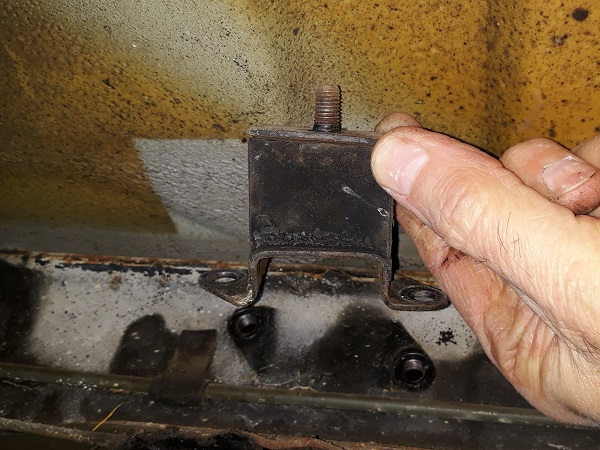
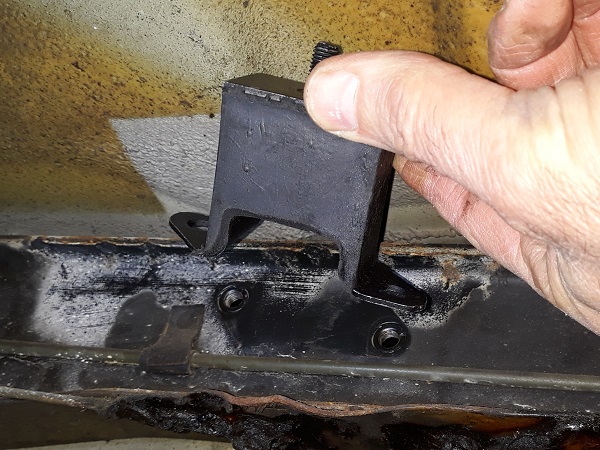
Op 11
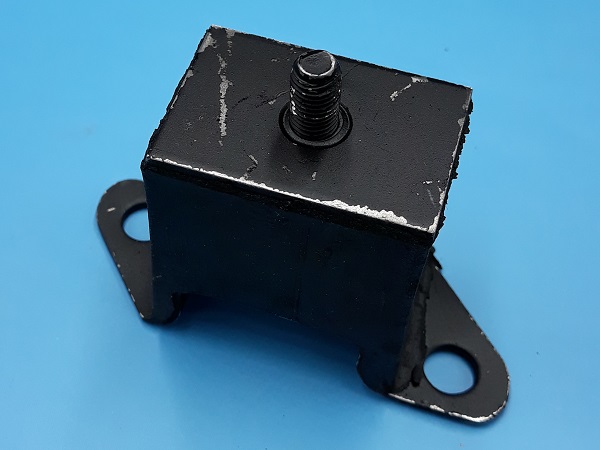
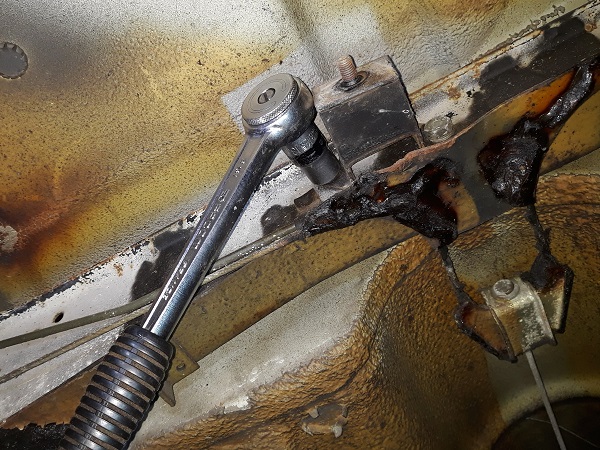
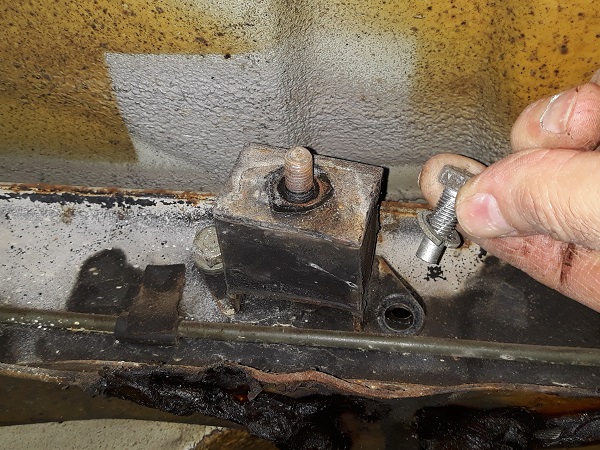
Unscrew the 2 fixing bolts of the exhaust middle mounting. Use the 13 mm socket.
Remove the middle mounting.
Advertisement
Fit the exhaust system
Op 12
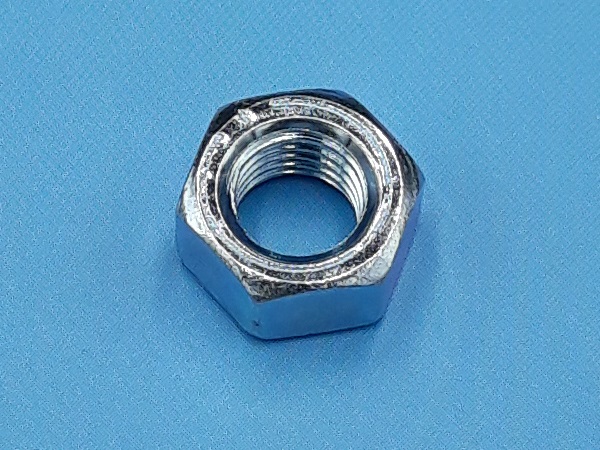
Fit the rear mounting (GEX7251), the spring washer (GFK1125) and tighten the nut (GFK3212). Use the 13 mm socket.
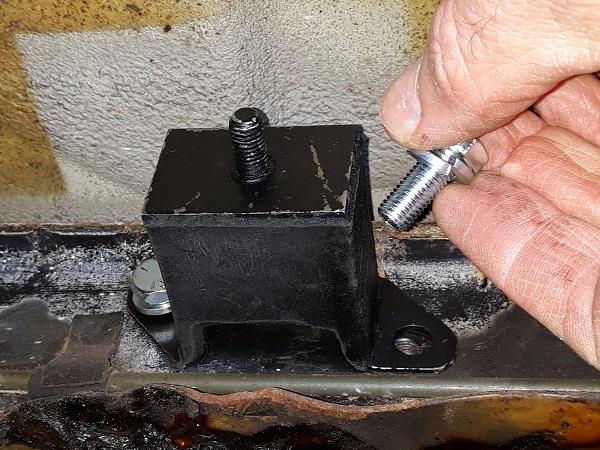
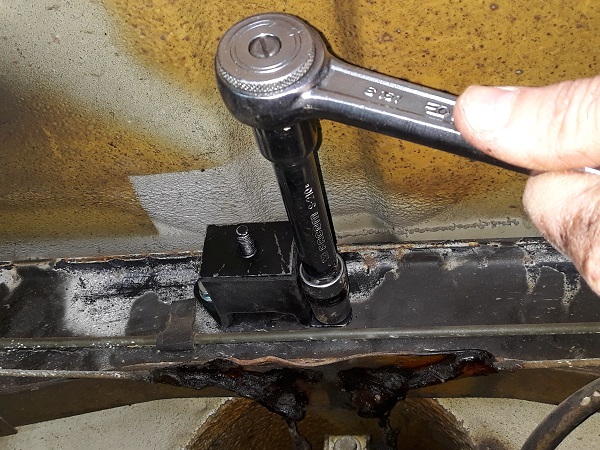
Op 13
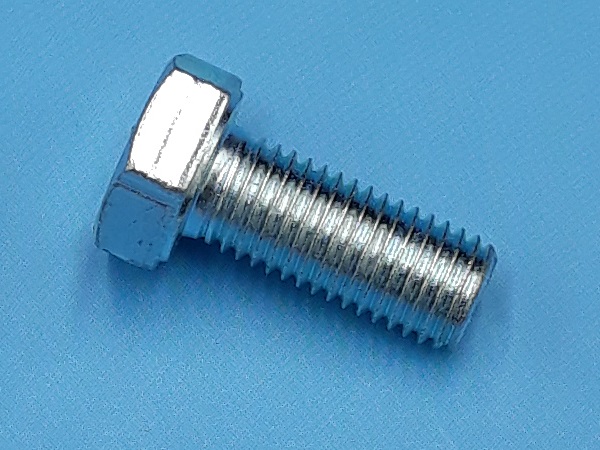
Fit the middle mounting (GEX7081), the 2 spring washers (GFK1125) and tighten the 2 bolts (GFK5184). Use the 13 mm socket.
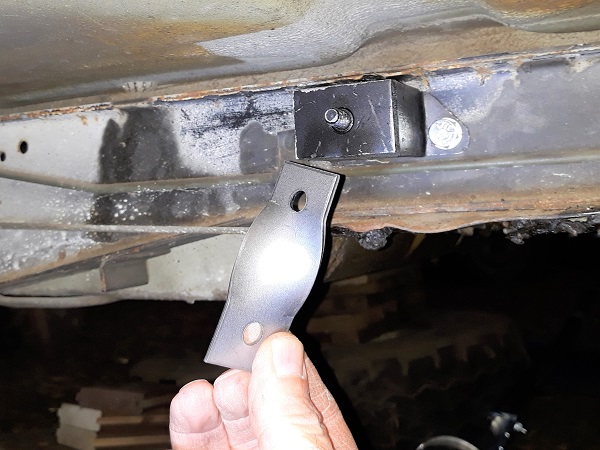
Op 14
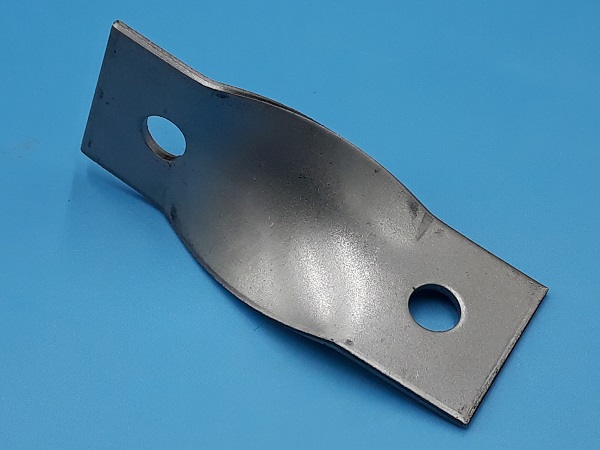
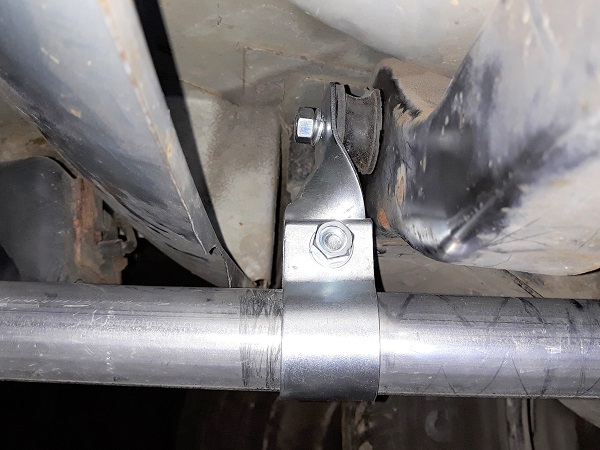
Fit the centre bracket (GEX7082), the spring washer (GFK1125) and the nut (GFK3212).
Do not tighten the nut for now.

Op 15
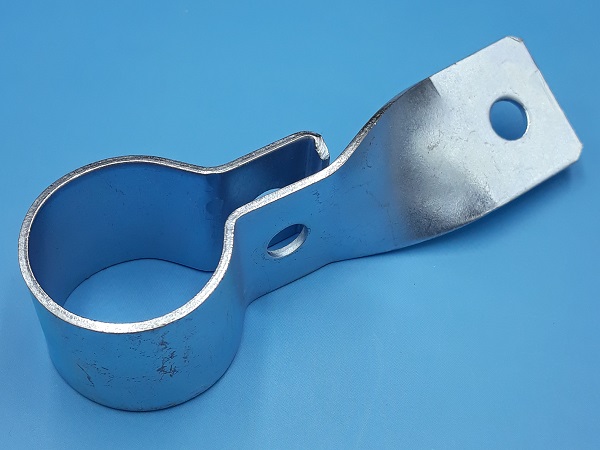
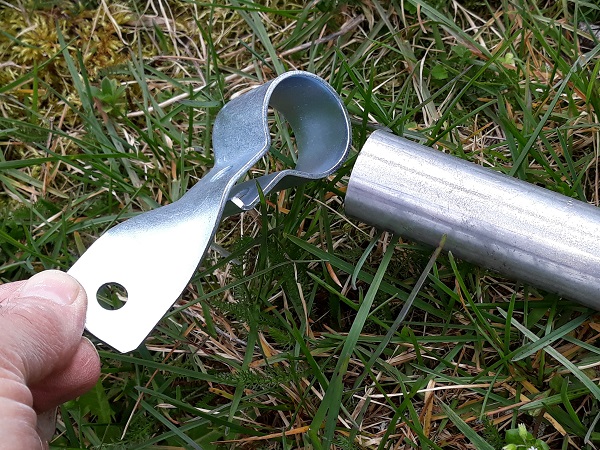
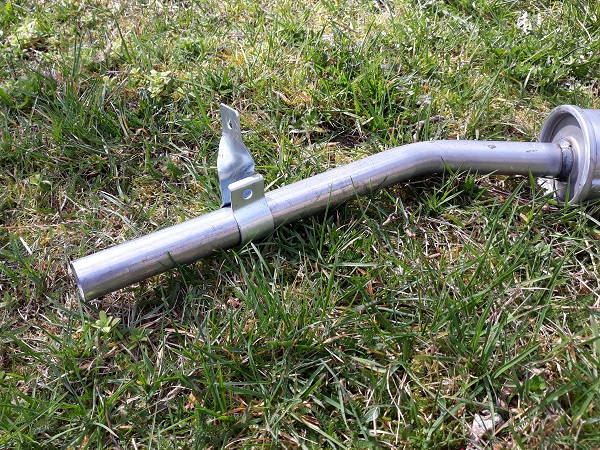
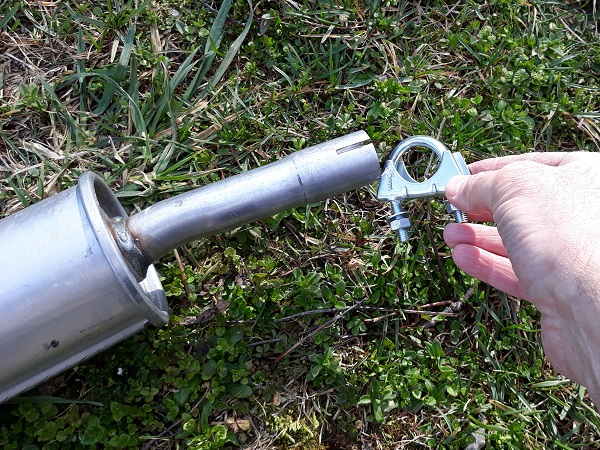
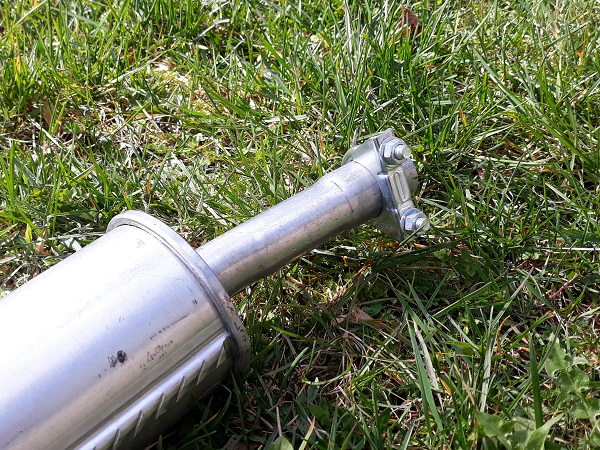
Fit the front clamp (GEX7053) approximately on the downpipe.
Op 16
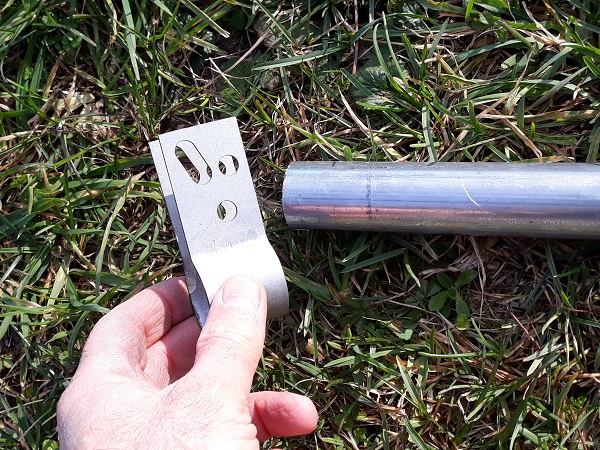
Fit the rear bracket (GEX7084), the centre clamp (GEX7052) and the centre flange approximately on the silencer.
Use a large flathead screwdriver to slightly widen the rear bracket when placing it on the silencer. This will facilitate sliding.
Do not fit the fixing bolts of the clamp and the bracket. Do not tighten the nuts of the centre flange for now.
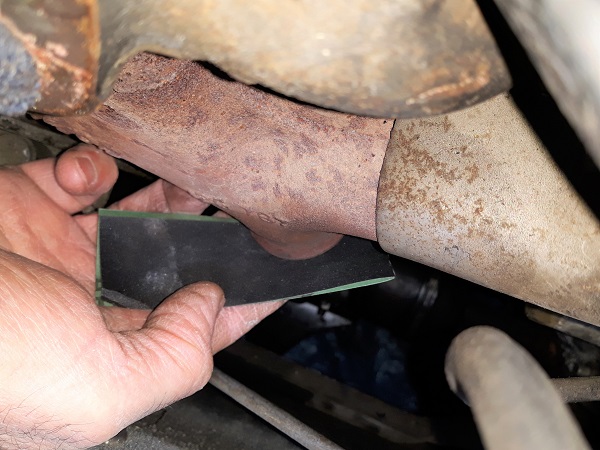
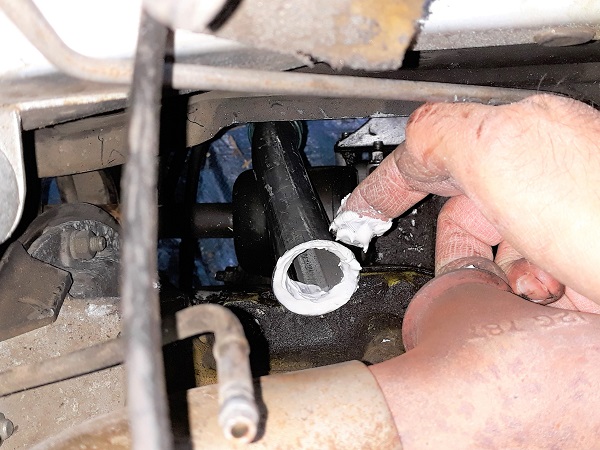
Op 17
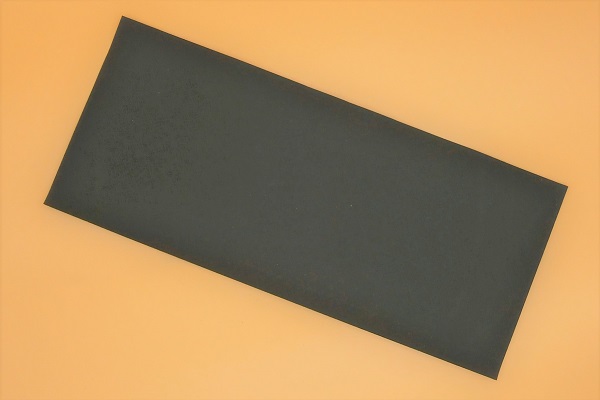
Perfectly clean the outlet of the exhaust manifold. Use sandpaper.
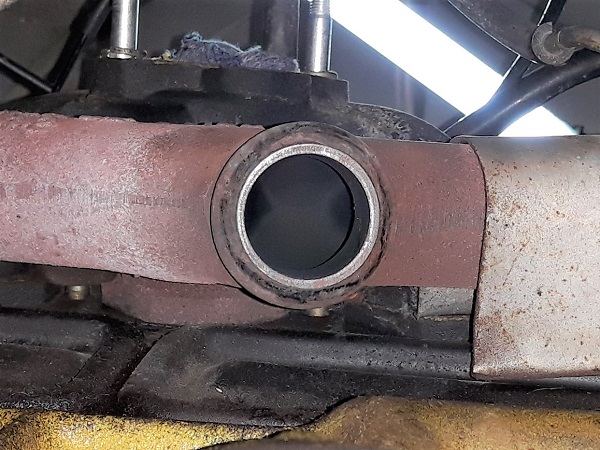
Op 18
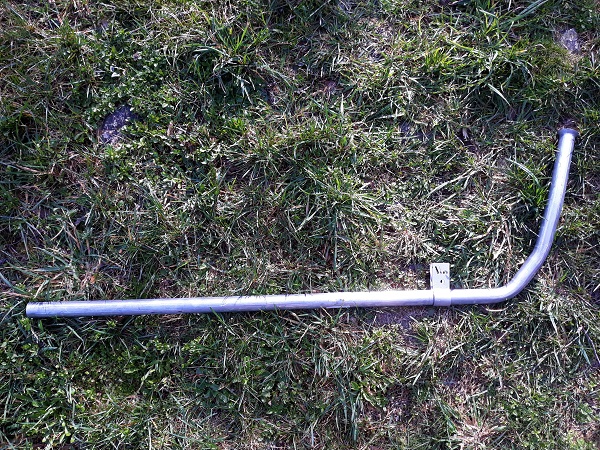
Position the downpipe on the vehicle.
Check that the collar of the downpipe applies perfectly to the manifold outlet.
Take the time to check that the downpipe can be perfectly positioned on the manifold. It's really not cool to discover that there is a leak when starting the vehicle after everything has been fitted.
Op 19
Apply Firegum to the collar of the downpipe. This will improve sealing.
Firegum is not essential when installing the downpipe. Nevertheless, it is a cheap product that works wonders.
Op 20
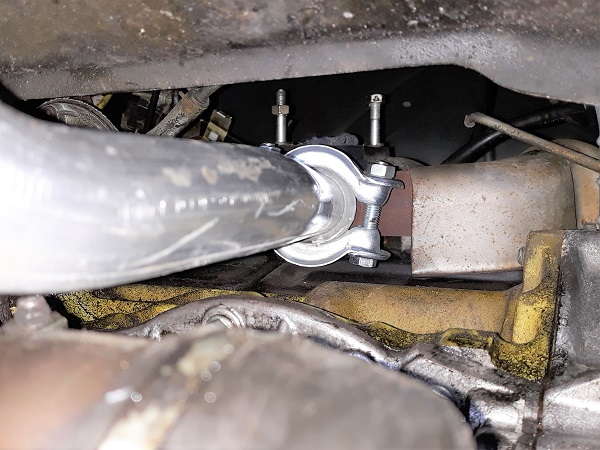
Fit the downpipe on the manifold and install the clamp (GEX7046).
Tighten moderately. Use the 13 mm socket.
It is at this moment that the help of an additional person is necessary. To maintain the downpipe during the fitting of the clamp.
At this stage of reassembly, it is preferable not to block the clamp and leave a small angular freedom at the level of the downpipe coupling with the manifold. This will facilitate the following operations.
Op 21
From under the vehicle, check that the collar of the downpipe is well taken in the clamp over its entire periphery.
Op 22
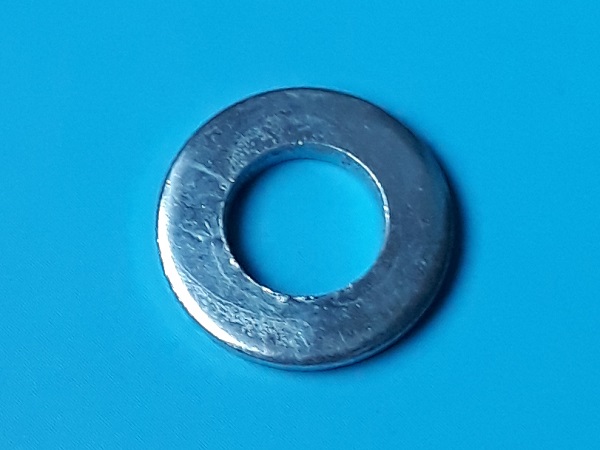
Fit the front clamp (GEX7053) on its support bracket with a bolt (GFK5184), a washer (GFK1114), a washer (GFK1125) and a nut (GFK3212).
Do not tighten the nut for now.
Op 23
Check that the downpipe of the exhaust system does not come into contact with either the transmission driveshaft or the vehicle body.
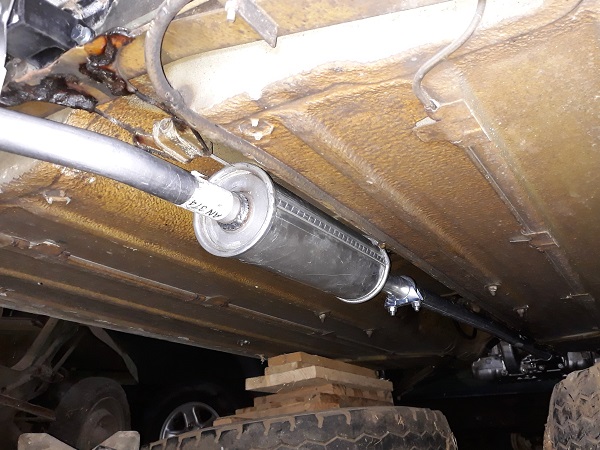
Op 24
Fit the silencer of the exhaust system on the vehicle.
Engage the downpipe in the silencer.
Also apply Firegum to the pipes at the junction of the downpipe with the silencer. This will improve sealing.

Op 25
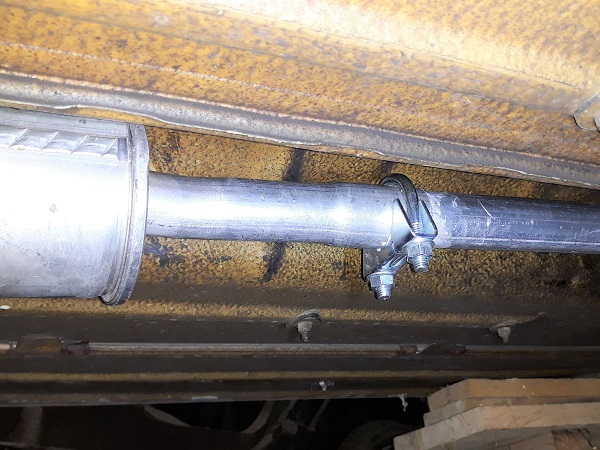
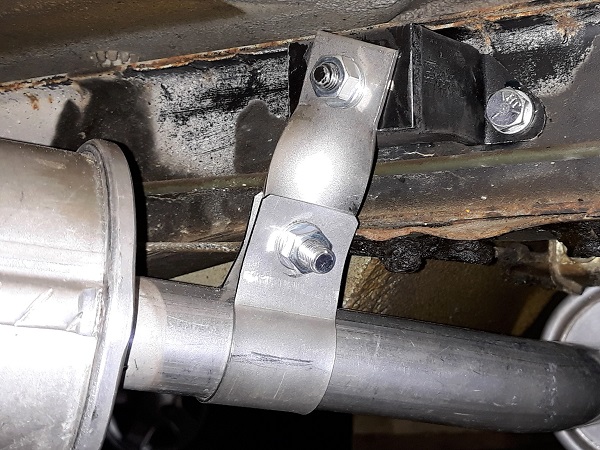
Fit the centre clamp on the centre bracket with a bolt (GFK5185), a washer (GFK1125) and a nut (GFK3212).
Do not tighten the bolt for now.

Op 26
Fit the rear bracket (GEX7084) to the rear mounting with a washer (GFK1125) and a nut (GFK3212).
Do not tighten the nut for now.
Op 27
Fit the centre flange and tighten the nuts slightly.
Op 28
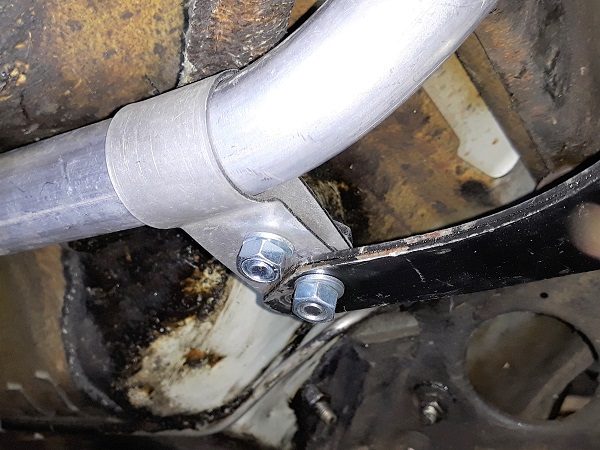
Add a tightening bolt (GFK5185) on the front clamp with a washer (GFK1125) and a nut (GFK3212).
Op 29
Add a tightening bolt (GFK5185) on the rear bracket with a washer (GFK1125) and a nut (GFK3212).
Op 30
Check that the exhaust system is well positioned and that it does not touch the bodywork.
Op 31
All that remains is to tighten the 2 nuts of the manifold clamp, the 2 nuts of the front clamp, the 2 nuts of the centre flange, the 2 nuts of the centre bracket and the 2 nuts of the rear bracket. Use the 13 mm spanner and the 13 mm socket.
Op 32
Fit the carburetor (➔ see the tutorial ''HS4 carburetor removal'' Op 13 to 26).
Op 33
Connect the accelerator cable to the carburetor (➔ see the tutorial ''Accelerator cable change'' Op 30 to 34).
Op 34
Check the carburetor oil level (➔ see the tutorial ''HS4 carburetor removal'' Op 28 and 29).
Op 35
Fit the air filter box (➔ see the tutorial ''HS4 air filter change'' Op 10 to 13).
The End