This tutorial is also available in French
➔

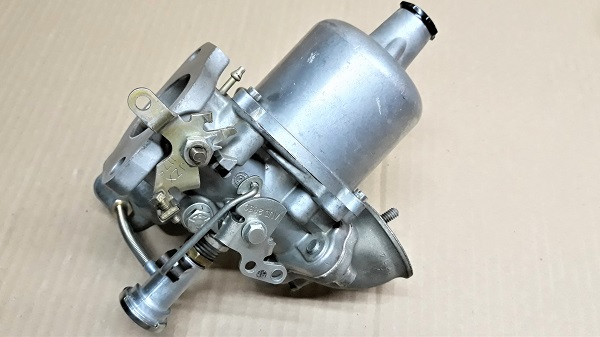
HS4 carburetor tuning on Austin Mini
Vehicle ➔ Mini 1000 year 1991 automatic gearbox
Difficulty ➔ Easy

Time ➔ 2 hours
Summary
Advertisement
Advertisement

Recommendations

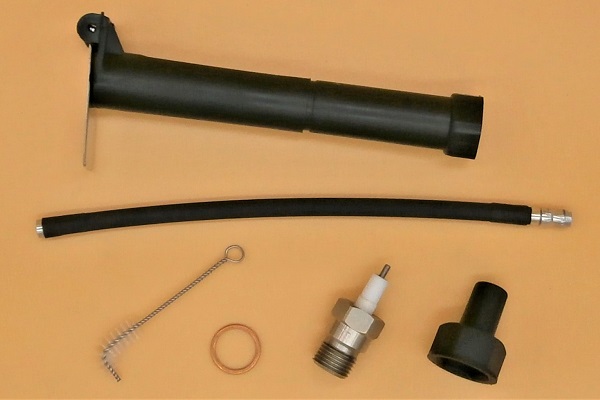
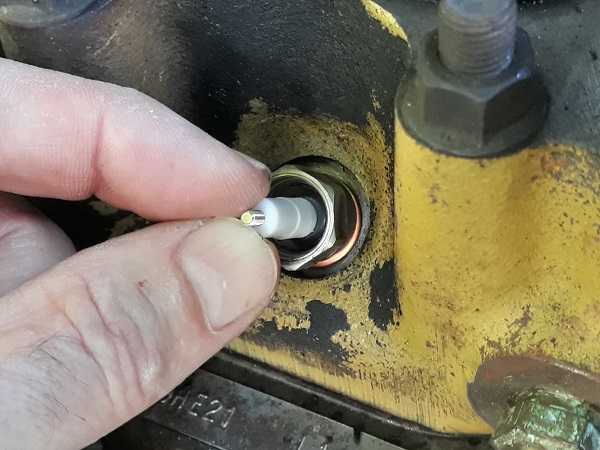
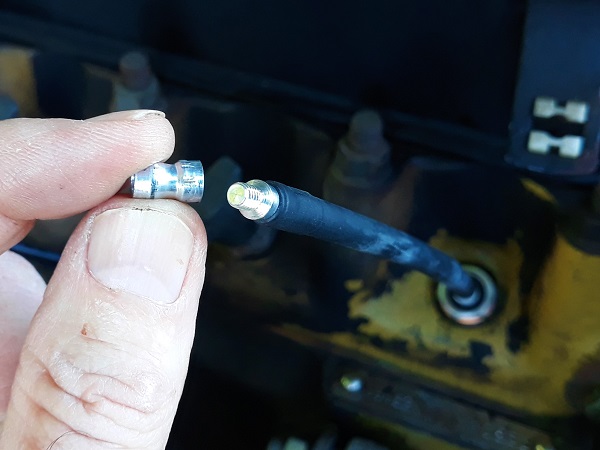
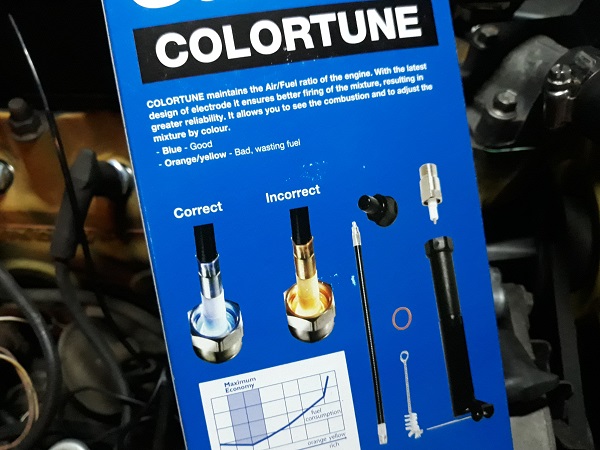
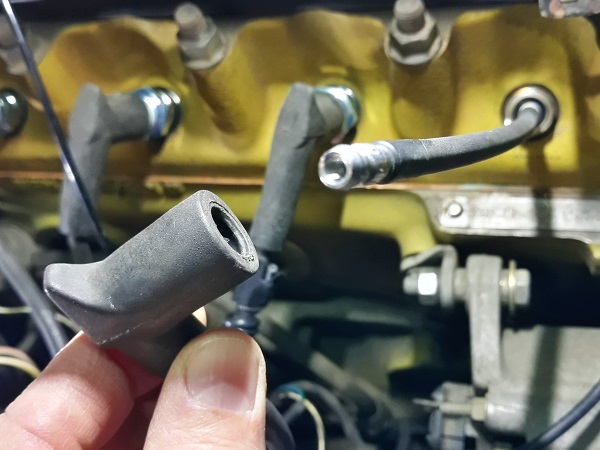
The Gunson Colortune is a tool for seeing what is happening in the combustion chamber. The explosion is visible through the transparent part of this spark plug. Once the Colortune spark plug is mounted in place of one of the spark plugs, simply start the engine and adjust the mixture to obtain a flame of the correct color :
• A yellow flame indicates a petrol / air mixture that is too rich (too much petrol).
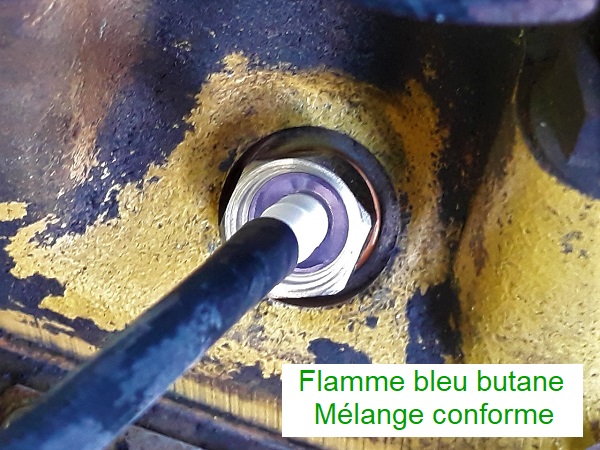
• A butane blue flame indicates a correct mixture.
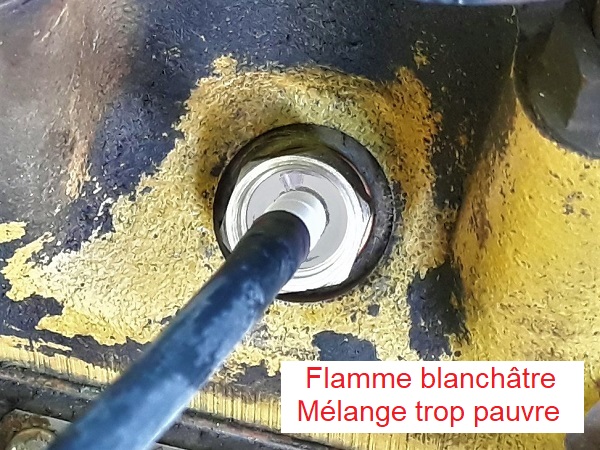
• A bluish-white flame indicates a mixture that is too lean (not enough petrol).
• A yellow flame indicates a petrol / air mixture that is too rich (too much petrol).
• A butane blue flame indicates a correct mixture.
• A bluish-white flame indicates a mixture that is too lean (not enough petrol).
There are 3 different Colortune kits. Each kit is suitable for a specific spark plug thread diameter. For the Mini, use kit G4074. It is suitable for 14 mm diameter spark plugs.
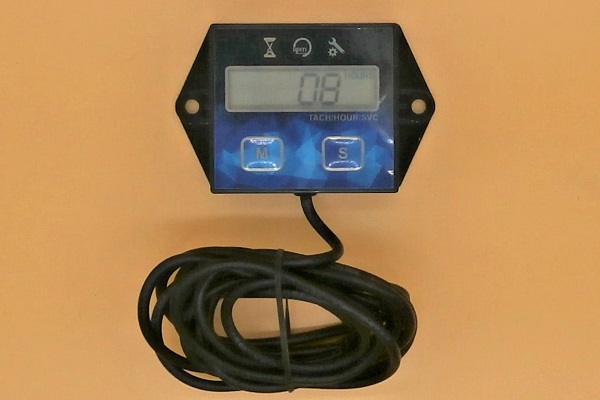
Using a tachometer will allow for a much more precise idle adjustment, but you can still adjust the mixture without this tool.
The color of the spark plugs also allows you to check the quality of the mixture adjustment :
• A black spark plug indicates a mixture that is too rich.
• A chocolate-colored spark plug indicates a correct mixture.
• A white spark plug indicates a mixture that is too lean.
• A black spark plug indicates a mixture that is too rich.
• A chocolate-colored spark plug indicates a correct mixture.
• A white spark plug indicates a mixture that is too lean.
Required Tools
Sponsored links by


Advertisement
To be checked before tuning
Op 01
Drive the Mini for a few kilometers to bring the engine to its normal operating temperature.
To make it easier to see the Colortune spark plug flame during mixture adjustment, park the Mini in the shade. If this is not possible, use the Viewerscope device included in the kit.

The mixture adjustment will be performed with the engine running. The Mini must therefore be parked outside or in a ventilated area.
Op 02
Apply the handbrake.
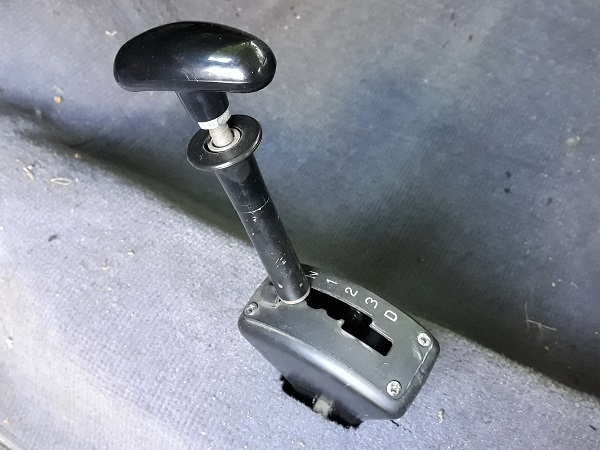
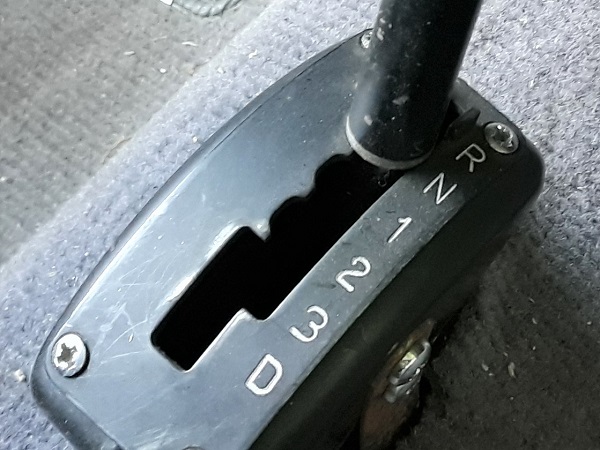
On an automatic Mini, place the selector in the ''N'' position.
Op 03
Remove the air filter box (➔ see the tutorial ''HS4 air filter change'' Op 01 to 02).
Op 04
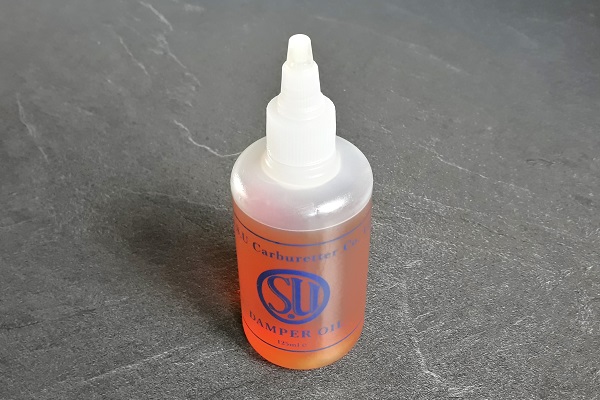
Check the carburetor oil level (➔ see the tutorial ''HS4 carburetor removal'' Op 28 and 29).
Op 05
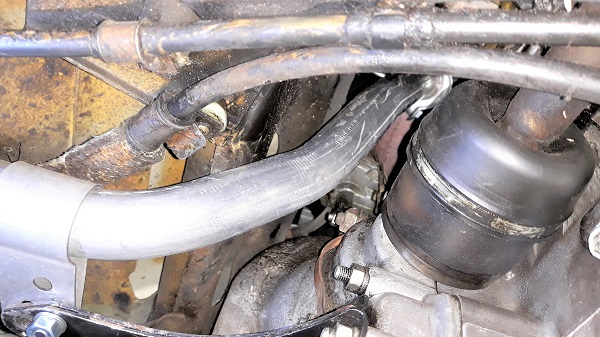
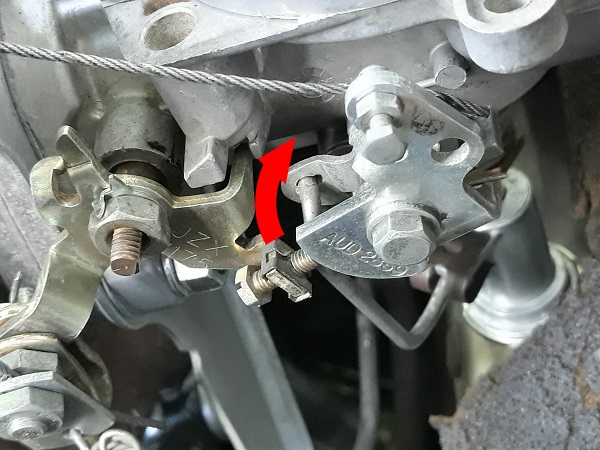
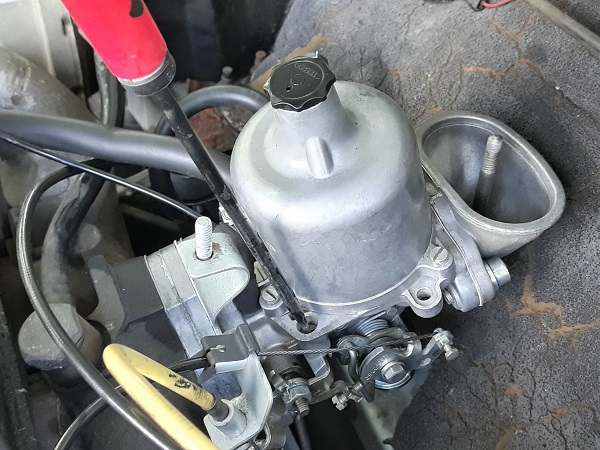
Check that the accelerator valve shaft pivots correctly.
Take this opportunity to check the accelerator shaft play. Too much play can cause air to enter the carburetor and disrupt the mixture's richness. A slight amount of play is acceptable, but if it is too much, you will need to consider replacing the accelerator shaft and bushings.
Spare parts are available but their installation is not within everyone's reach because it requires machining of the carburetor.
Spare parts are available but their installation is not within everyone's reach because it requires machining of the carburetor.
Op 06
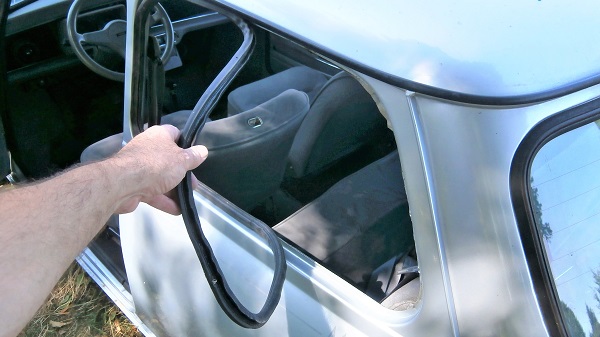
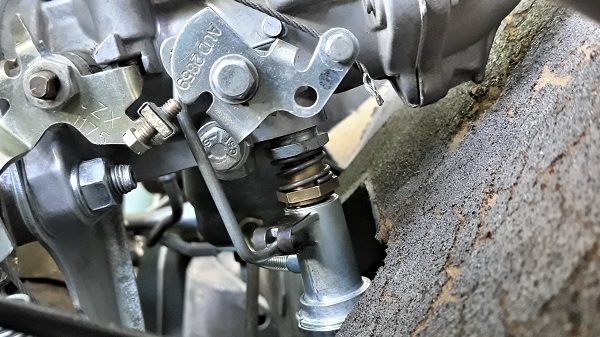
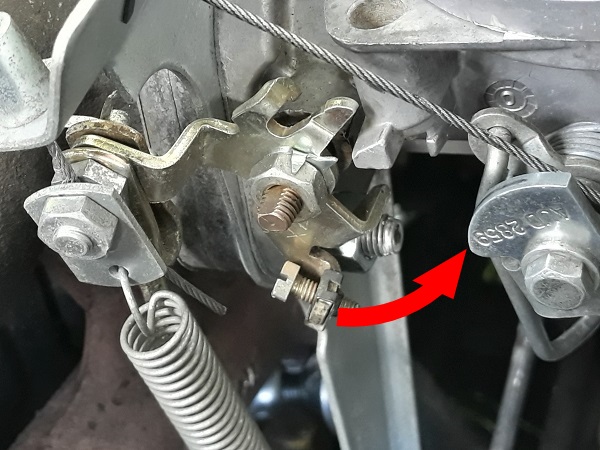
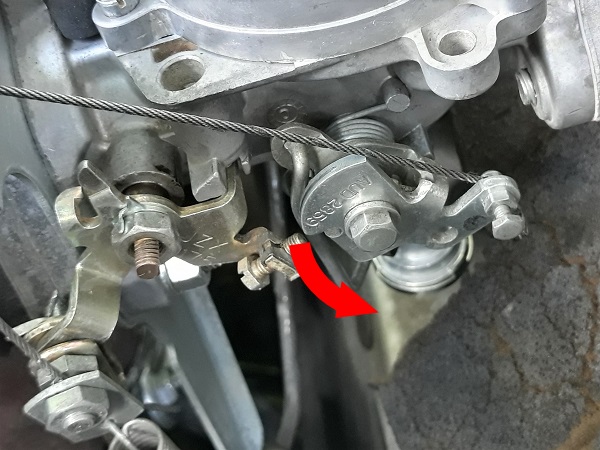
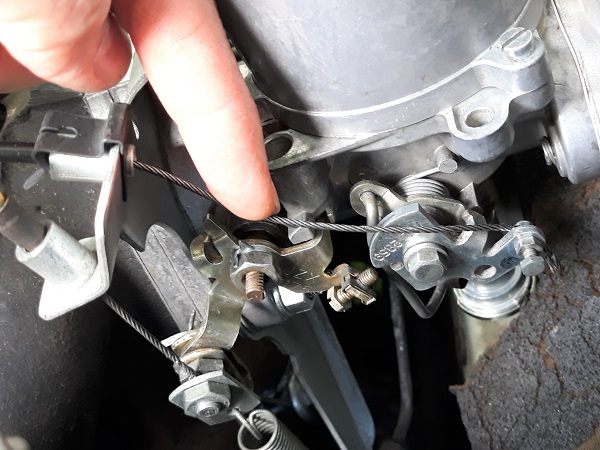
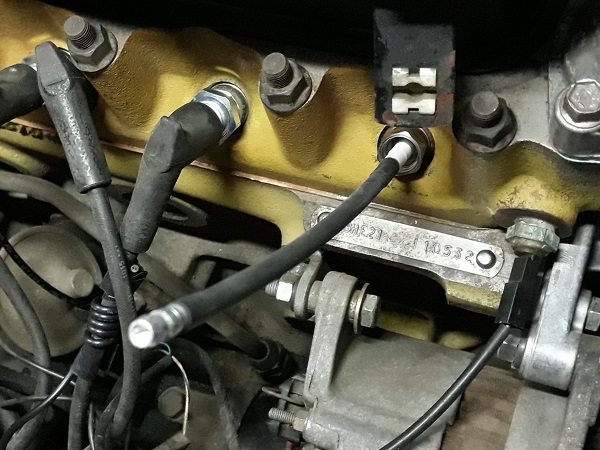
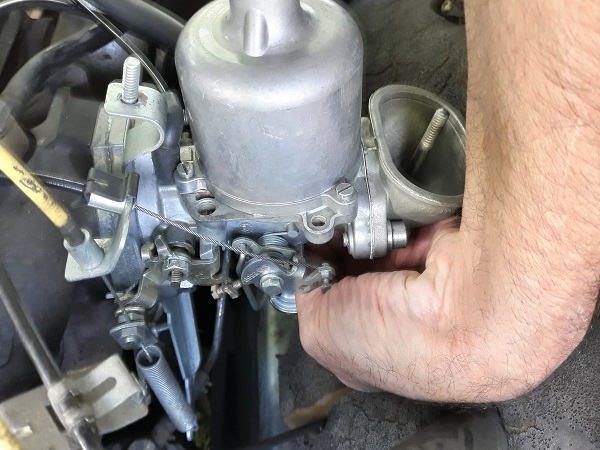
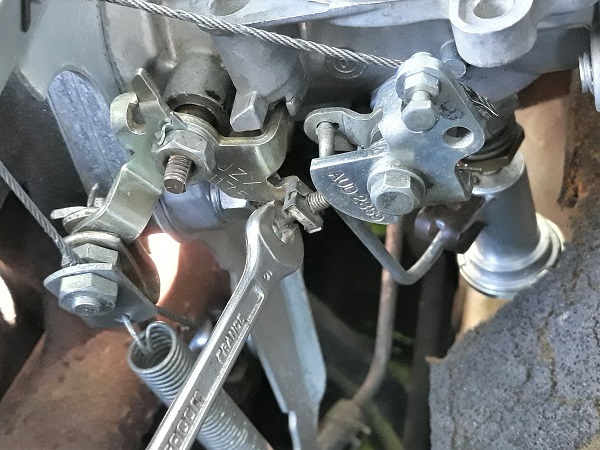
Check that the choke lever pivots correctly and that it returns fully to the stop.
The choke cable must have 2 mm of free play before it starts to actuate the choke lever. See the 3rd photo : the cable is not taut.
Op 07
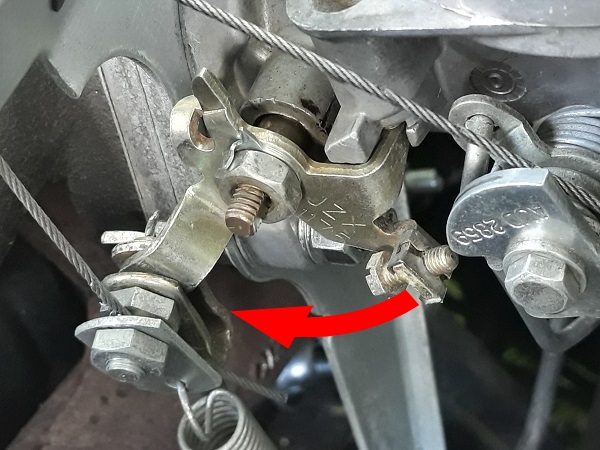
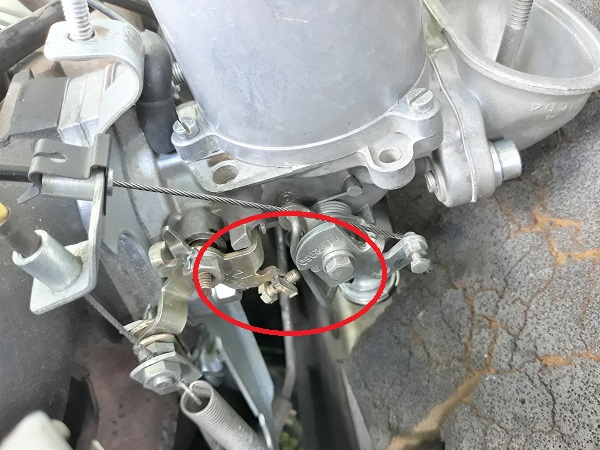
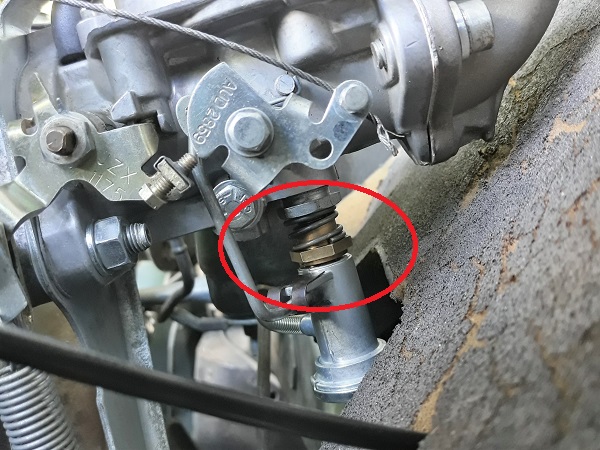
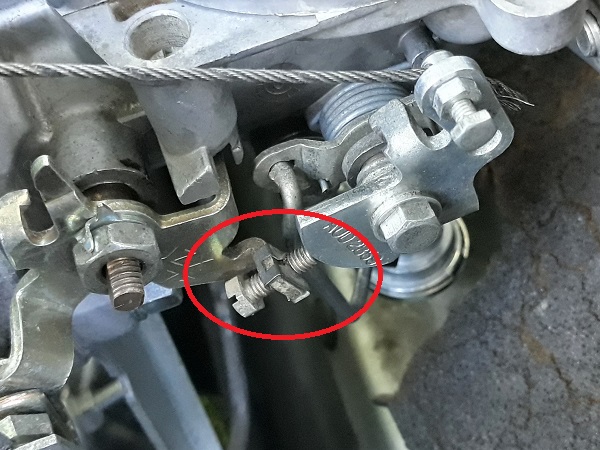
When the choke control is pushed back, check that there is play between the fast idle bolt and the choke lever.

Op 08
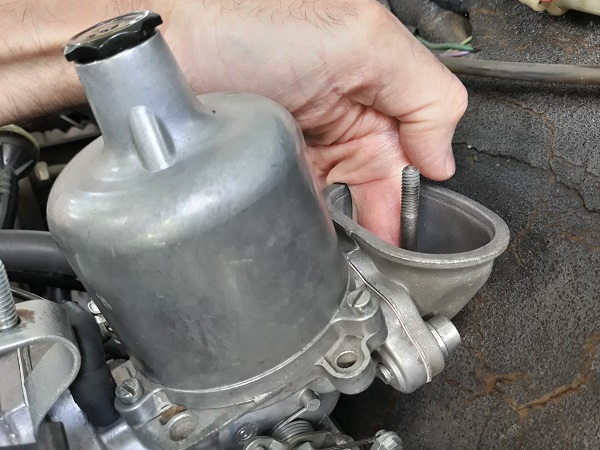
Check that the piston slides freely.
The piston is accessible by hand through the air filter elbow.
Set the idle
Op 09
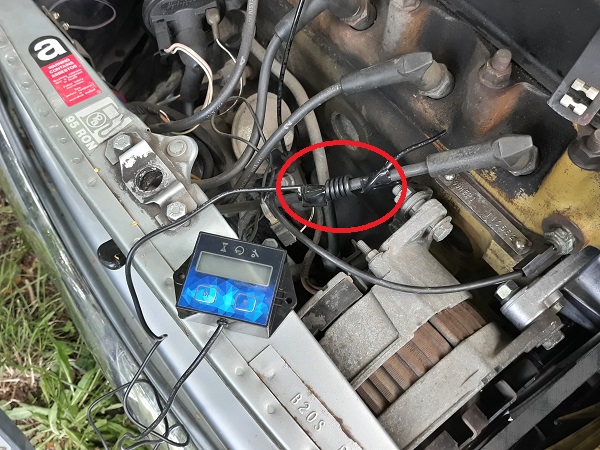
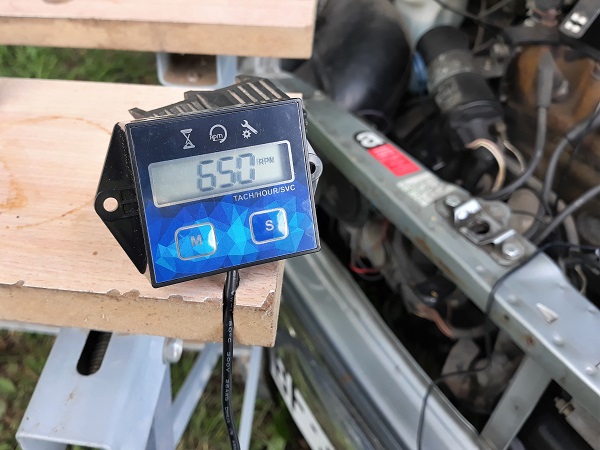
Wrap the tachometer wire 5 times around one of the 4 spark plug wires. Immobilize the tachometer wire with adhesive tape.

Op 10
Start the engine and let it run for a few minutes to reach its normal operating temperature.
Increase the engine speed for a few seconds. This will help draw any excess petrol into the inlet manifold.
Op 11
Adjust the idle screw to obtain an engine speed of 750 rpm. Use a flathead screwdriver.
Advertisement
Adjust the mixture
Op 12
Turn off the engine.
Remove a spark plug
(➔ see the tutorial ''Spark plugs change'' Op 01 to 02).
Op 13
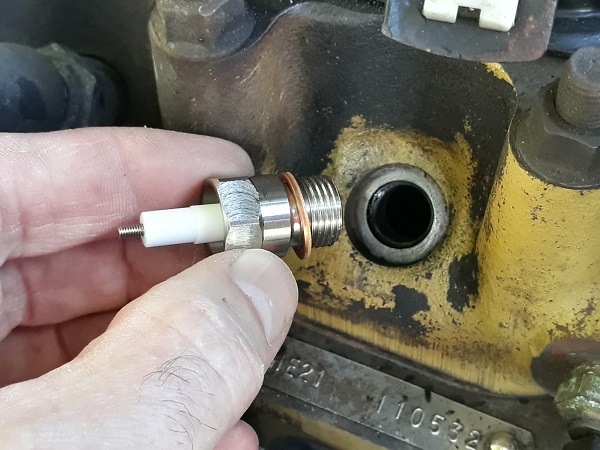
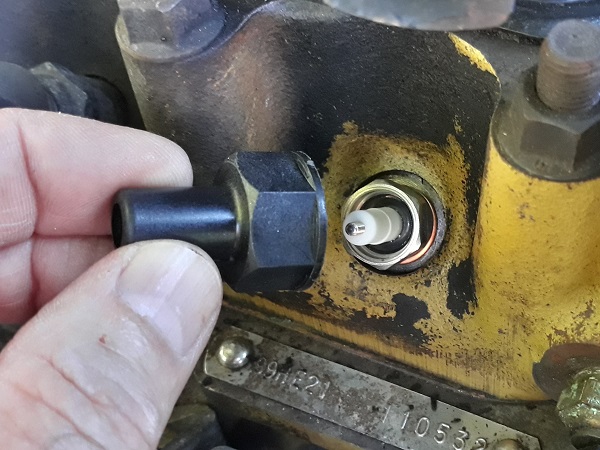
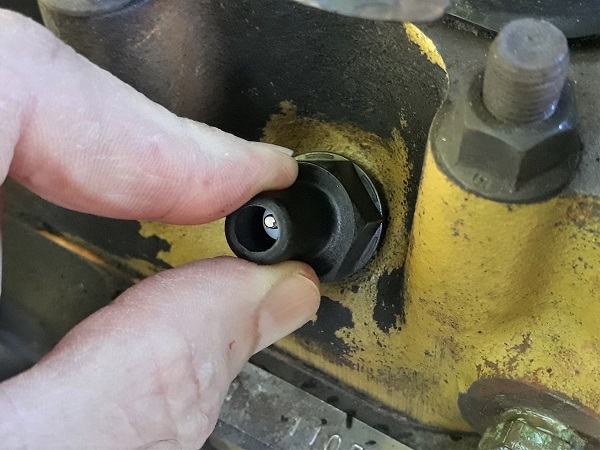
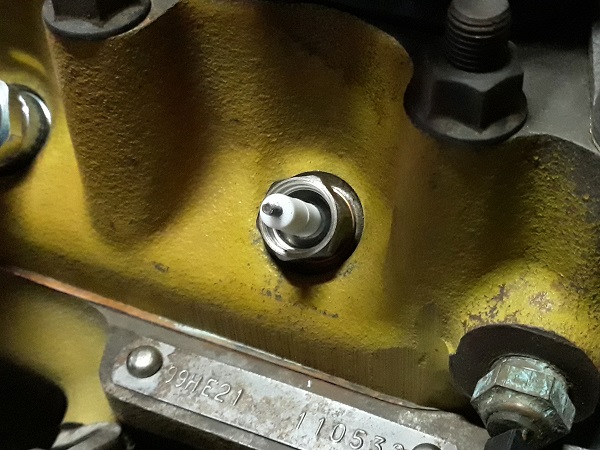
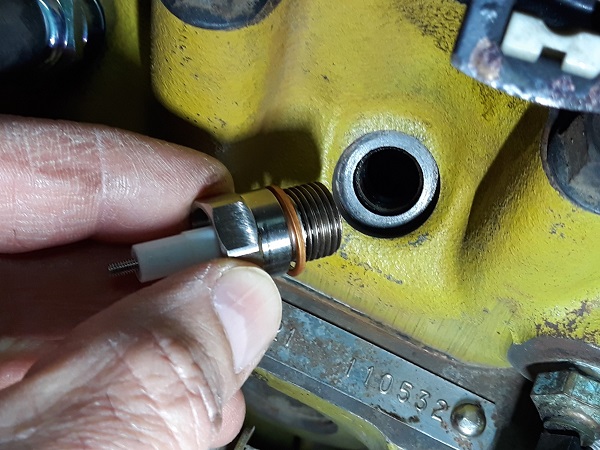
Screw in the Colortune spark plug with its sealing washer. Use the rubber socket from the kit and tighten by hand.
The Colortune spark plug must be installed in place of one of the 4 spark plugs. It doesn't matter which one.
Do not overtighten the Colortune spark plug. Hand-tightening is sufficient to ensure a good seal.
Op 14
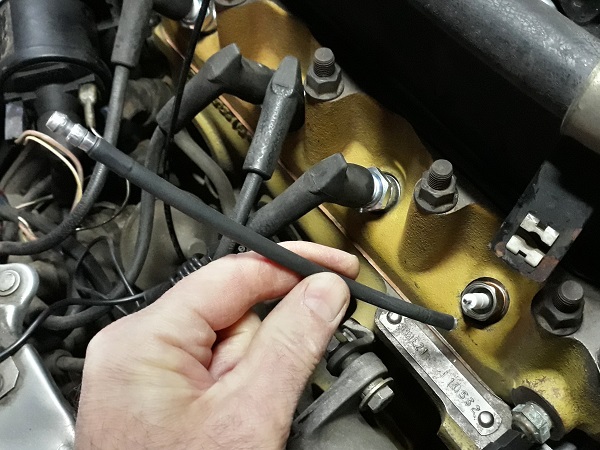
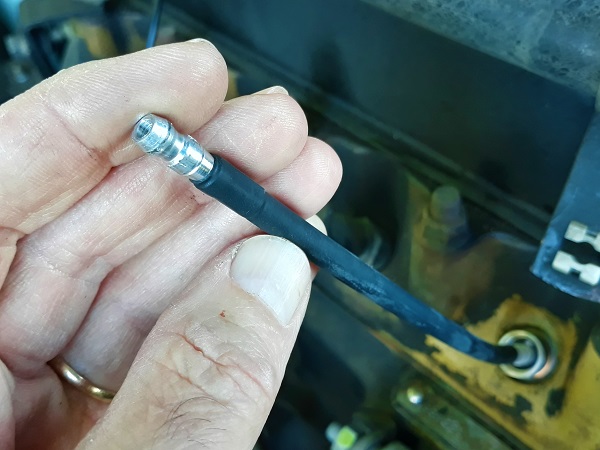
Screw the adapter cable onto the Colortune spark plug. Screw in by hand.
Op 15
Screw a spark plug terminal nut onto the adapter cable. Screw in by hand.
Retrieve the terminal nut from an old spark plug. This terminal nut will allow for a good connection of the ignition wire.
Op 16
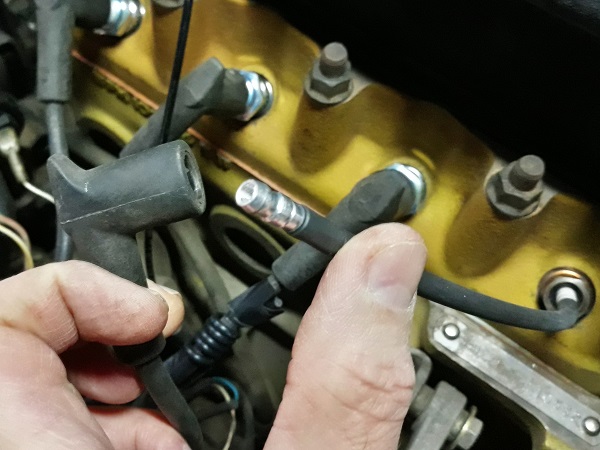
Connect the ignition wire to the adapter cable. Press by hand.
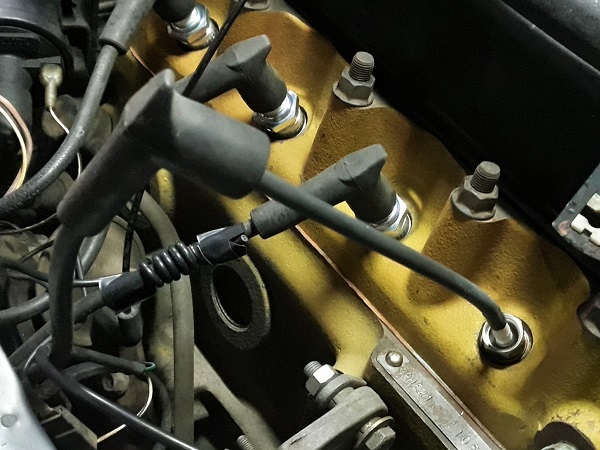
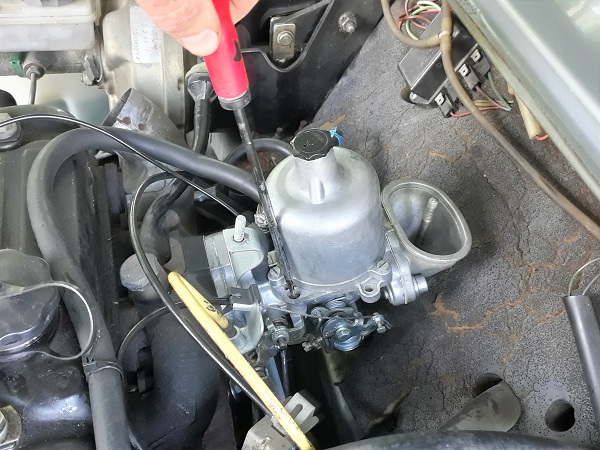
Op 17
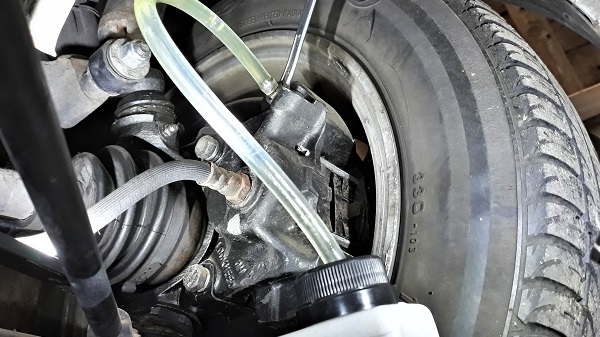
Start the engine and analyze the color of the flame through the transparent part of the Colortune spark plug.
Engine flames are similar to gas stove flames. The most efficient combustion produces a light blue flame (butane blue). Other flame colors reveal an incorrect mixture setting.
•
Yellow flame : petrol / air mixture too rich (too much petrol).
• Butane blue flame : Correct mixture.
• Bluish-white flame : petrol / air mixture too lean (not enough petrol).
• Butane blue flame : Correct mixture.
• Bluish-white flame : petrol / air mixture too lean (not enough petrol).
The color of the flame is more easily observed at a high engine speed.
The Colortune spark plug can be used at different engine speeds, but it should never be used with the engine under load. Avoid running the engine at a high speed for too long, however.
Op 18
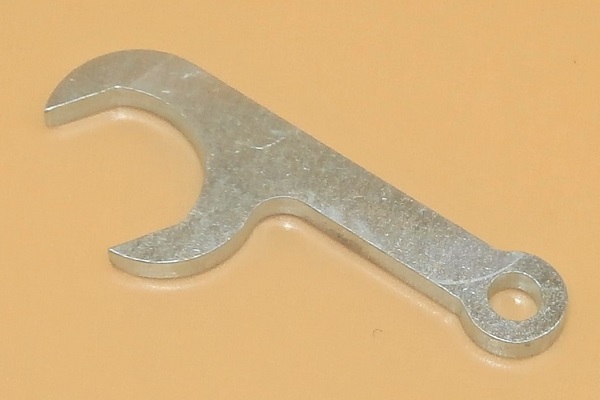
Turn the jet adjusting nut to obtain a butane blue flame color. Operate the nut by hand or use the carb mixture adjustment spanner (CA39).
•
Screwing in the nut moves it upwards and leans the mixture.
• Unscrewing the nut moves it downwards and enriches the mixture.
• Unscrewing the nut moves it downwards and enriches the mixture.
Turn the jet adjusting nut one flat at a time and check the impact on the flame color.

Op 19
Turn off the engine.
Disconnect the ignition wire from the adapter cable. Pull by hand.
Remove the adapter cable and the Colortune spark plug with its washer. Unscrew by hand.

Op 20
Fit the spark plug (➔ see the tutorial ''Spark plugs change'' Op 03 to 05).
Op 21
Start the engine.
If necessary, adjust the idle speed again using the idle screw. Use a flathead screwdriver.
Advertisement
Set the fast idle
Op 22
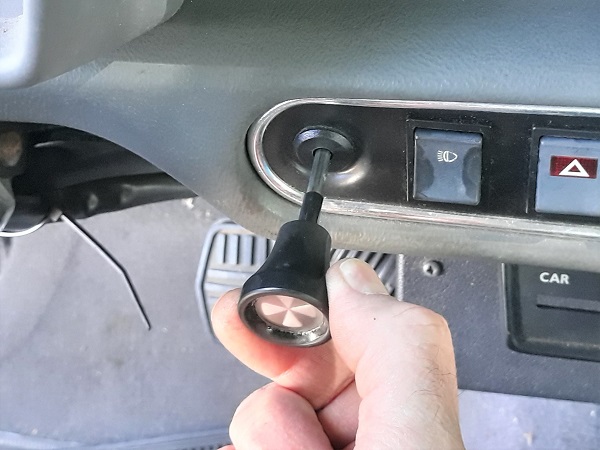
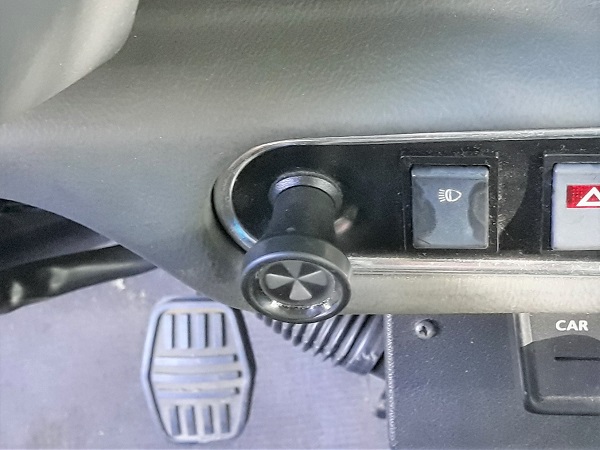
Pull the choke control all the way out.
Analyze the engine speed.
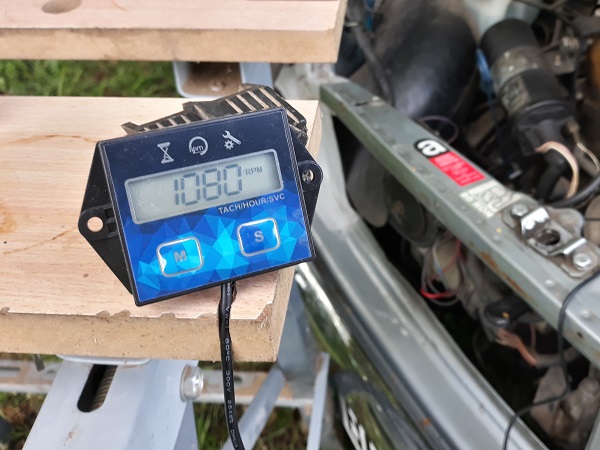
Op 23
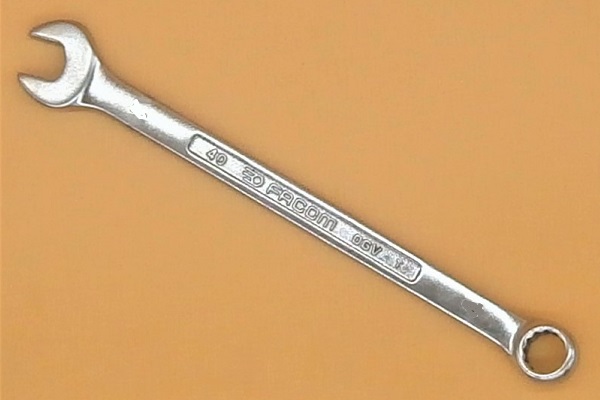
If necessary, adjust the fast idle screw to obtain an engine speed of 1100 rpm. Use the 6 mm spanner.
Op 24
Push the choke control back in.
Turn off the engine.
Op 25
Fit the air filter box (➔ see the tutorial ''HS4 air filter change'' Op 10 to 13).
Op 26
To confirm the mixture setting, drive a few kilometers, remove a spark plug and analyze its color.
If necessary, fine-tune the mixture adjustment.
•
A black spark plug indicates a mixture that is too rich.
• A chocolate-colored spark plug indicates a correct mixture.
• A white spark plug indicates a mixture that is too lean.
• A chocolate-colored spark plug indicates a correct mixture.
• A white spark plug indicates a mixture that is too lean.
The End