This tutorial is also available in French
➔

Manual gearbox selector rod oil seal change on Austin Mini
Vehicle ➔ Mini 1000 year 1988
Difficulty ➔ Easy

Time ➔ 1 hour
Summary
Advertisement
Advertisement

Recommendations

Along with the differential oil seals, the gearbox rod change seal is one of the main sources of oil leaks.
No need to drain the engine oil before removing the gearbox rod change seal. When the rod seal and sleeve are removed, only a few drops of oil will seep through the hole.

While you're removing the gearbox linkage to change the rod seal, you might as well take the opportunity to change the alloy sleeve and its O-ring. Indeed, if the alloy sleeve has become oval over time, the new rod seal will not last long.
Required Tools
Sponsored links by


Spare Parts
Our Partners


Packaging :
•
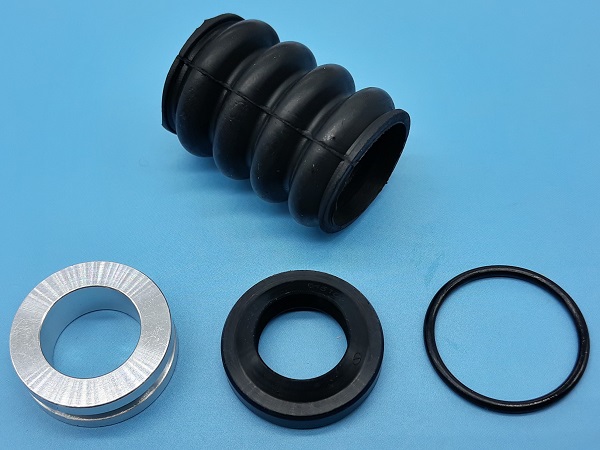
MSSK050 : The gearbox rod change seal kit includes the alloy sleeve, O-ring, rod seal and gaiter.
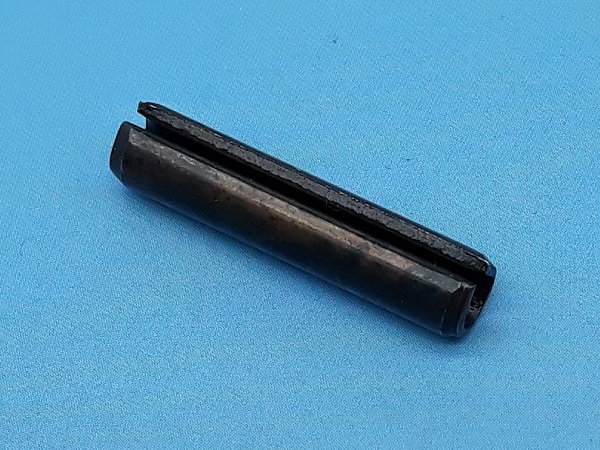
• RPS1416 : The roll pin is sold individually.
• RPS1416 : The roll pin is sold individually.
Advertisement
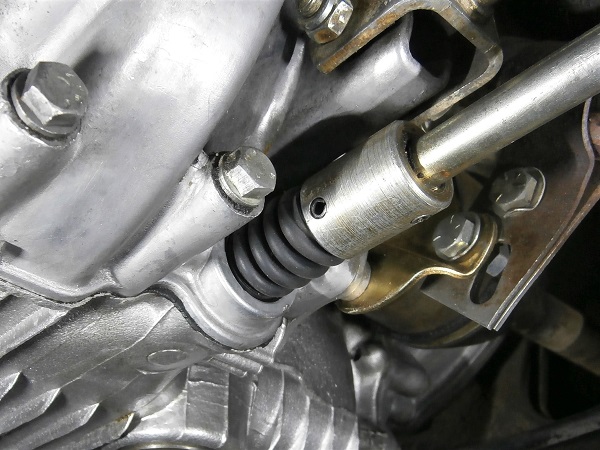
Remove the gearbox linkage
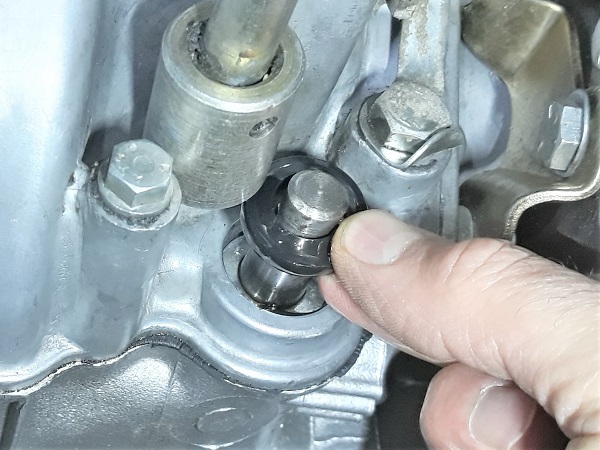
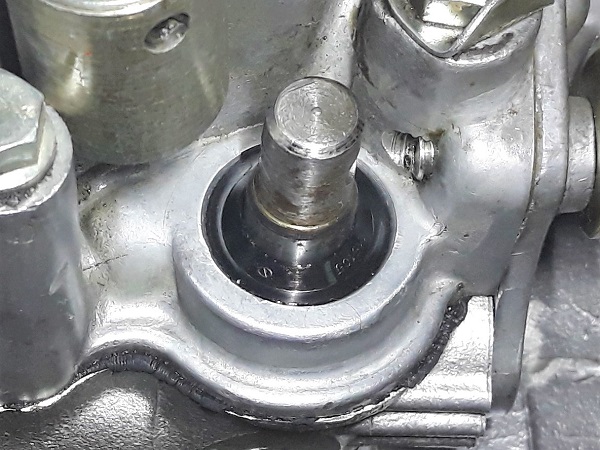
Op 01
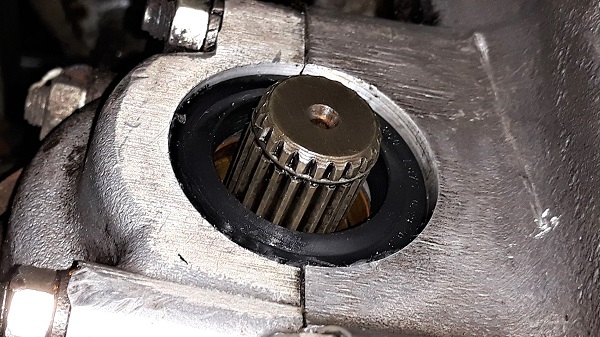
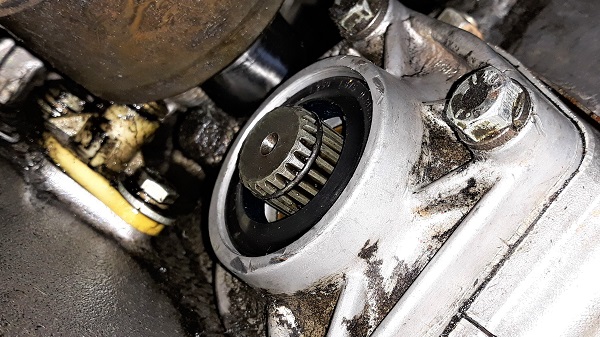
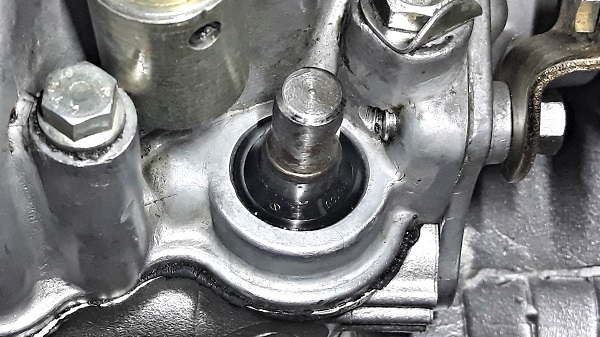
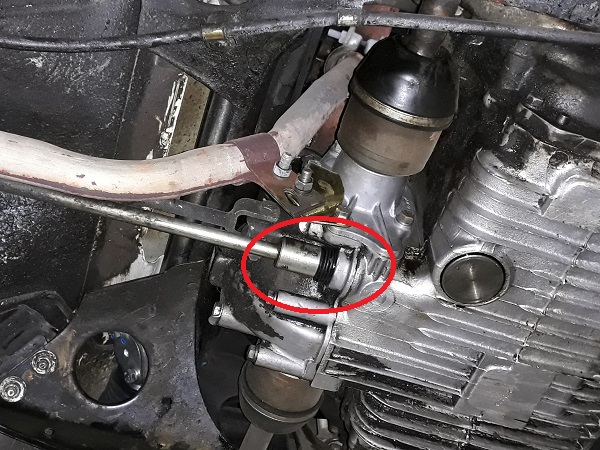
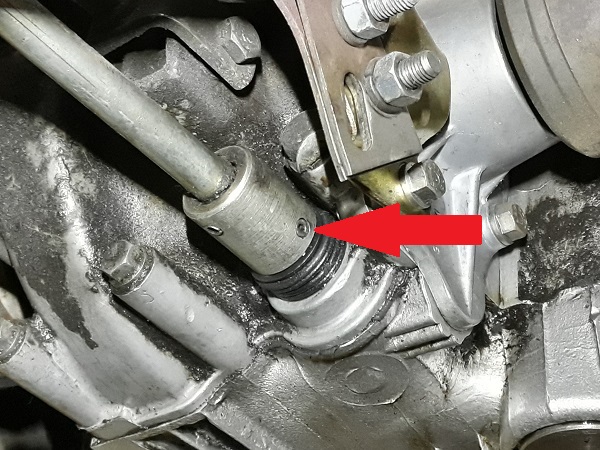
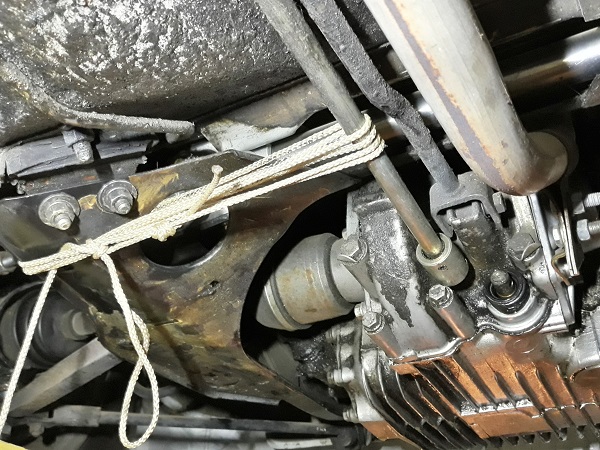
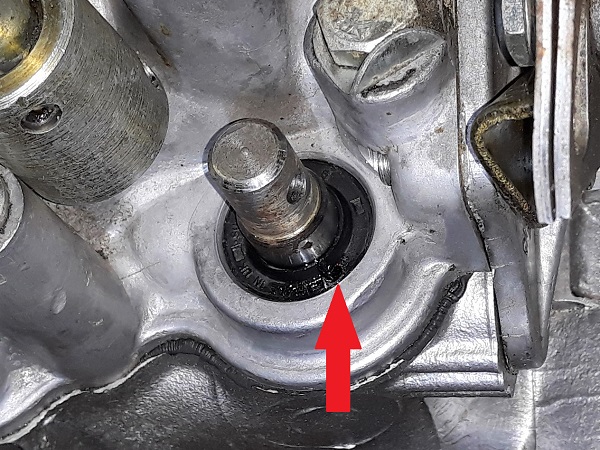
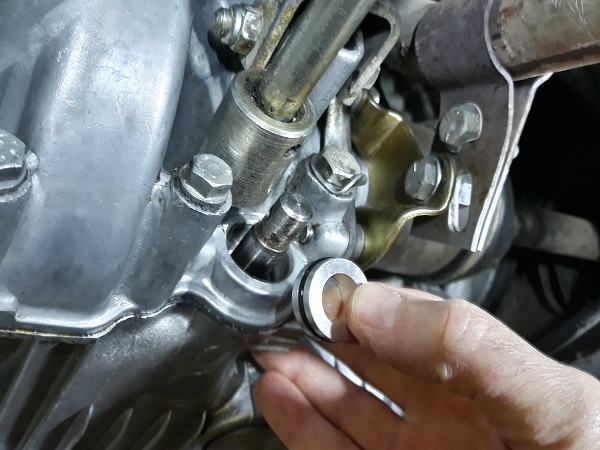
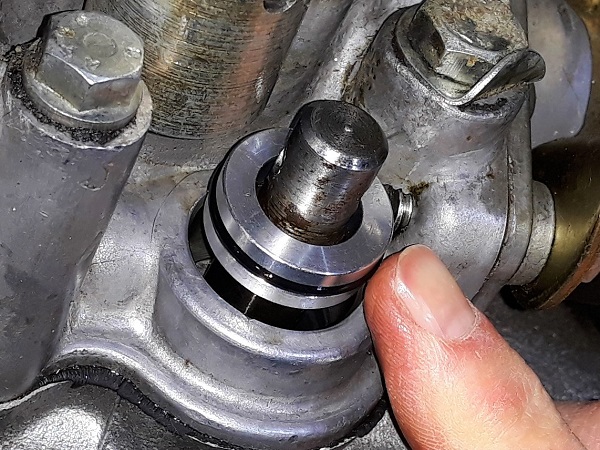
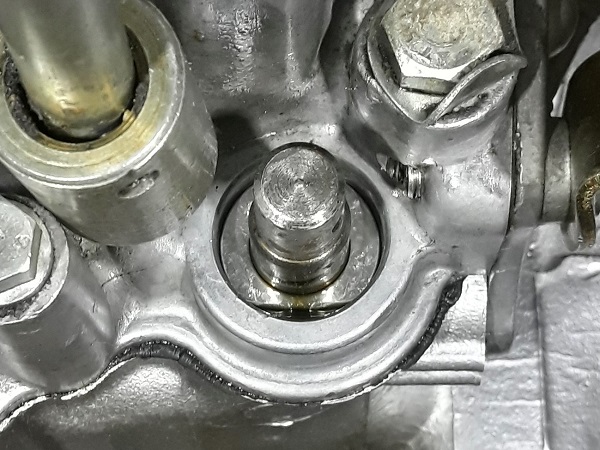
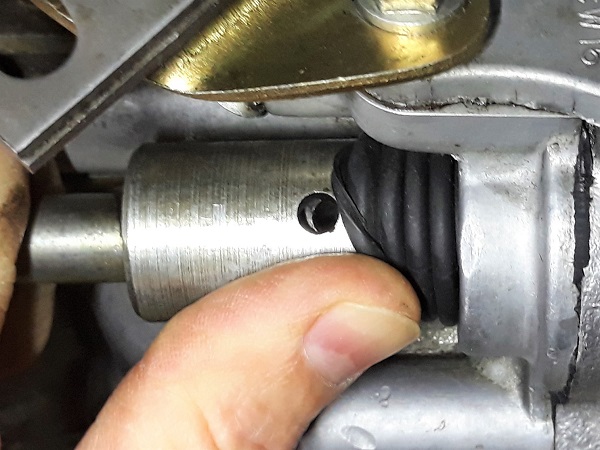
Locate the gearbox rod change seal.

Op 02
Position the gear lever in reverse.
In this position, the gearbox linkage will be slightly inclined and access to the roll pin will be easier.
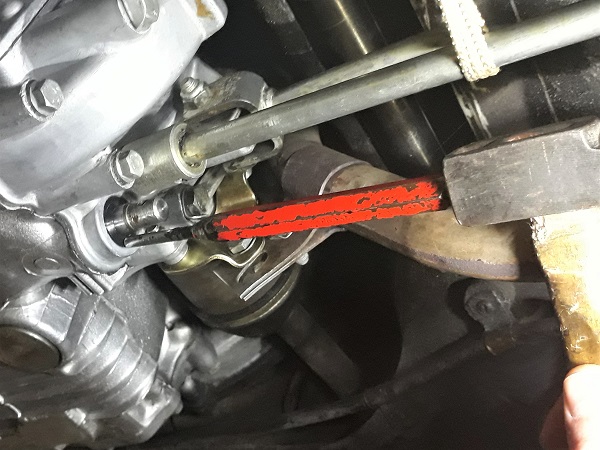
Op 03
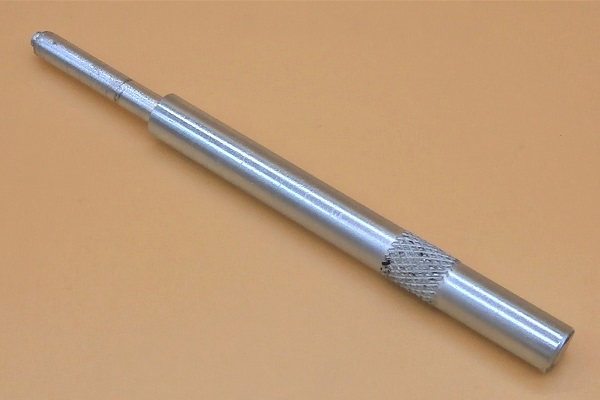
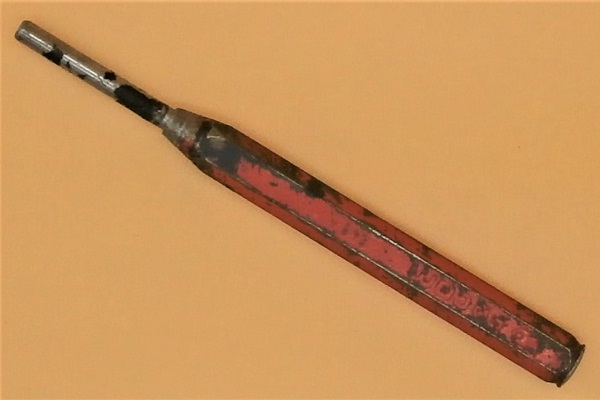
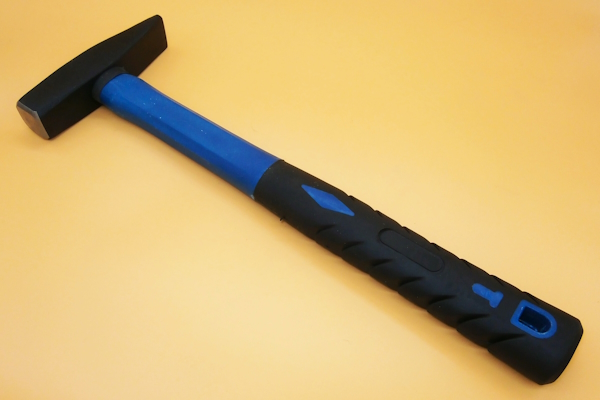
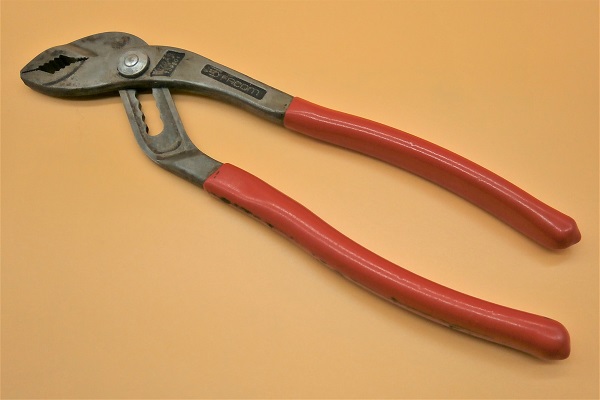
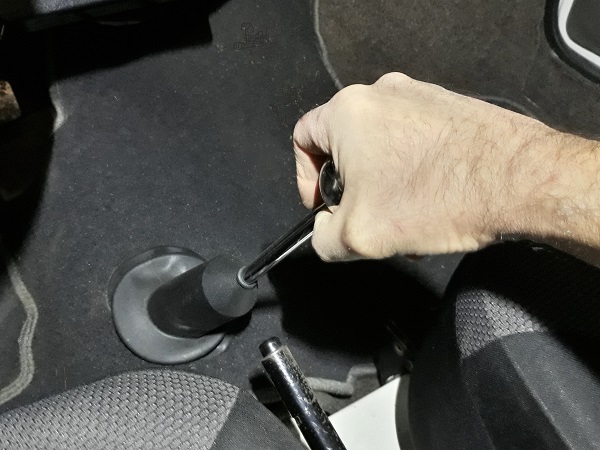
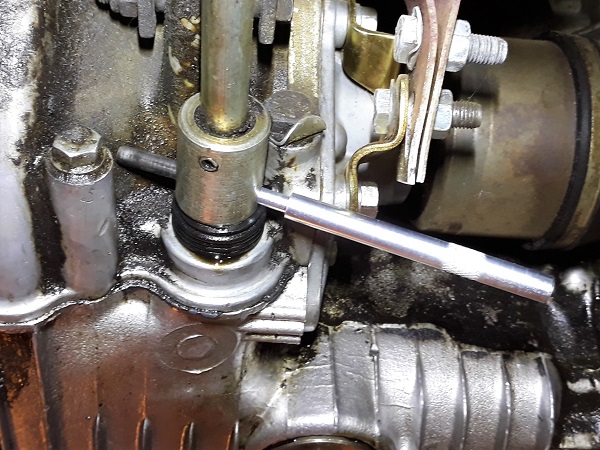
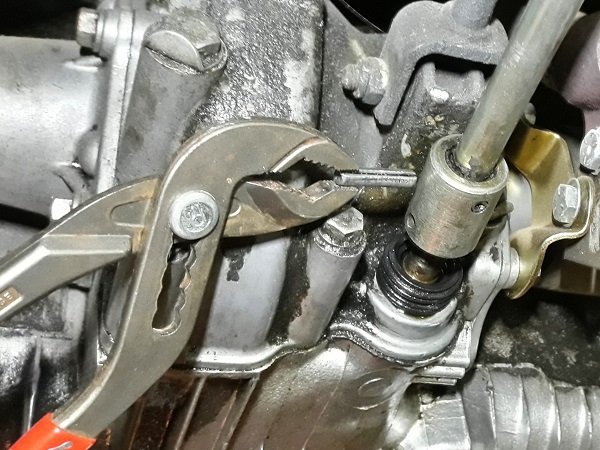
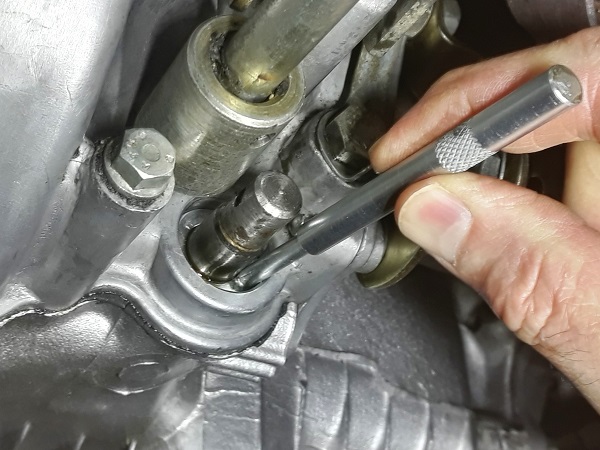
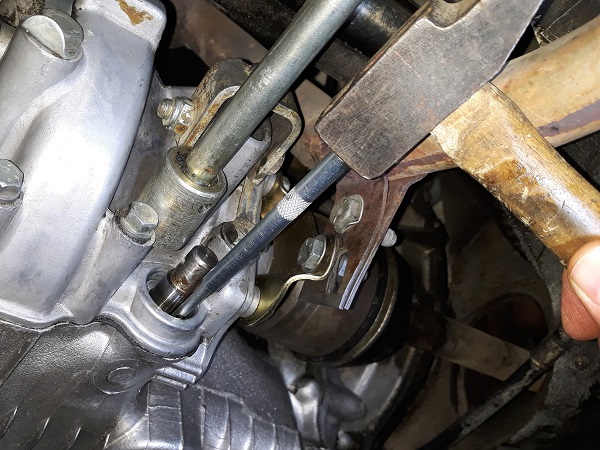
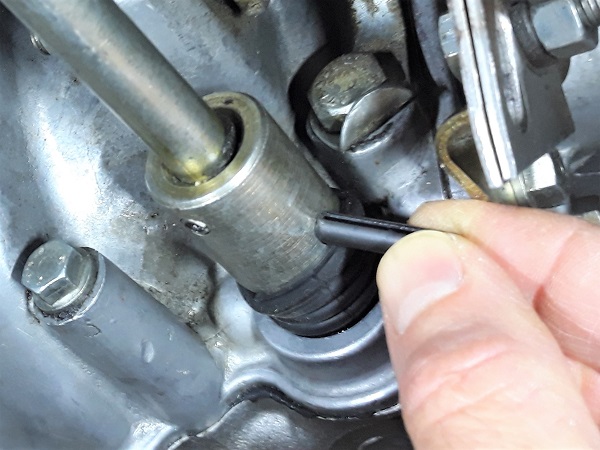
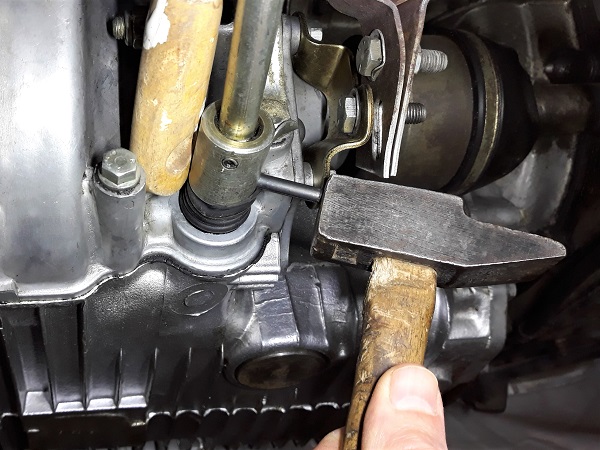
Remove the roll pin. Use the pin punch (Tool17), the hammer and the multigrip pliers.
The pin punch (Tool17) is suitable for this operation. It has a guide tip that fits into the roll pin. It is thus held in line with the pin and does not slip to the side when struck with the hammer.
Before hitting with the hammer, position a wooden block between the gearbox linkage and the gearbox case (1st photo). This will prevent damage to the selector rod.

Op 04
Disconnect the gearbox linkage. Pull by hand.
Move the gearbox linkage to free up the workspace. Use a piece of string.

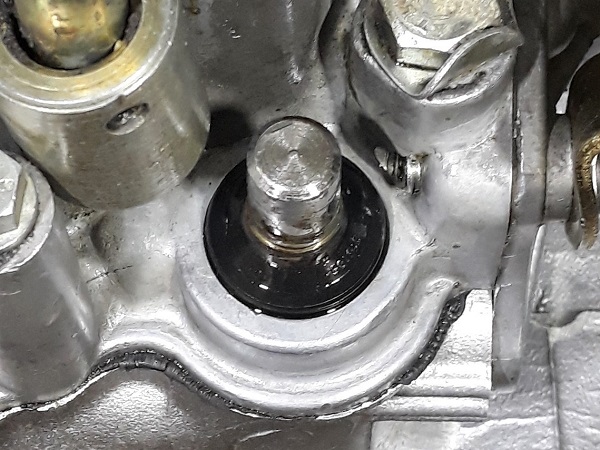
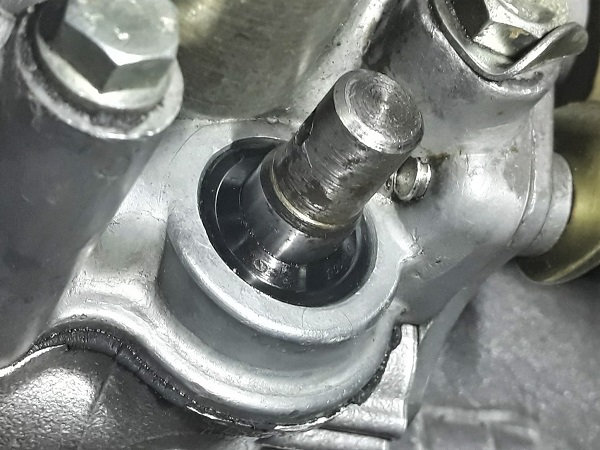
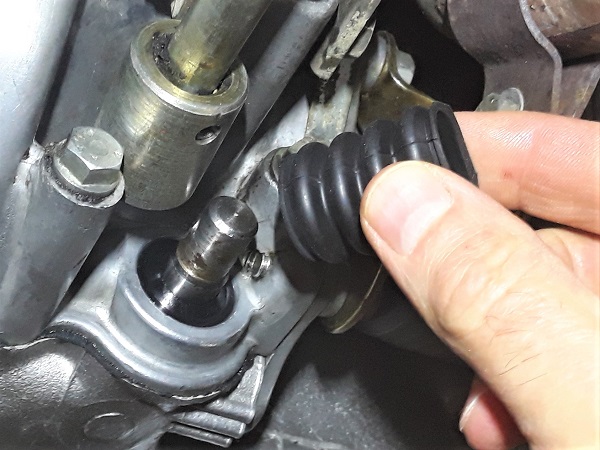
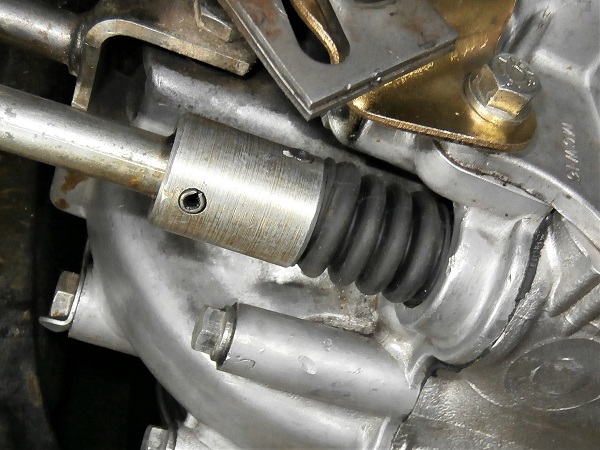
Op 05
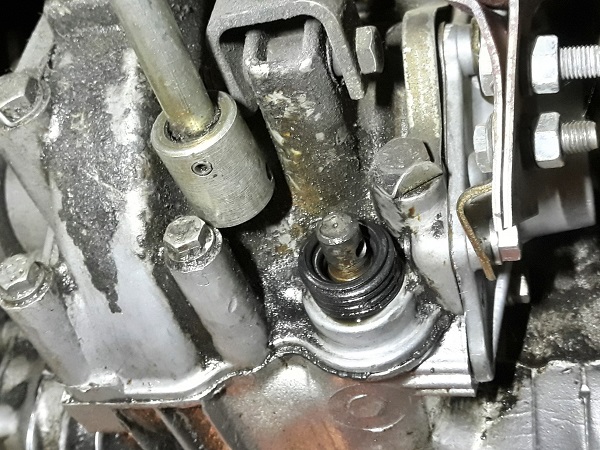
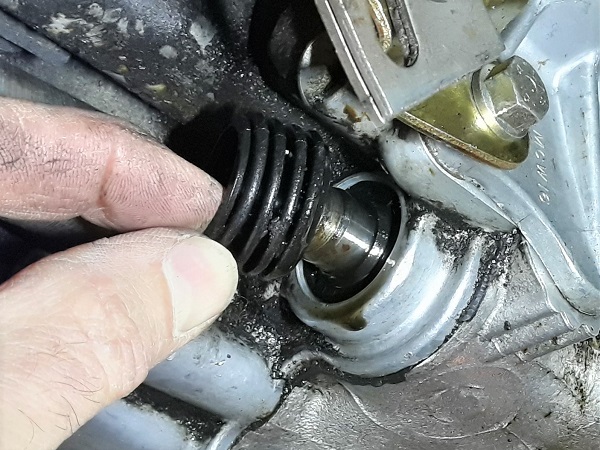
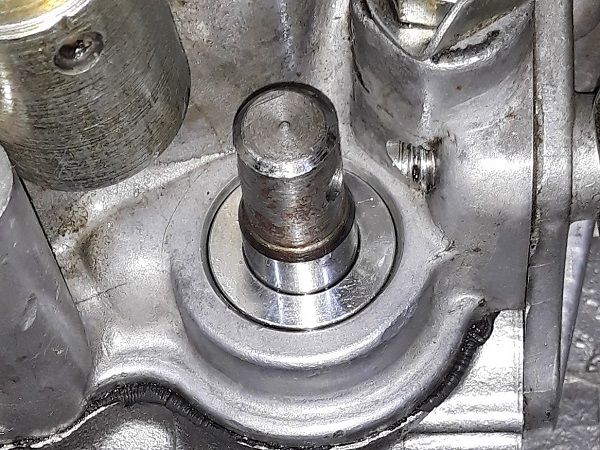
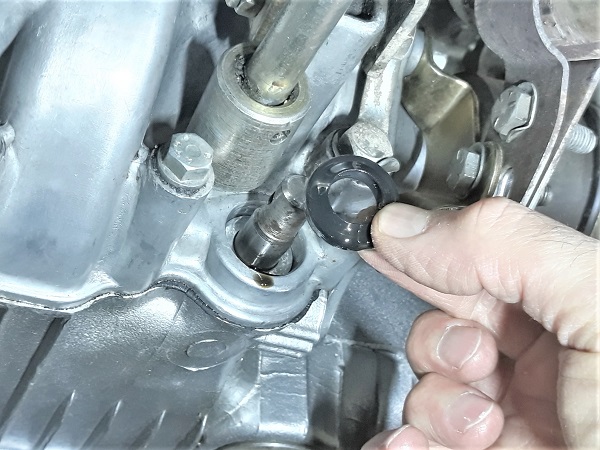
Remove the gaiter. Pull by hand.
Remove the rod seal and the alloy sleeve
Op 06
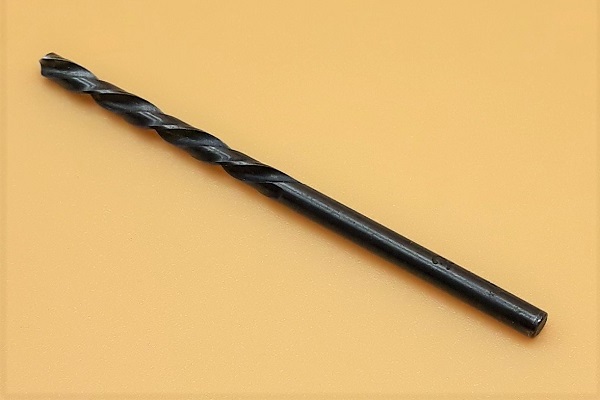
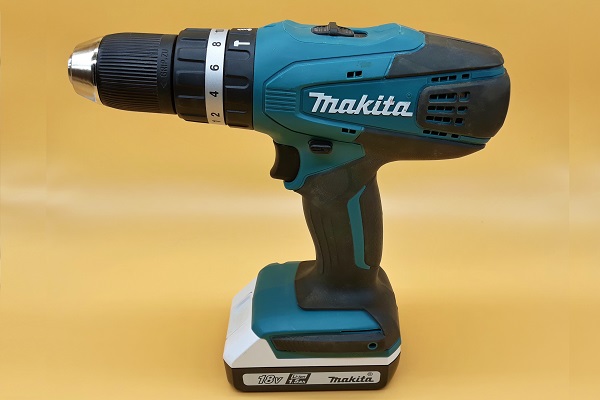
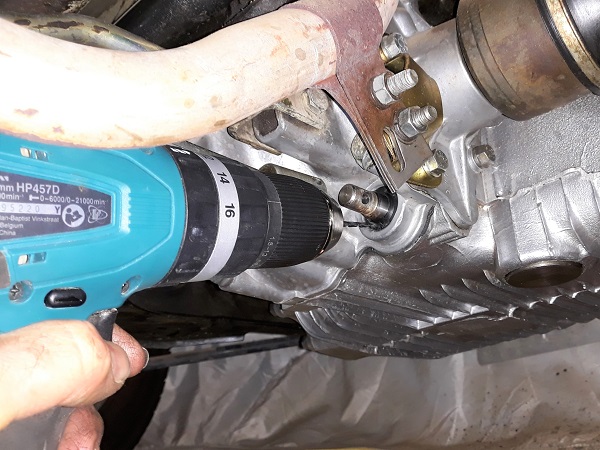
Drill the rod seal. Use the Ø3 mm drill bit and the drill.
Make sure to position the drill bit correctly and control the angle of the drill. Do not machine either the selector rod or the gearbox case.
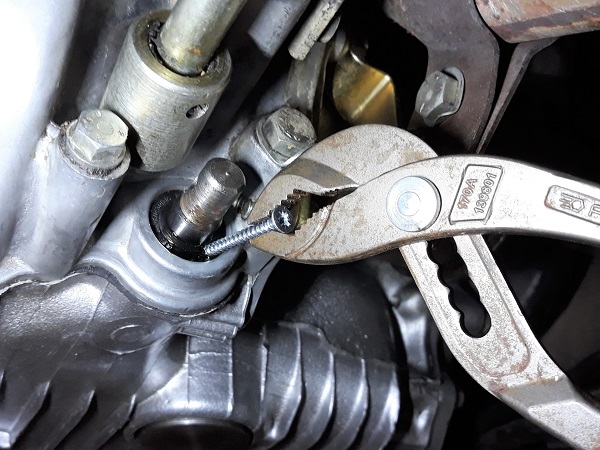
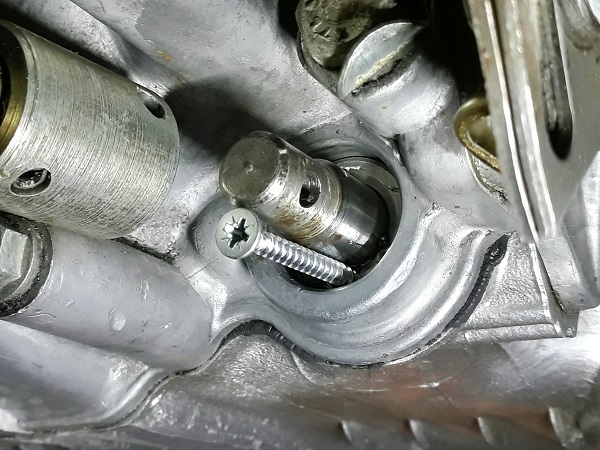
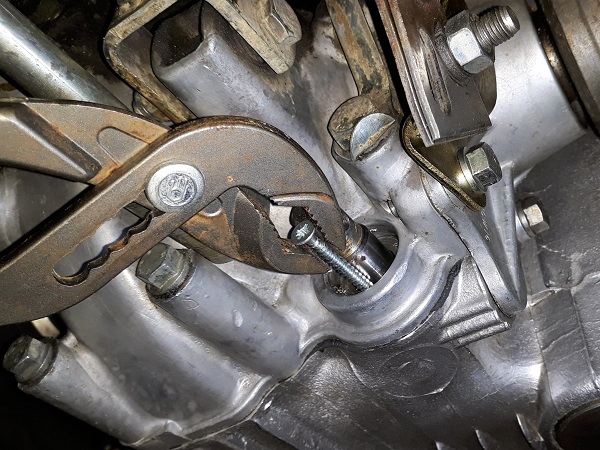
Op 07
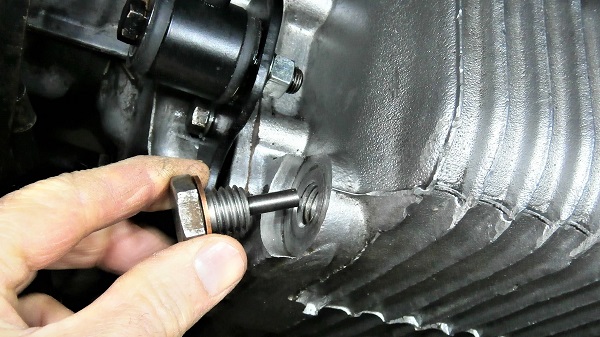
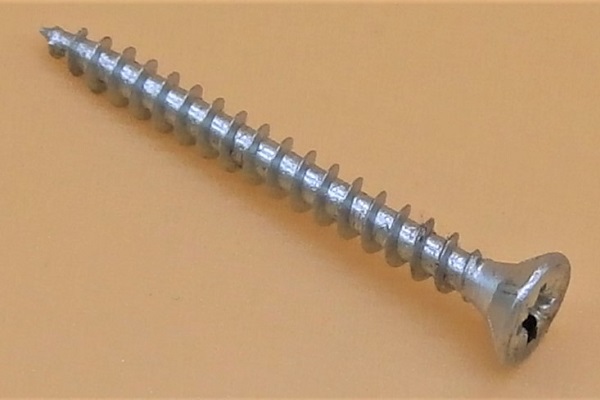
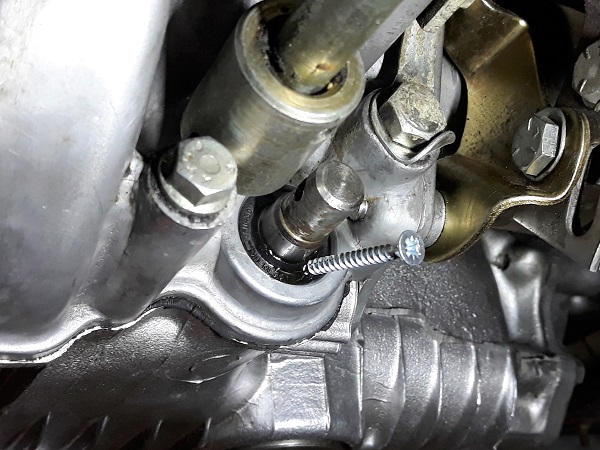
Screw a Ø3.5 mm wood screw into the rod seal. Screw in by hand.
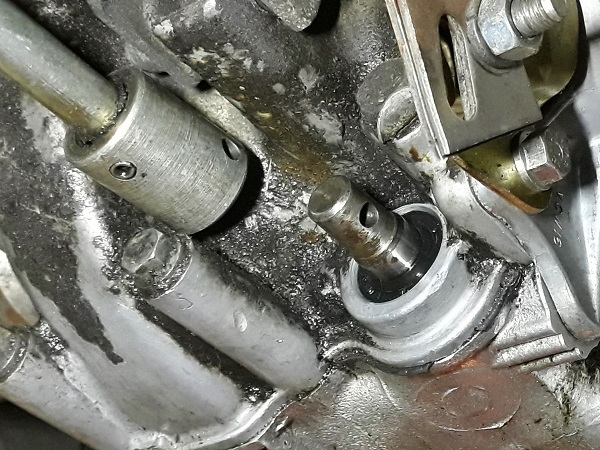
Remove the rod seal. Pull with pliers.
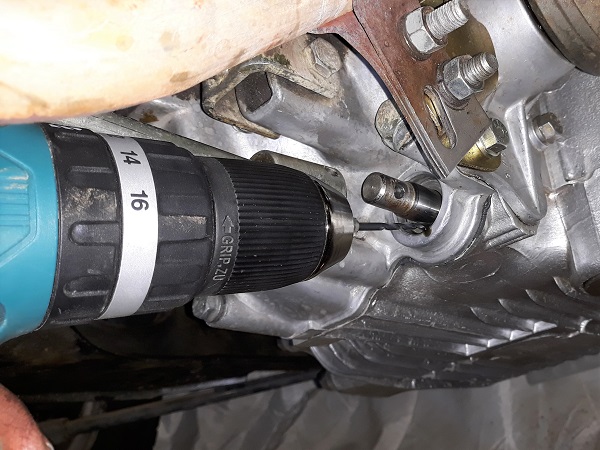
Op 08
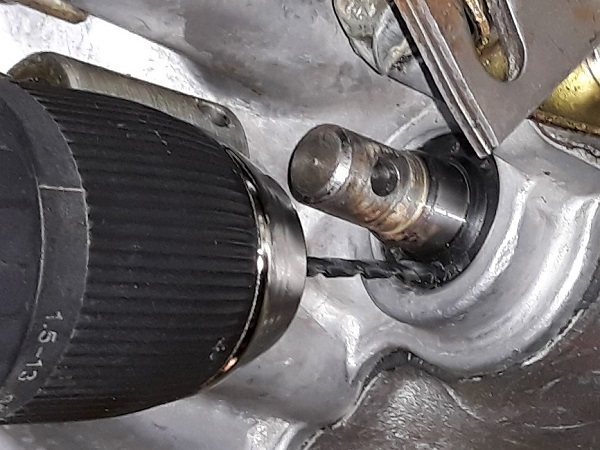
Drill the alloy sleeve. Use the Ø3 mm drill bit and the drill.
Always position the drill bit correctly and control the angle of the drill. Do not machine either the selector rod or the gearbox case.
No need to drill the bush all the way through. It is enough that the hole is deep enough for the wood screw to grip.
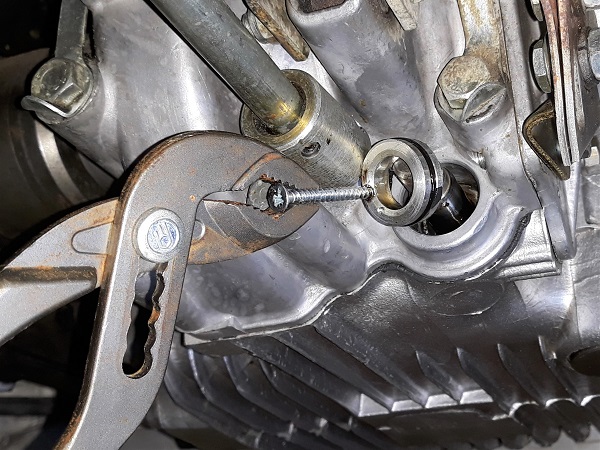
Op 09
Screw a Ø3.5 mm wood screw into the alloy sleeve. Use a Phillips screwdriver.
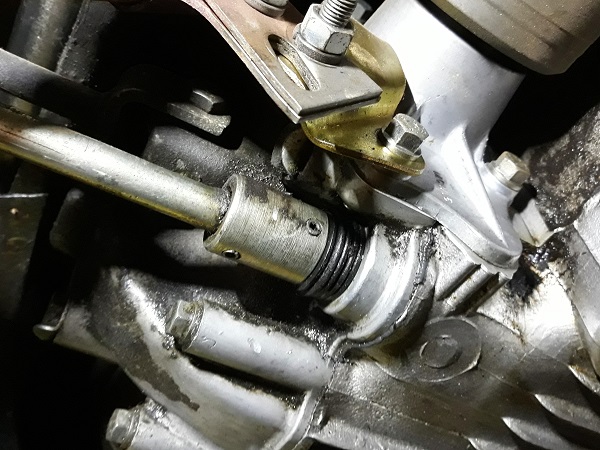
Remove the alloy sleeve. Pull with pliers.
Advertisement
Fit the alloy sleeve and the rod seal
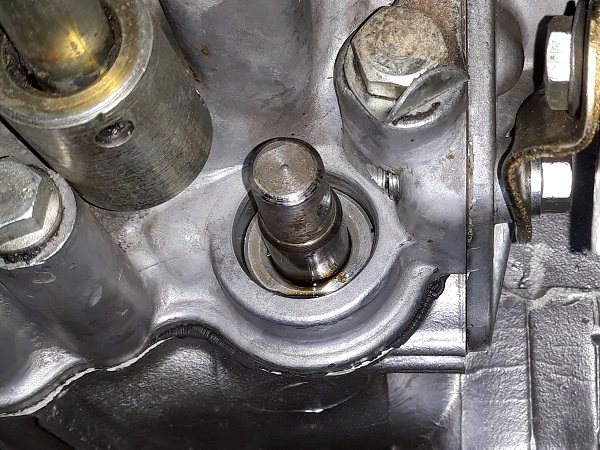
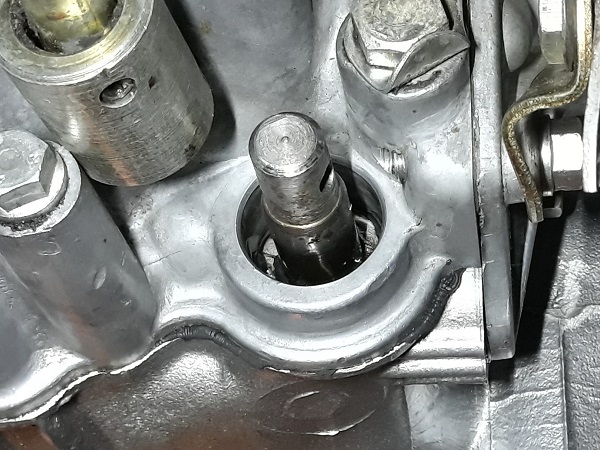
Op 10
Thoroughly clean the rod seal housing and the selector rod.
Op 11
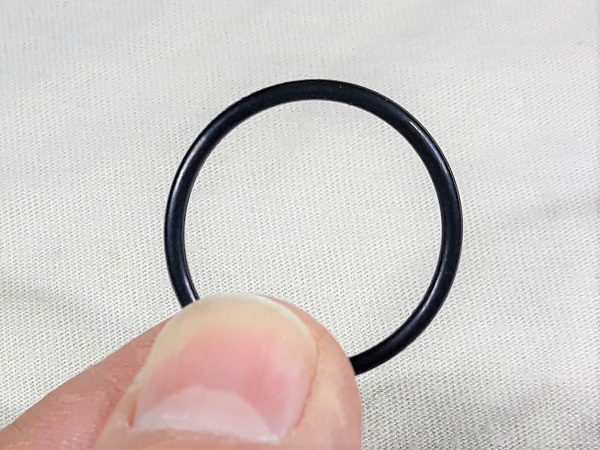
Lubricate the new O-ring (kit MSSK050) with engine oil.

Op 12
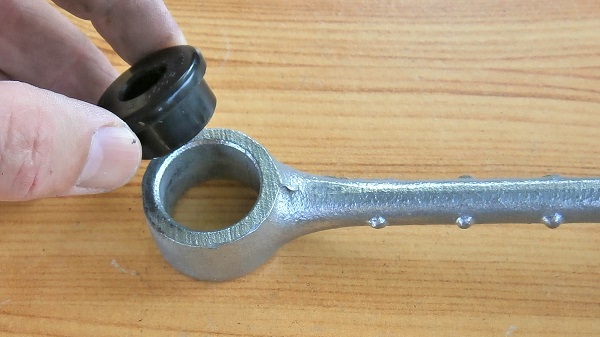
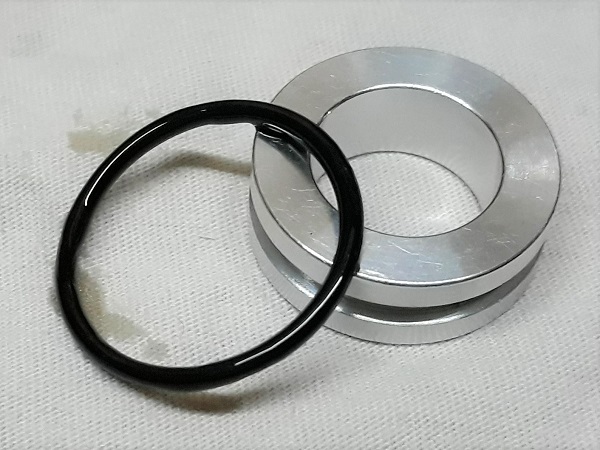
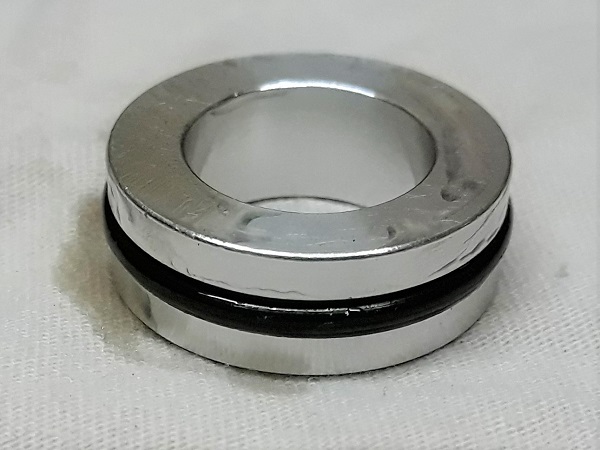
Fit the O-ring on the new alloy sleeve (kit MSSK050).
Op 13
Fit the alloy sleeve on the selector rod and begin to engage it in its housing.
Push by hand initially.
Op 14
Slide the sleeve to the bottom of its housing. Use the pin punch (Tool17) and the hammer.
Tap lightly on the entire periphery of the sleeve. It goes in very easily.
Make sure that the alloy sleeve is fully seated.
Op 15
Lubricate the new rod seal (kit MSSK050) with engine oil.
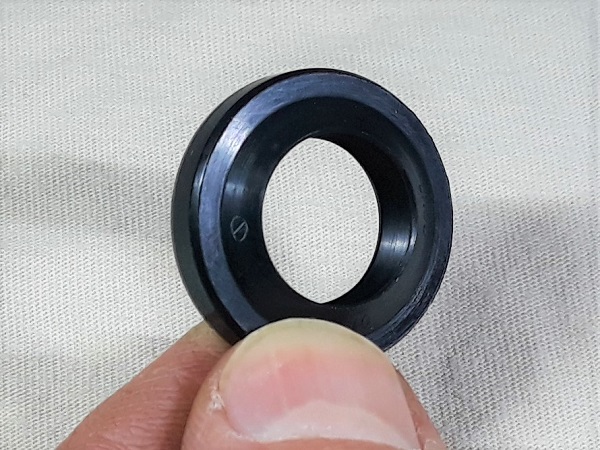
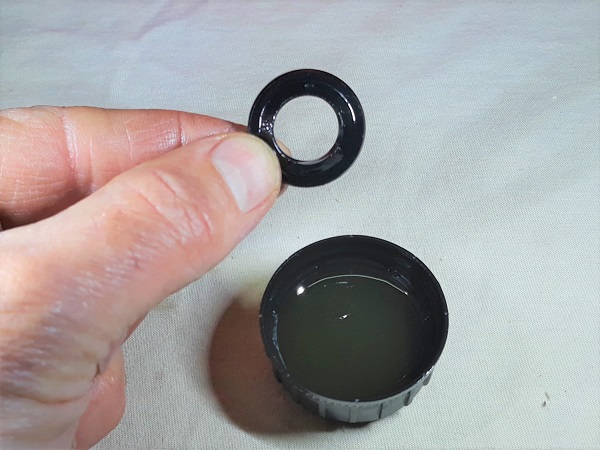
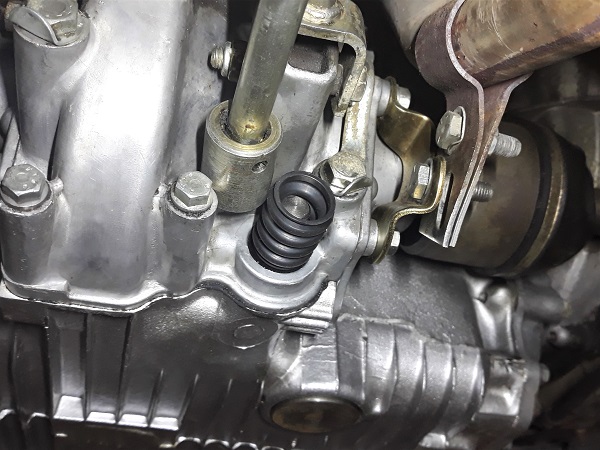
Op 16
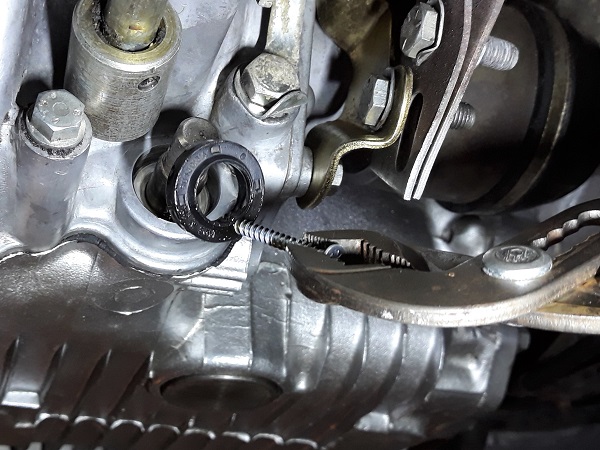
Engage the rod seal in its housing. Push by hand.
The inner lip of the rod seal (side where the spring is located) must be positioned towards the inside of the gearbox.
The rod seal must have been engaged on its entire periphery before the next operation.
Op 17
Drive in the rod seal. Use the Ø6 mm pin punch and the hammer.
Tap lightly on the entire periphery of the rod seal. It goes in very easily.
Be careful not to damage the rod seal.
The seal must be flush with the aluminum gearbox casing.
Advertisement
Fit the gearbox linkage
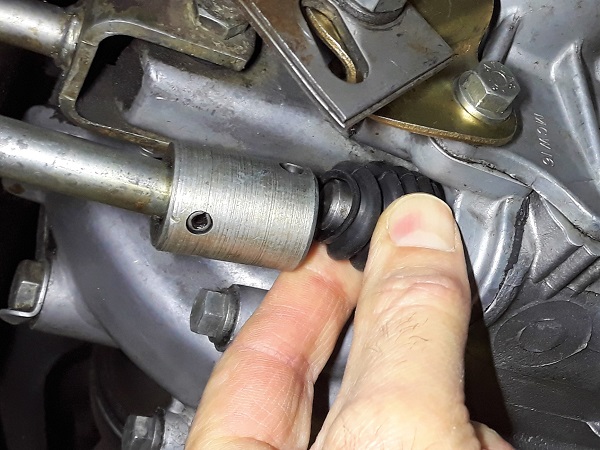
Op 18
Engage the gaiter on the selector rod. Fit it by hand.
The gaiter has no particular orientation.
Op 19
Remove the string and position the gearbox linkage on the selector rod.
Align the holes through which the roll pin will pass (linkage and selector rod).
If it has moved, position the gear lever back into reverse.

Op 20
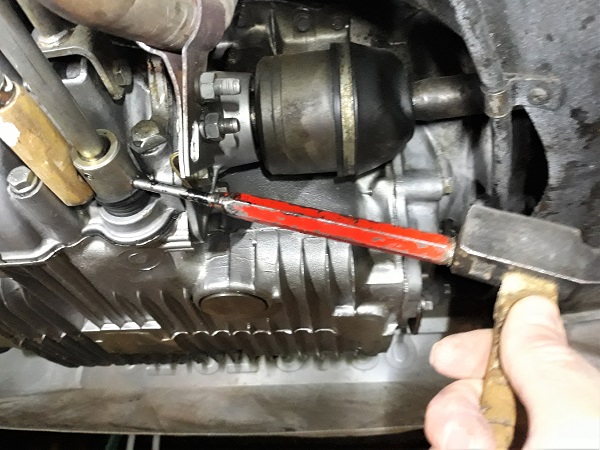
Engage the roll pin (RPS1416). Use a hammer.
Do not forget to position the wooden block between the gearbox linkage and the gearbox case (2nd photo).
Use the Ø6 mm pin punch to make the pin flush with the periphery of the linkage.
Op 21
Fit the gaiter correctly at the end of the linkage.
Op 22
Check the engine oil level and top up if necessary.
The End