This tutorial is also available in French
➔

Spark plugs change on Austin Mini
Vehicle ➔ Mini 1000 year 1988
Difficulty ➔ Easy

Time ➔ 20 minutes
Summary
Advertisement
Advertisement

Recommendations

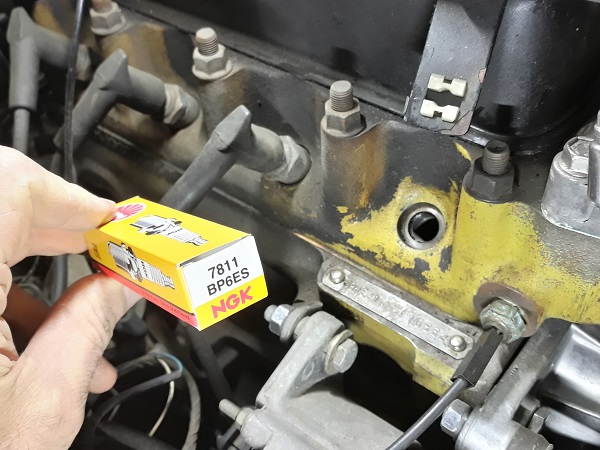
NGK BP6ES spark plug specifications :
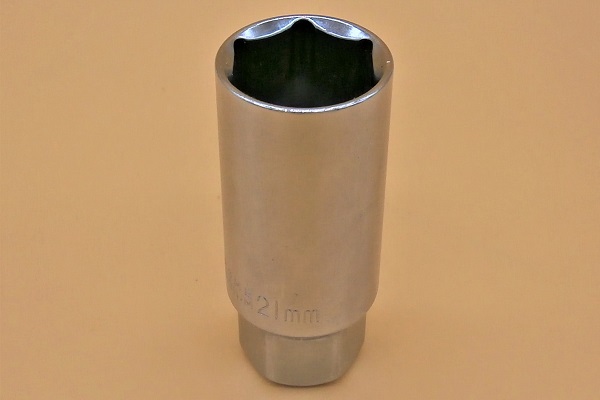
• Spark plug socket: 21 mm
• Thread diameter: 14 mm
• Thread length: 19 mm
• Electrode gap: 0.9 mm
• Spark plug socket: 21 mm
• Thread diameter: 14 mm
• Thread length: 19 mm
• Electrode gap: 0.9 mm
Any 21 mm spark plug wrench is sufficient to remove a Mini spark plug. However, a socket is preferable because it allows a torque wrench to be adapted to it and the spark plugs to be tightened to the recommended torque during reassembly.
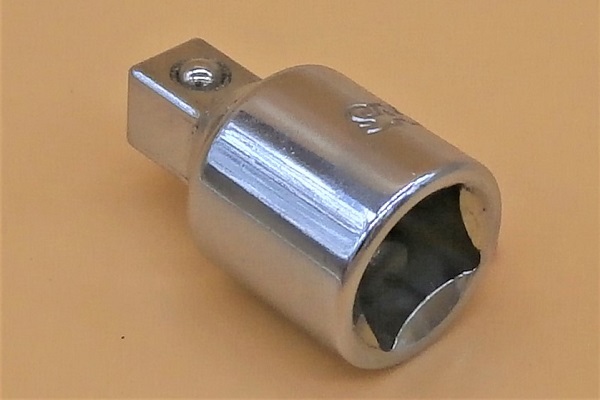
Required Tools
Sponsored links by


Spare Parts
Our Partners


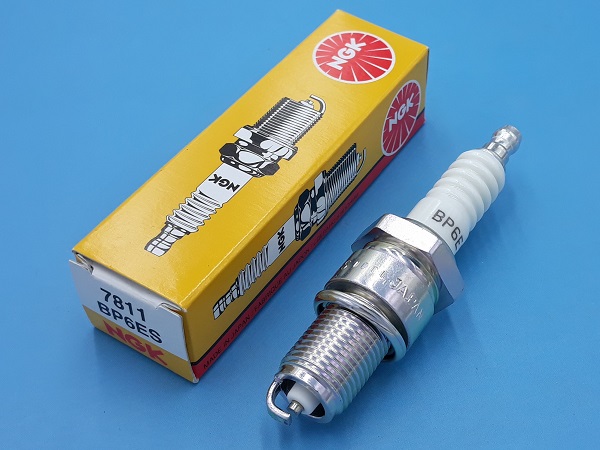
Packaging :
•
BP6ES : Spark plugs are sold individually. 4 are needed for a Mini engine.
Advertisement
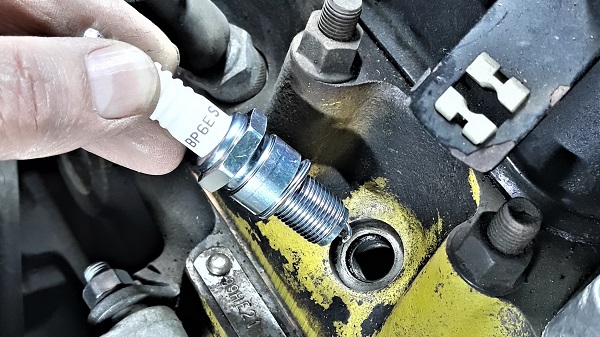
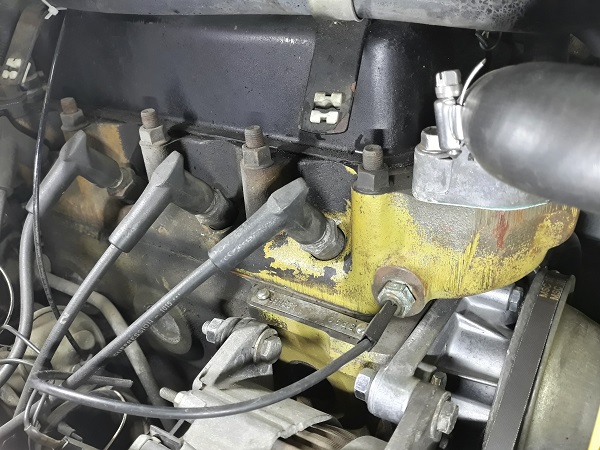
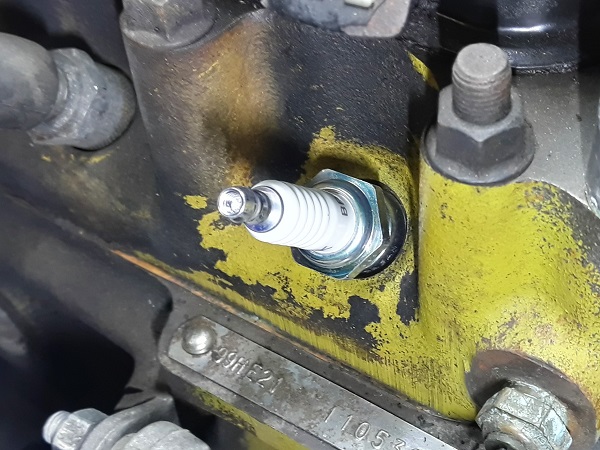
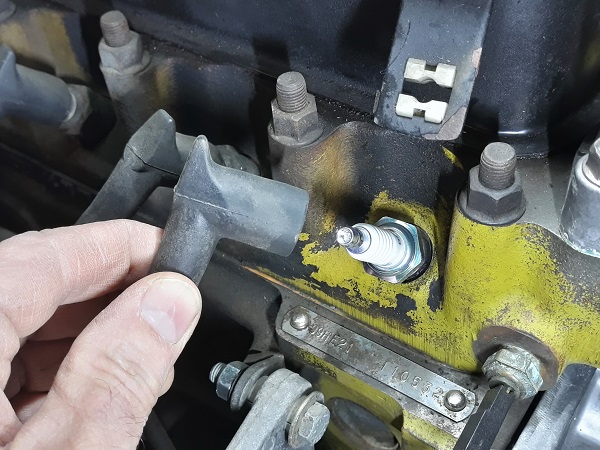
Remove the spark plugs
Op 01
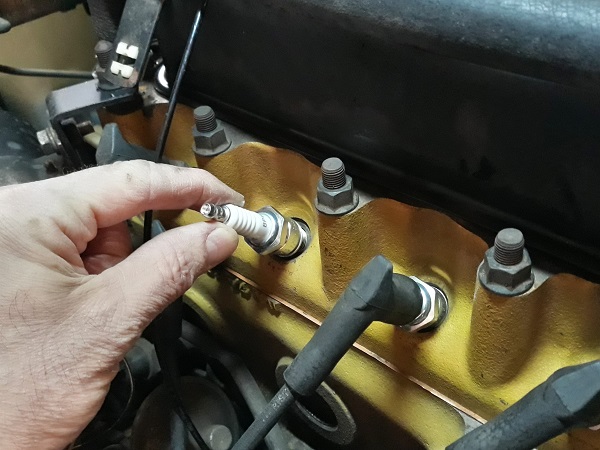
Disconnect the ignition wire from the first spark plug. Pull firmly by hand.
Do not disconnect all 4 ignition wires at the same time. Each of the caps goes on a specific spark plug. Do not swap them.
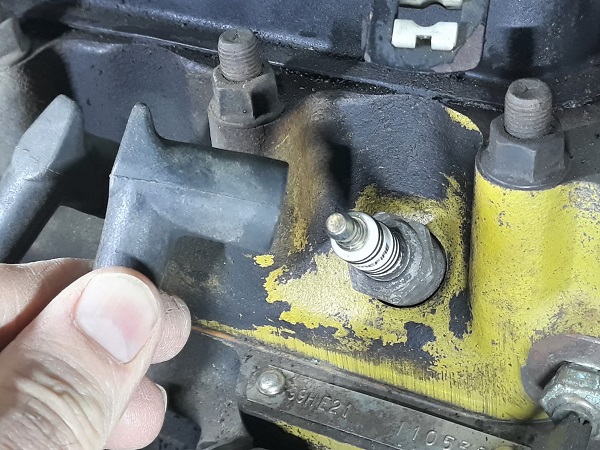
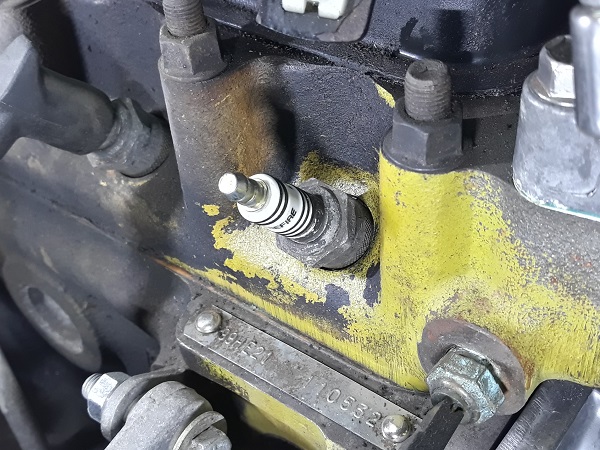
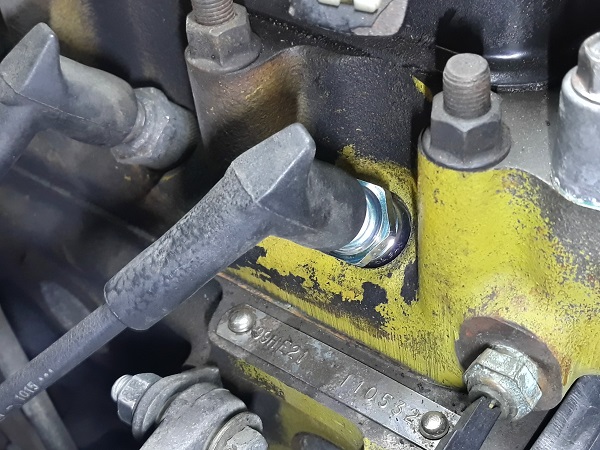
Op 02
Unscrew the spark plug. Use the spark plug socket and the ratchet.

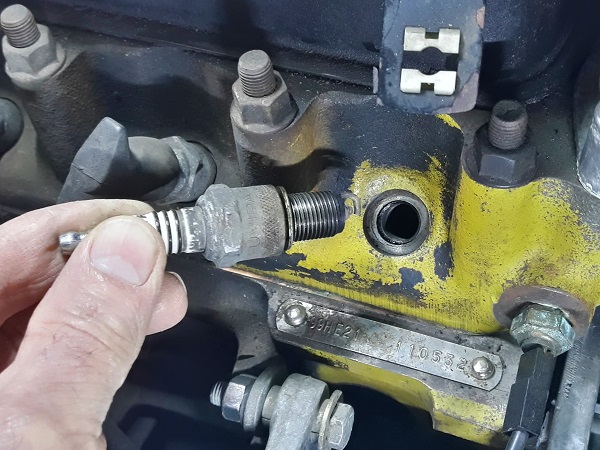
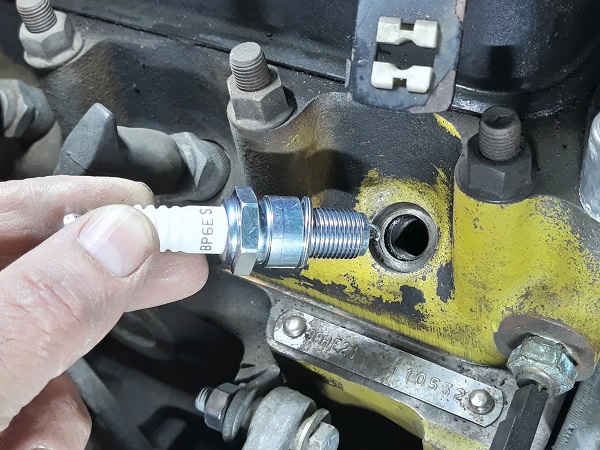
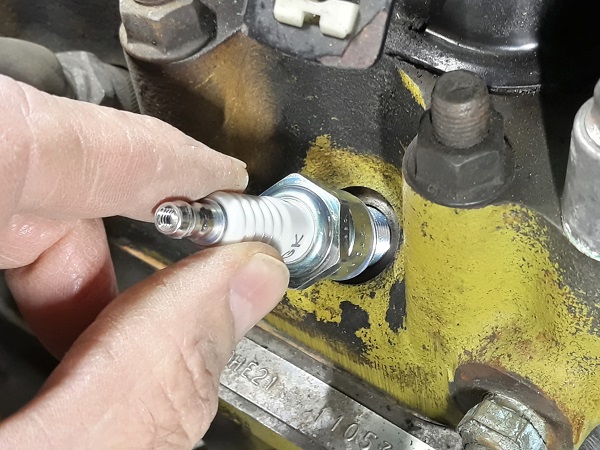
Fit the spark plugs
Op 03
Screw in the new spark plug (BP6ES). Start by hand.

Always start by screwing in the first threads of the spark plug by hand. Only use the spark plug socket for final tightening. This precaution allows the spark plug to engage perfectly and avoids damaging the cylinder head threads.
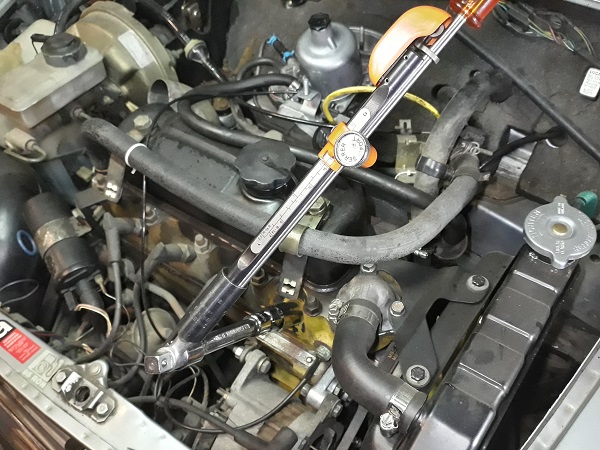
Op 04
Tighten the spark plug to a torque of 25 mN. Use the spark plug socket and the torque wrench.
Op 05
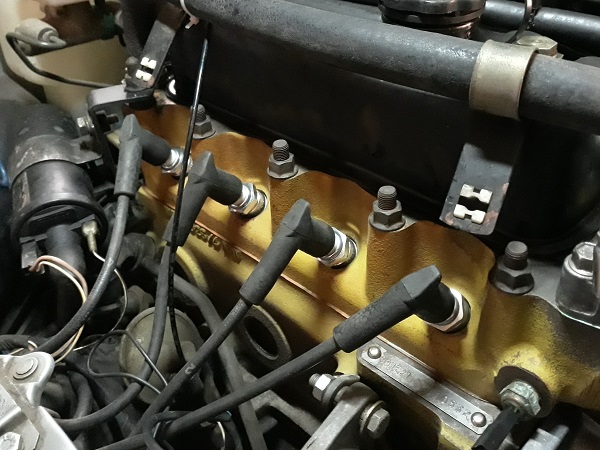
Connect the ignition wire on the spark plug. Press by hand.
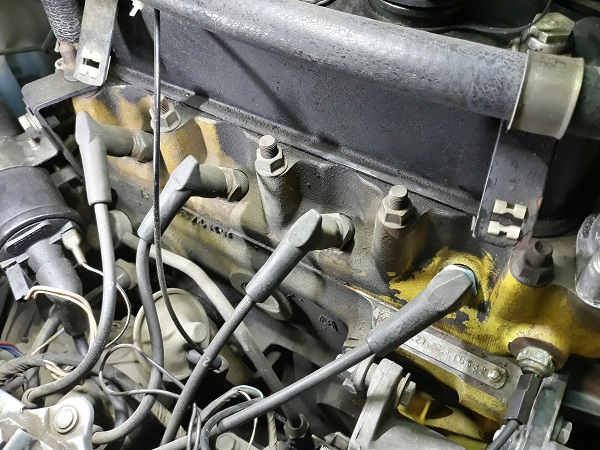
Op 06
The first spark plug is in place. All you have to do is proceed in the same way with the other 3 spark plugs.
Op 07
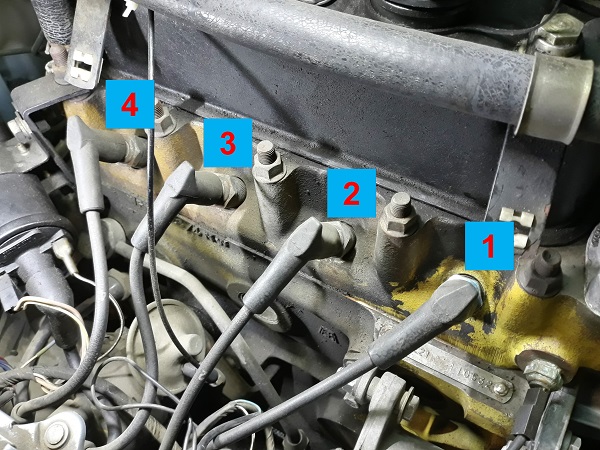
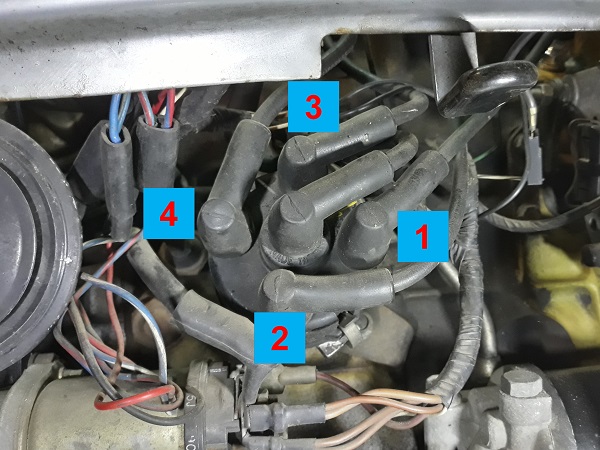
In the event that all 4 ignition wires had to be disconnected simultaneously, here is the order in which to connect them. We will number the spark plugs from 1 to 4, starting with the spark plug closest to the radiator. The connection order of the spark plug wires on the distributor head must be 1 - 3 - 4 - 2
The End