This tutorial is also available in French
➔

Lower engine steady rod bushes change on Austin Mini
Vehicle ➔ Mini 1000 year 1988
Difficulty ➔ Easy

Time ➔ 1 hour
Summary
Advertisement
Advertisement

Recommendations

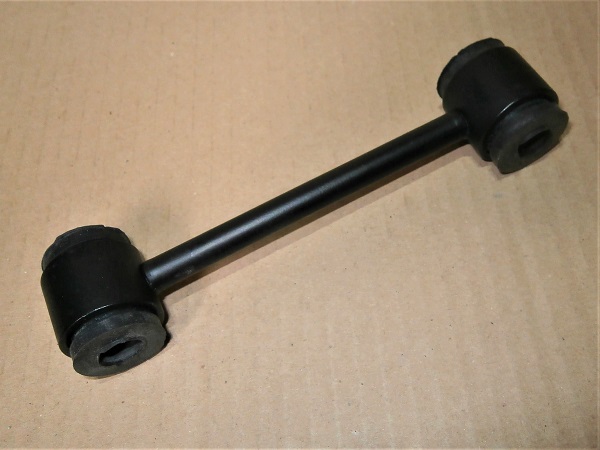
If your Mini makes a clunking noise when you accelerate or decelerate, it is time to change the engine steady rods bushes.

The Mini is equipped with 2 engine steady rod :
• The upper steady rod located between the cylinder head and the bulkhead.
• The lower steady rod located between the gearbox case and the front panel.
• The upper steady rod located between the cylinder head and the bulkhead.
• The lower steady rod located between the gearbox case and the front panel.
This tutorial concerns the lower engine steady rod. There is another tutorial that deals with the upper engine steady rod
(➔ see the tutorial).
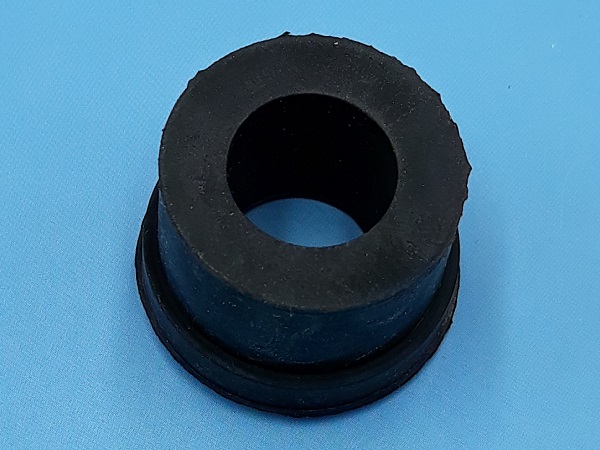
The bushes used in this tutorial are made of rubber. They are identical to the original bushes. There are also polyurethane bushes (CRC5329POLY) which are firmer.
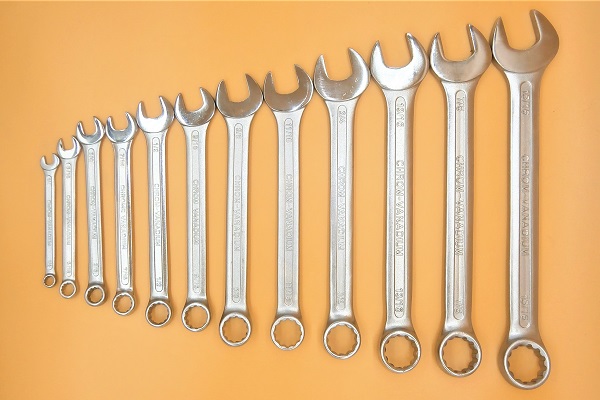
Required Tools
Sponsored links by


Spare Parts
Our Partners


Packaging :
•
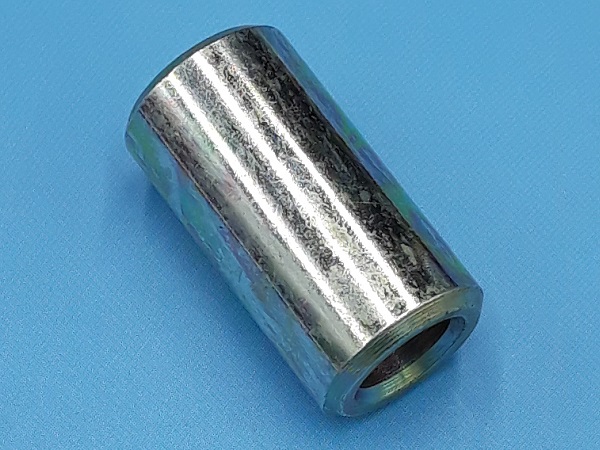
21A1108 : Engine steady rod metal sleeve. There are 2 sleeves on 1 steady rod.
• CRC5329 : Engine steady rod bush. There are 4 bushes on 1 steady rod.
• All the above parts are sold individually.
• CRC5329 : Engine steady rod bush. There are 4 bushes on 1 steady rod.
• All the above parts are sold individually.
Advertisement
Remove the lower engine steady rod
Op 01
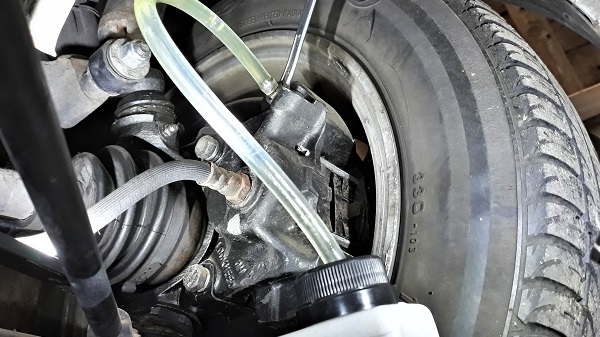
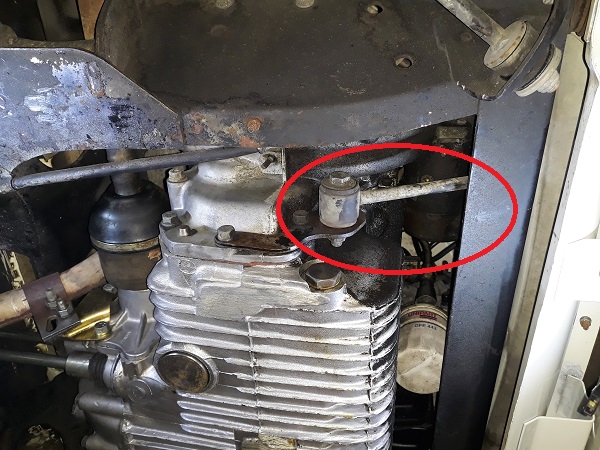
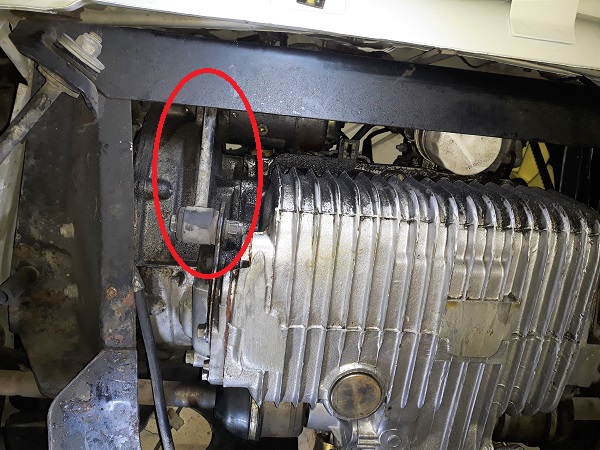
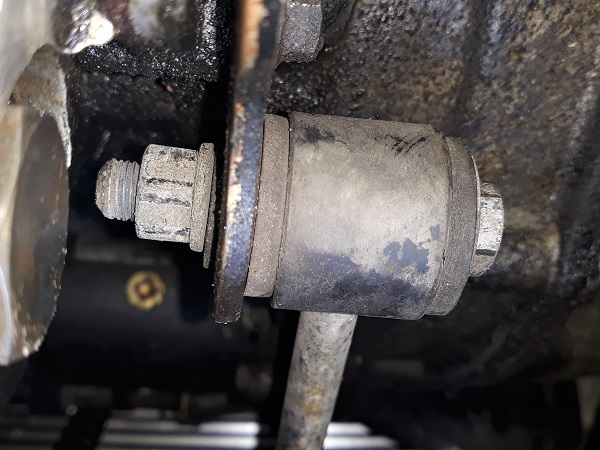
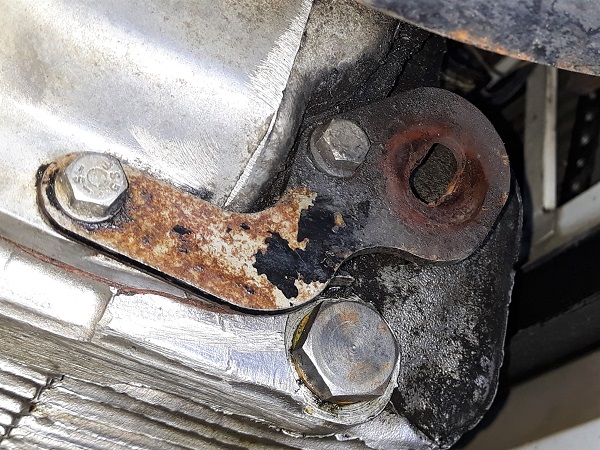
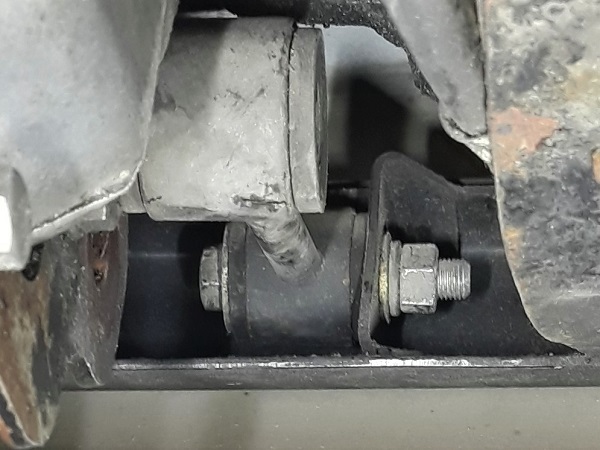
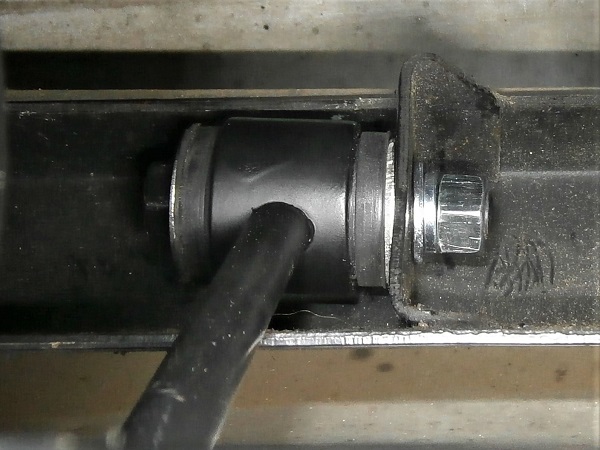
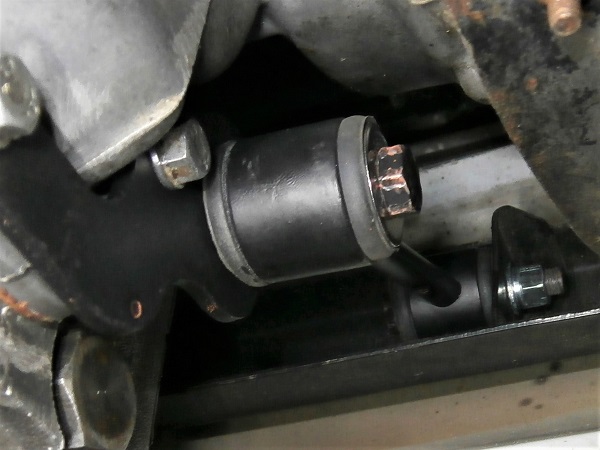
Locate where the front right lower engine steady rod is.
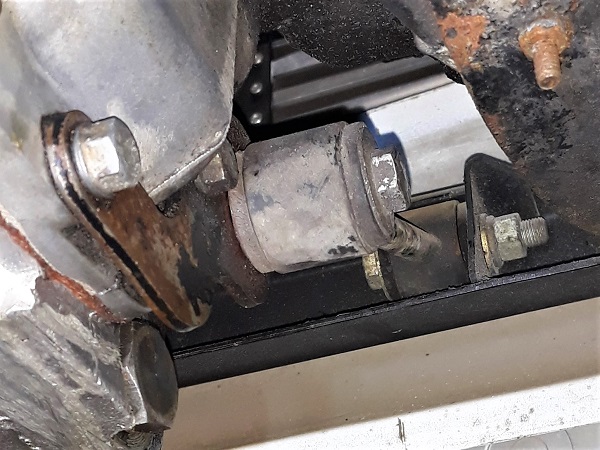
Op 02
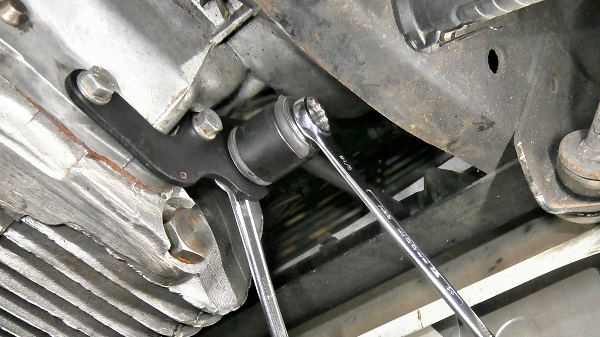
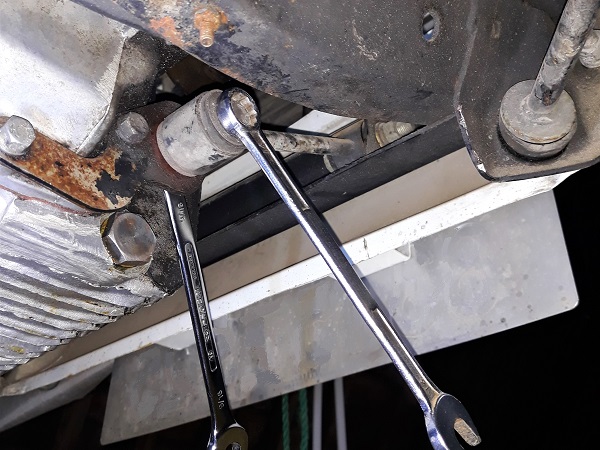
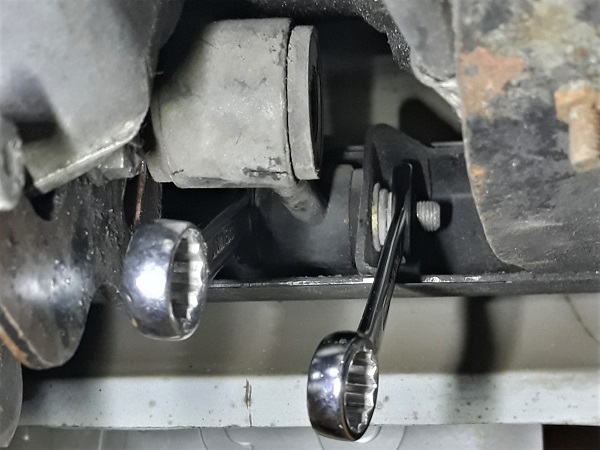
Remove the nut and bolt, securing the steady rod to a bracket on gearbox side. Use the 14 mm spanner and the 9/16'' spanner.
Recover the 3 flat washers and the spring washer.
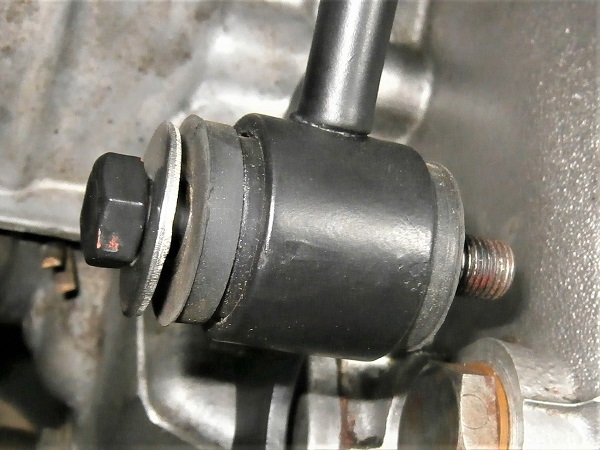
Op 03
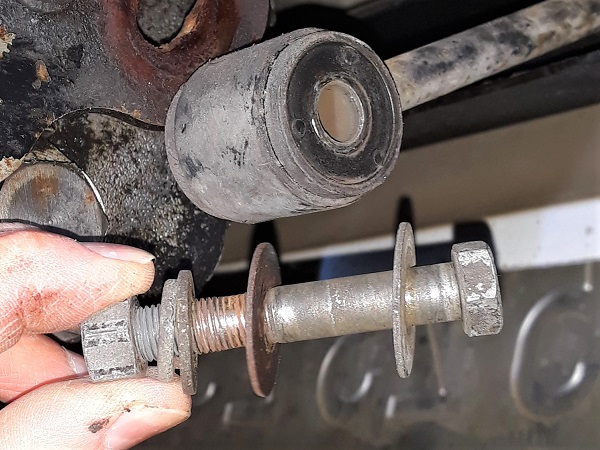
Remove the nut and bolt securing the steady rod to the subframe. Use the 14 mm spanner and the 9/16'' spanner.
Recover the 3 flat washers and the spring washer.
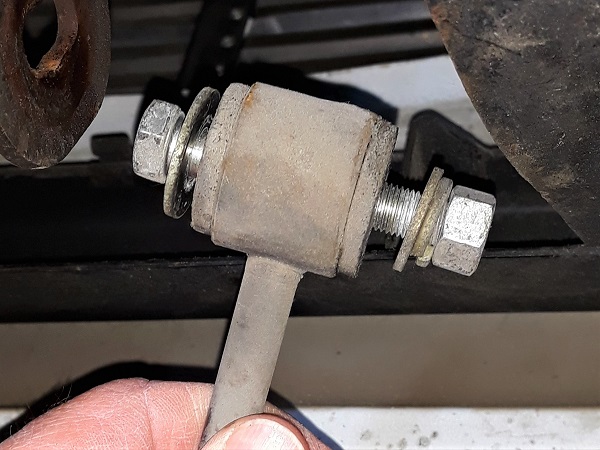
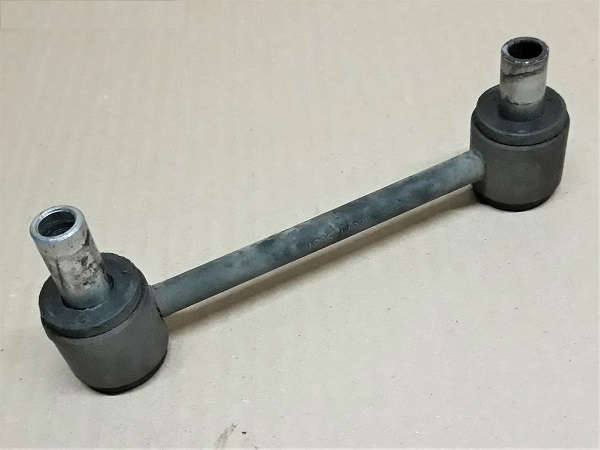
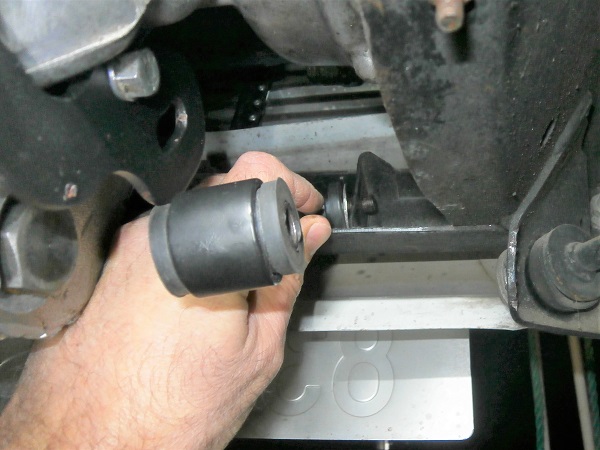
Op 04
Remove the lower engine steady rod.

Change the bushes
Op 05
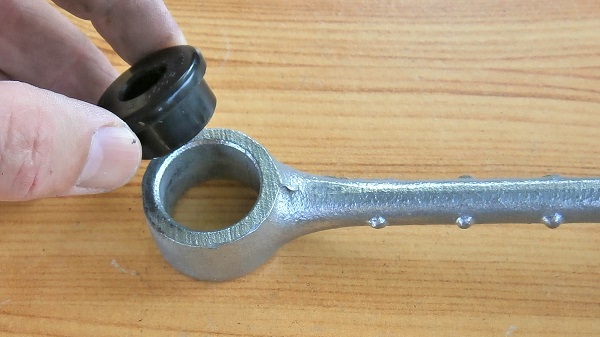
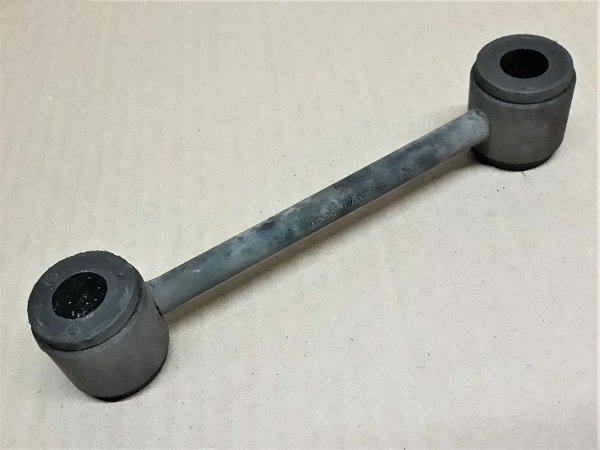
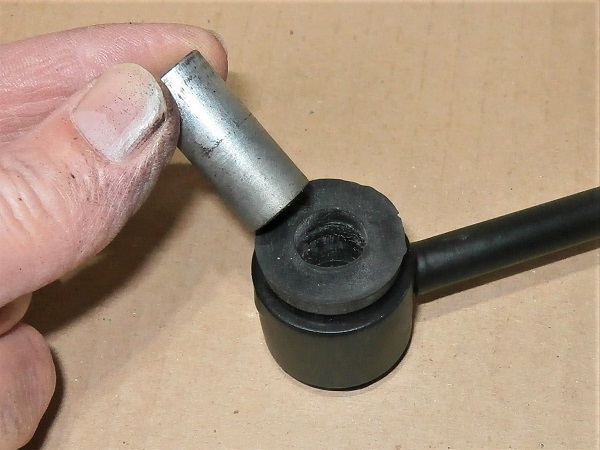
Remove the 2 rod metal sleeves from the engine steady rod. Push by hand or use a large flathead screwdriver.
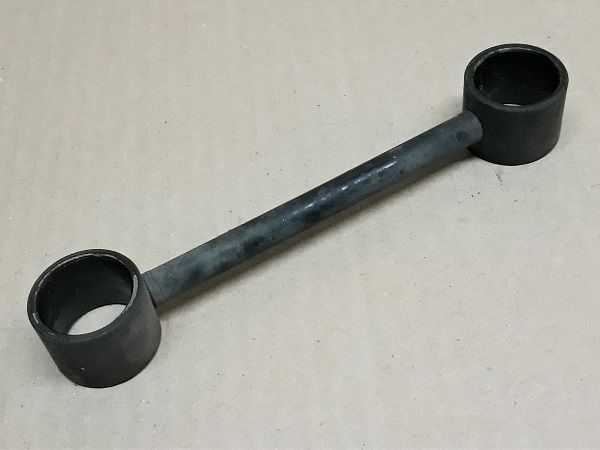
Op 06
Remove the 4 bushes from the engine steady rod. Pull by hand.

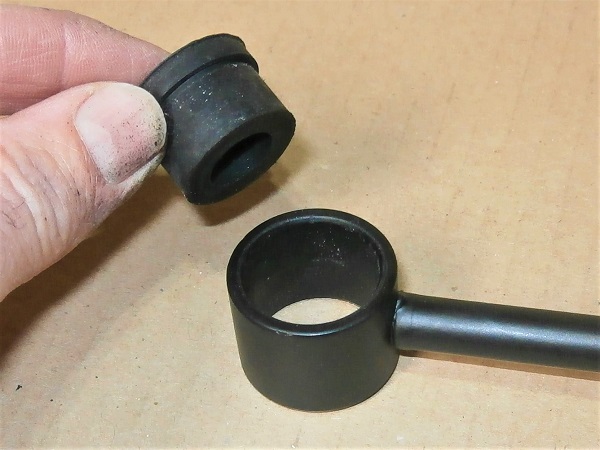
Op 07
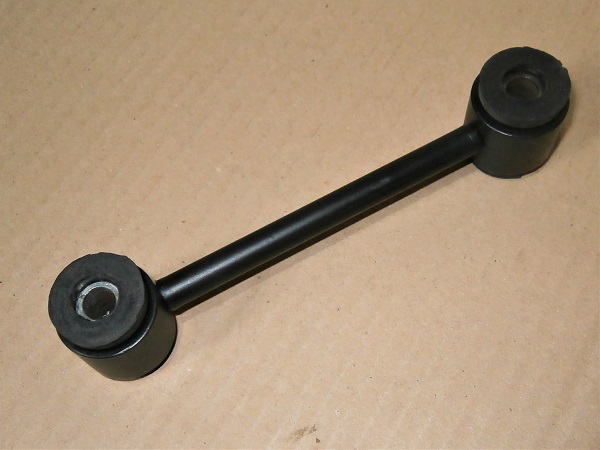
Fit the 4 new bushes (CRC5329) on the steady rod. Push by hand.
Op 08
Fit the 2 new rod metal sleeves (21A1108). Push by hand.
If necessary, use a vice to insert the sleeves into the bushes.
Advertisement
Fit the lower engine steady rod
Op 09
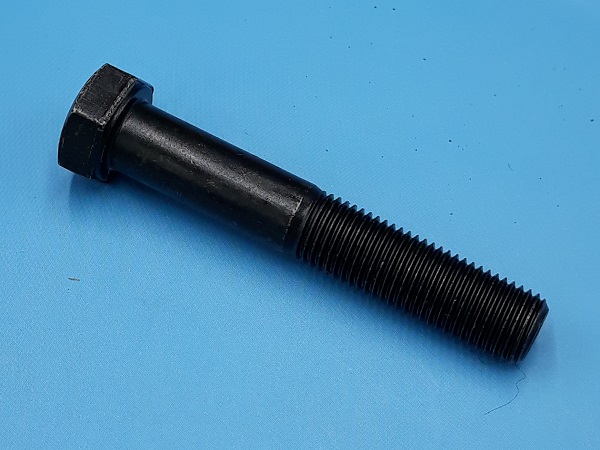
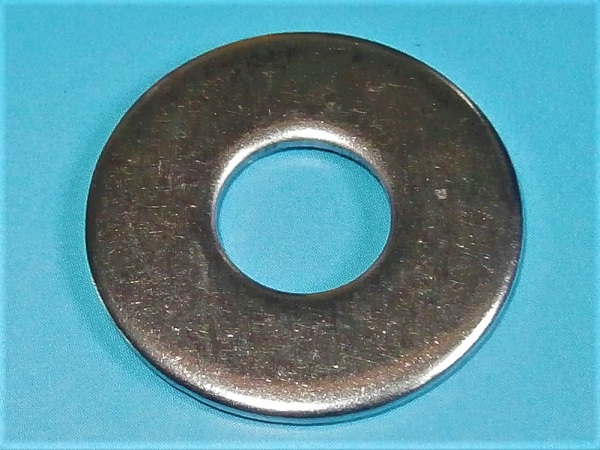
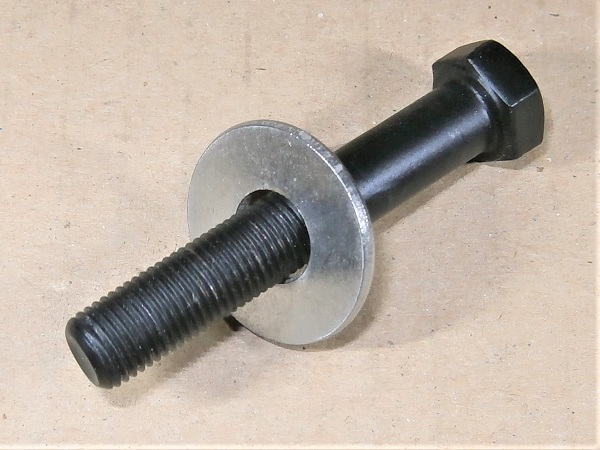
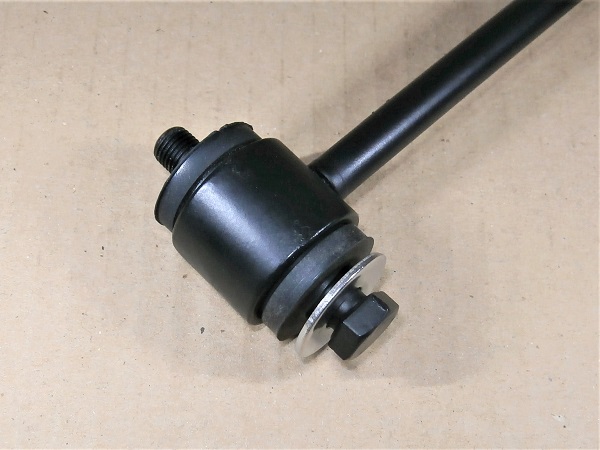
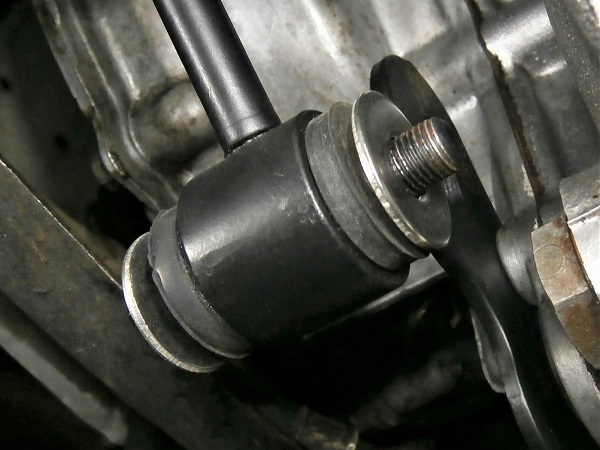
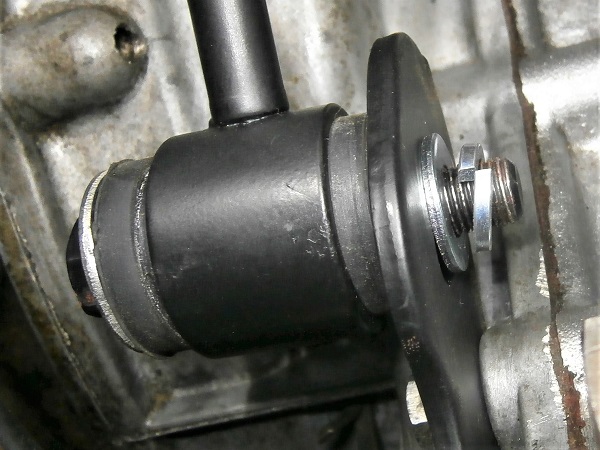
Fit a bolt (BT606171) with a wide Ø10 mm washer on the engine steady rod.
Add a 2nd wide Ø10 mm washer.
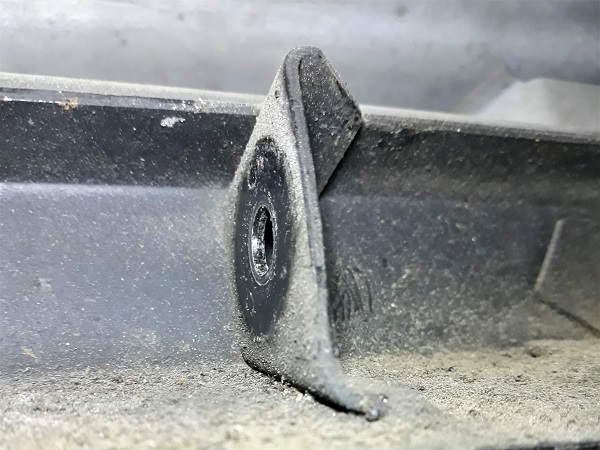
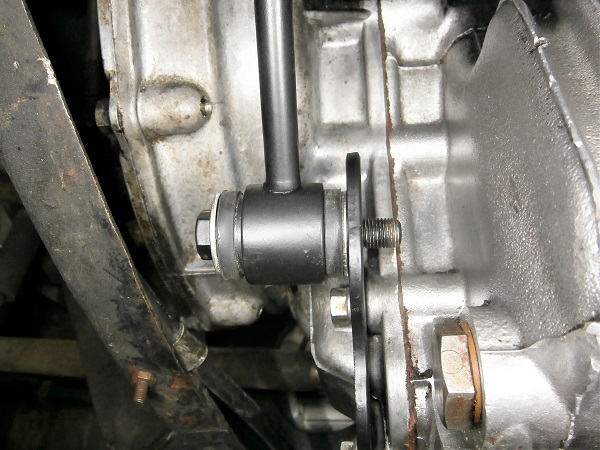
Op 10
Fit the steady rod on the front panel and engage the bolt.
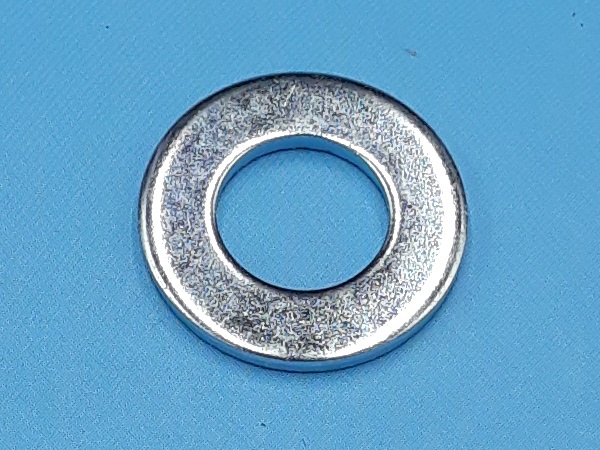
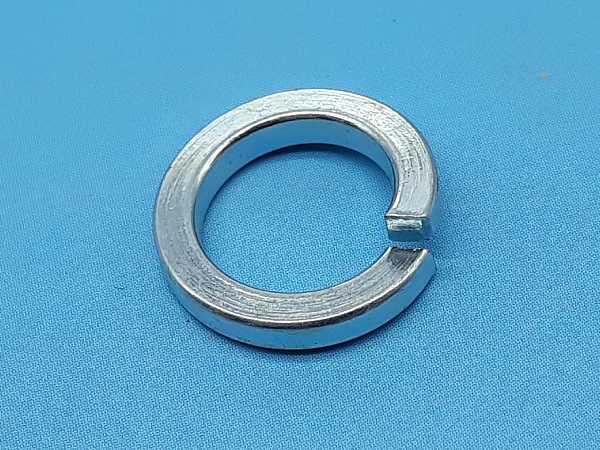
Add a flat washer (GFK1115) and a spring washer (GFK1126).
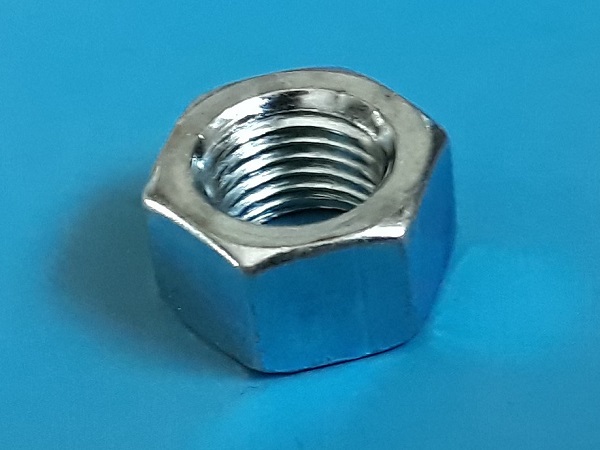
Screw the nut (GFK3213) by hand for now.
Op 11
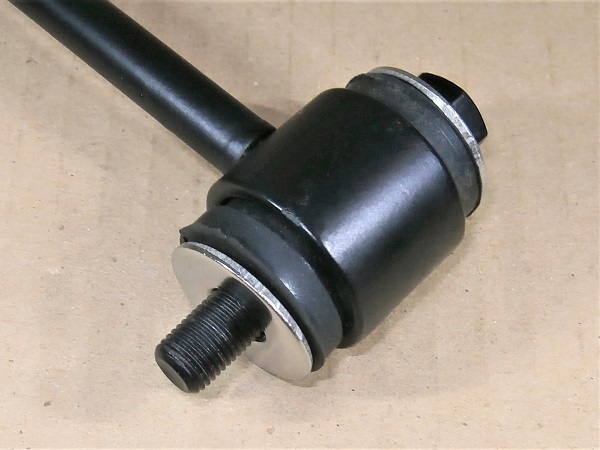
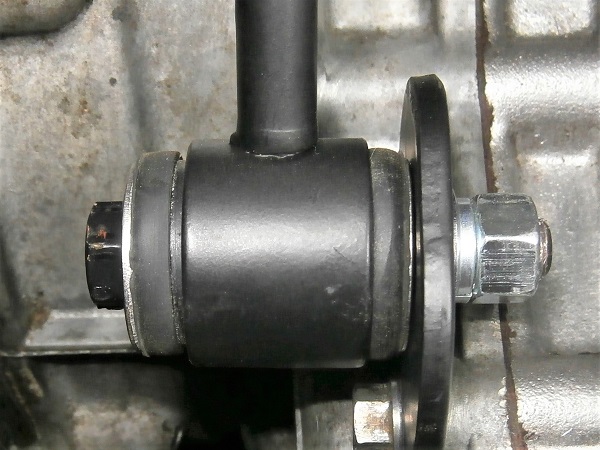
Fit a bolt (BT606171) with a wide Ø10 mm washer at the other end of the engine steady rod.
Add a 2nd wide Ø10 mm washer.
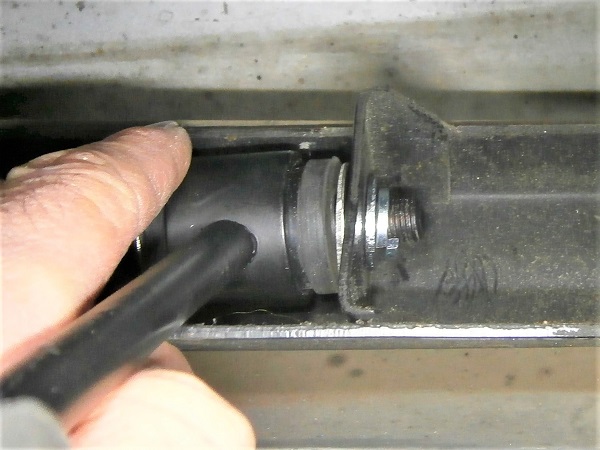
Op 12
Fit the steady rod on the gearbox bracket and engage the bolt.
Add a flat washer (GFK1115) and a spring washer (GFK1126).
Screw the nut (GFK3213).
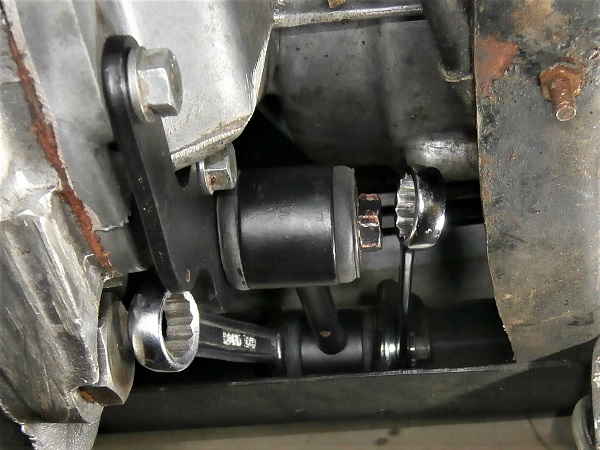
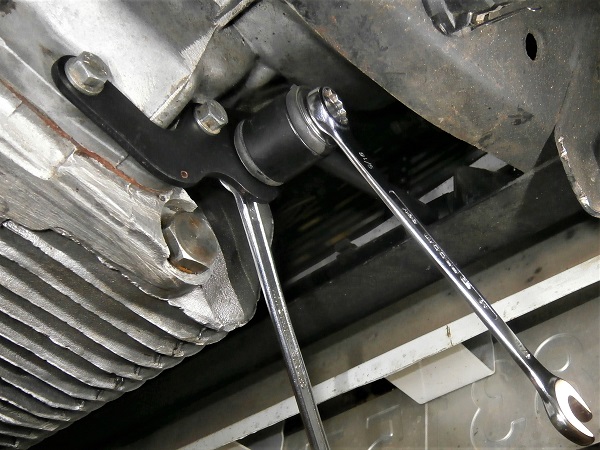
Op 13
Tighten the 2 steady rod fixing nuts. Use the 14 mm spanner and the 9/16'' spanner.
The 2 nuts must be tightened to 23 mN. Unfortunately, since the space around the steady rod is very small, it is impossible to position a torque wrench. So just tighten it firmly.
The End