This tutorial is also available in French
➔

Bulkhead soundproofing removal on Austin Mini
Vehicle ➔ Mini 1000 year 1991 automatic gearbox
Difficulty ➔ Easy

Time ➔ 1 hour
Summary
Advertisement
Advertisement

Recommendations

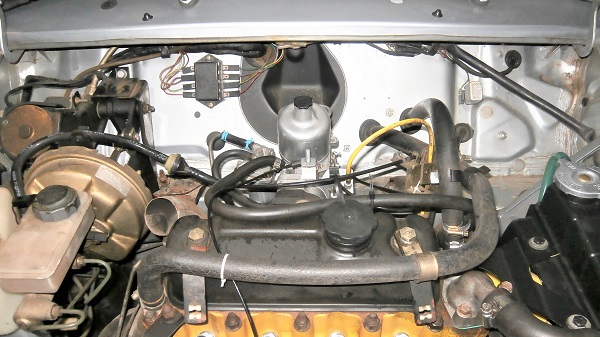
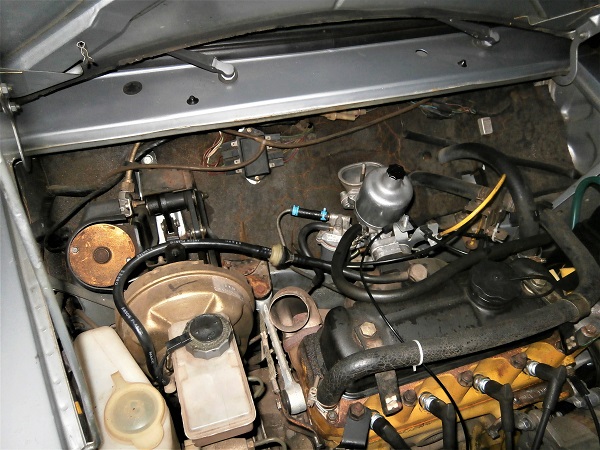
The bulkhead soundproofing is the foam located in the engine compartment at the rear of the carburetor.
This soundproofing has the major disadvantage of retaining moisture and causing oxidation of the bulkhead. In addition, over the years, it has become seriously ugly and is starting to crumble. We have therefore decided to remove it permanently.
Removing the soundproofing also allows you to see much better and be much more comfortable to work on the wiring harness and heating hoses later.

Opinions are divided regarding the removal of the bulkhead soundproofing. Some Mini enthusiasts believe that the increase in noise in the passenger compartment is too great. To each their own priorities.
Required Tools
Sponsored links by


Advertisement
Remove the bulkhead soundproofing
Op 01
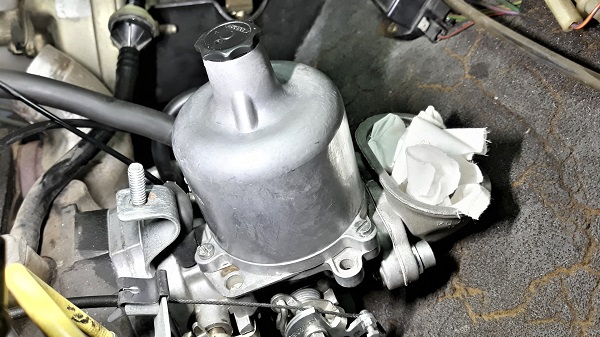
Remove the air filter box (➔ see the tutorial ''HS4 air filter change'' Op 01 to 02).
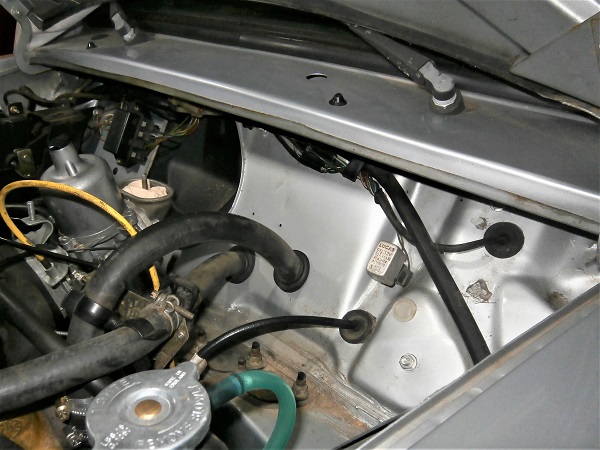
Op 02
Have a look at the bulkhead soundproofing. It's old, dirty, ugly, and crumbling. Come on ! Let's clear it !
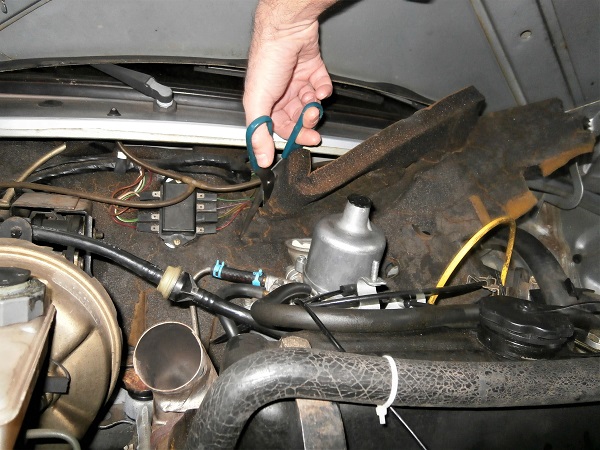
Op 03
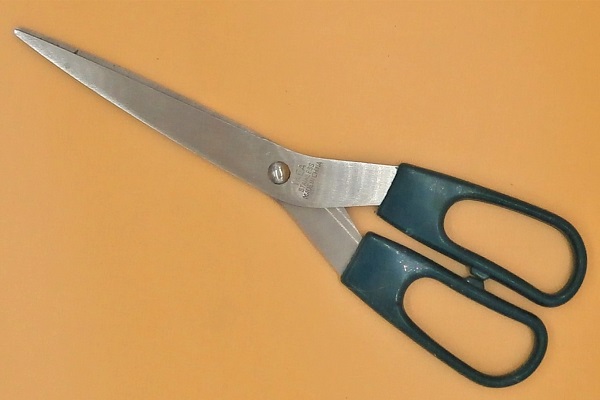
Remove the LH part of the soundproofing. Use scissors.
When cutting the soundproofing with scissors, be careful not to cut the electrical wires hidden underneath.


Op 04
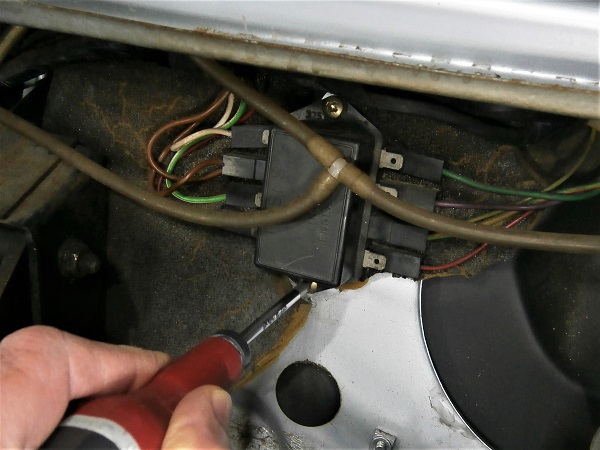
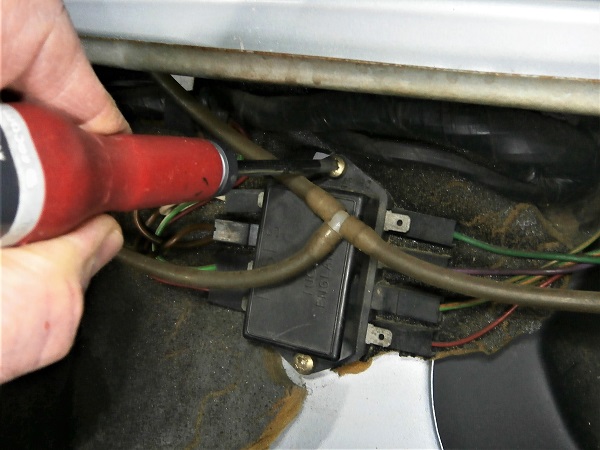
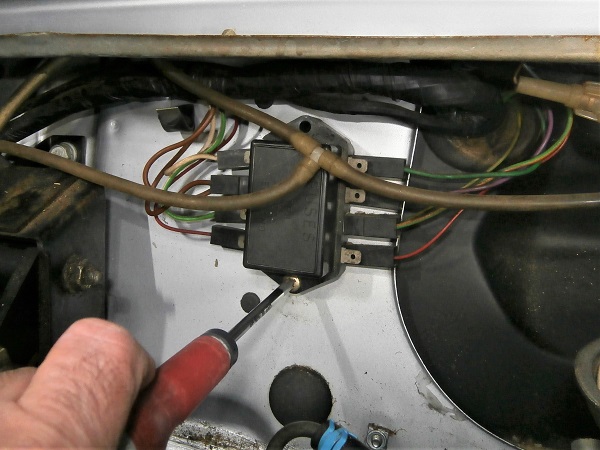
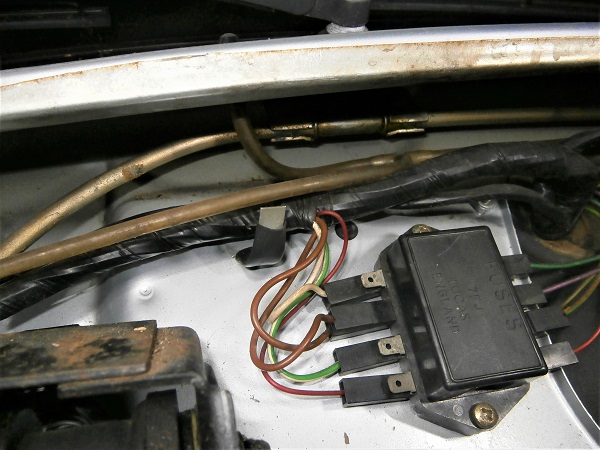
Remove the 2 fixing screws of the fuse box. Use the Phillips screwdriver.
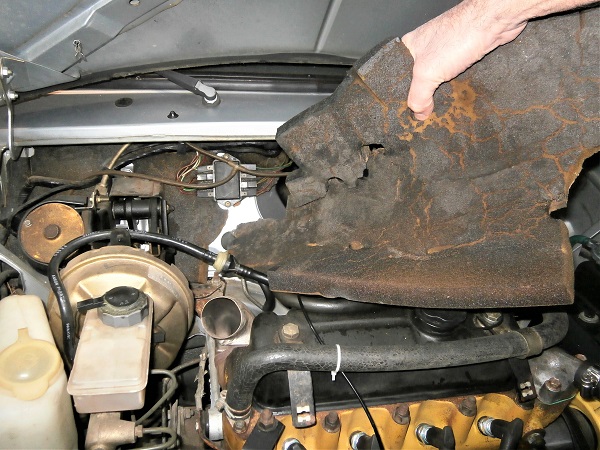
Op 05
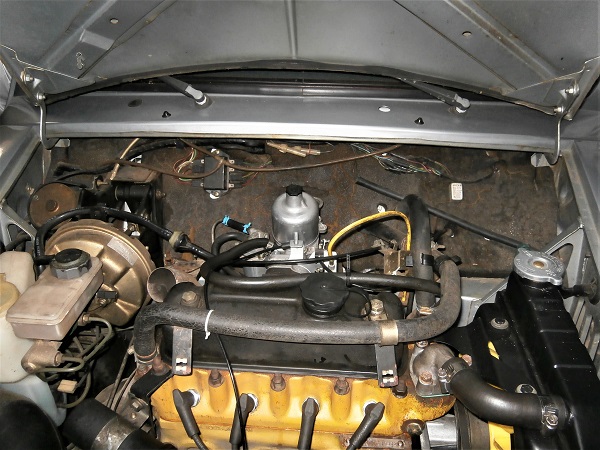
Finish removing the soundproofing.


Op 06
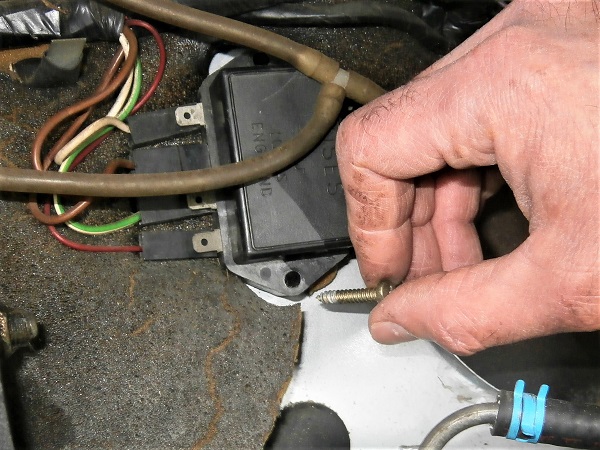
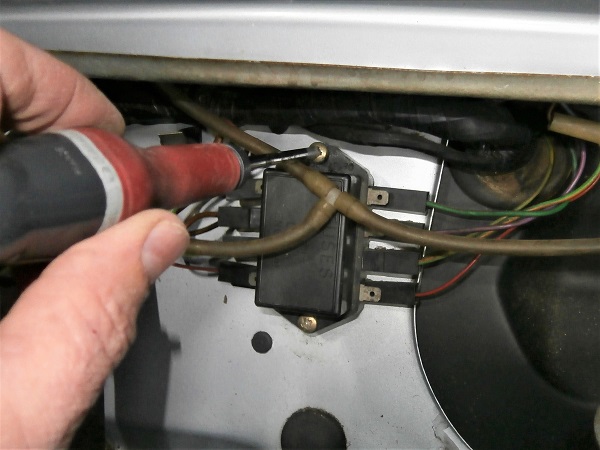
Fit the 2 fixing screws of the fuse box. Use the Phillips screwdriver.
Check that no electrical connector has been disconnected.
Advertisement
Secure the wiring harness
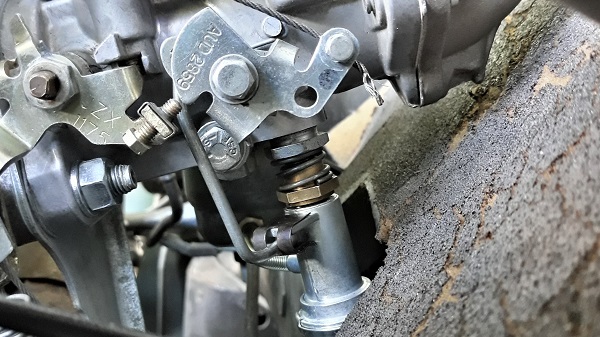
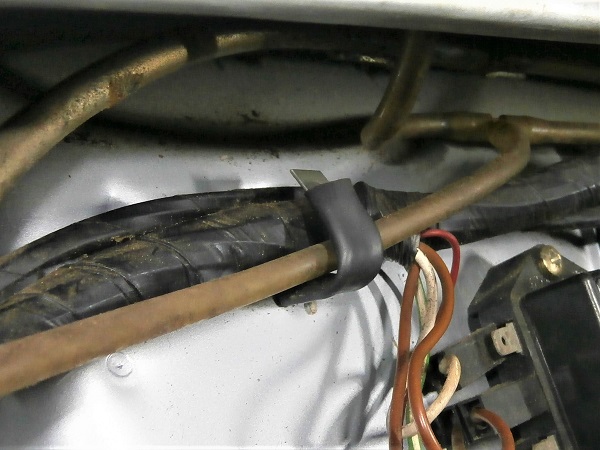
Op 07
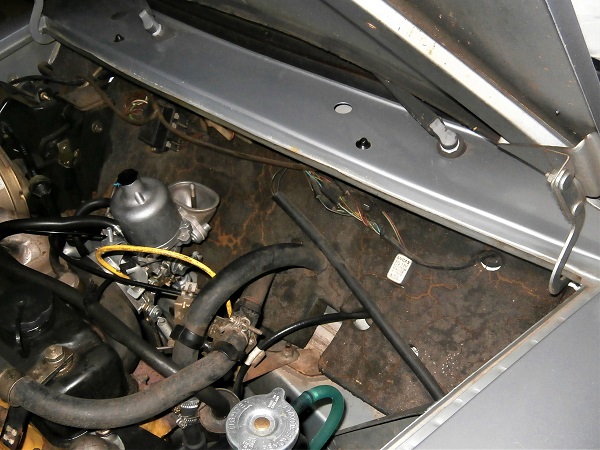
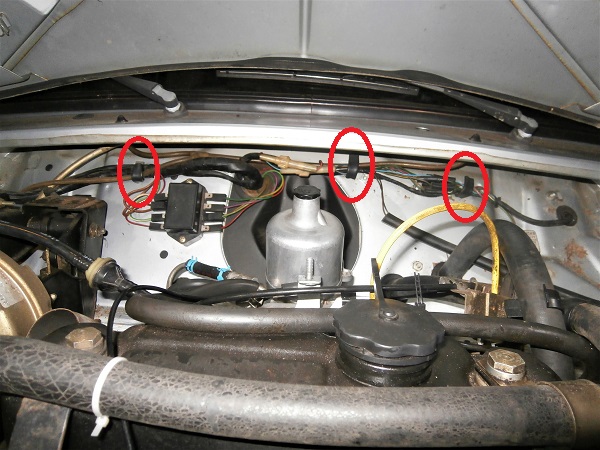
Slightly bend the 3 support tabs to hold the wiring harness in position. Bend the tabs by hand.
Check that the tabs are well protected by plastic sheathing. This will prevent damage to the electrical cables.
Do not compress the harness. It must be held but not blocked.

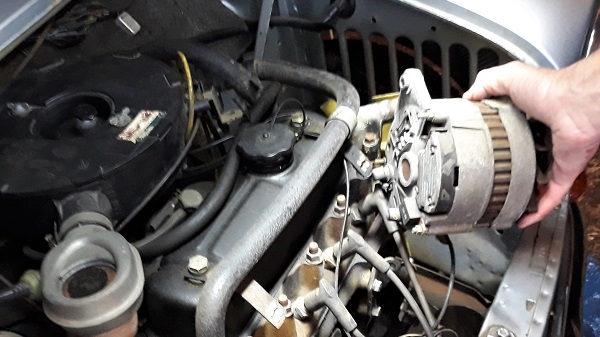
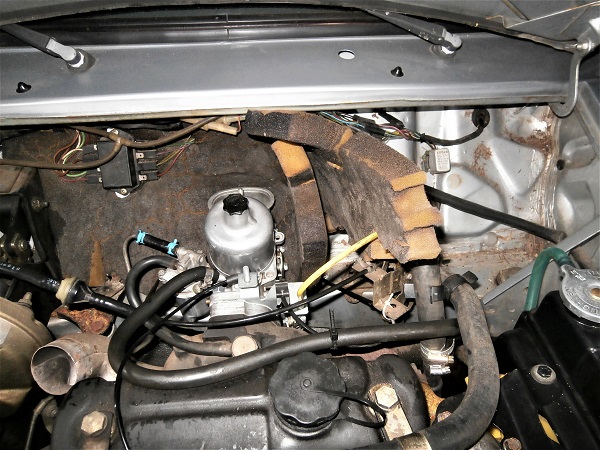
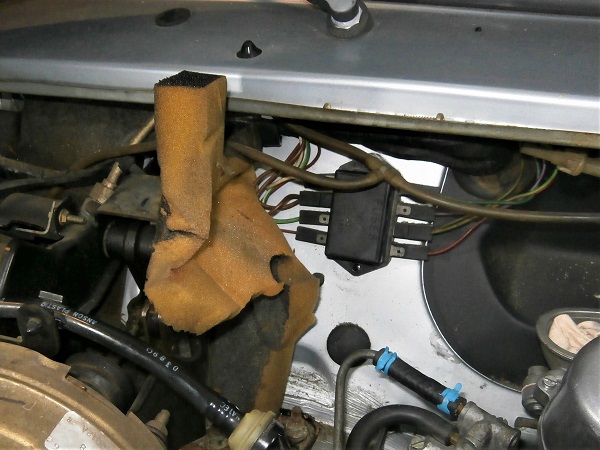
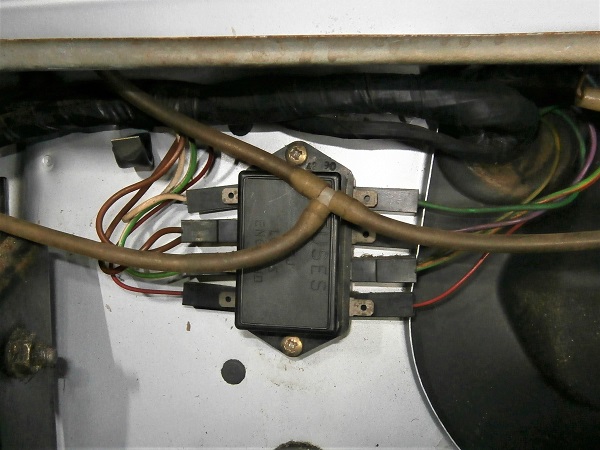
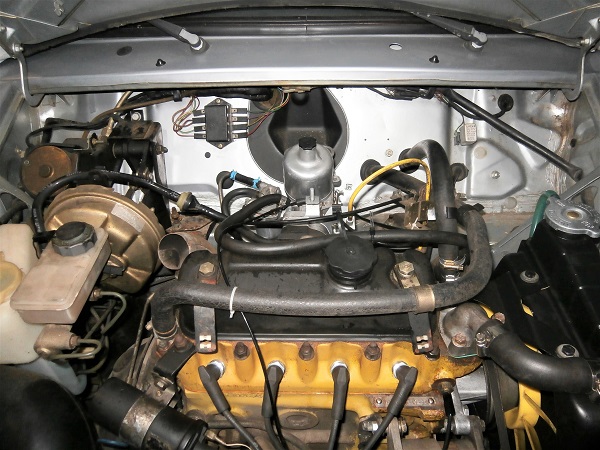
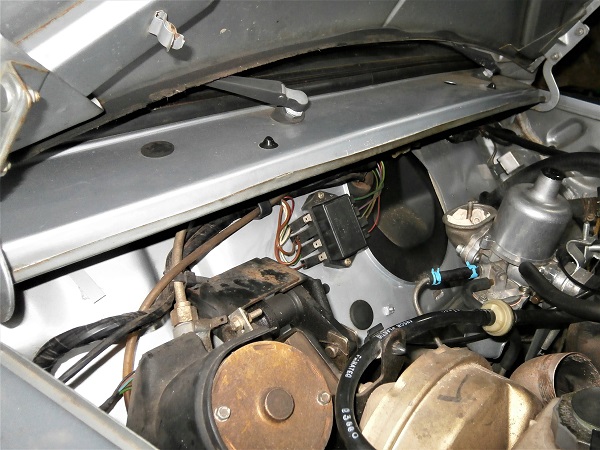
Op 08
Let's take a short break to admire this magnificent bulkhead. We can see more clearly and it will be much more practical to access the wiring harness.
Op 09
Fit the air filter box (➔ see the tutorial ''HS4 air filter change'' Op 10 to 13).
The End