This tutorial is also available in French
➔

Accelerator cable change on Austin Mini
Vehicle ➔ Mini 1000 year 1991 automatic gearbox
Difficulty ➔ Easy

Time ➔ 2 hours
Summary
Advertisement
Advertisement

Recommendations

Make sure to grease the accelerator cable well before sliding it into its housing. An ungreased cable will be difficult to slide and the accelerator pedal will not be smooth.

There are also accelerator cables with nylon-lined housings (C-AHT85). This nylon lining reduces the friction of the cable on its housing and it is no longer necessary to grease the cable.
Required Tools
Sponsored links by


Spare Parts
Our Partners


Packaging :
•
All the above parts are sold individually.
Advertisement
Remove the accelerator cable
Op 01
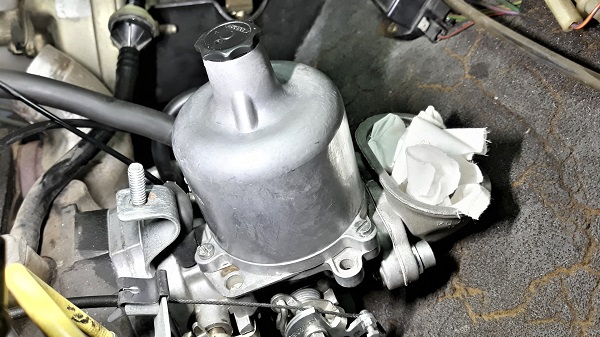
Remove the air filter box (➔ see the tutorial ''HS4 air filter change'' Op 01 to 02).
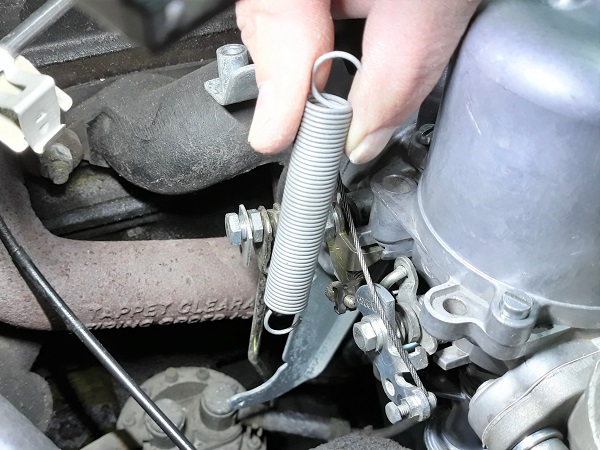
Op 02
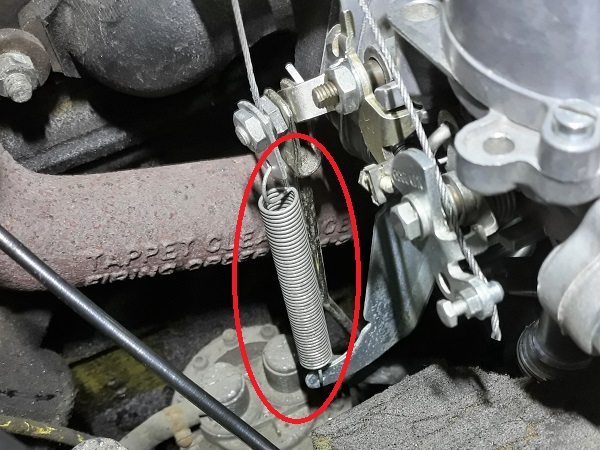
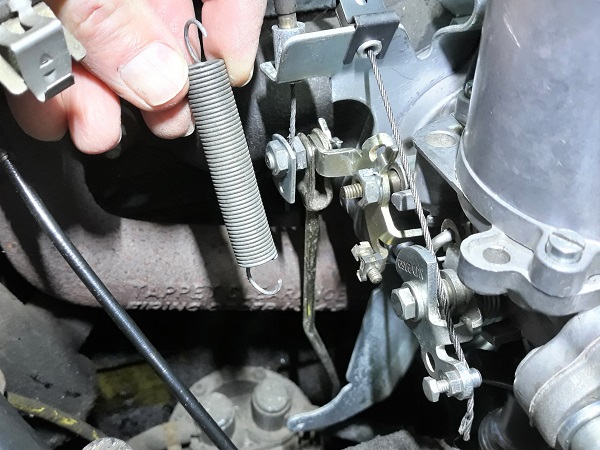
Remove the accelerator return spring.
Op 03
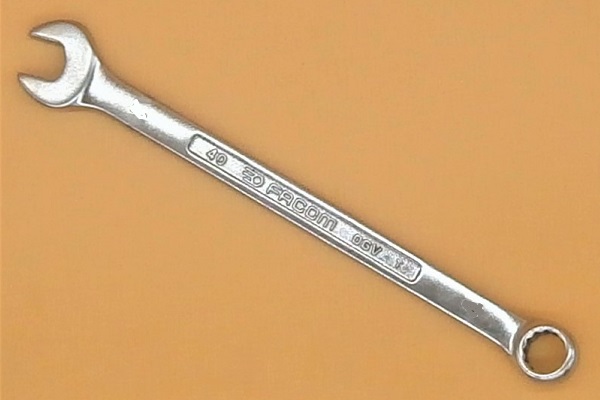
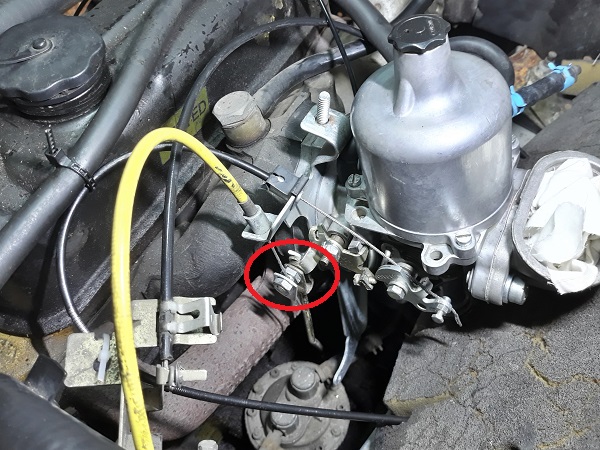
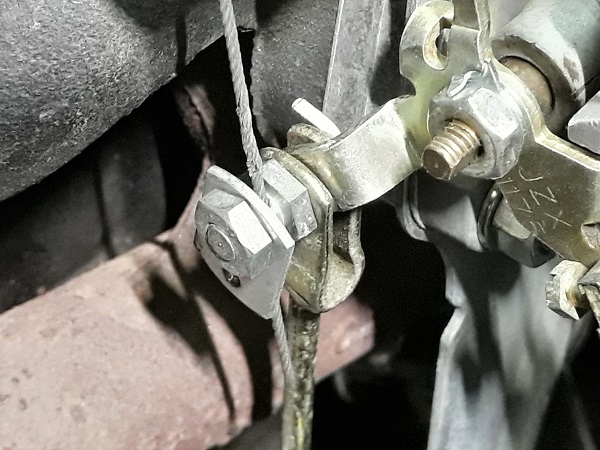
Loosen the accelerator cable locking nut. Use two 11 mm spanners.
Leave the nut and the small spring fixing plate on the trunnion. It won't be a problem for the rest of the procedure.

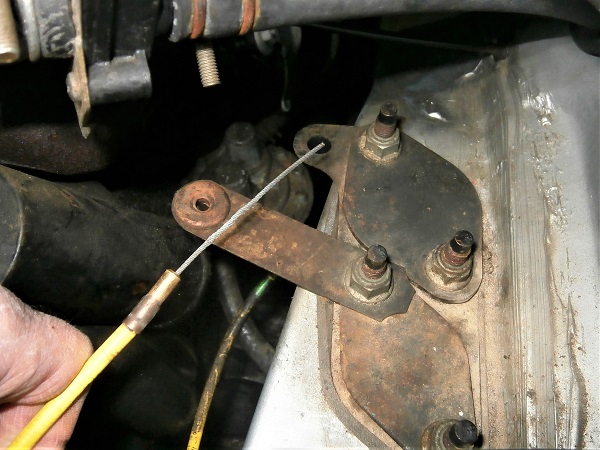
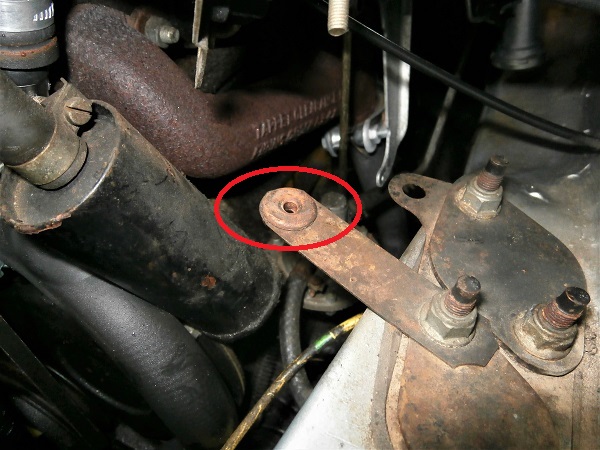
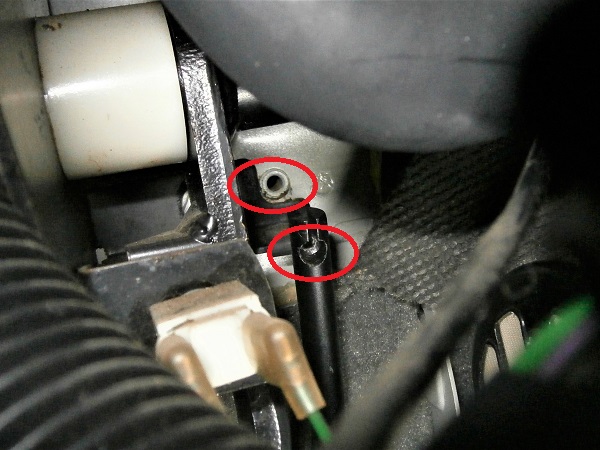
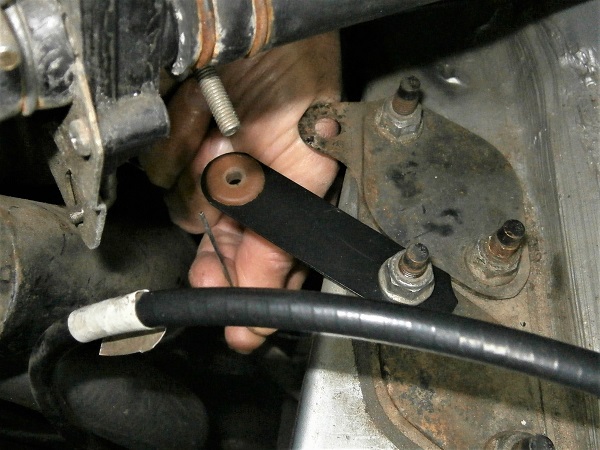
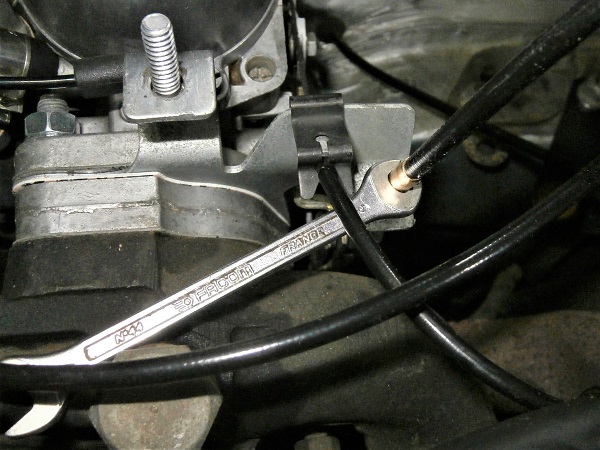
Op 04
Remove the accelerator cable from the support bracket. Pull by hand.
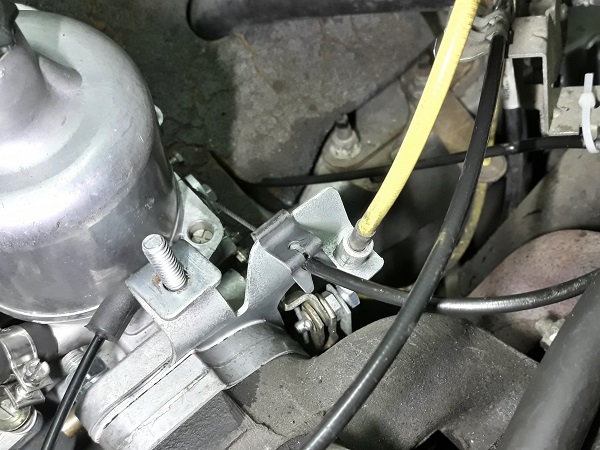
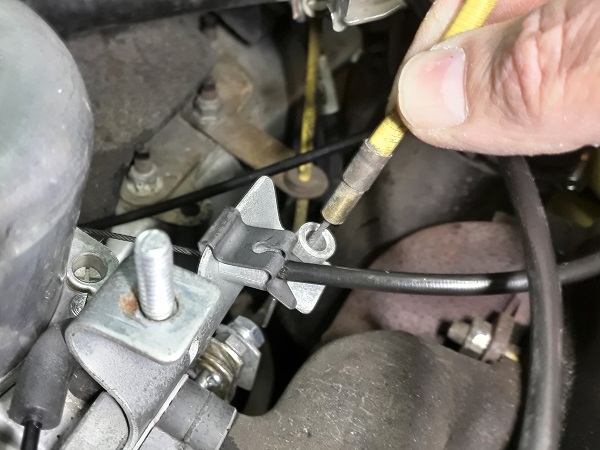
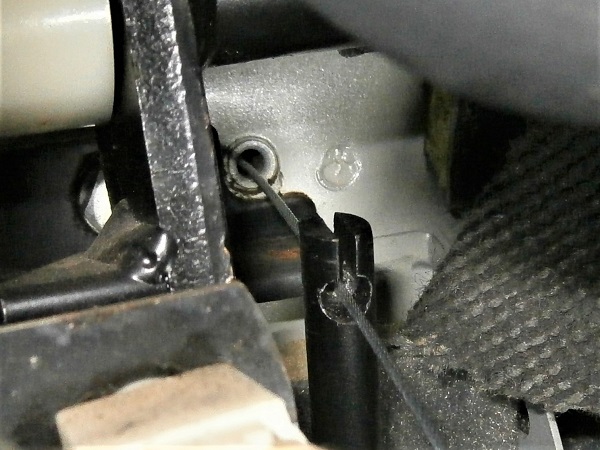
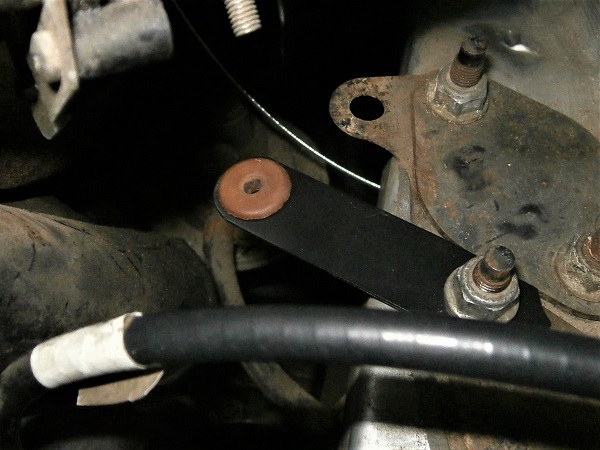
Op 05
Release the accelerator cable from the guiding plate. Pull by hand.
Op 06
Remove the accelerator cable housing.
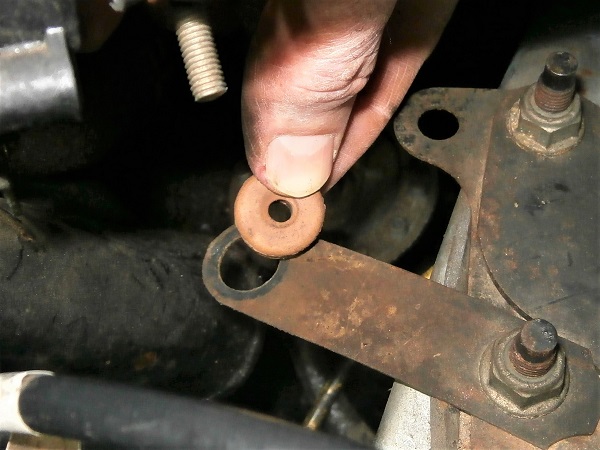
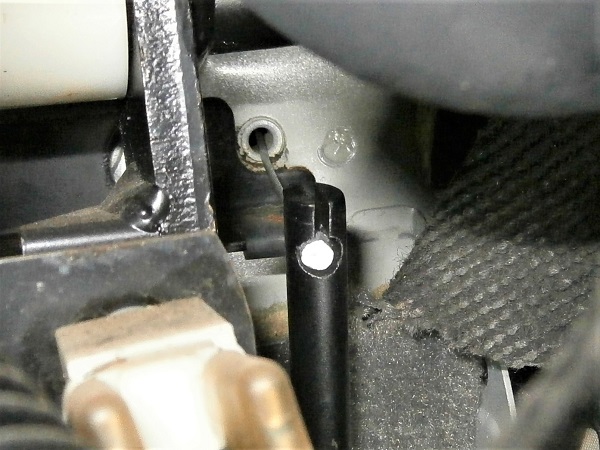
Op 07
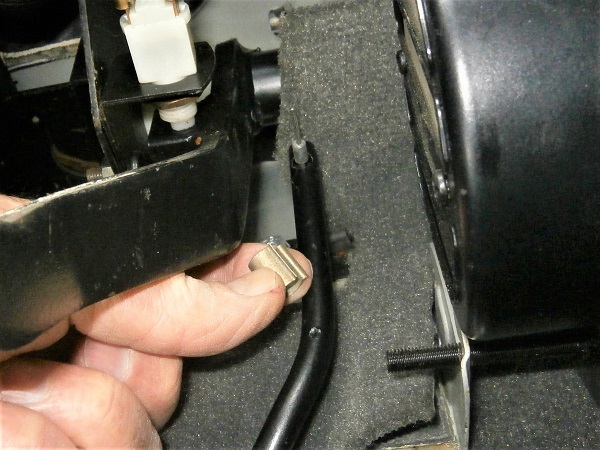
Remove the cable grommet. Pull by hand or use a small flathead screwdriver.
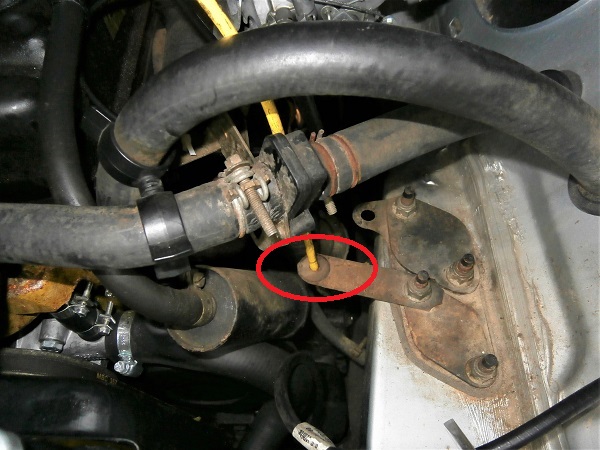
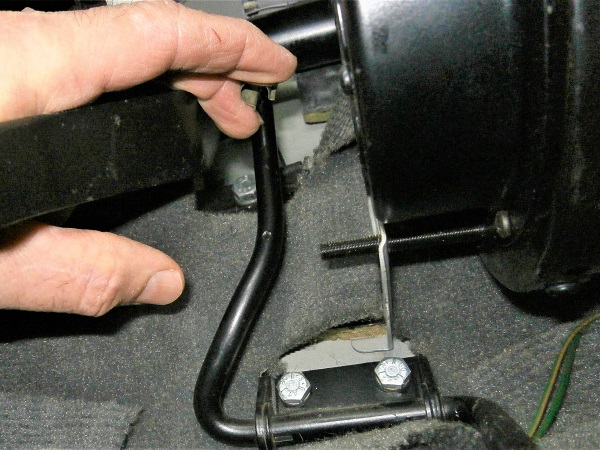
Op 08
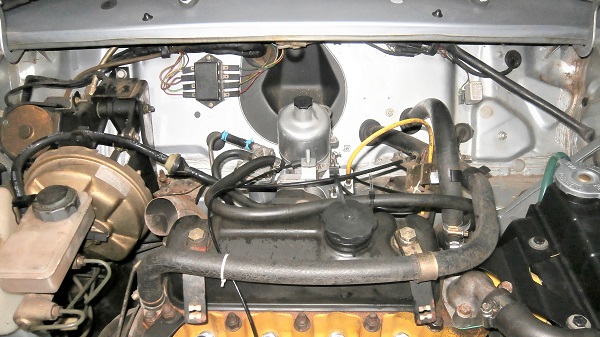
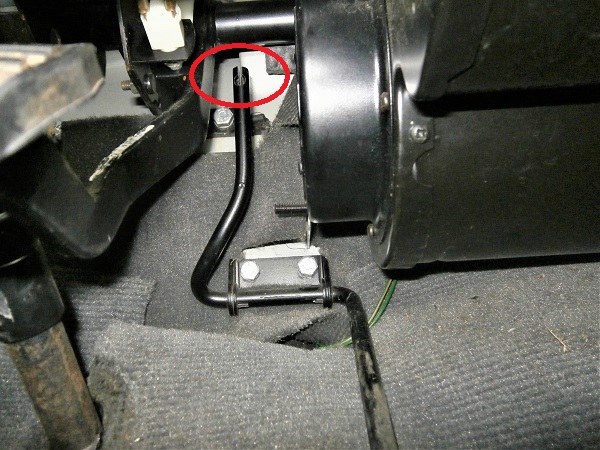
Locate where the cable is attached to the accelerator pedal.
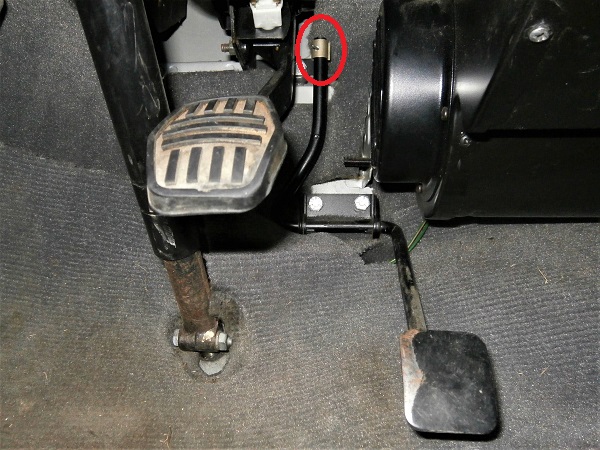
Op 09
Remove the cable retaining clip from the accelerator pedal. Pull by hand.
It is recommended to have midwife's hands to succeed in this operation.

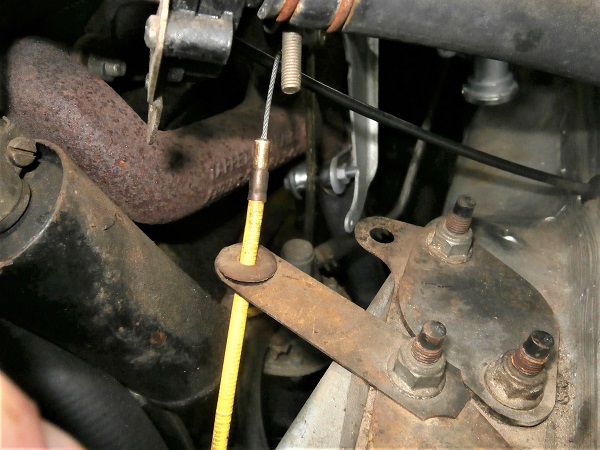
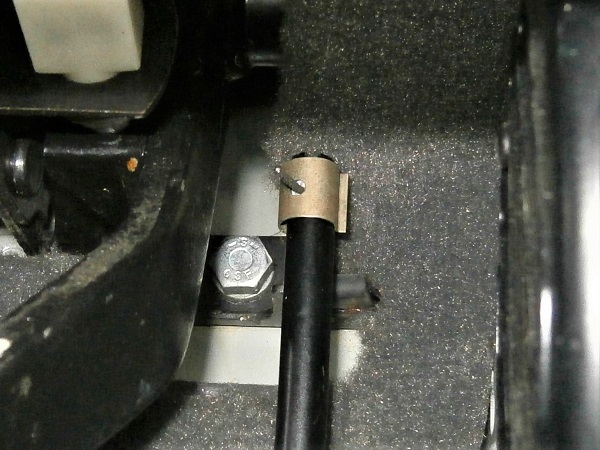
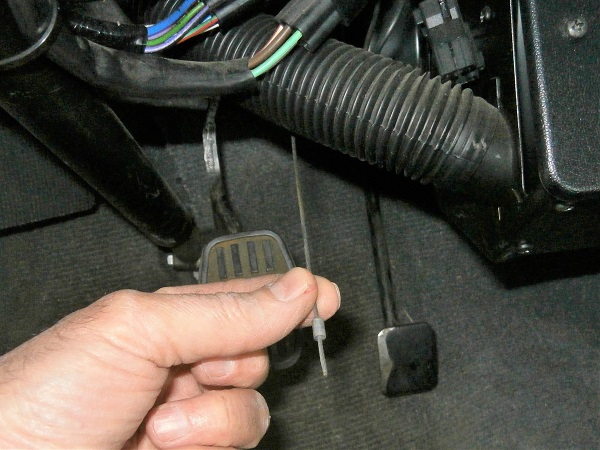
Op 10
Remove the accelerator cable. Pull by hand.
The cable is removed towards the rear of the bulkhead (passenger compartment side).
Advertisement
Modify the new cable
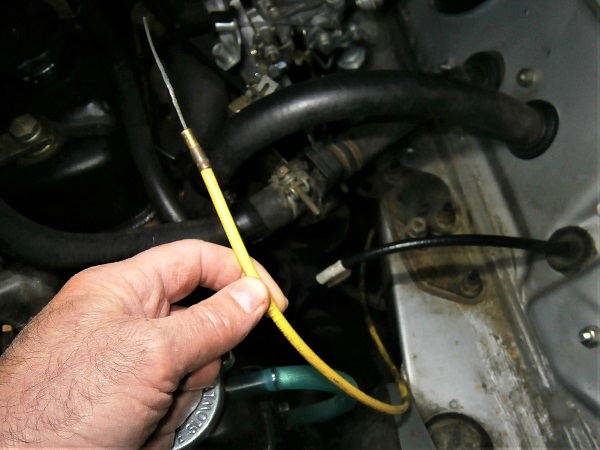
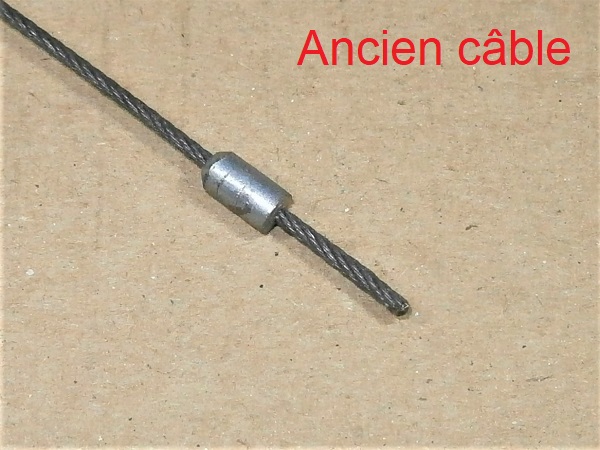
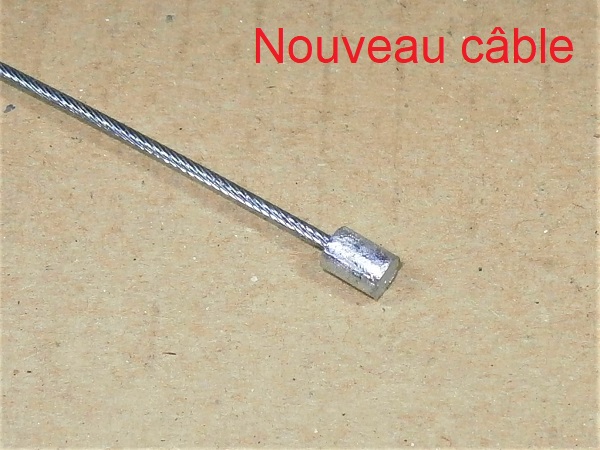
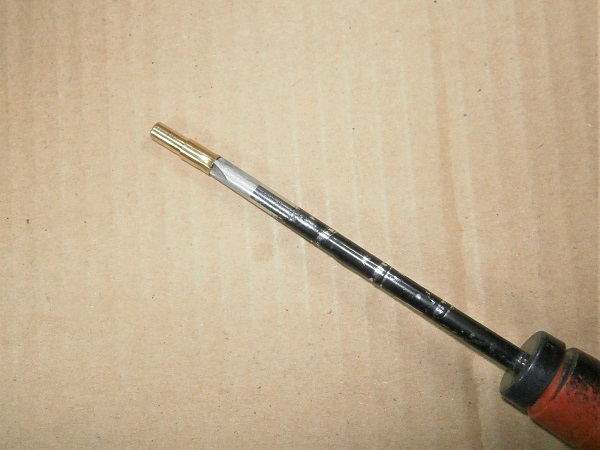
Op 11
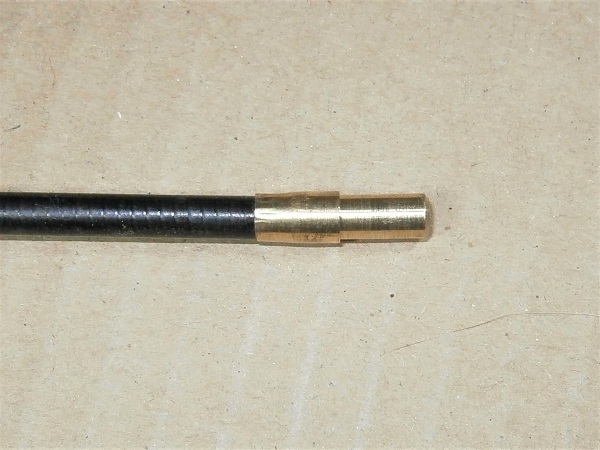
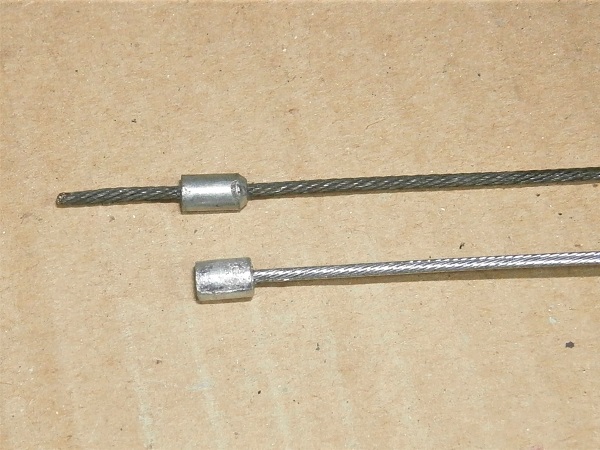
The end of the new accelerator cable (purchased in 2020) is slightly different from the end of the old cable (probably the original one). This apparently does not pose any problem either during assembly or during the operation of the Mini.
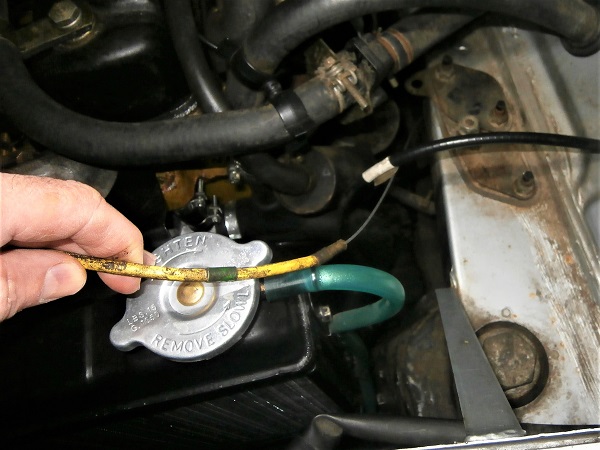
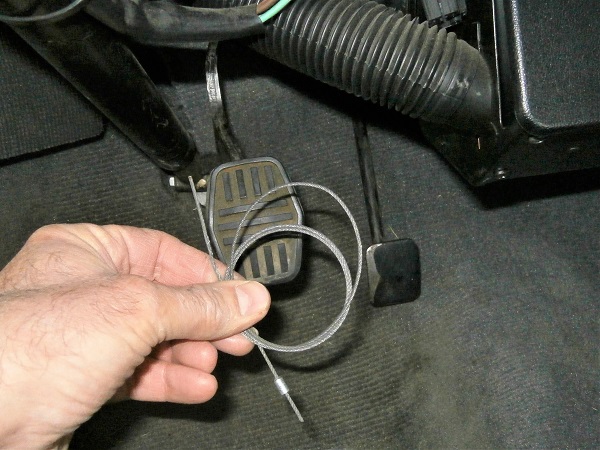
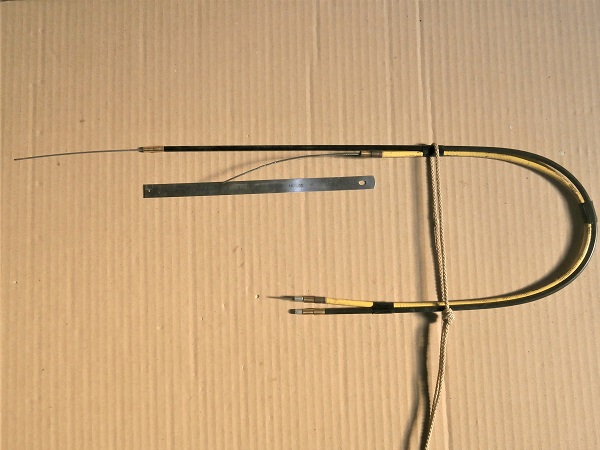
Op 12
Check that the length of the new accelerator cable (NAM7914) is identical to the length of the old cable.
To simplify the management of their stock of spare parts, some suppliers have standardized the accelerator cables. They have unified the cable for RHD (right-hand drive) and LHD (left-hand drive) Minis. Of course, based on the principle ''who can do more can do less'', they only offer the longest cable, i.e. the one for the RHD Mini. As we can see in the photo, the new cable is approximately 20 cm too long.
It is probably possible to mount the cable as it is on my LHD Mini, but I don't like it. So we will shorten it.
Op 13
Remove the cable from its housing. Pull by hand.
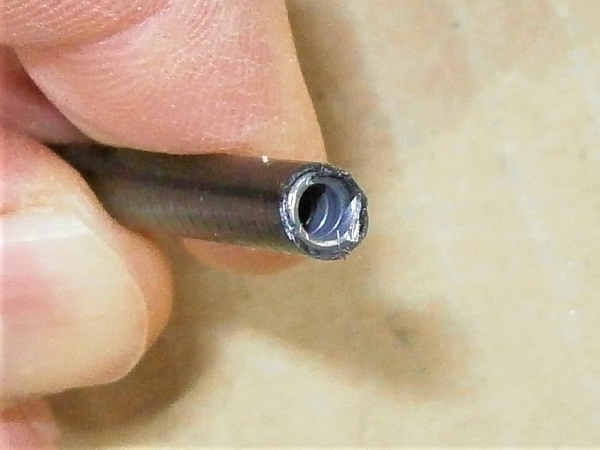
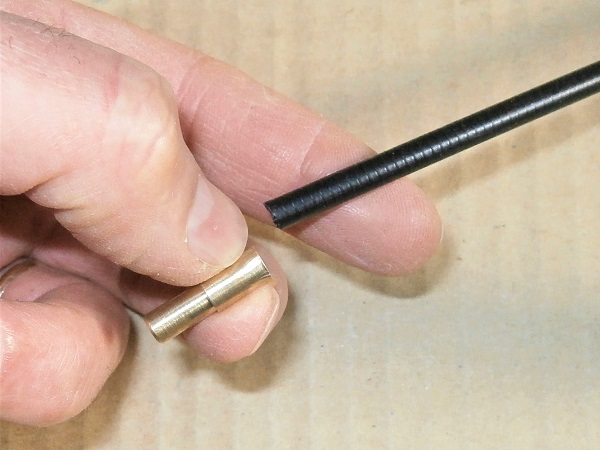
Op 14
Remove one of the two housing end caps. Pull by hand.
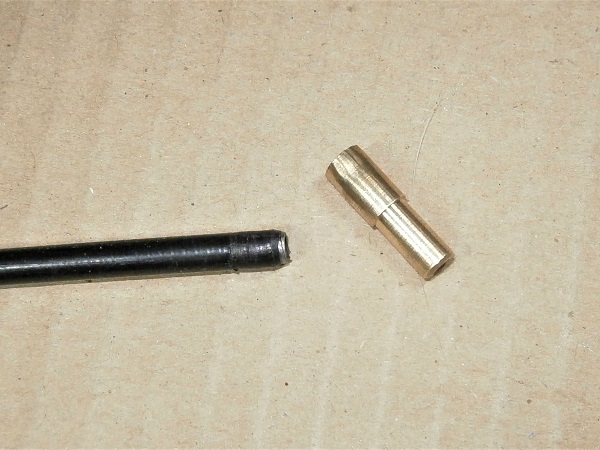
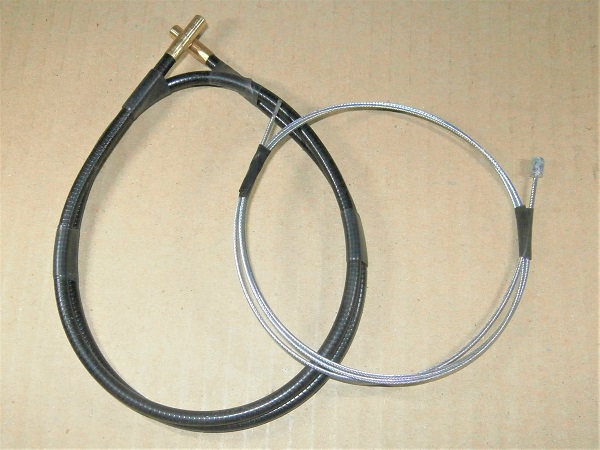
Op 15
Place the old and new cable housing side by side. Identify where the new one should be cut.
The housing stops at the shoulder of the housing end cap.

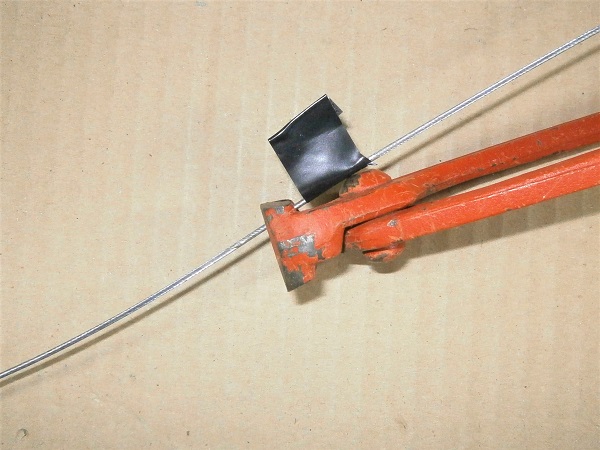
Op 16
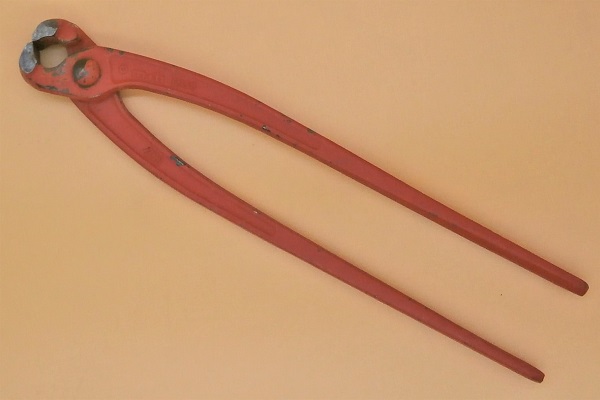
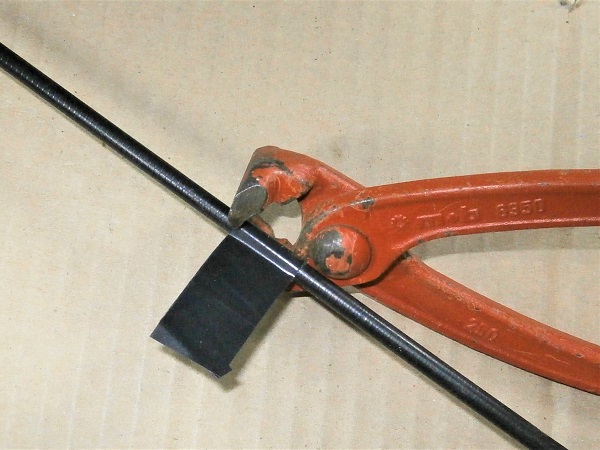
Cut the new housing to the correct length. Use the cutting pliers.
Fit the jaws of the pliers parallel to the coils of the housing spring. The cut will be much better.
Check carefully that there are no deformations or burrs that could hinder the passage of the cable.
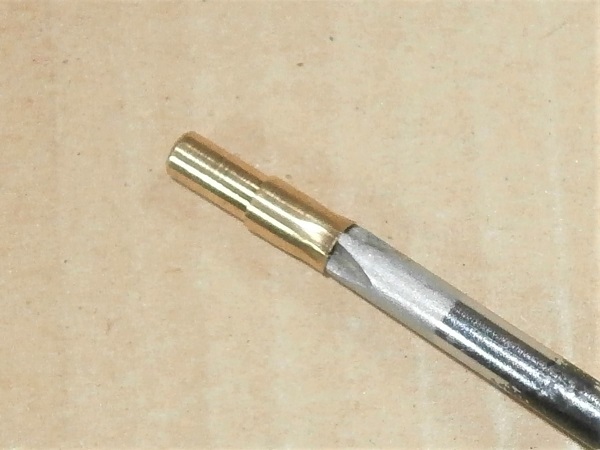
Op 17
Slightly spread the crimping of the housing end cap. Use a Phillips screwdriver.
This will make it easier to fit on the housing and will avoid damaging the plastic coating of the housing during reassembly.
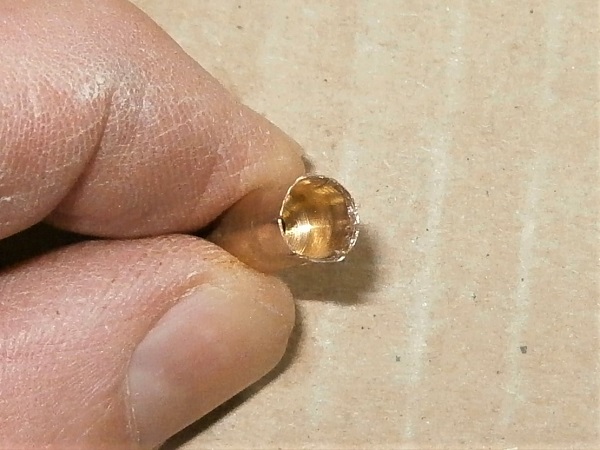
Op 18
Insert the cable housing into the housing end cap. Push by hand.
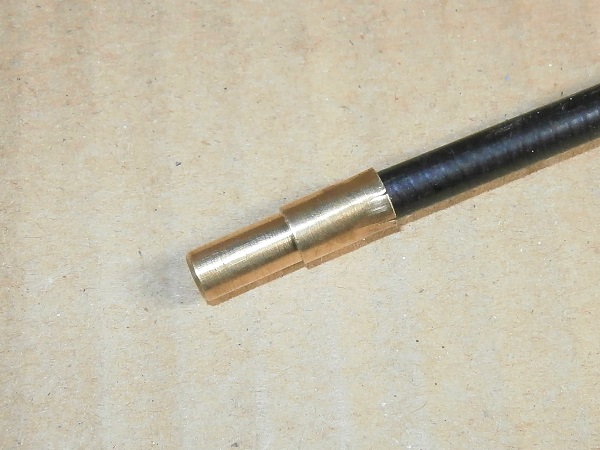
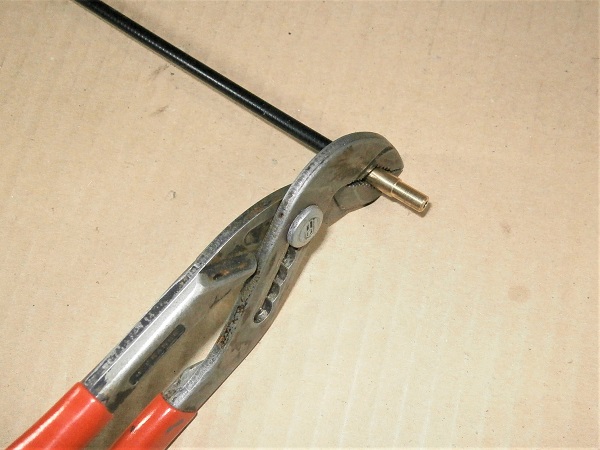
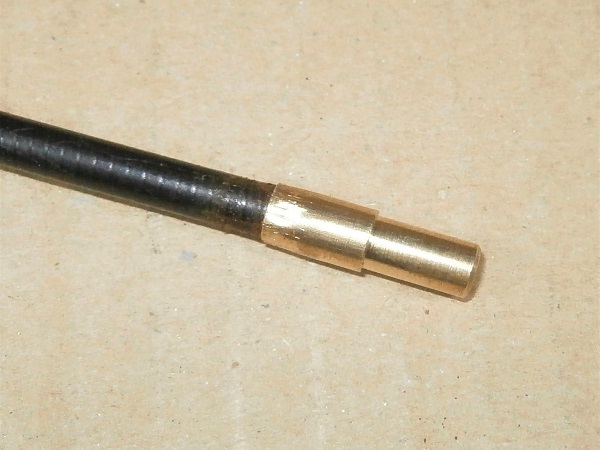
Op 19
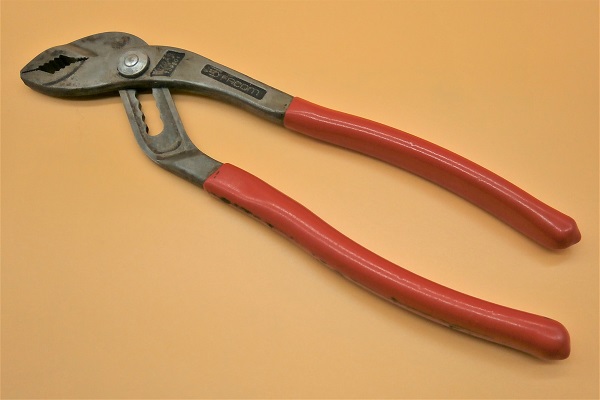
Crimp the housing end cap onto the cable housing. Use the multigrip pliers.
Do not tighten too much so as not to deform the cable housing. There is no risk of the end cap coming loose because the assembly will always work in compression.
Op 20
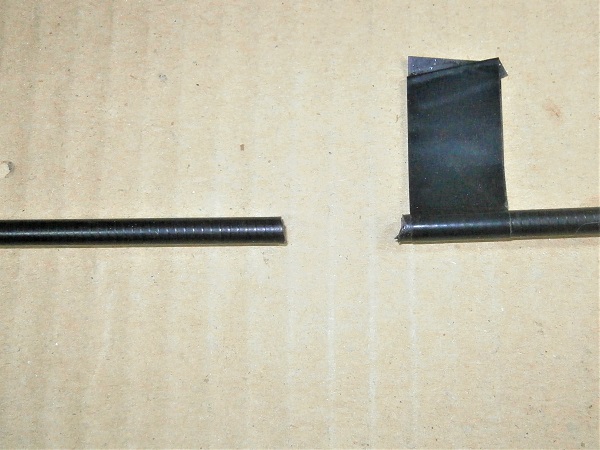
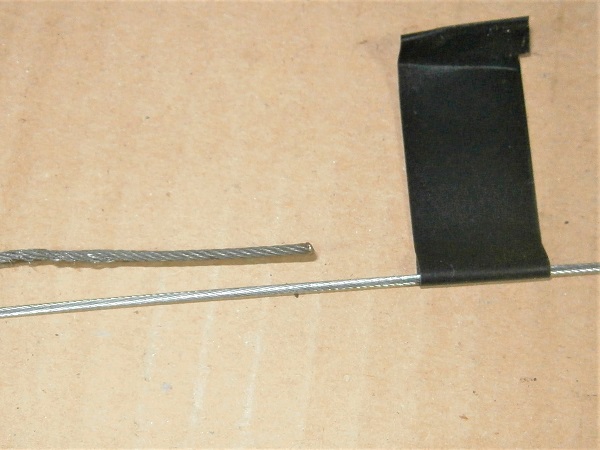
Place the old and new cables side by side. Identify where the new cable should be cut.
The starting point is the cable end and not the beginning of the cable (for the old cable).
Fit the piece of tape a little further away because it will get hot there soon.
Op 21
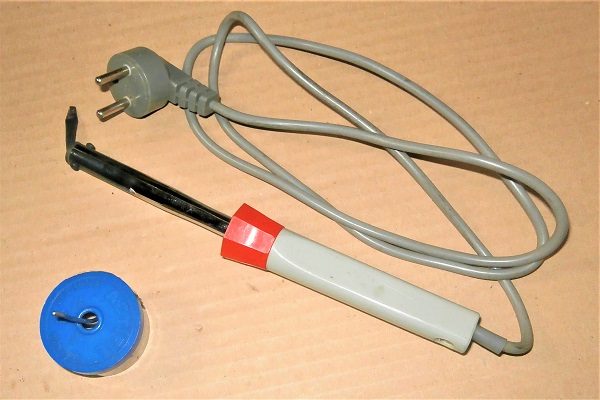
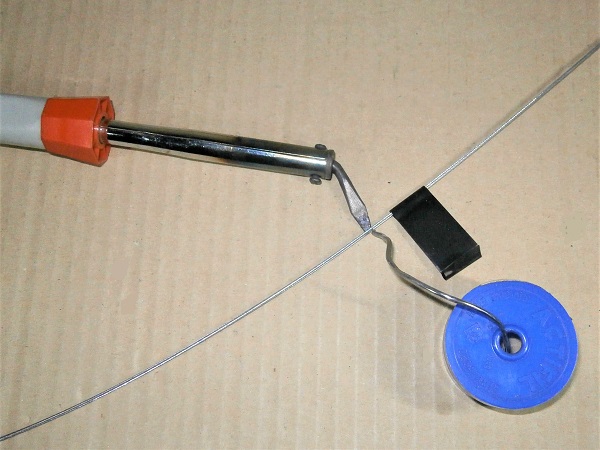
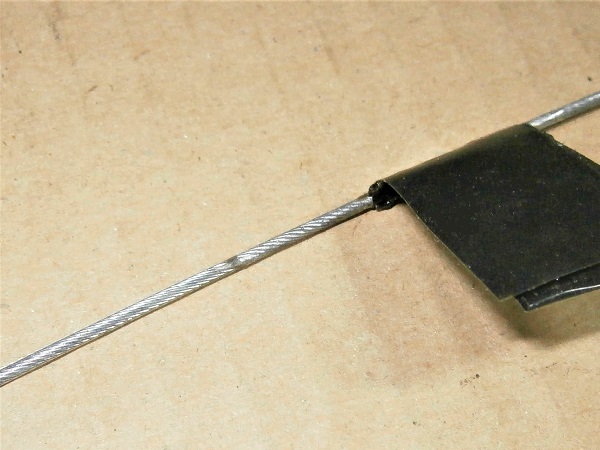
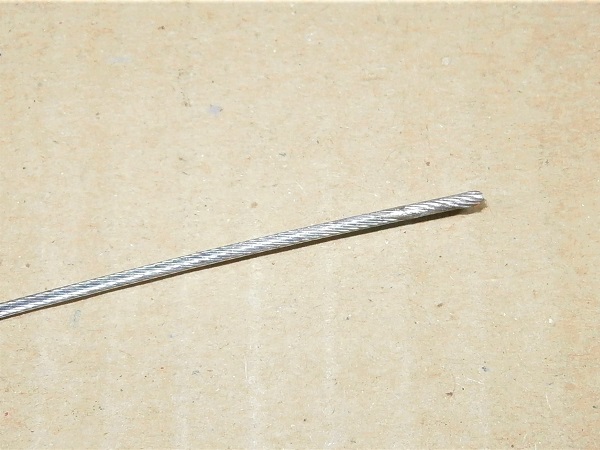
Tin the accelerator cable where it will be cut. Use the soldering iron.
This operation is not essential. The cable does not need to be tinned to operate the choke.
I still tinned the end of the cable because I'm tired of seeing frayed cables (choke and accelerator). This is a test. I'll see if it works (or not) in a while.
Do not load too much material during tinning because afterwards, the cable will have to be passed through the cable trunnion.
Op 22
Cut the cable. Use the cutting pliers.
Advertisement
Fit the accelerator cable
Op 23
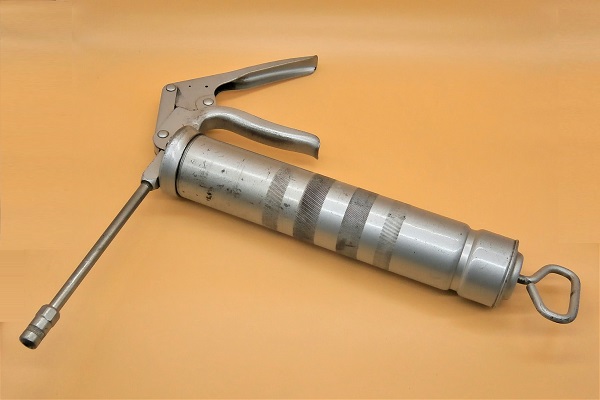
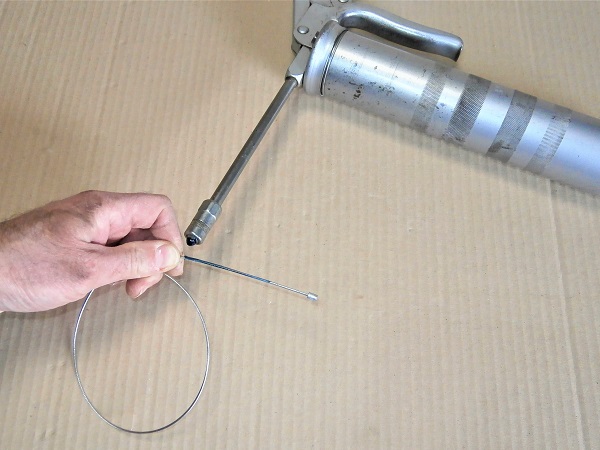
Grease the cable.
Greasing the cable is necessary to have a smooth accelerator pedal.
Op 24
Pass the cable through the accelerator pedal and the bulkhead.
Be careful not to stain the carpet with the grease-filled cable.
Op 25
Press the end of the accelerator cable firmly into the bottom of the pedal's countersink.
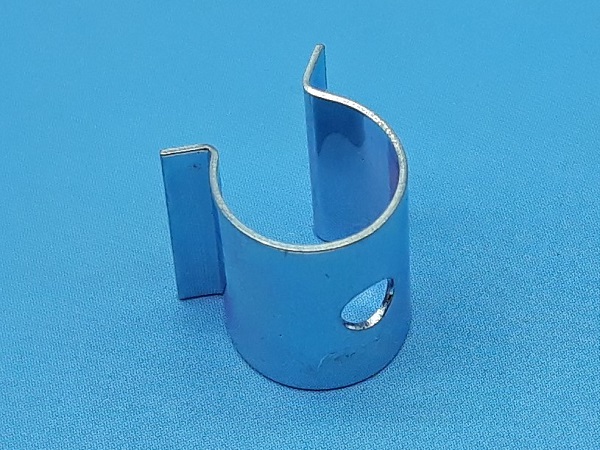
Fit the retaining clip (NAM6923). Push by hand.
Op 26
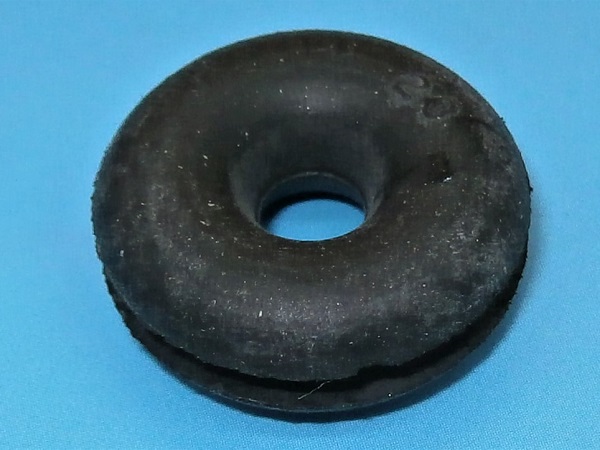
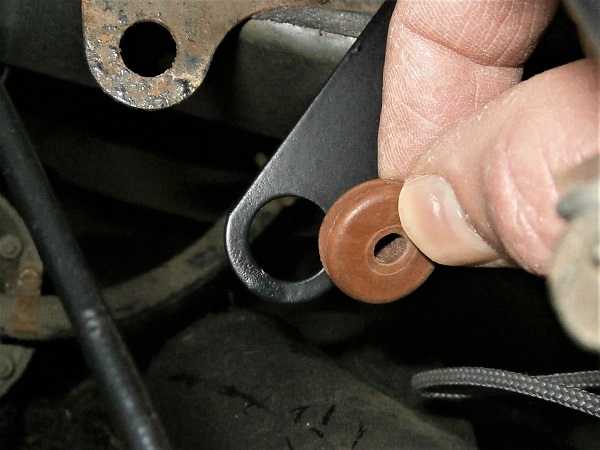
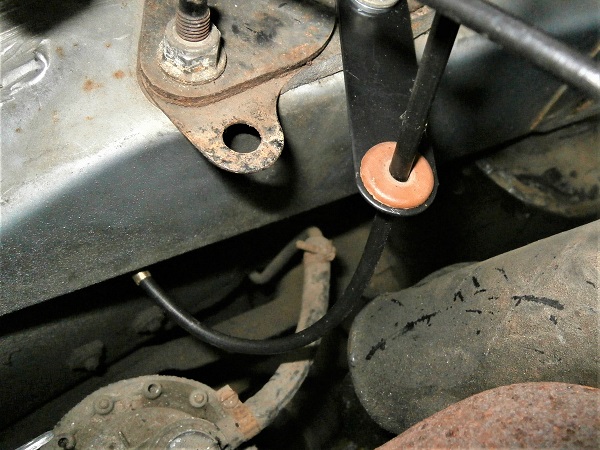
Fit the cable grommet (RFN403) on its guiding plate. Push by hand or use a small flathead screwdriver.
Do not push too hard because the guiding plate is very thin and flexible.
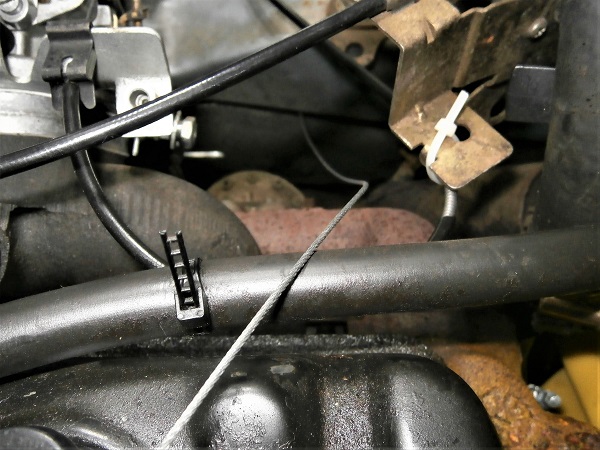
Op 27
Thread the accelerator cable through the cable grommet.
Op 28
Thread the cable into its housing.
Pass the housing through the cable grommet and bring it to the bulkhead.
The 2 housing end caps are identical. It doesn't matter which way you put it on.
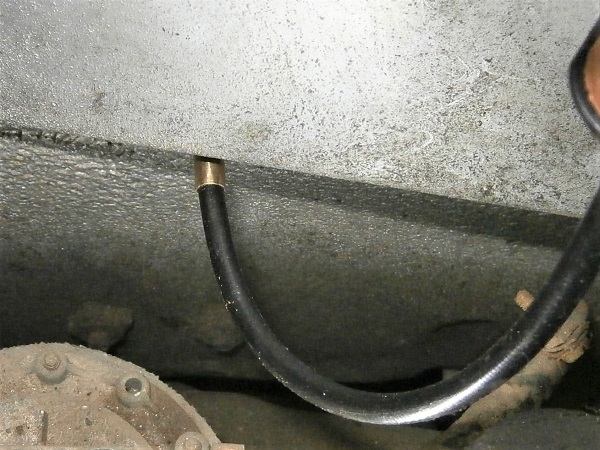
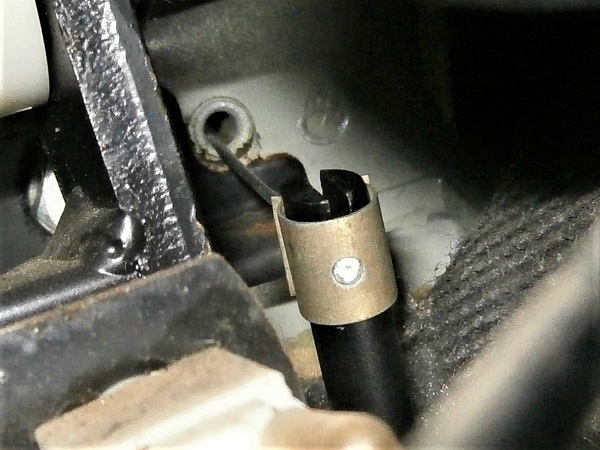
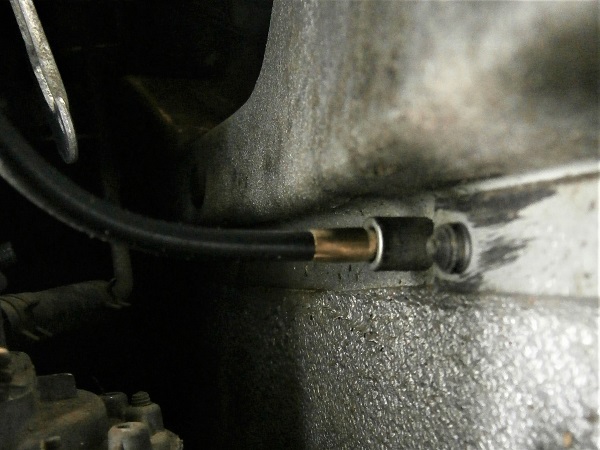
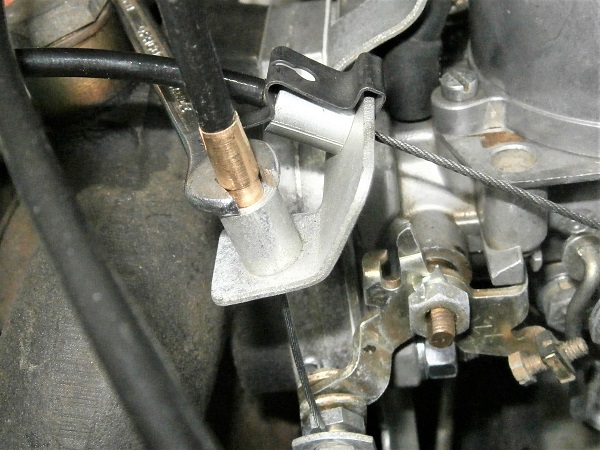
Op 29
Engage the housing end cap into the bracket integrated into the bulkhead.
The housing end cap must be fully inserted into the bracket and come out perpendicular to the bulkhead.
Op 30
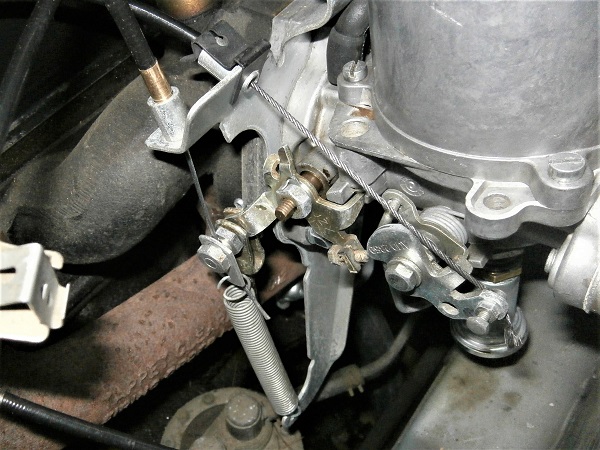
Fit the accelerator return spring.
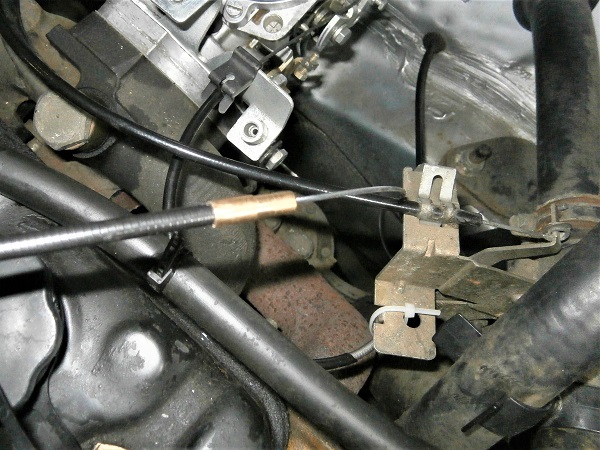
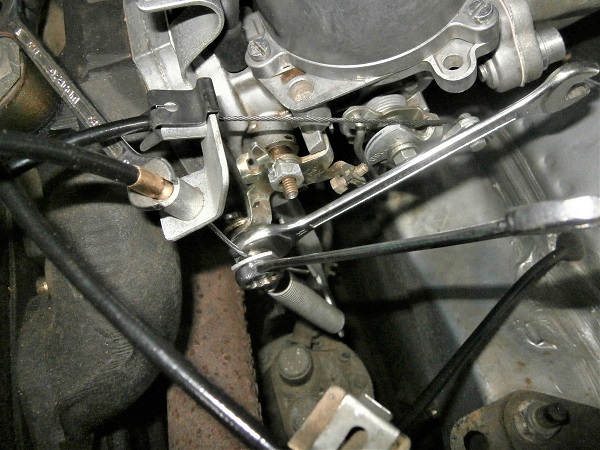
Op 31
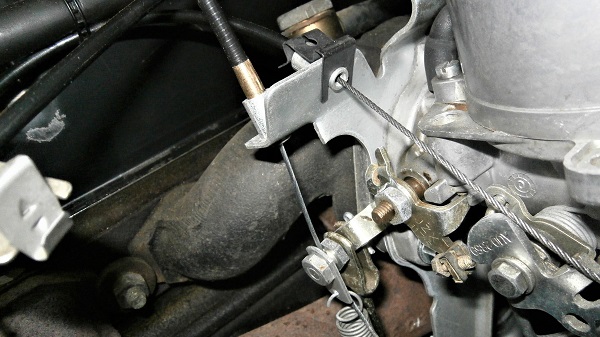
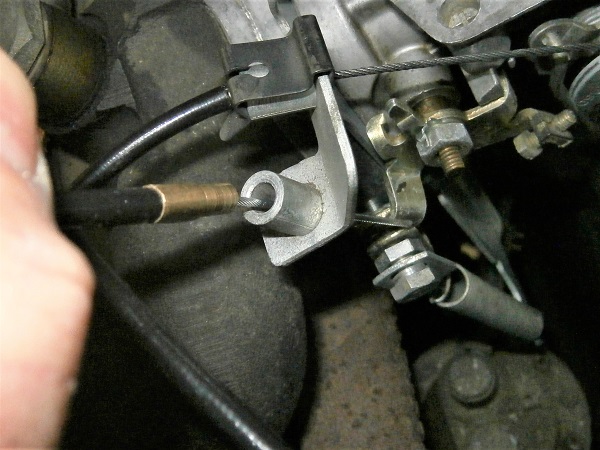
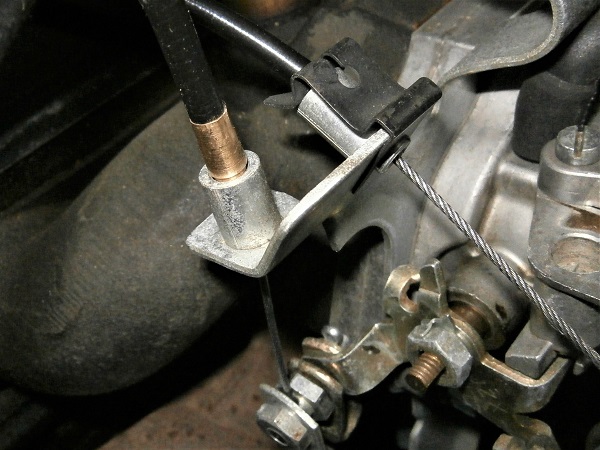
Pass the accelerator cable through its support bracket and through the cable trunnion.
Do not lock the cable trunnion for now because the accelerator pedal must have a free play of 4 mm before starting to actuate the carburetor accelerator lever.
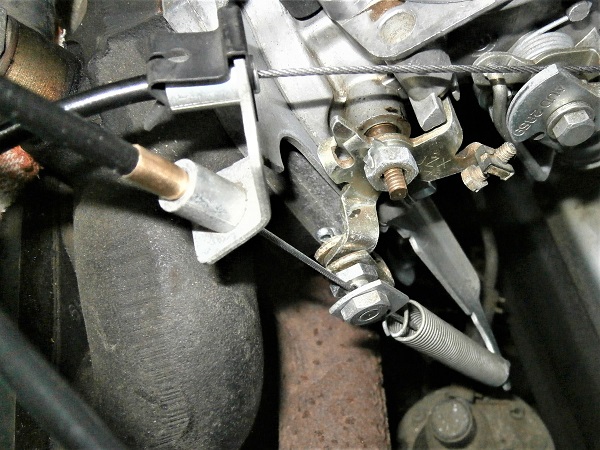
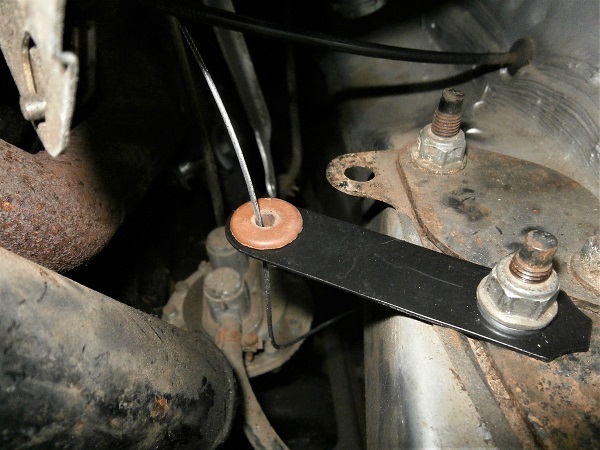
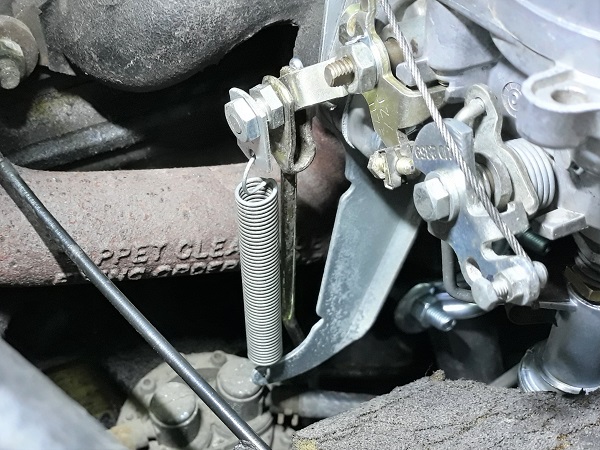
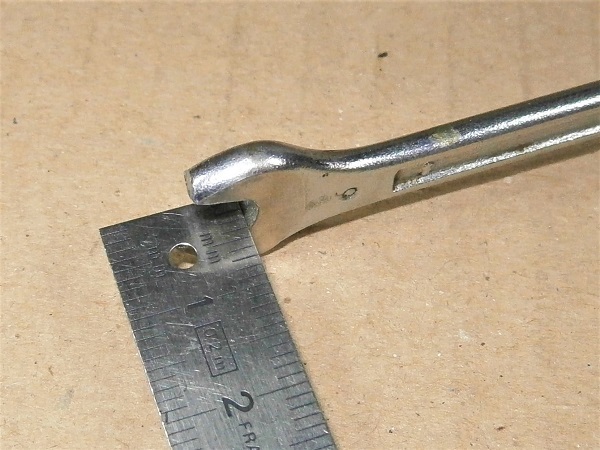
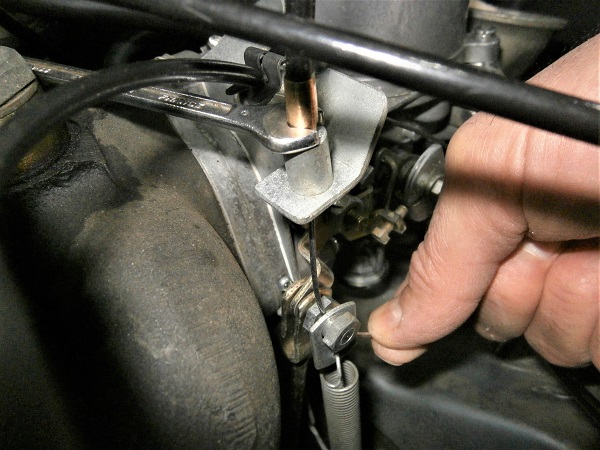
Op 32
Pull slightly on the accelerator cable housing and insert a 4 mm thick metal piece between the support bracket and the housing end cap. Use the 6 mm open-end spanner.
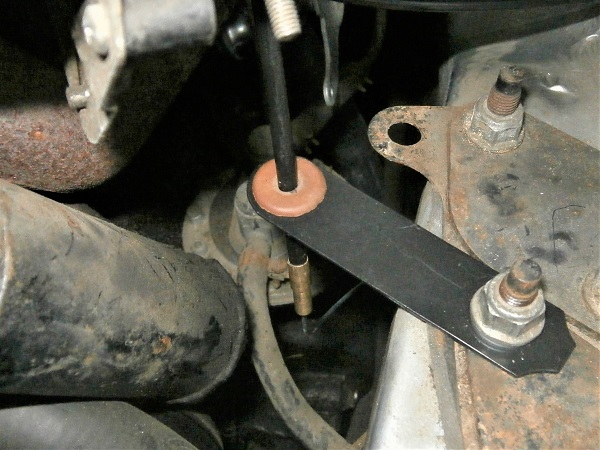
Op 33
Pull the end of the cable down to tighten the cable and raise the accelerator pedal.
Lock the cable trunnion. Use two 11 mm spanners.
Op 34
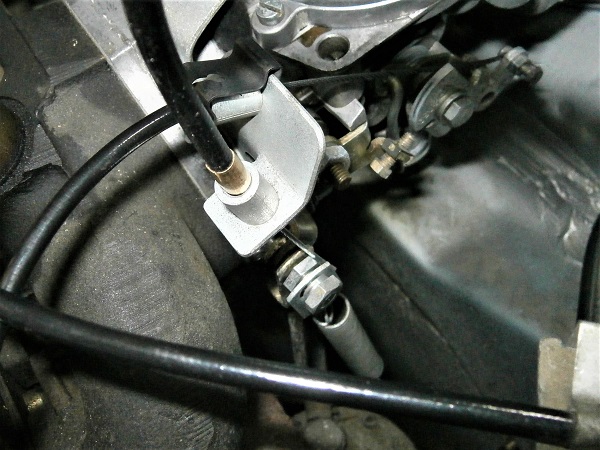
Remove the 6 mm open-end spanner and press the cable housing against the support bracket.
Op 35
Fit the air filter box (➔ see the tutorial ''HS4 air filter change'' Op 10 to 13).
The End