This tutorial is also available in French
➔

Engine + manual gearbox oil change on Austin Mini
Vehicle ➔ Mini 1000 year 1988
Difficulty ➔ Easy

Time ➔ 2 hours
Summary
Advertisement
Advertisement

Recommendations

This tutorial only applies to Minis with a manual gearbox. There is another tutorial that covers changing the oil on Minis with an automatic gearbox
(➔ see the tutorial).

The oil is common to the engine and the gearbox.
Drain every 10,000 km or every 6 months.
Drain every 10,000 km or every 6 months.
Oil volume required for an oil change ➔ 4.9 liters (approximately).
The workshop manual recommends an oil :
• SAE 10W40 for temperatures from -20 to +35°C
• SAE 20W50 for temperatures from 0 to +50°C
• SAE 10W40 for temperatures from -20 to +35°C
• SAE 20W50 for temperatures from 0 to +50°C
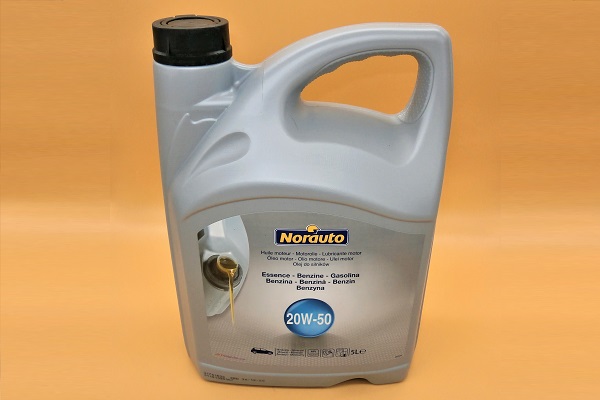
It is recommended to use a modern mineral oil specially formulated for classic vehicles (Castrol Classic XL 20W50, Motul Classic Oil 20W50, Elf HTX Collection 20W50, Mini Spares Classic Oil 20W50, Norauto 20W50).
• These oils do not deteriorate the rubber seals of old vehicles.
• They have a high rate of ZDDP (anti-wear additive) which improves the protection against the oxidation of the metallic parts in contact (e.g. : rocker and push rod).
• They have reinforced adhesion even during long periods of immobilization of the vehicle.
We use Norauto 20W50 oil on our Mini. At €23 for 5 liters, it's an excellent value for money.
Before draining, drive a few kilometers to warm up the oil. The oil will then be more fluid and will drain better.
Used oils, brake fluids, seals and filters are hazardous waste for the environment. They must in no circumstances be thrown neither in the natural environment, nor in the sanitation network, nor in household waste. They must be deposited in a recycling center.
Required Tools
Sponsored links by


Spare Parts
Our Partners


Packaging :
•
All the above parts are sold individually.
Advertisement
Drain the engine and gearbox oil
Op 01
Remove the grille (➔ see the tutorial ''Grille removal'' Op 01 to 04).
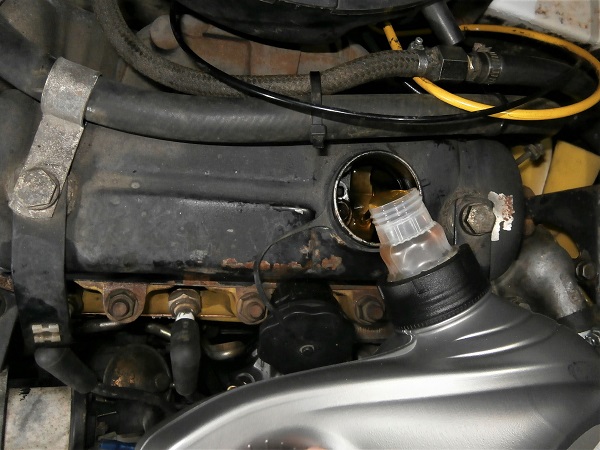
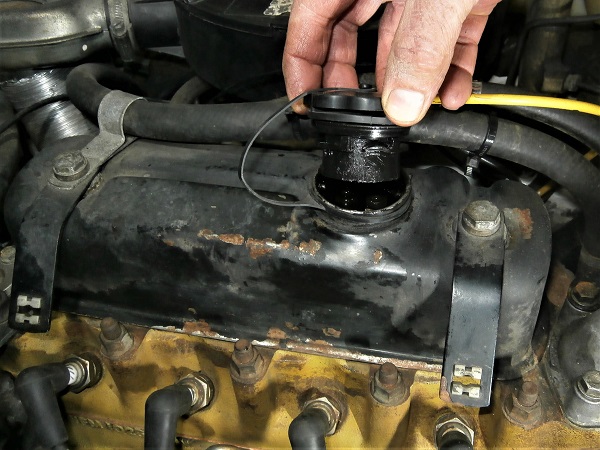
Op 02
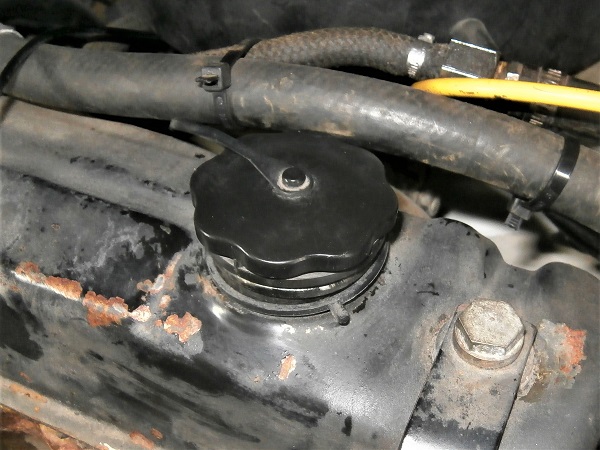
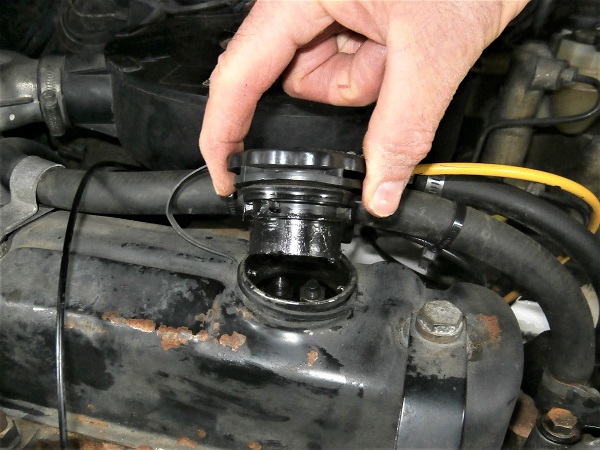
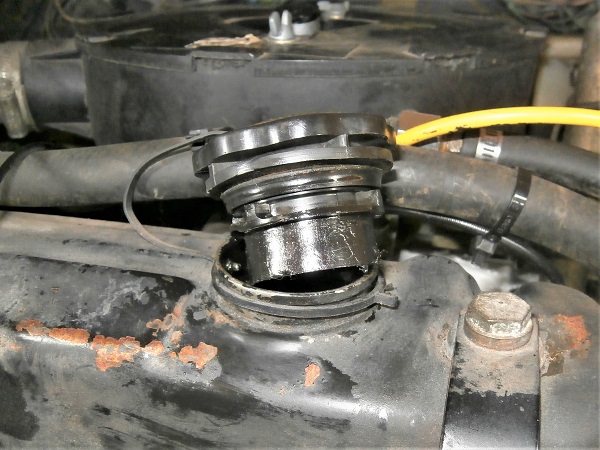
Remove the oil filler cap :
•
Unscrew 1/4 turn by hand.
•
Remove the cap.
Removing the oil filler cap will facilitate the flow of oil.
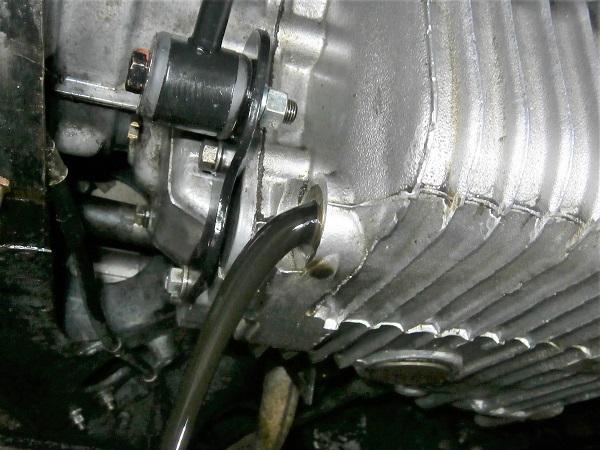
Op 03
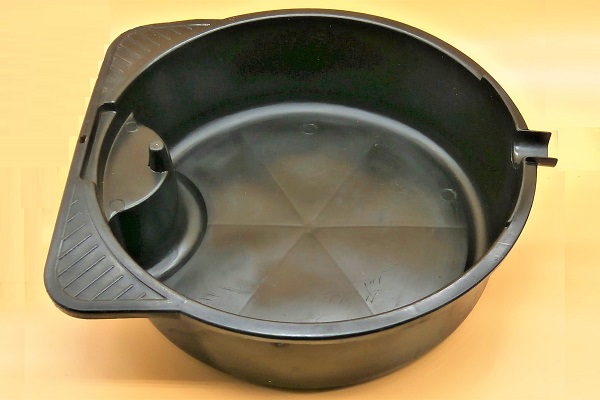
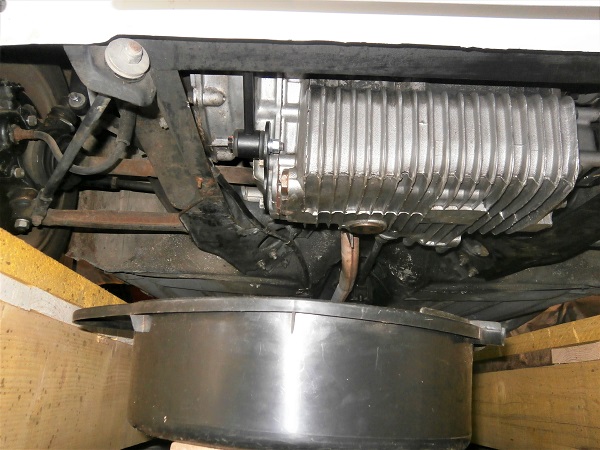
Place a drain pan under the gearbox.
The oil will flow sideways. Position the drain pan accordingly.
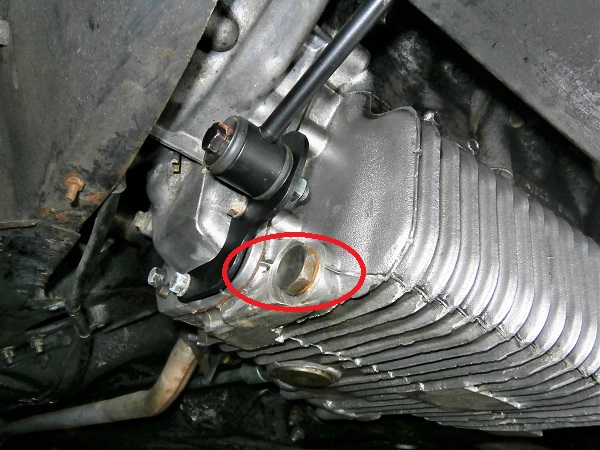
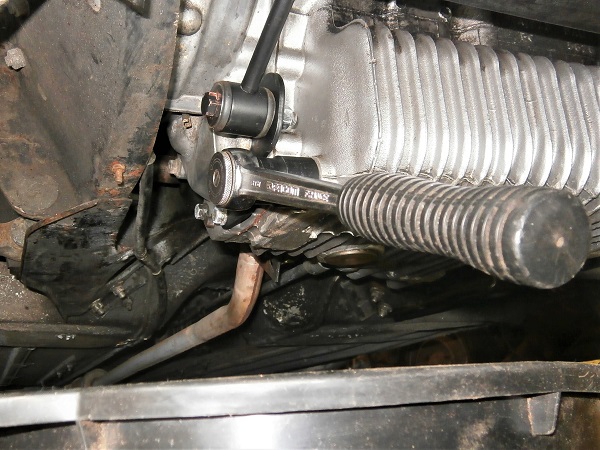
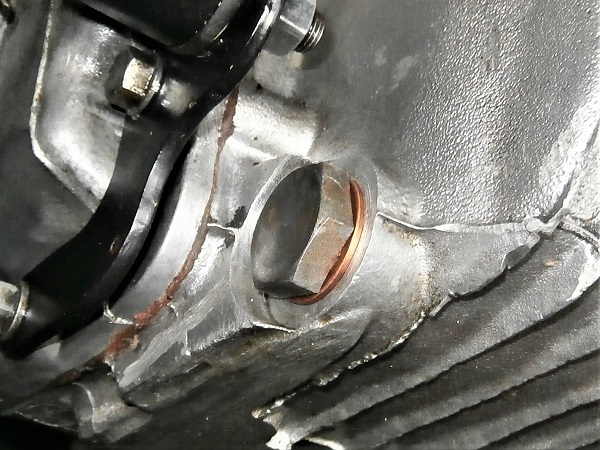
Op 04
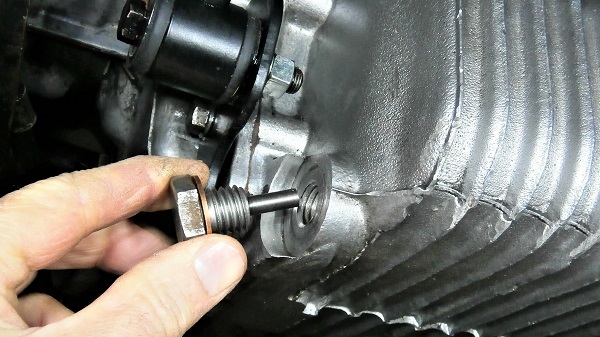
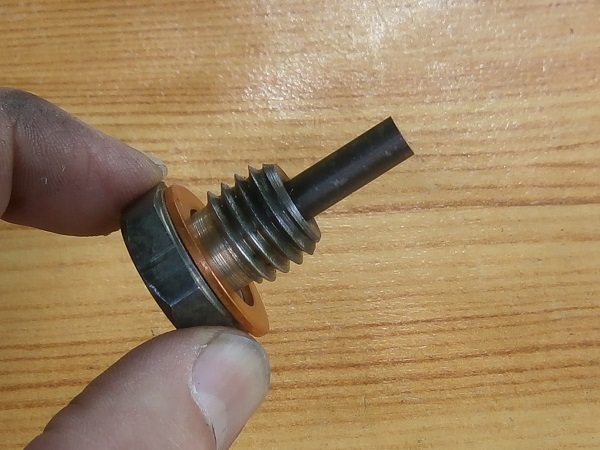
Unscrew the drain plug. Use a 24 mm socket.
Let the oil drain.
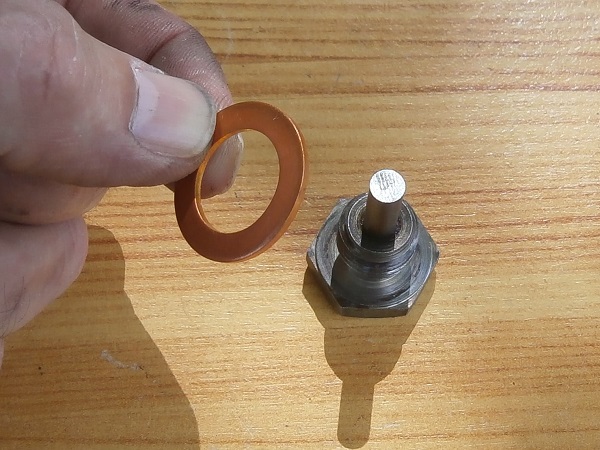
Discard the sealing washer.
The oil and drain plug are very hot. Be careful not to burn yourself.
The drain plug is magnetic. It retains the filings. It will have to be cleaned well before reassembly.
Advertisement
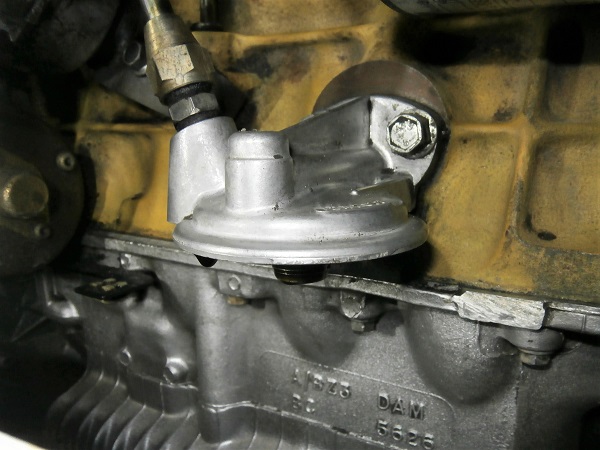
Change the oil filter
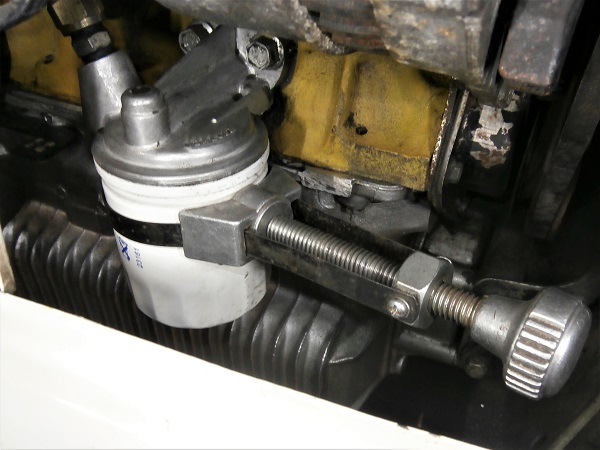
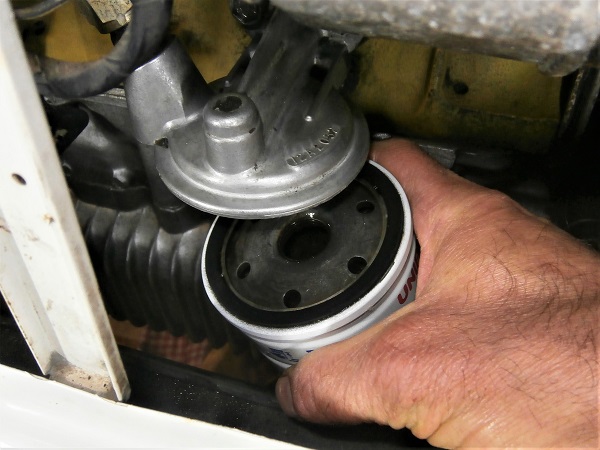
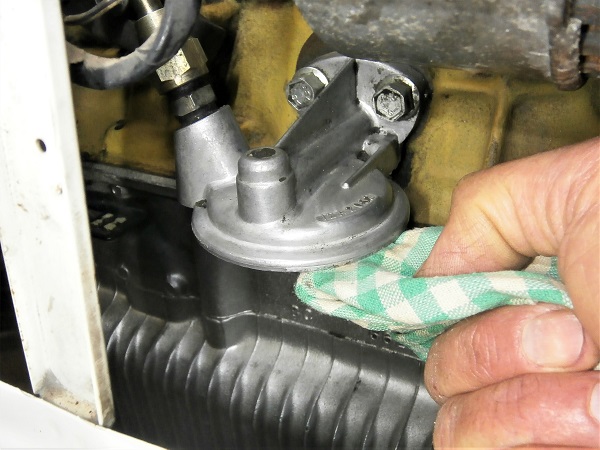
Op 05
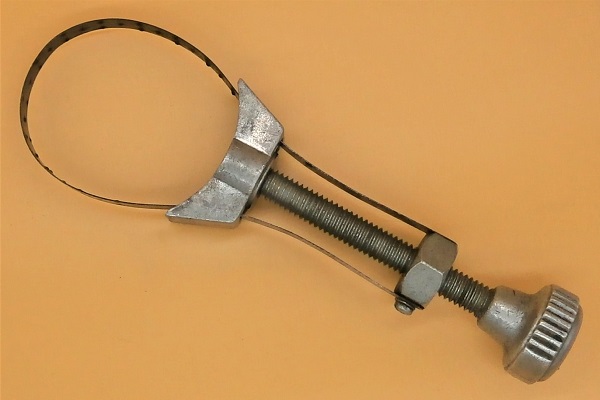
Unscrew and remove the oil filter. Use the oil filter wrench.
Place a drain pan under the filter because oil will flow out when it is removed.
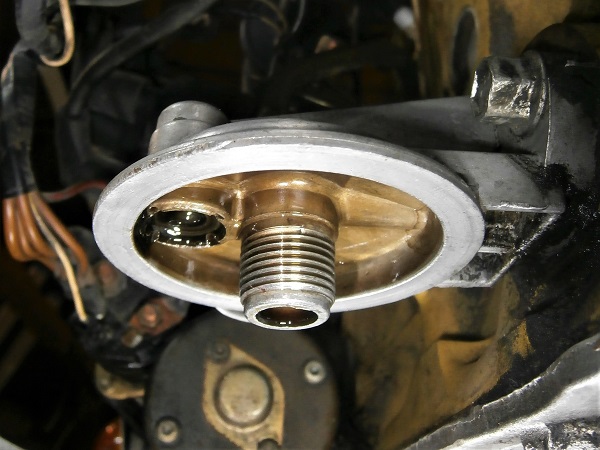
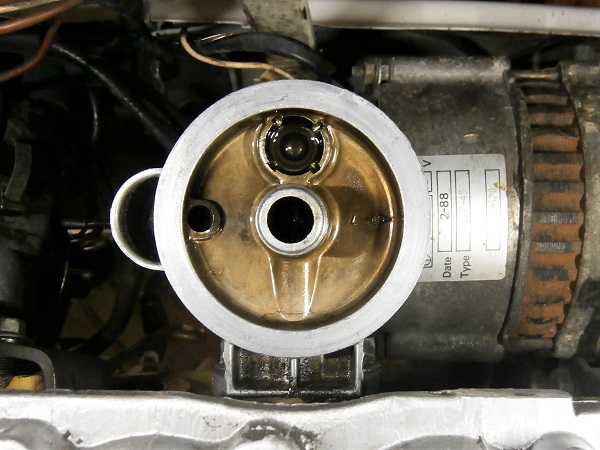
Op 06
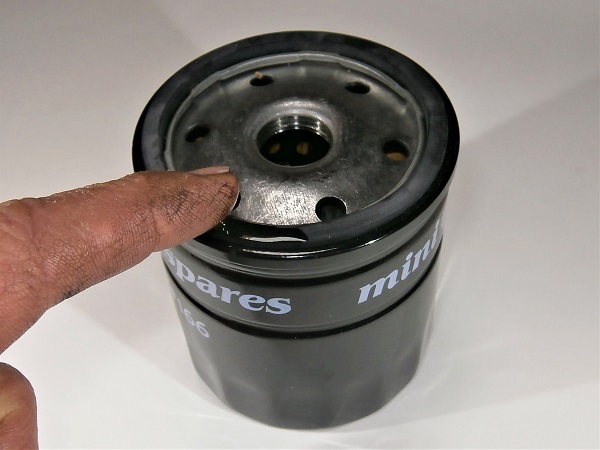
Thoroughly clean the oil filter mounting surface.
Op 07
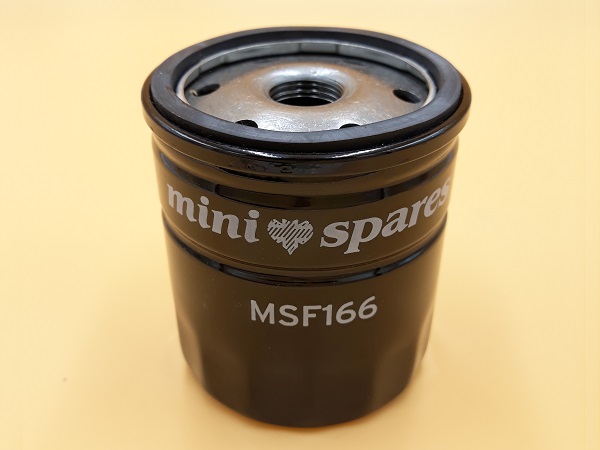
Lightly lubricate the seal of the new oil filter (MSF166) with engine oil.

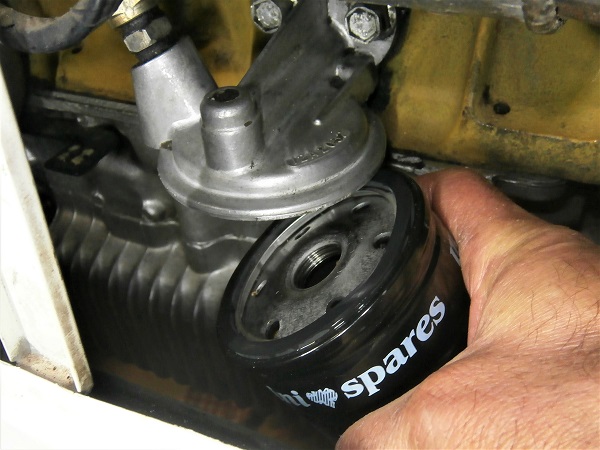
Op 08
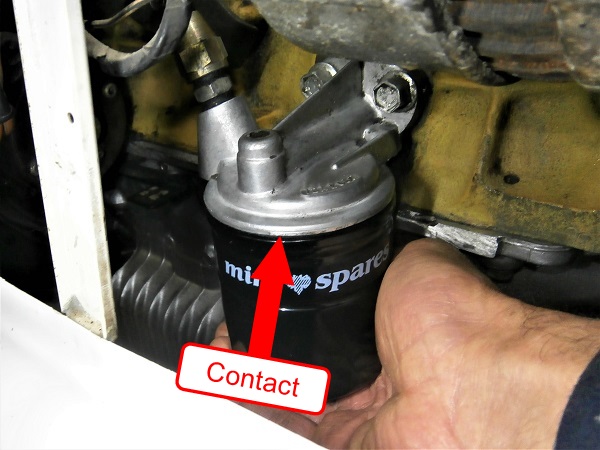
Screw on the new oil filter. Tighten by hand.
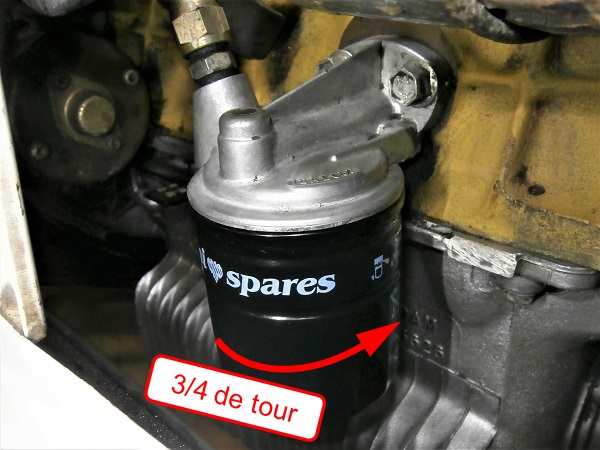
Screw on the oil filter until the filter gasket contacts the support. Then, tighten the filter 3/4 turn.
Never tighten the new filter with the filter wrench.
Advertisement
Add oil to the engine and gearbox
Op 09
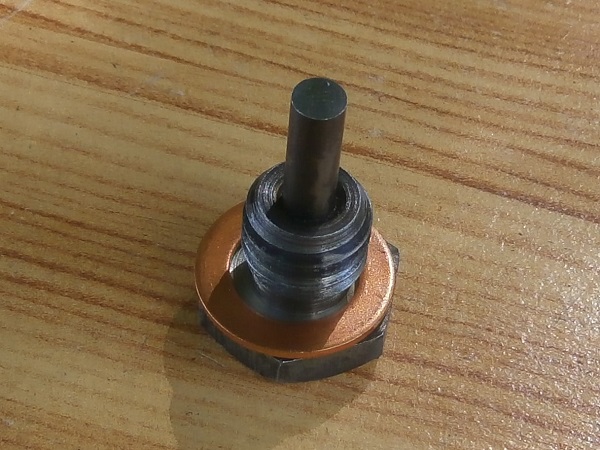
Fit the new sealing washer (AED172) on the drain plug.
Op 10
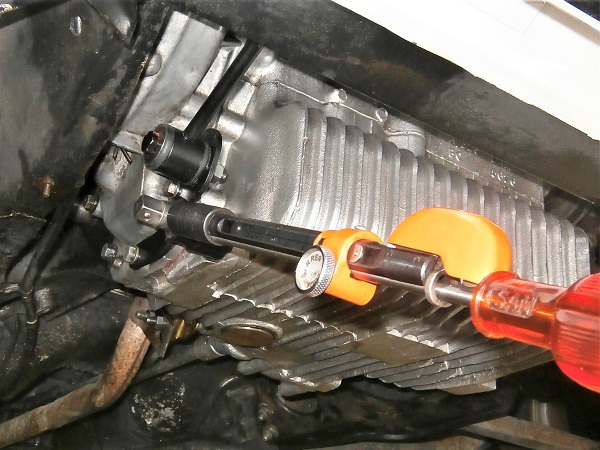
Screw in the drain plug with its washer. Tighten by hand.
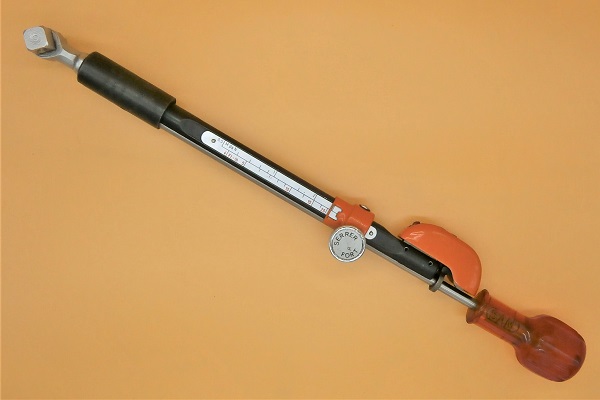
Tighten the drain plug to a torque of 34 mN. Use the 24 mm socket and the torque wrench.
The oil pan is made of aluminum. It is therefore very fragile. Start screwing the drain plug by hand, taking every precaution not to strip the thread.

Op 11
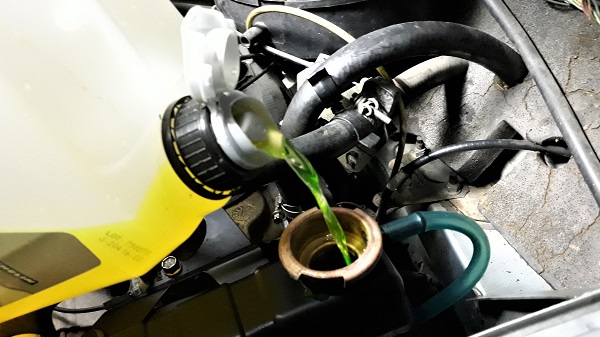
Pour 4.5 liters of oil into the engine.
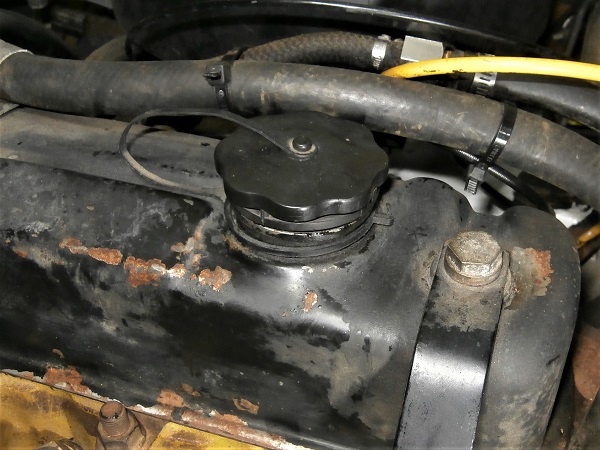
Op 12
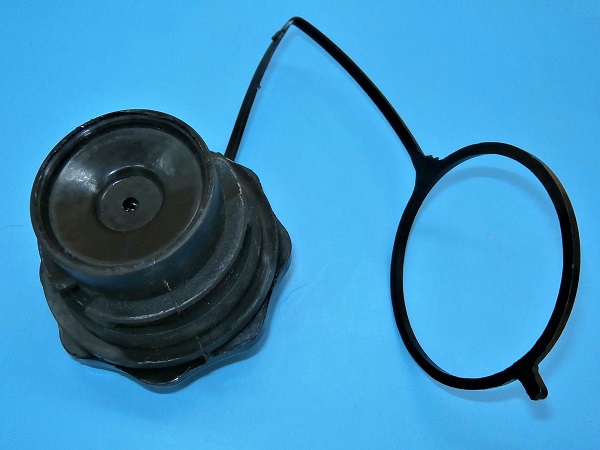
Fit the oil filler cap (GFE6003MS).
The oil filler cap is equipped with a breather. It must be cleaned or changed every 20,000 km (12,000 miles).
Op 13
Start the engine for a few seconds. Turn off the engine.
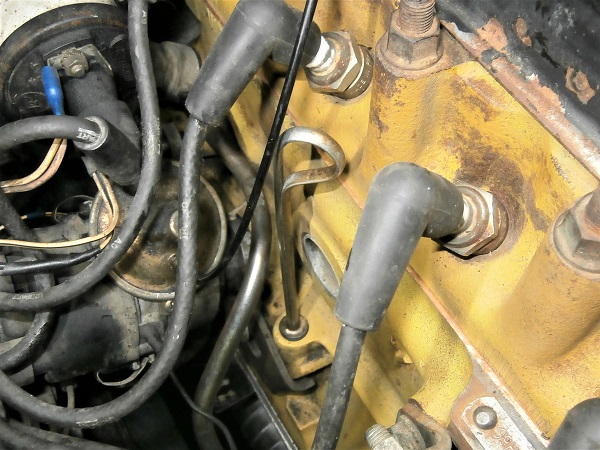
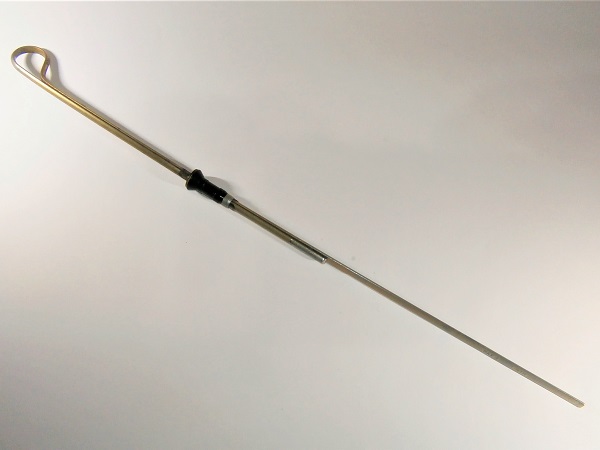
Check the oil level. Use the dipstick.
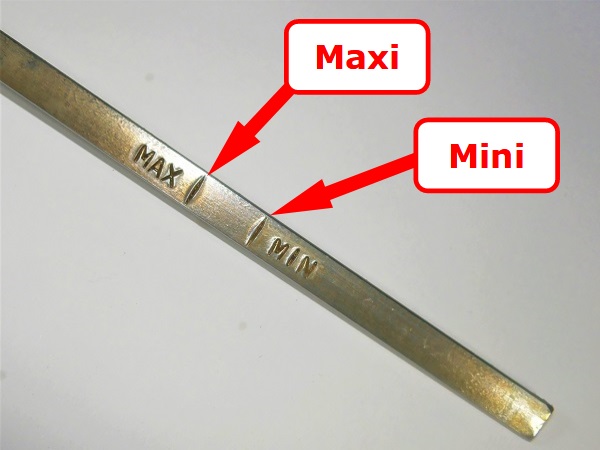
Add engine oil if necessary until approaching the ''max'' mark on the dipstick.
Check that there are no leaks at the oil filter and the drain plug.
After turning off the engine, wait a few minutes for the oil to drain back into the engine oil sump before checking the oil level. If you do not respect this delay, the level reading may be distorted.
The amount of oil between the ''min'' and ''max'' marks on the dipstick is 0.6 liters.
Do not exceed the maximum oil level (''max'' mark). This could damage the engine.
Op 14
Fit the grille (➔ see the tutorial ''Grille removal'' Op 05 to 06).
Op 15
Drive a few kilometers with the vehicle.
Check the oil level again and the absence of leaks at the oil filter and the drain plug.
The End