This tutorial is also available in French
➔

Oil pressure switch change on Austin Mini
Vehicle ➔ Mini 1000 year 1988
Difficulty ➔ Easy

Time ➔ 30 minutes
Summary
Advertisement
Advertisement

Recommendations

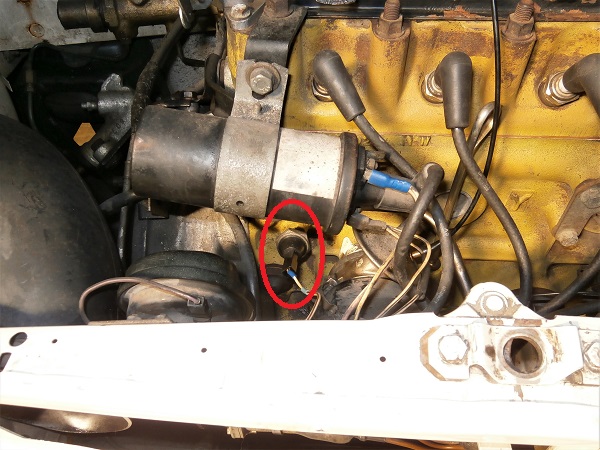
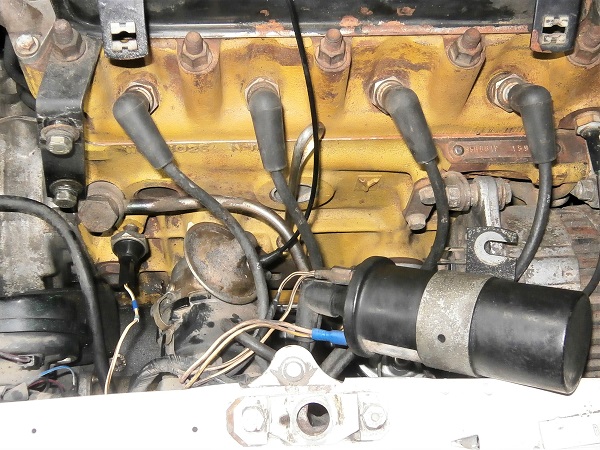
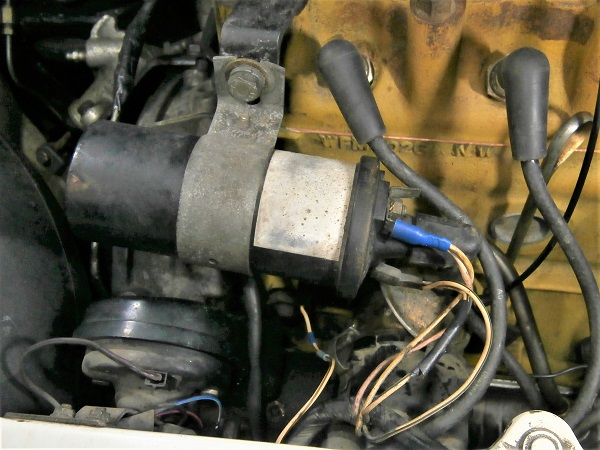
The oil pressure switch is located at the front of the engine near the distributor.

Regularly check the environment of this switch and detect any traces of oil. Indeed, over the years, the overmolding of the connector on the body of the switch is no longer sealed. At the slightest sign of oil leak, do not hesitate to change the switch.
Here is what happened on our Mini.
There is no need to drain the Mini before changing the oil pressure switch.
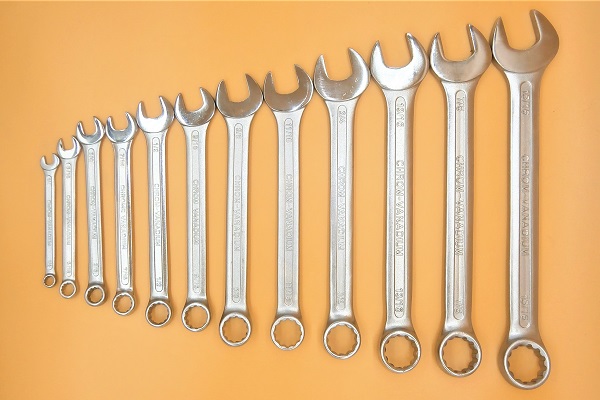
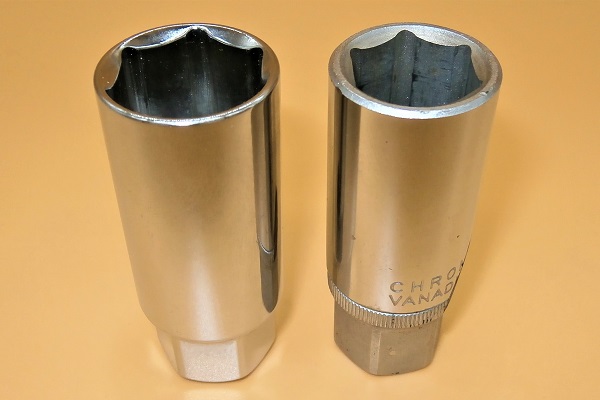
Required Tools
Sponsored links by


Spare Parts
Our Partners


Packaging :
•
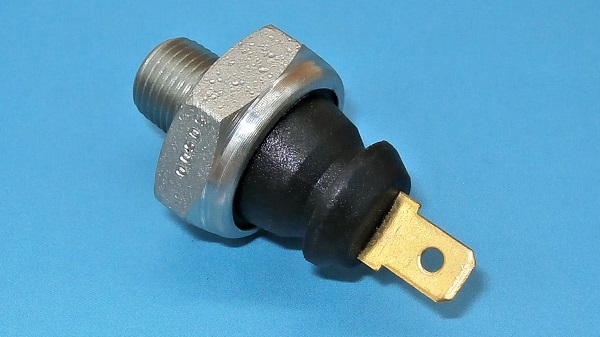
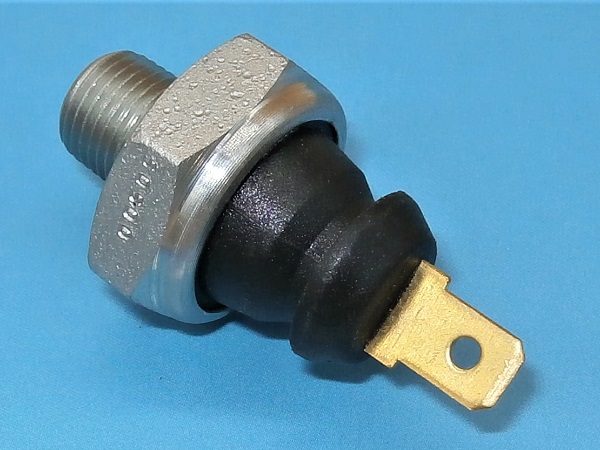
GPS133 : The oil pressure switch is sold individually.
Advertisement
Remove the oil pressure switch
Op 01
Remove the grille (➔ see the tutorial ''Grille removal'' Op 01 to 04).
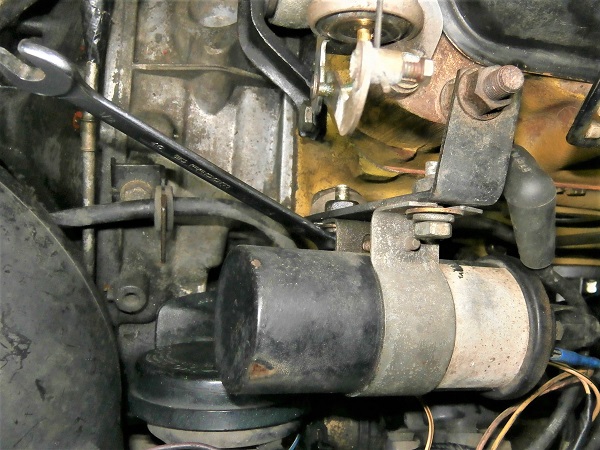
Op 02
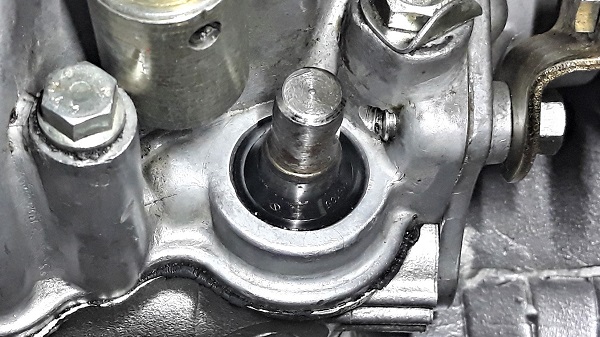
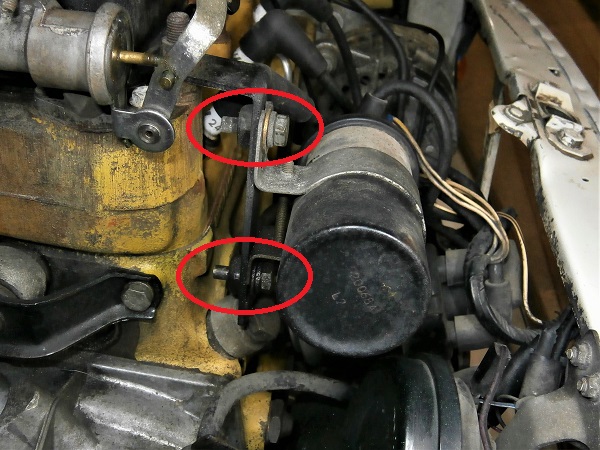
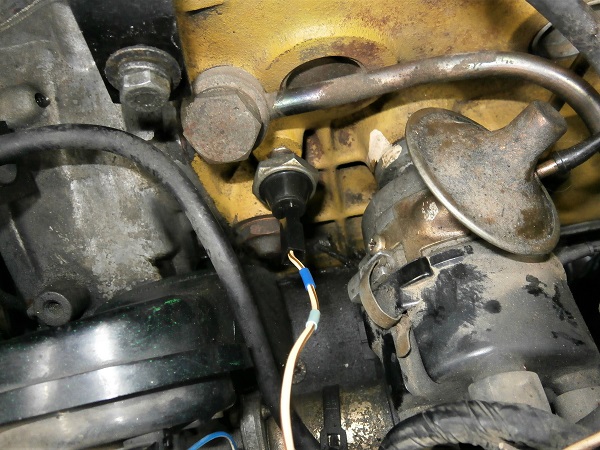
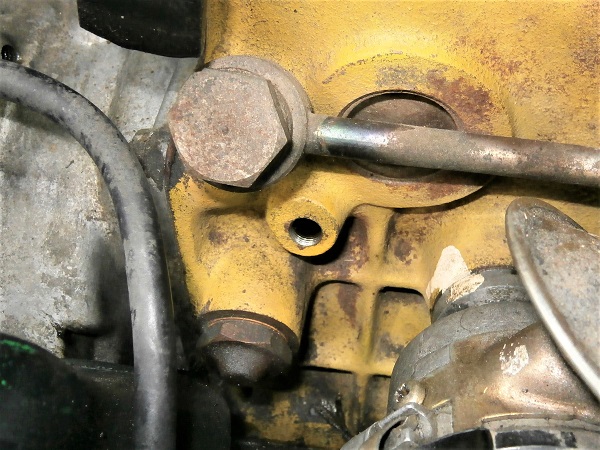
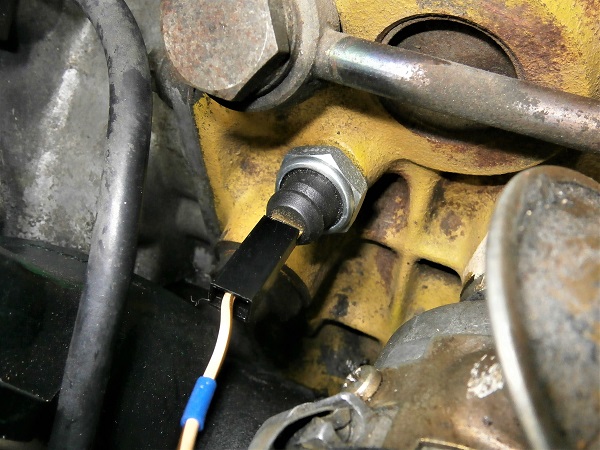
Locate the oil pressure switch.
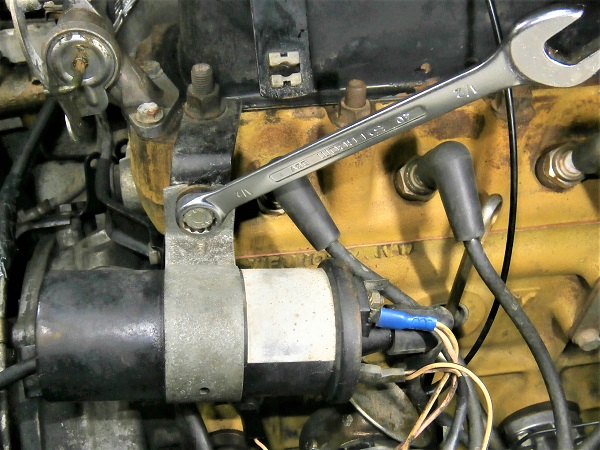
Op 03
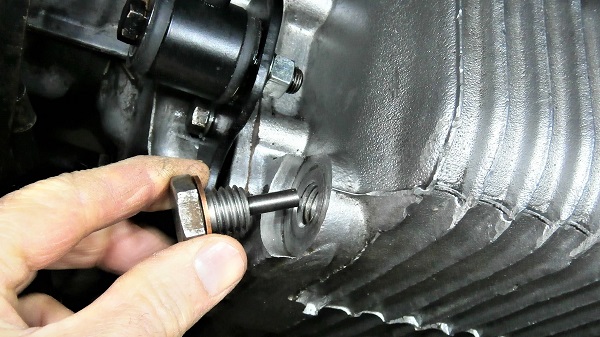
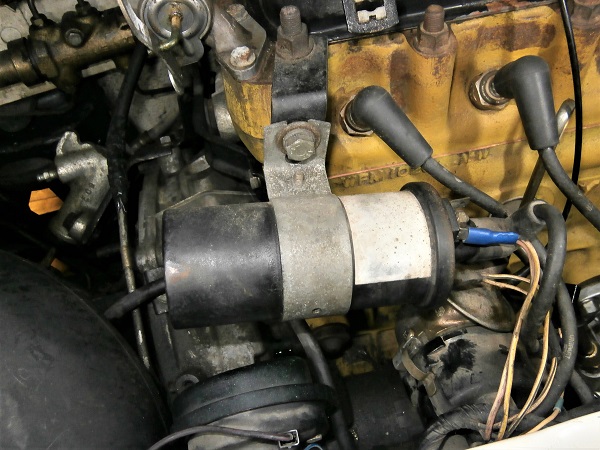
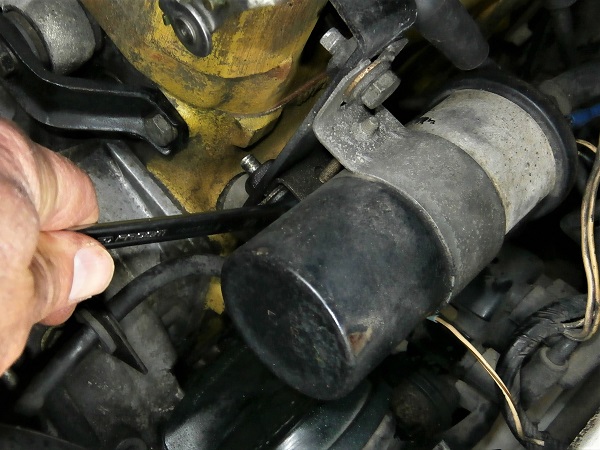
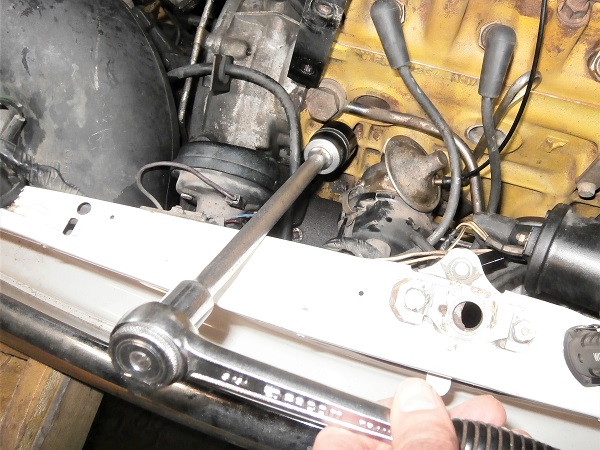
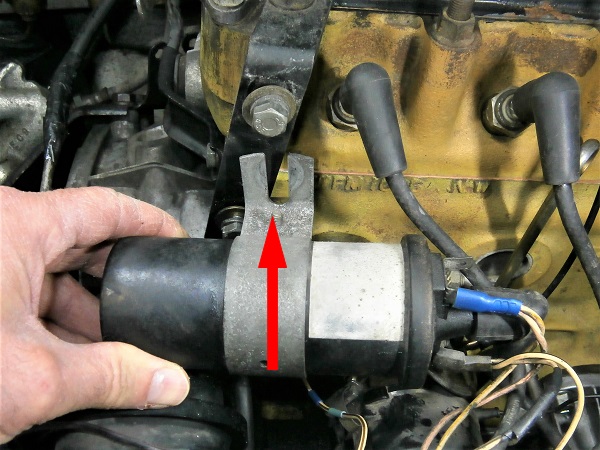
Slightly loosen the 2 ignition coil fixing bolts. Use the 1/2'' spanner.
It is unnecessary to remove the 2 bolts because it is enough to pivot the ignition coil to remove it.
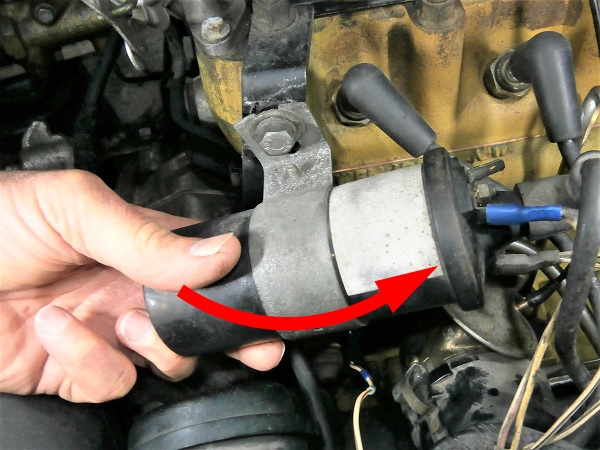
Op 04
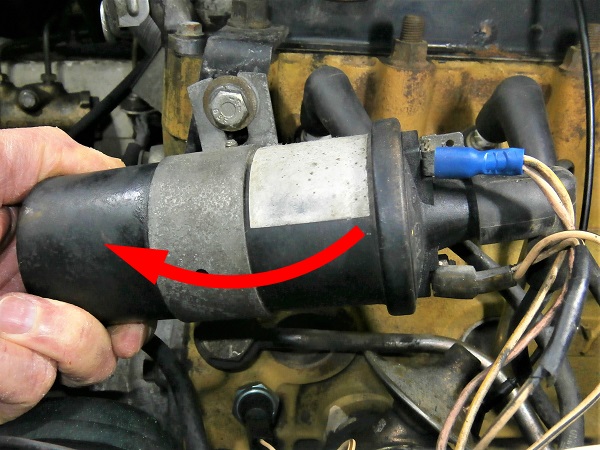
Rotate the ignition coil and remove it.
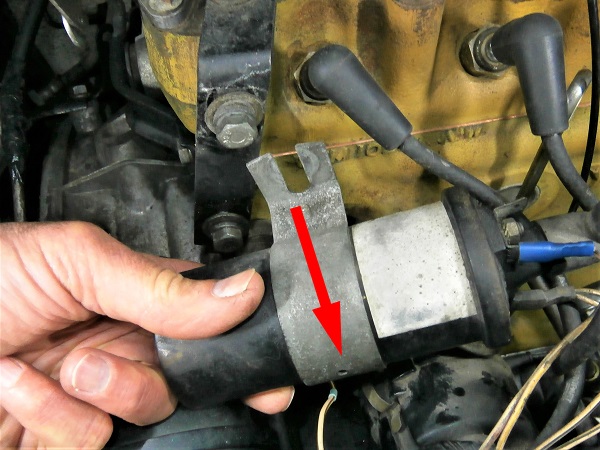
Op 05
Move the ignition coil away from the work area.
The ignition wires are long enough. No need to disconnect them.
Op 06
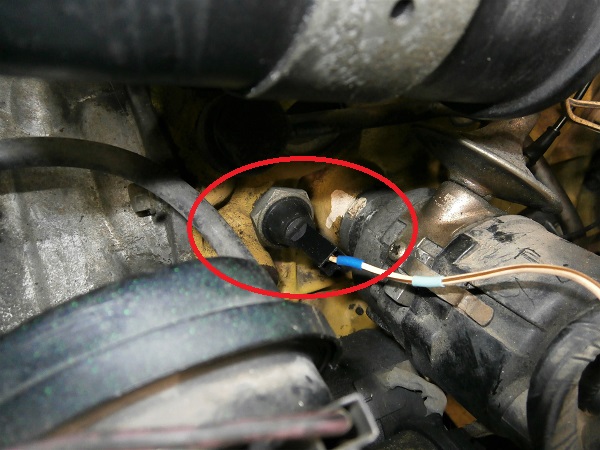
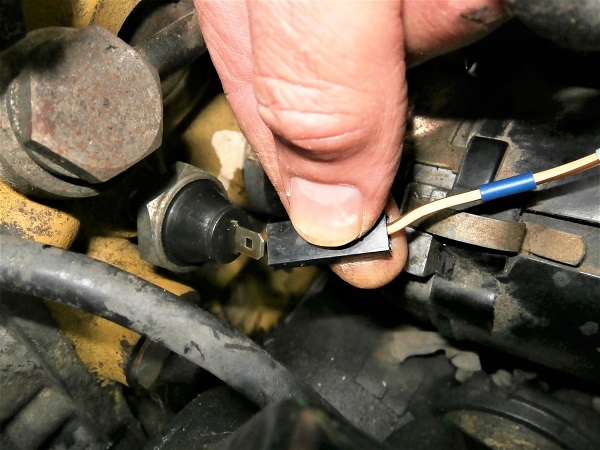
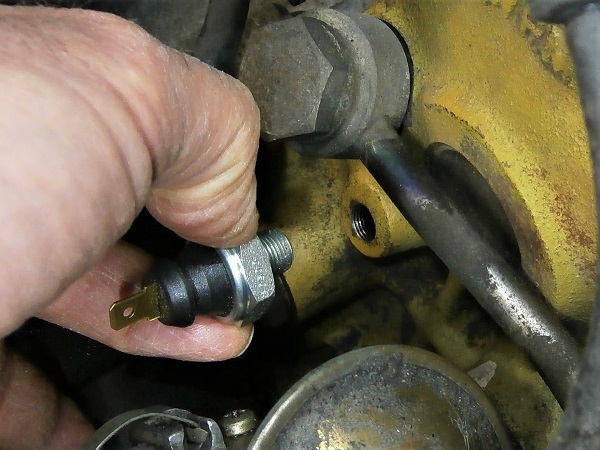
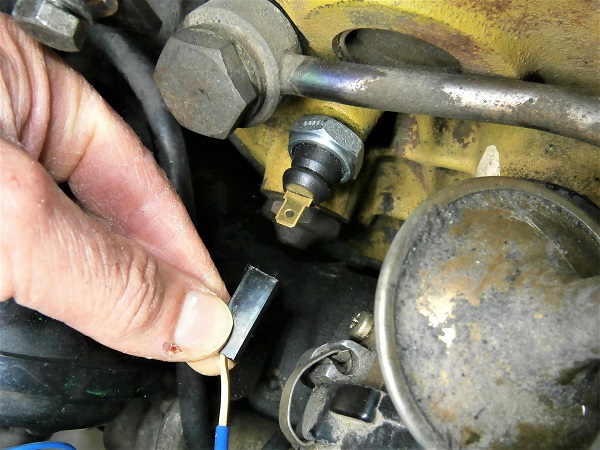
Disconnect the switch connector. Pull by hand.
Op 07
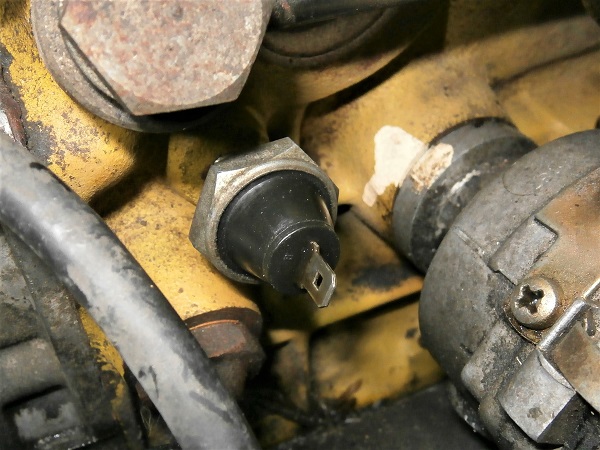
Unscrew the oil pressure switch. Use the 26 mm deep socket.
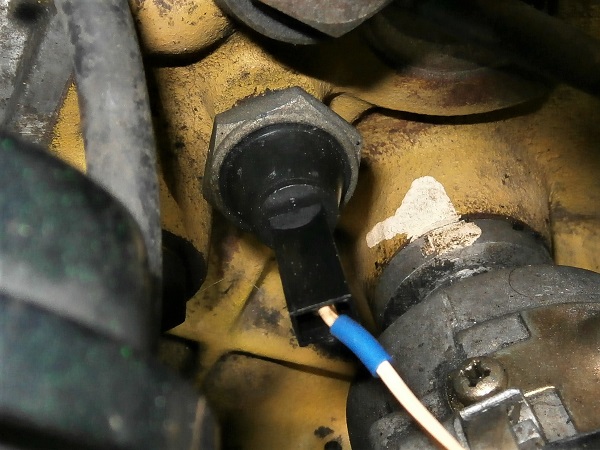
The oil pressure switch does not have a sealing washer.

Advertisement
Fit the oil pressure switch
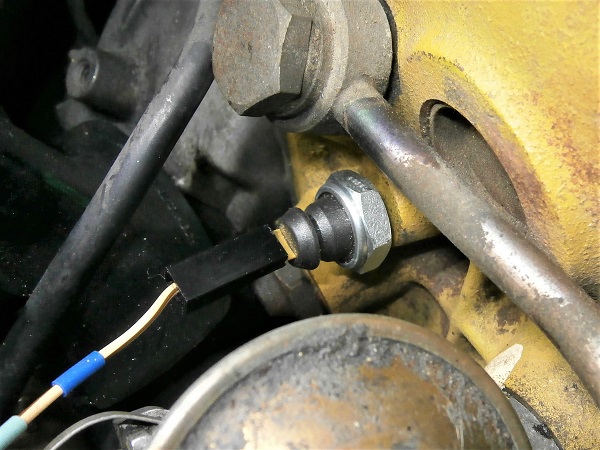
Op 08
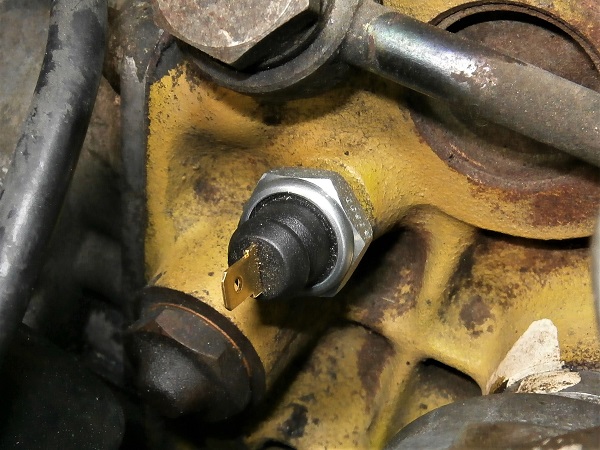
Screw the new oil pressure switch (GPS133) onto the engine block. Start by hand.
Start by screwing the first threads of the switch by hand. Only use the socket for final tightening. This precaution allows the switch to engage perfectly and avoids damaging the threads of the engine block.
The switch thread is conical of the NPT (National Pipe Thread) type. It seals by itself. It is therefore not necessary to put a seal.
Op 09
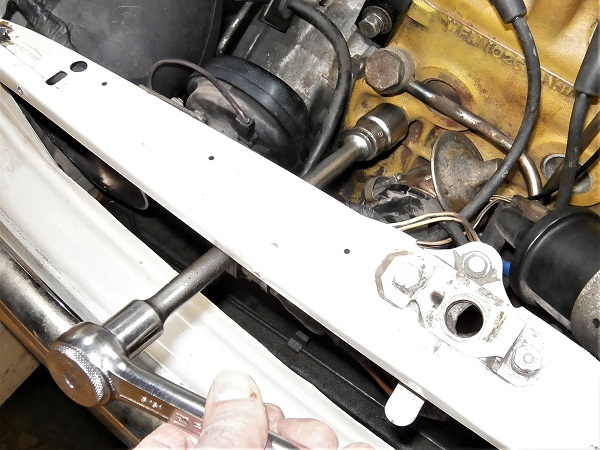
Tighten the switch moderately. Use the 22 mm deep socket.
The workshop manual does not recommend the tightening torque of the oil pressure switch. However, several websites recommend a tightening torque of 15 Nm for an NPT 1/8''-27 conical thread.
Op 10
Connect the connector to the switch. Push by hand.
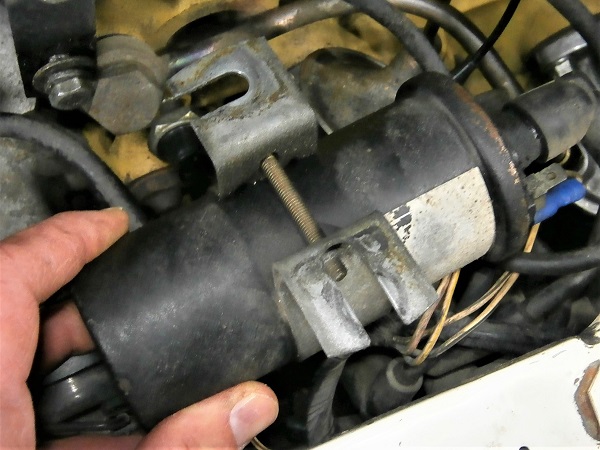
Op 11
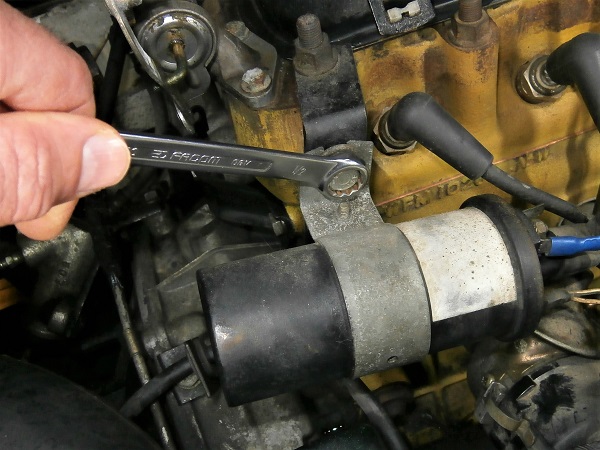
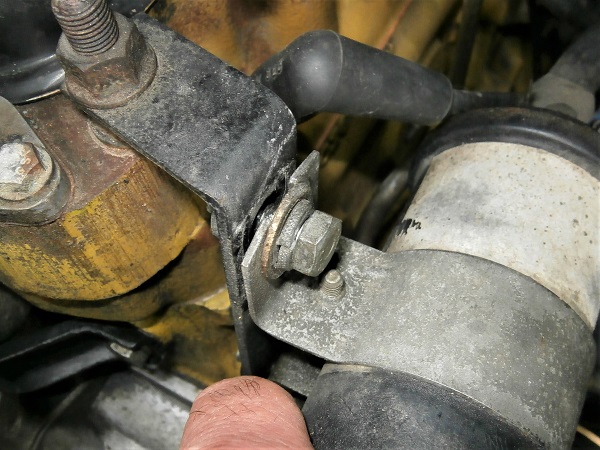
Fit the ignition coil on its support.
Op 12
Tighten the 2 ignition coil fixing bolts. Use the 1/2'' spanner.
Op 13
Start the engine.
Check that there is no oil leak at the oil pressure switch.
If despite everything there is a micro leak at the switch thread, you can remove the switch, add Teflon tape (PTFE) to its thread and screw it back onto the engine block.
Op 14
Fit the grille (➔ see the tutorial ''Grille removal'' Op 05 to 06).
The End