This tutorial is also available in French
➔

Petrol tank sender unit change on Austin Mini
Vehicle ➔ Mini 1000 year 1988
Difficulty ➔ Easy

Time ➔ 30 minutes
Summary
Advertisement
Advertisement

Recommendations

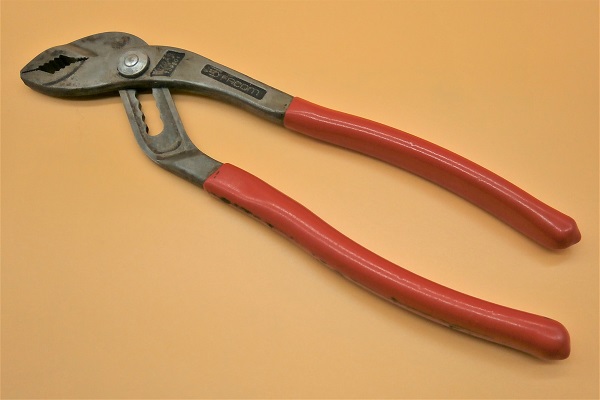
There is a specific tool for removing the petrol tank sender unit retainer ring. I unfortunately do not have this tool. So I did it with the means at hand. The multigrip pliers are not perfectly suited for this operation but with a little patience they do the trick.

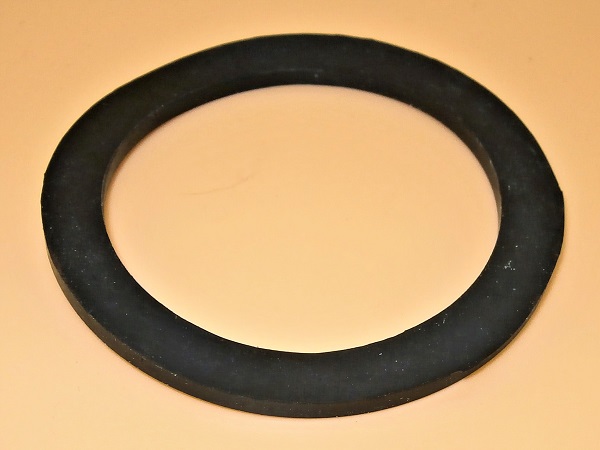
The sender is fixed halfway up the petrol tank. The seal must therefore be perfect. This is why it is recommended to use a new seal (ARA1502) each time it is removed.
Required Tools
Sponsored links by

Spare Parts
Our Partners


Packaging :
•
All the above parts are sold individually.
Advertisement
Remove the sender
Op 01
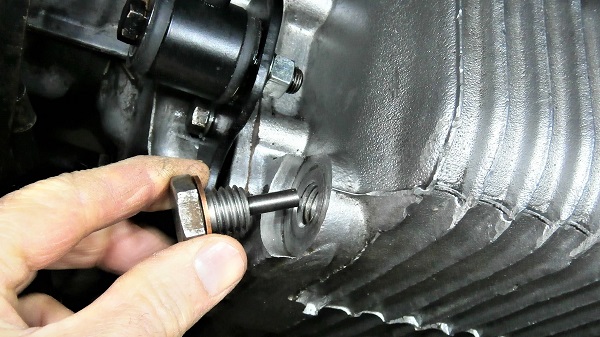
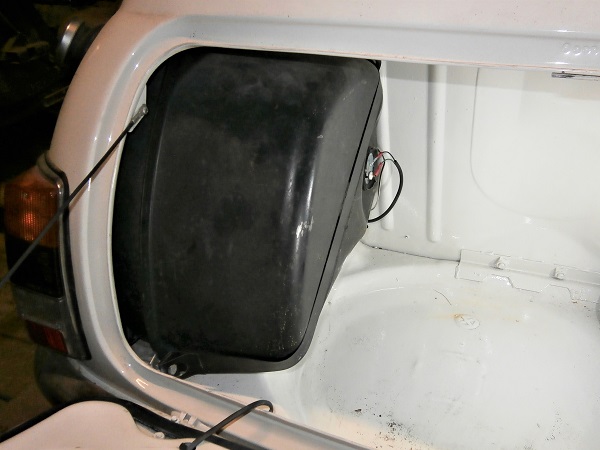
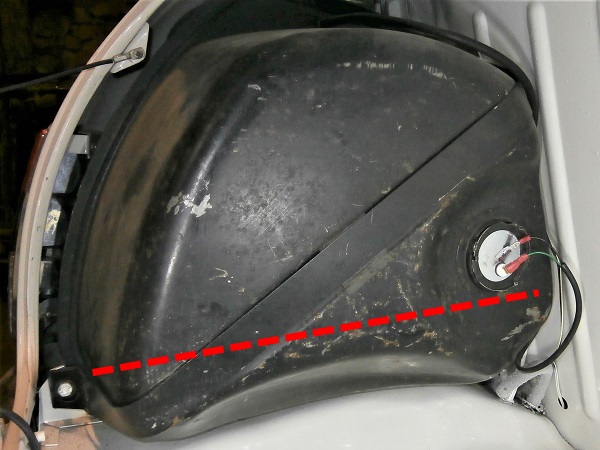
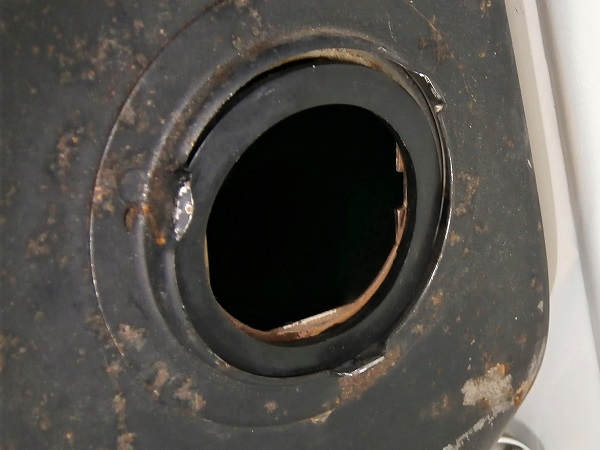
Empty the petrol tank. Either drive or siphon.
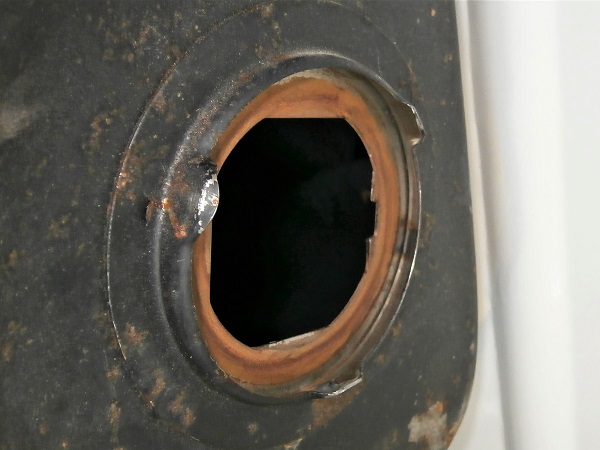
The petrol level in the tank must be below the sender fixing hole (symbolized by the red dotted line in the 2nd photo).
Op 02
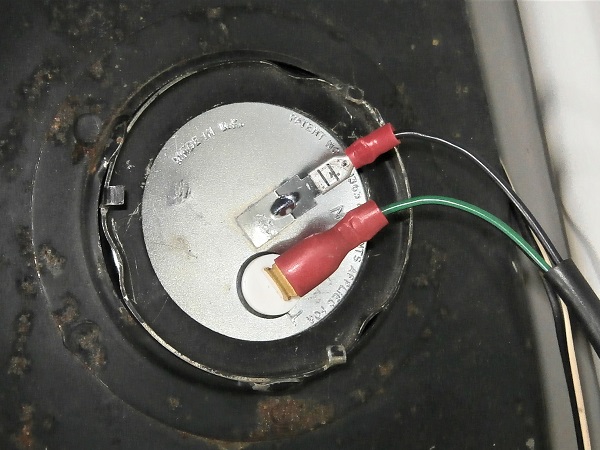
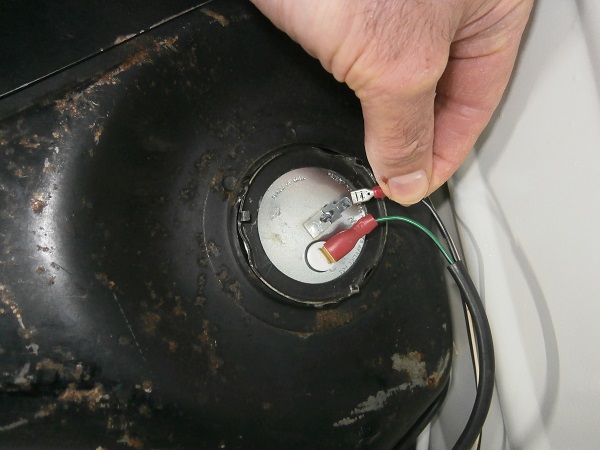
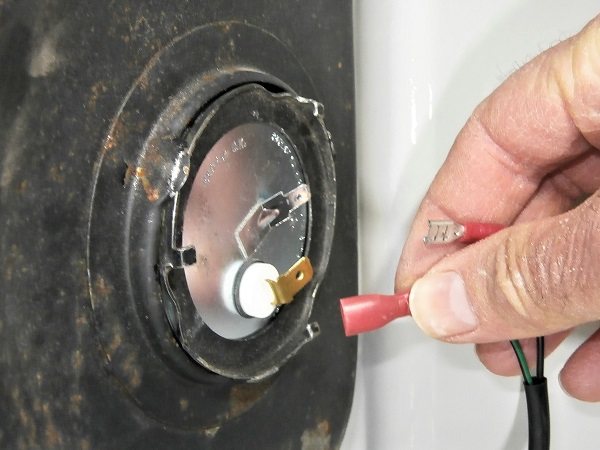
Disconnect the 2 wires from the petrol sender unit. Pull by hand.
Op 03
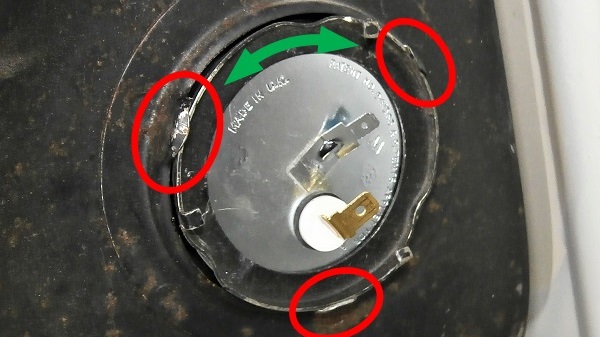
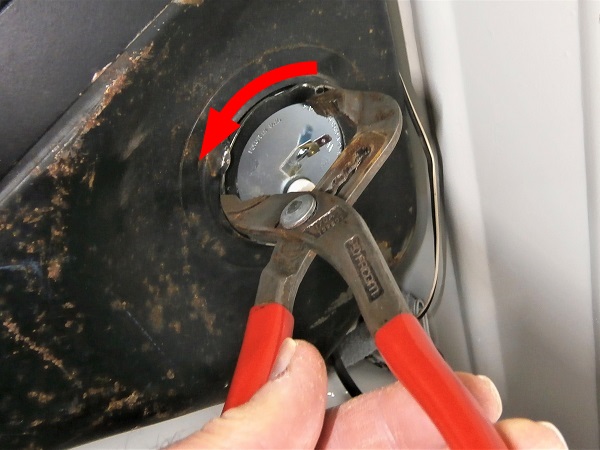
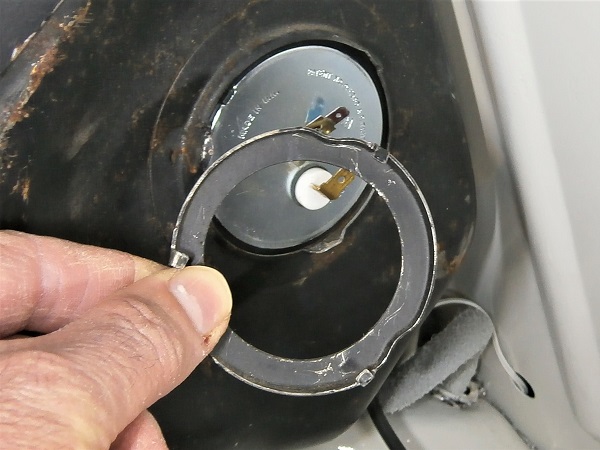
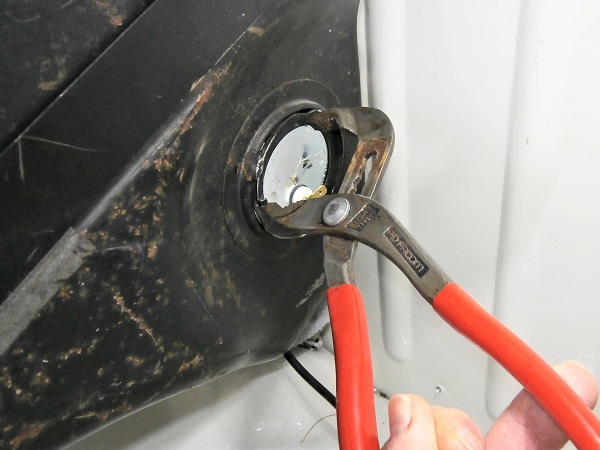
Remove the retainer ring. Use the multigrip pliers.
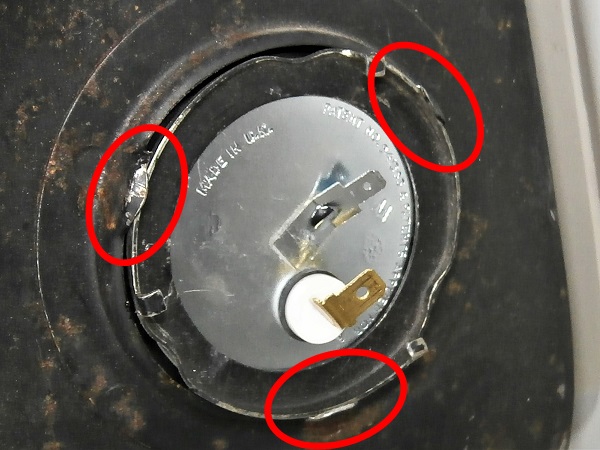
The ring is not actually screwed on. It is just held by 3 jaws. Simply rotate it a few degrees and it will be released.
It's not really easy to rotate the ring with the multigrip pliers, but with a little application you can do it without pinching your fingers and without getting the pliers in your head.

Op 04
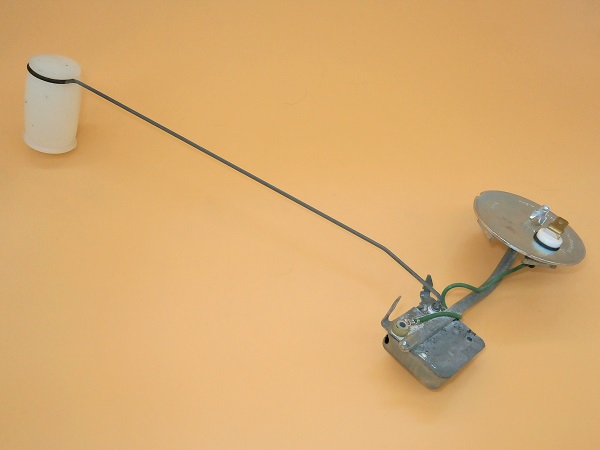
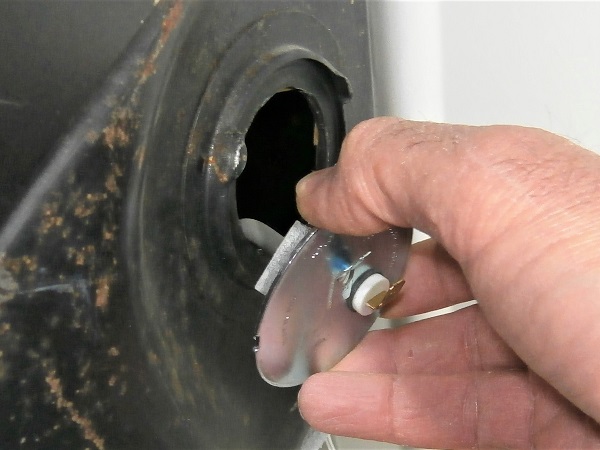
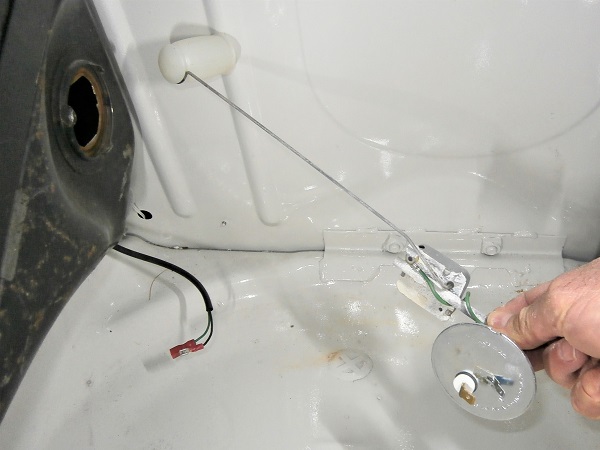
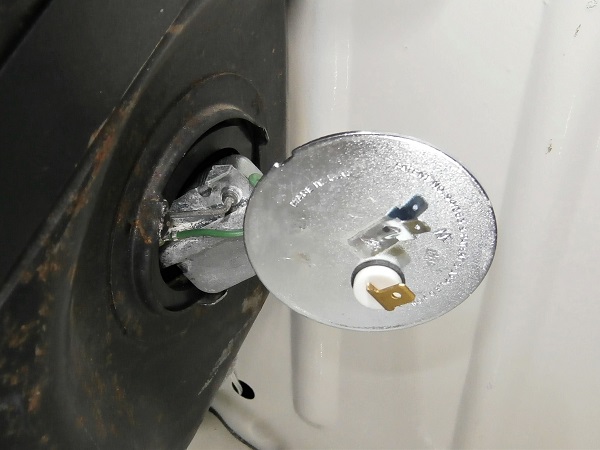
Remove the sender. Pull by hand.
The sender is not really very easy to remove. You have to twist it a little without forcing it so as not to deform the float rod.
Op 05
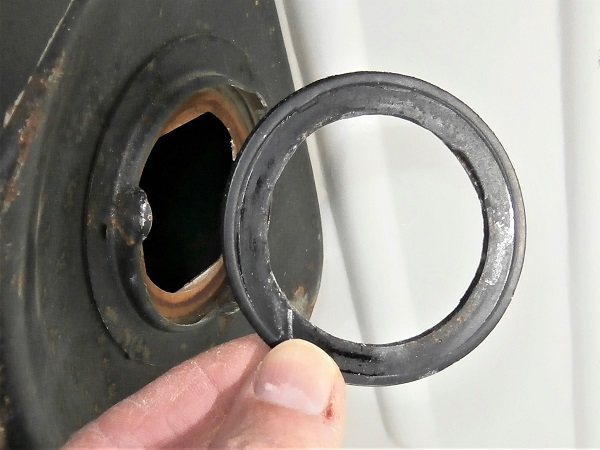
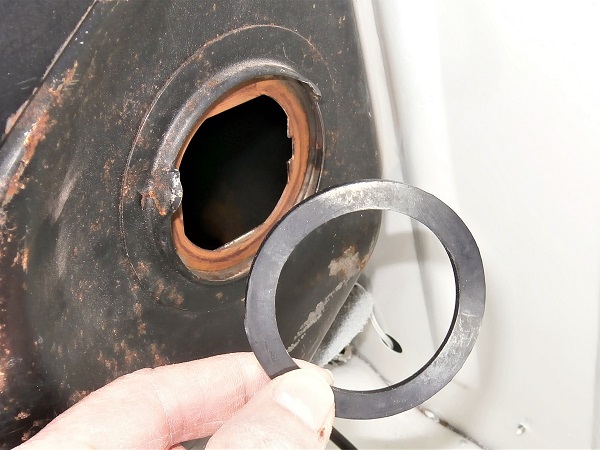
Remove the seal. Pull by hand.
Advertisement
Fit the sender
Op 06
Fit the new seal (ARA1502).
Op 07
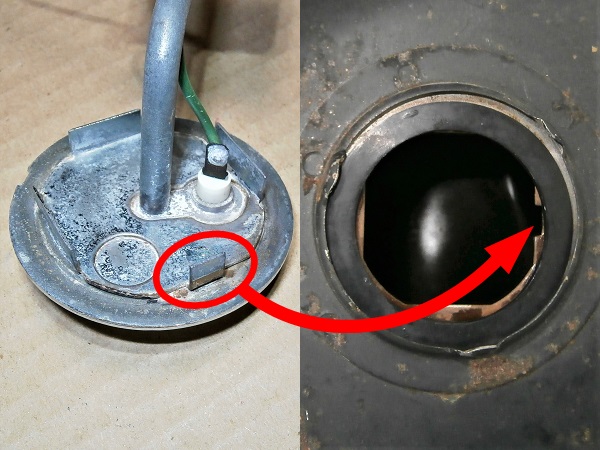
Fit the new sender unit (XNB10007) on the petrol tank.
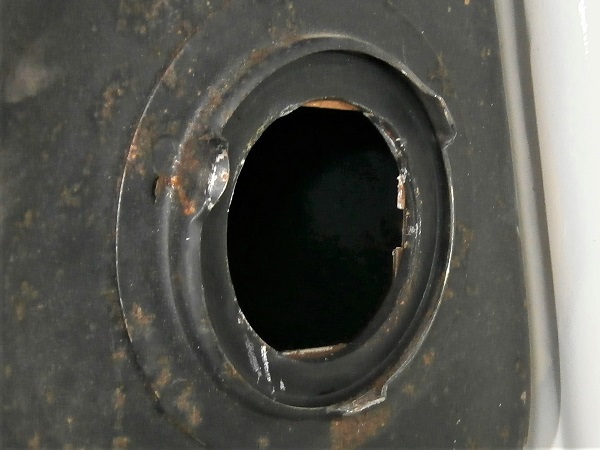
To guarantee the correct angular position, engage the sender lug in the tank notch (1st photo).
Op 08
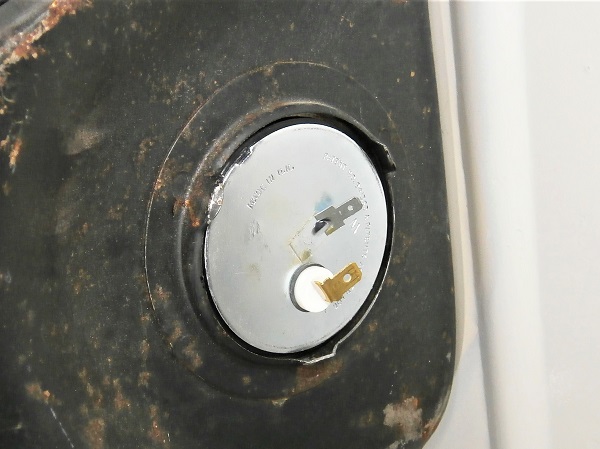
Fit the retainer ring.
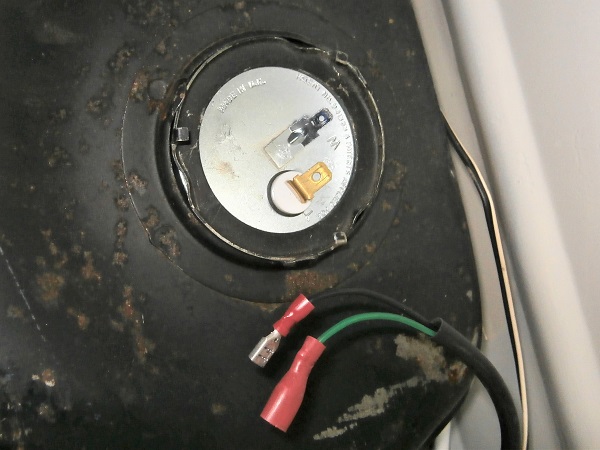
Check that the ring is properly engaged in the 3 jaws (3rd photo).


Op 09
Tighten the ring. Use the pliers.

Op 10
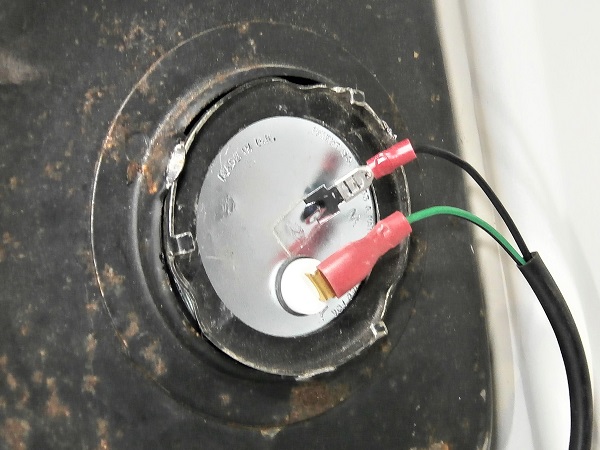
Connect the 2 wires. Push by hand.
Op 11
Fill the petrol tank and check that there are no leaks at the sender unit.
The End