This tutorial is also available in French
➔

Rear wheel cylinders refurbishment on Austin Mini
Vehicle ➔ Mini 1000 year 1991 automatic gearbox
Difficulty ➔ Medium

Time ➔ 1 hour
Summary
Advertisement
Advertisement

Recommendations

The selling price of a new wheel cylinder is not much higher than the price of the seals kit for refurbishment. Analyze the cylinders carefully before placing your order. If in doubt (oxidation, scratches, defect) order new wheel cylinders.

We conducted a survey on Facebook regarding the renovation of wheel cylinders when changing brake shoes :
• 87% of voters systematically replace wheel cylinders with new ones.
• 13% of voters renovate wheel cylinders with seal kits.
• 87% of voters systematically replace wheel cylinders with new ones.
• 13% of voters renovate wheel cylinders with seal kits.
Renovating a wheel cylinder is not a complicated operation. Just be careful and meticulous to get a good result.
Required Tools
Sponsored links by


Spare Parts
Our Partners


Packaging :
•
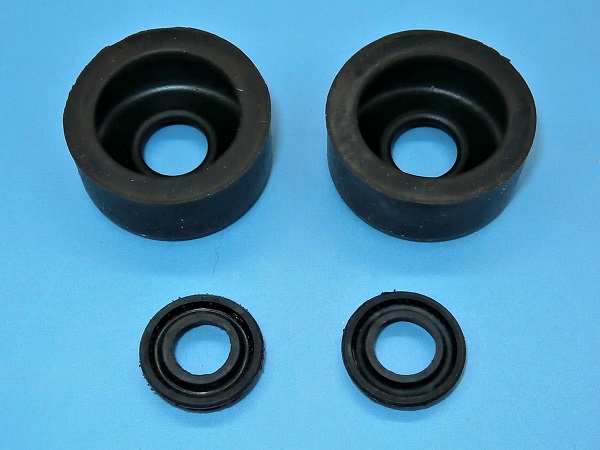
GRK2014 : The wheel cylinder repair kit is for 1 cylinder only. It includes : 2 rubber end caps and 2 piston seals. So you need 2 for a Mini.
Advertisement
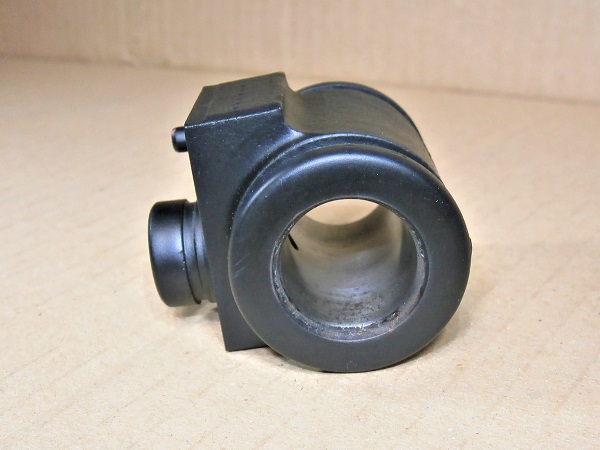
Disassemble the wheel cylinder
Op 01
Remove the rear drum and brake shoes (➔ see the tutorial ''Rear brake shoes change'' Op 01 to 17).
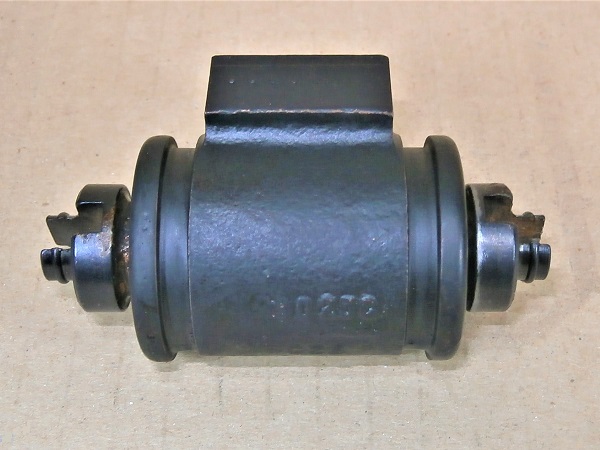
Op 02
Remove the rear wheel cylinder (➔ see the tutorial ''Rear brake shoes change'' Op 18 to 22).
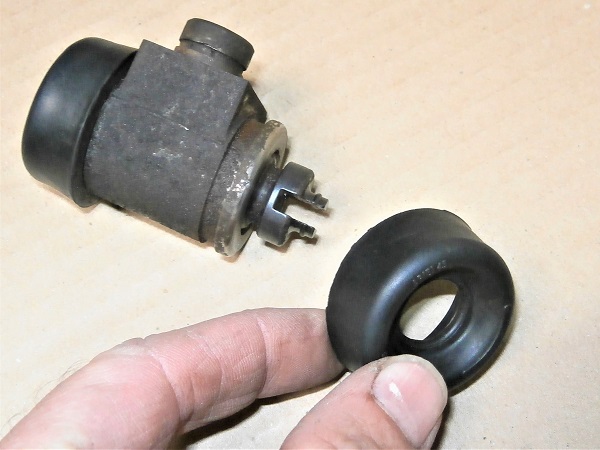
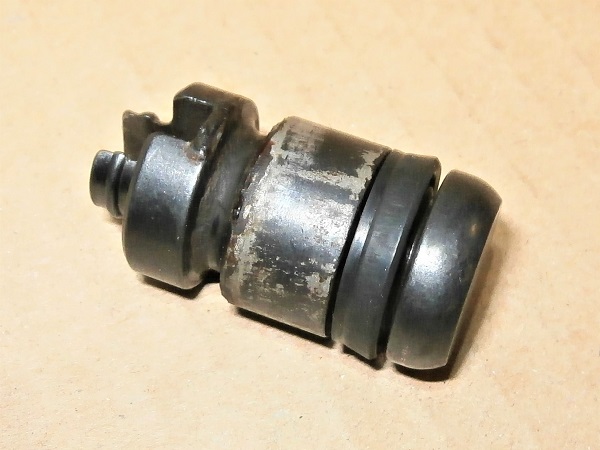
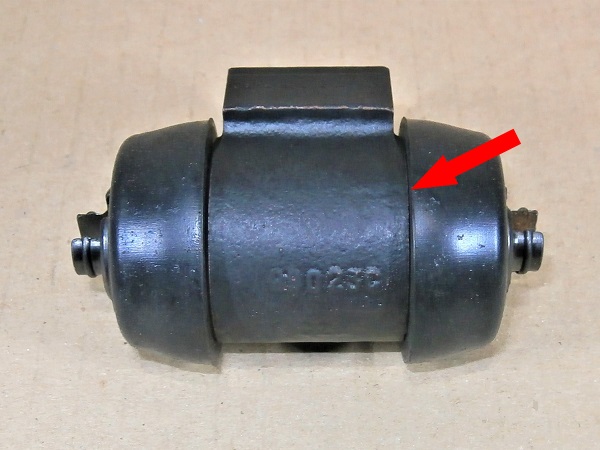
Op 03
Remove the 2 rubber end caps. Pull by hand.
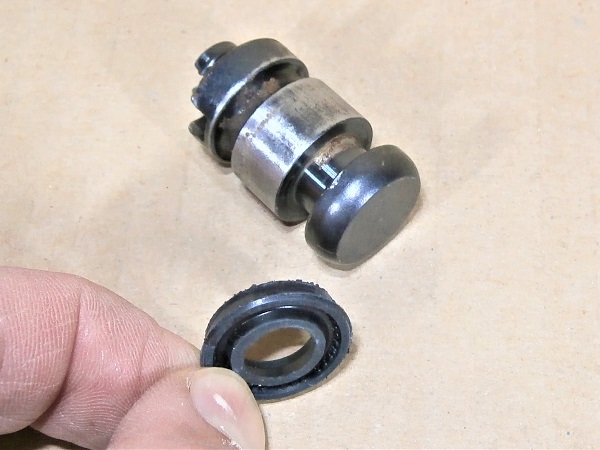
Op 04
Remove the 2 pistons. Pull by hand.
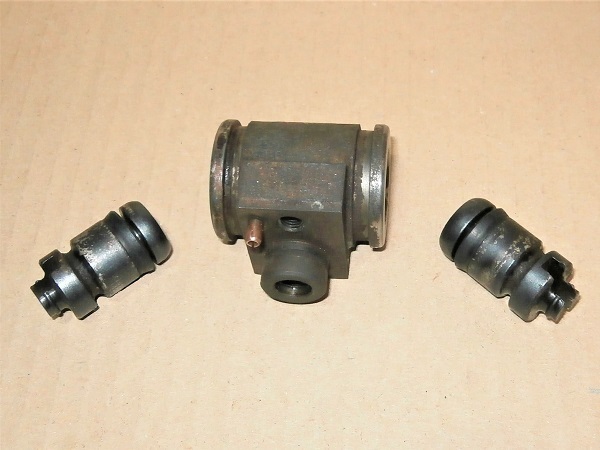
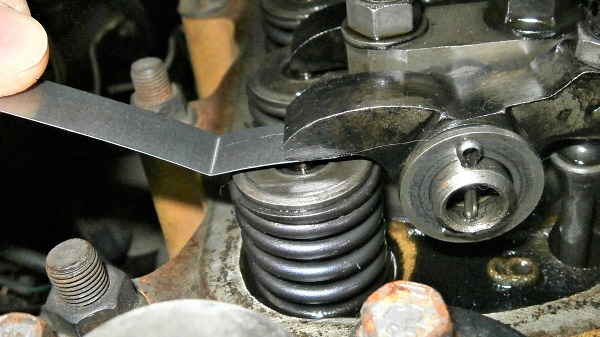
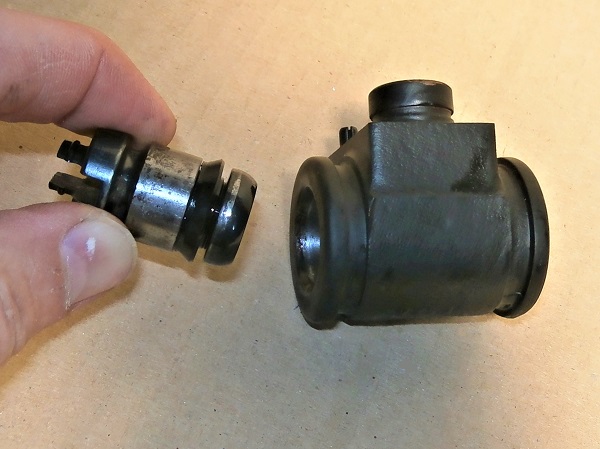
Op 05
Remove the 2 piston seals. Use a small flathead screwdriver.

Advertisement
Reassemble the wheel cylinder
Op 06
Thoroughly clean the wheel cylinder body and the 2 pistons. Use brake cleaner.
Check that there is no oxidation or scratches inside the wheel cylinder. If in doubt, fit a new wheel cylinder.

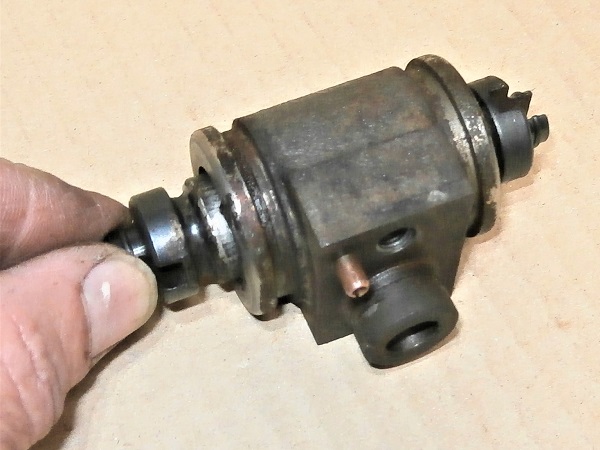
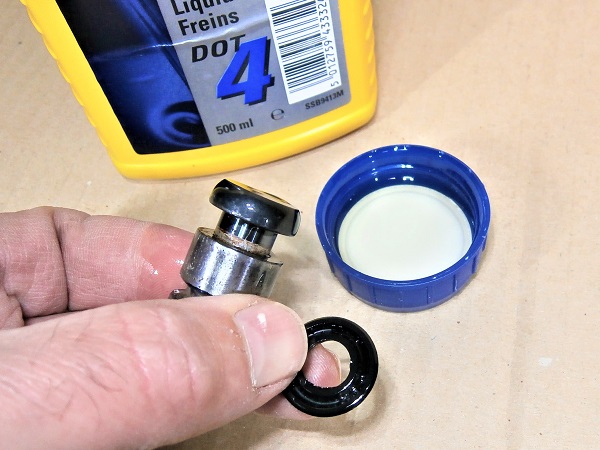
Op 07
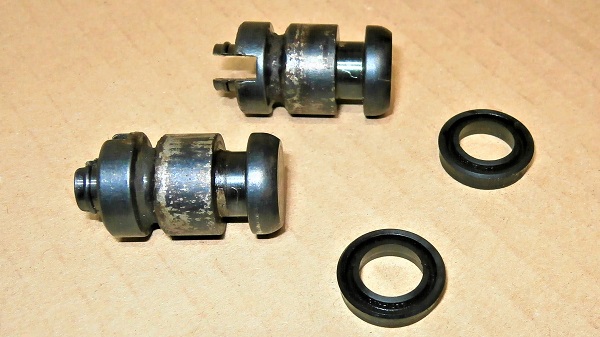
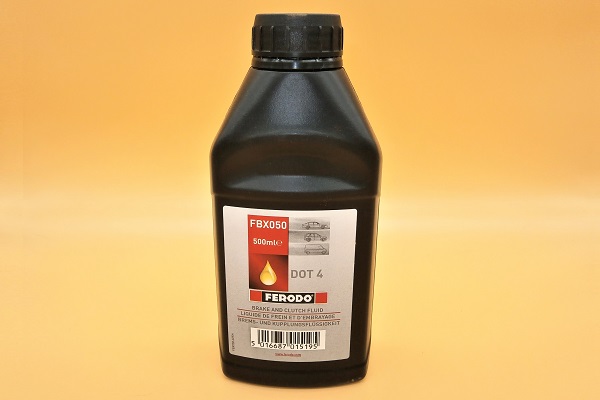
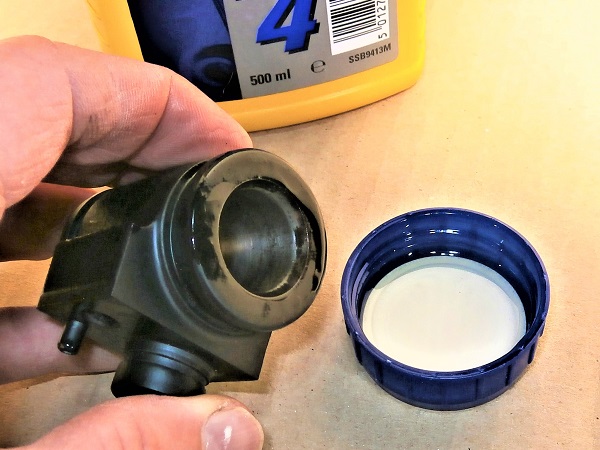
Lubricate the pistons and seals. Use brake fluid.
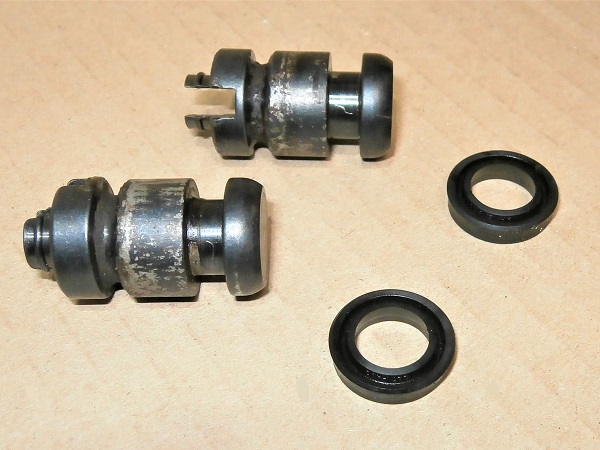
Fit the seals on the 2 pistons. Place them by hand.
Do not use any tools to position a seal on its piston. You could damage the lip.
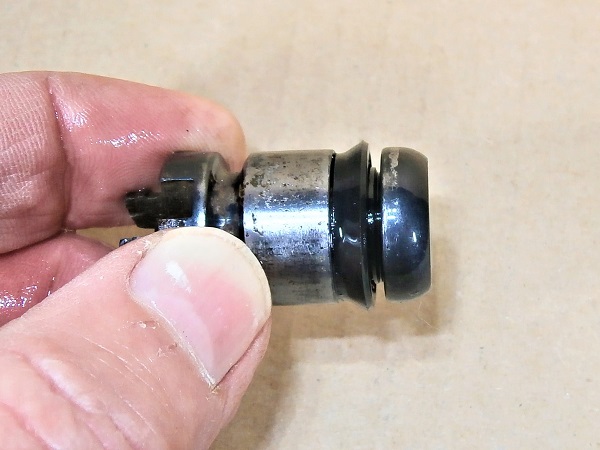
Orient the lip towards the rounded end of the piston. This is the side that will go into the wheel cylinder (3rd photo).
The seal is narrower than the groove in which it is positioned (3rd photo). This is normal. The lip will then be able to get into position when it is in the wheel cylinder.
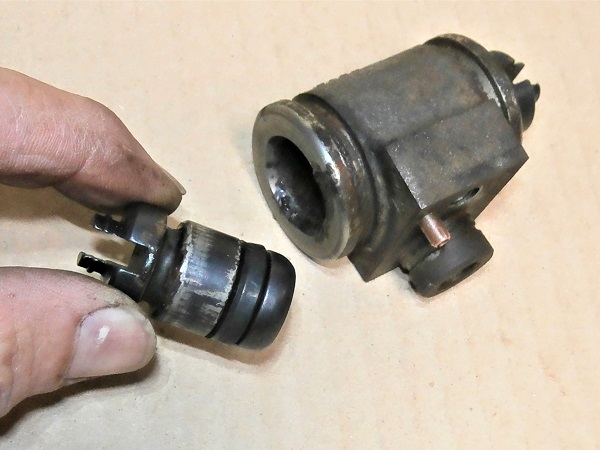
Op 08
Lubricate the inside of the wheel cylinder. Use brake fluid.
Engage the 2 pistons in the wheel cylinder. Push by hand.
No tools are needed for this operation. Simply present the piston well in line and it will enter without forcing. The conical part at the cylinder inlet guides the seal lip which finds its place smoothly.
Brake fluid is extremely aggressive with paint. As soon as the 2 pistons are in place, immediately wipe off any traces of brake fluid on the wheel cylinder.
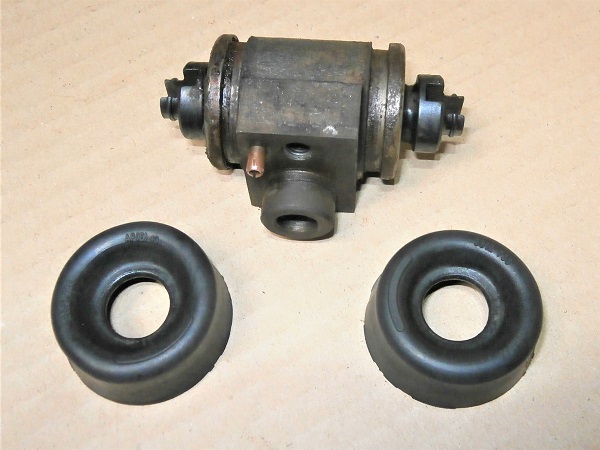
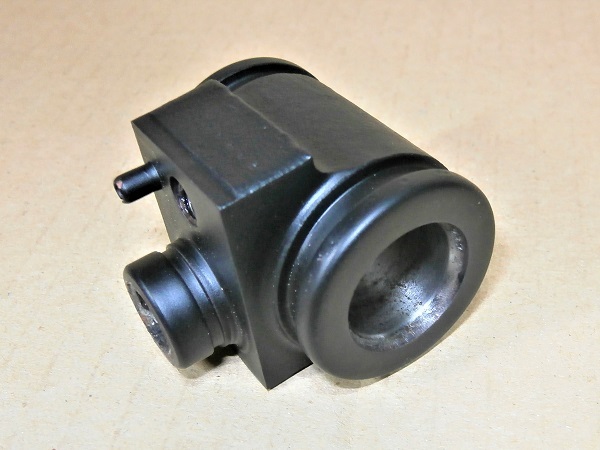
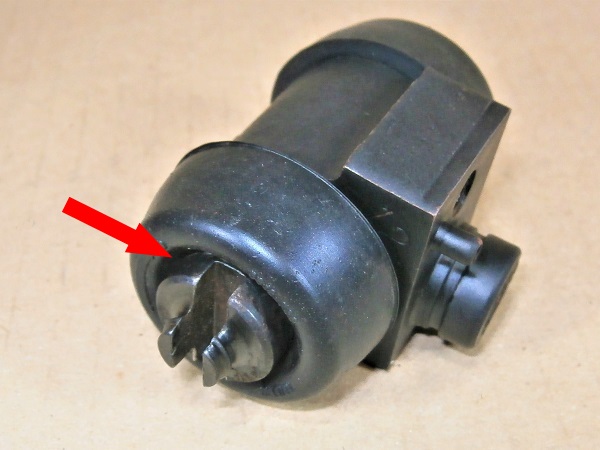
Op 09
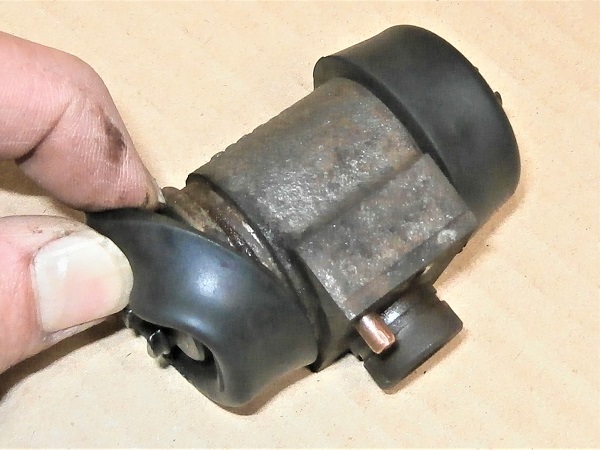
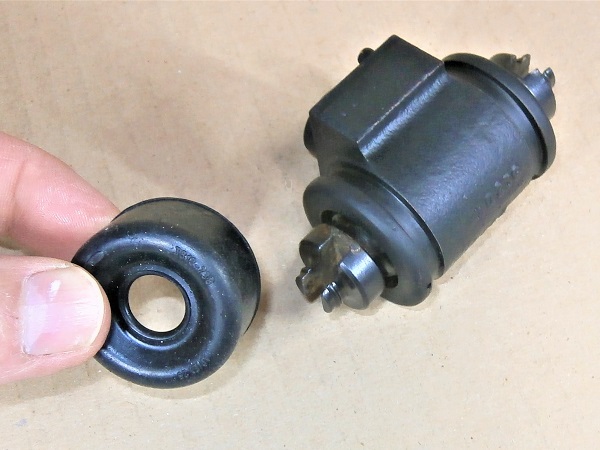
Fit the 2 rubber end caps. Place them by hand :
•
Engage the outside of the rubber end cap in the wheel cylinder groove (2nd photo).
•
Engage the inside of the rubber end cap in the piston groove (3rd photo).
The rubber end caps are put on by hand. It's not super easy but it can be done.
Op 10
Fit the rear wheel cylinder (➔ see the tutorial ''Replacing rear brake shoes'' Op 25 to 30).
Op 11
Fit the rear brake shoes and the drum (➔ see the tutorial ''Replacing rear brake shoes'' Op 31 to 42).
Op 12
Bleed the brake system (➔ see the tutorial ''Brake system bleeding'').
The End