This tutorial is also available in French
➔

Brake system bleeding on Austin Mini (AM from 1988 onwards)
Vehicle ➔ Mini 1000 year 1991 automatic gearbox
Difficulty ➔ Easy

Time ➔ 2 hours
Summary
Advertisement
Advertisement

Recommendations

This tutorial only concerns Minis with master cylinder GMC90376 mounted from 1988. There is another tutorial that deals with this subject for Minis with master cylinder GMC227 mounted from 1980 to 1988
(➔ see the tutorial).
Here are the 2 reasons why we need to regularly change the brake fluid :
• Over time, the brake fluid loses its anti-corrosion properties. The hydraulic system is no longer protected and may rust.
• Over time, the brake fluid absorbs moisture from the air and becomes saturated with water. Its boiling point is then reduced. During repeated braking, the brakes will heat up, the brake fluid may boil and release gas. Since gas is compressible, the car will no longer brake.

Brake fluid is extremely aggressive to paint. Be careful not to spill any on the bodywork. Clean any stains immediately with a cloth and water.
Always use new brake fluid. Never put used fluid back into the brake master cylinder reservoir.
Used oils, brake fluids, seals and filters are hazardous waste for the environment. They must in no circumstances be thrown neither in the natural environment, nor in the sanitation network, nor in household waste. They must be deposited in a recycling center.
The capacity of the brake system is 0.35 L (for 850 and 1000 engines).
It is not essential to remove the wheels of the Mini to bleed the brakes, but the bleed nipples are much more accessible without the wheels.
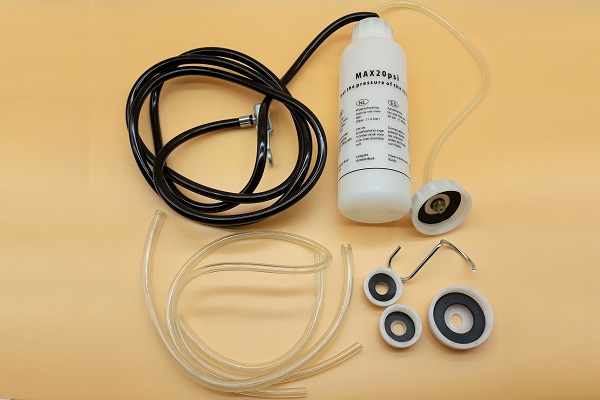
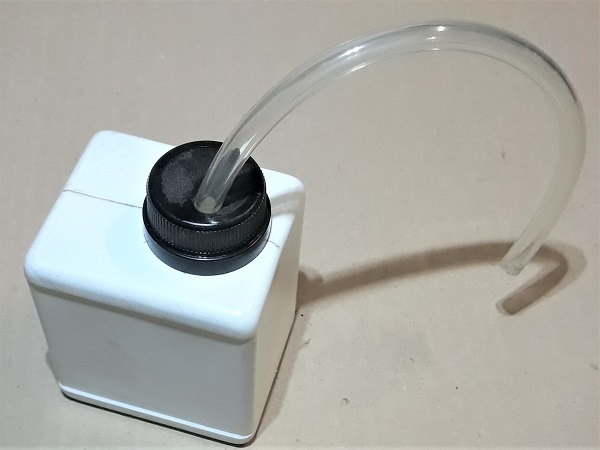
The Eezibleed kit
The Eezibleed kit allows you to bleed the brake or clutch hydraulic systems by yourself without pressing the pedals. No need to purchase the kit if you have a friend to help you. In this case, you can use the traditional method of bleeding when your assistant presses the brake or clutch pedal.
The Eezibleed kit is powered by compressed air from the spare wheel, which you will need to deflate beforehand to 1.4 bar maximum. For our part, we prefer to go down to 1.0 bar to avoid any risk of brake fluid leaking from the master cylinder reservoir cap.
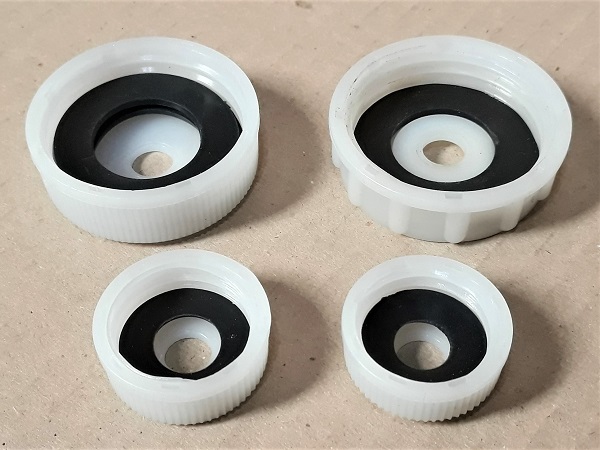
The Eezibleed kit comes with several reservoir caps. Simply select the cap suitable for the master cylinder reservoir.
When bleeding, the master cylinder reservoir empties much more slowly because it is automatically supplied with new brake fluid by the Eezibleed bottle. It is therefore unnecessary to constantly monitor the brake fluid level in the master cylinder reservoir in order to prevent air from entering the hydraulic system. However, you should still check the Eezibleed bottle from time to time.
Required Tools
Sponsored links by


Spare Parts
Our Partners


Packaging :
•
GRK6009 : The brake master cylinder cap is sold individually.
Advertisement
Install the Eezibleed kit
Op 01
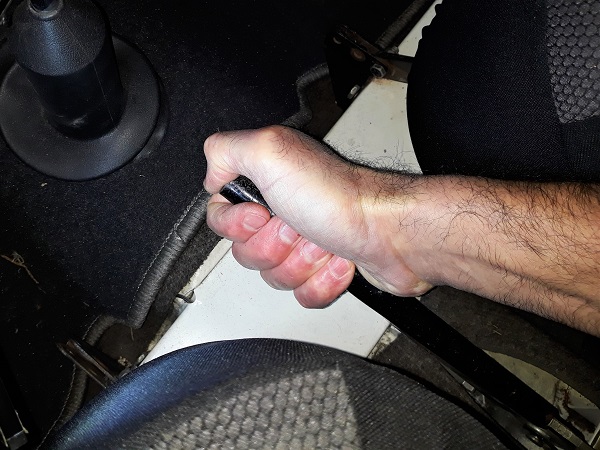
Release the handbrake.
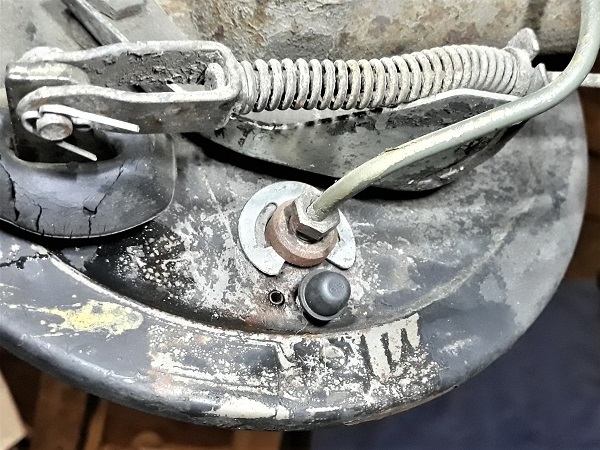
Op 02
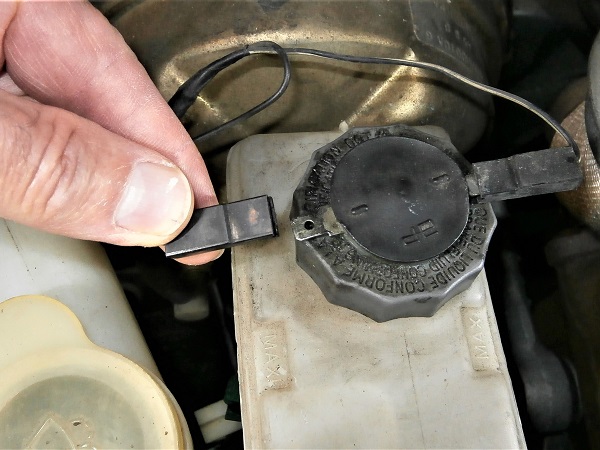
Disconnect the 2 connectors from the brake fluid level sensor. Pull by hand.
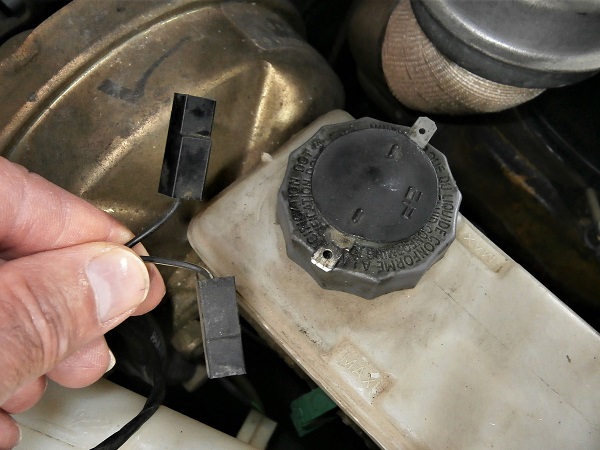
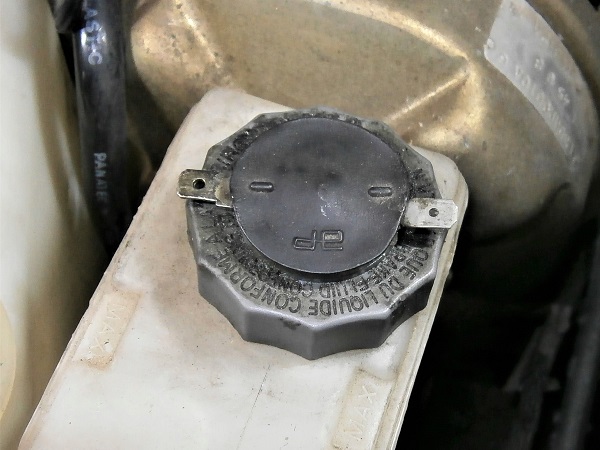
Op 03
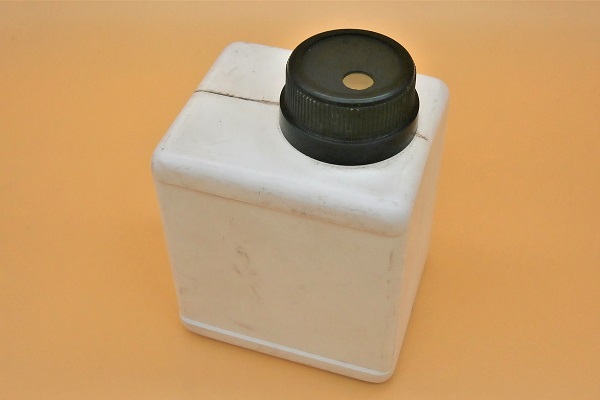
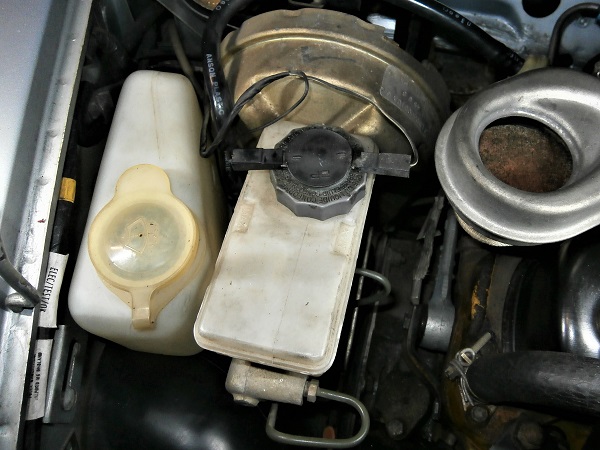
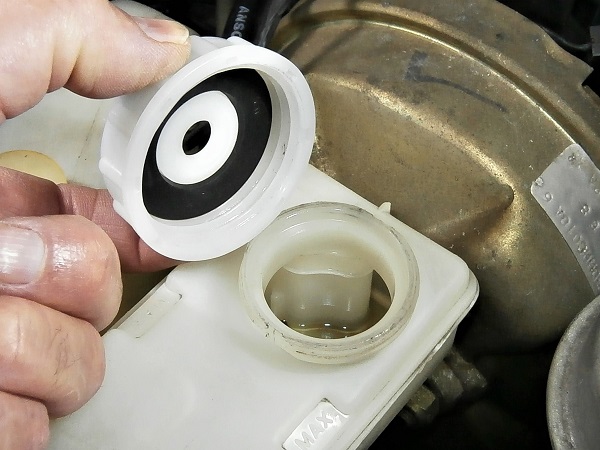
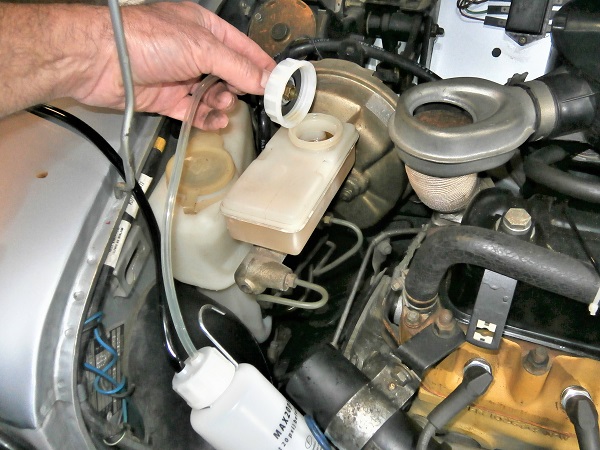
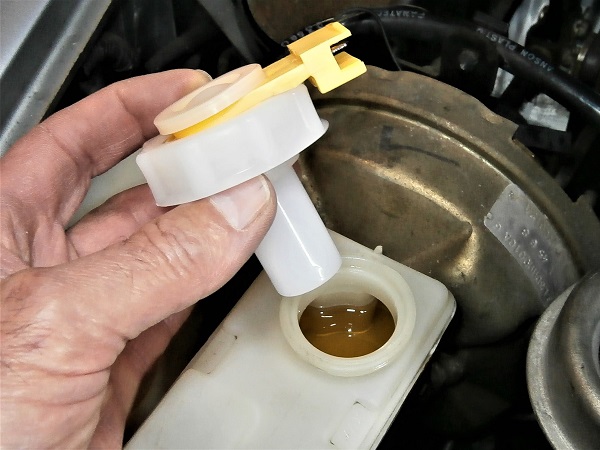
Remove the master cylinder reservoir cap. Unscrew by hand.

Op 04
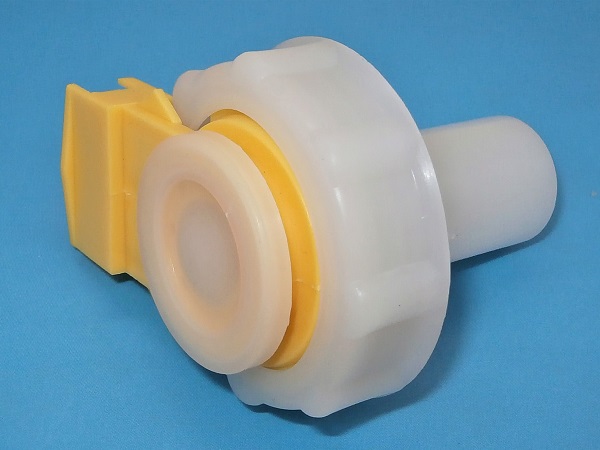
Select the Eezibleed kit cap adapted to the brake master cylinder reservoir.
Check that it screws perfectly onto the reservoir.
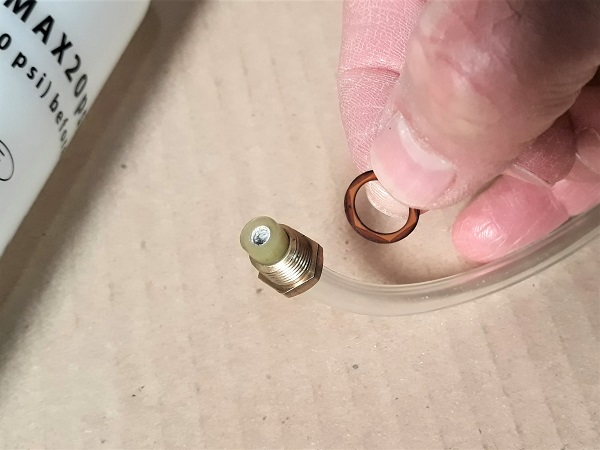
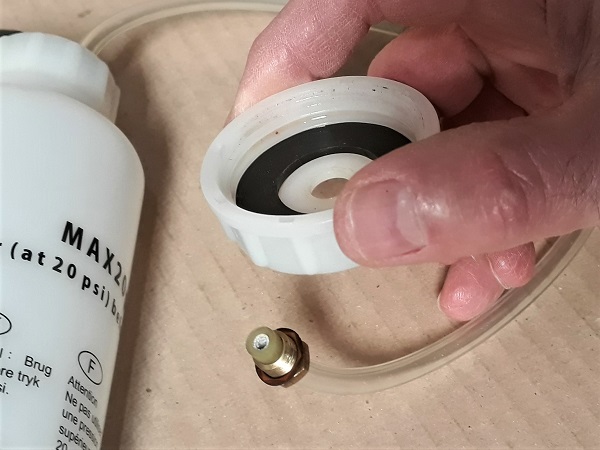
Op 05
Assemble the cap on the kit hose using the seals and nut provided with the Eezibleed kit. Use the 11 mm spanner.
Do not forget to fit the seals on either side of the cap as indicated in the instructions.
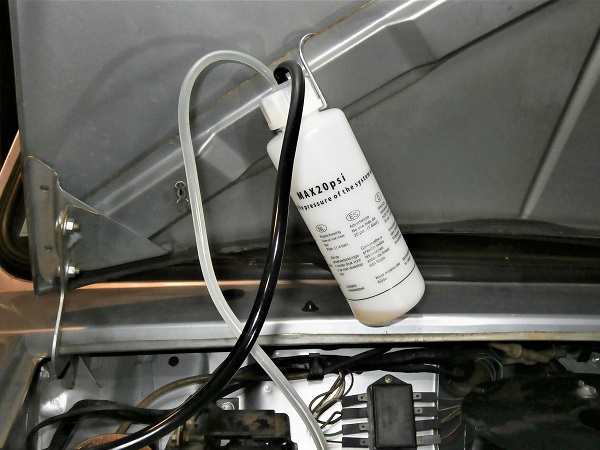
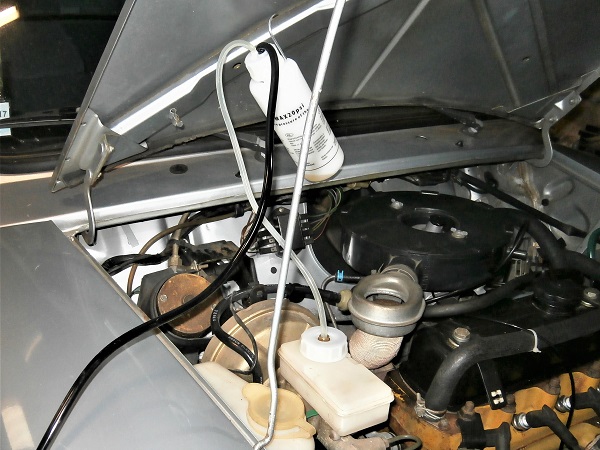
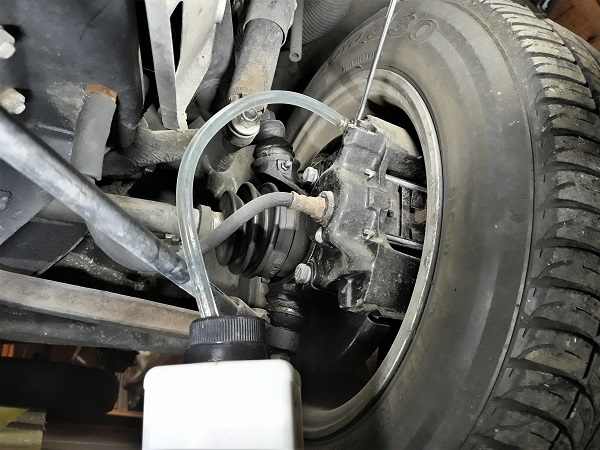
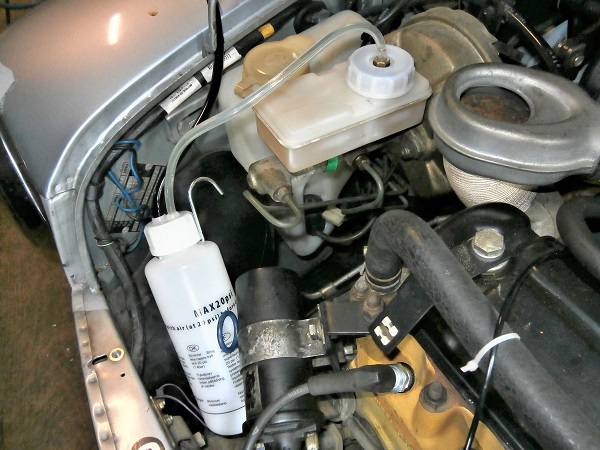
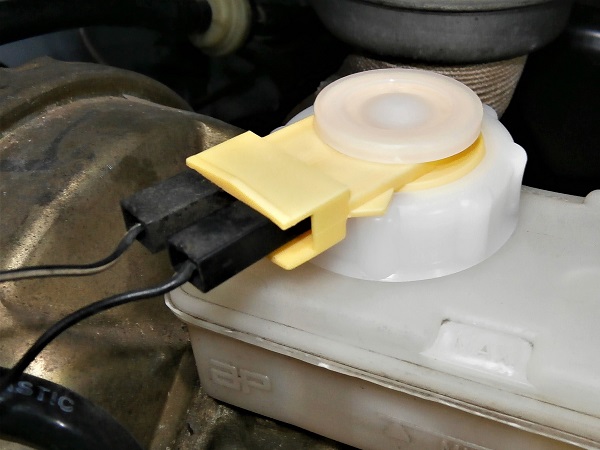
Op 06
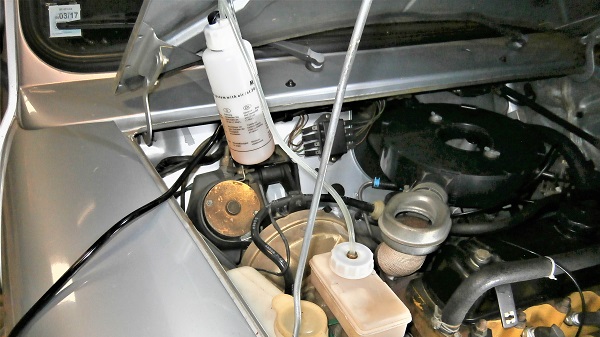
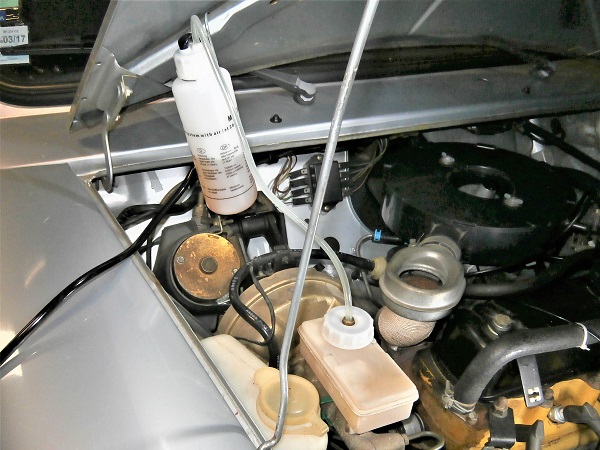
Hang the Eezibleed bottle near the brake master cylinder reservoir. Use the hook included in the kit.
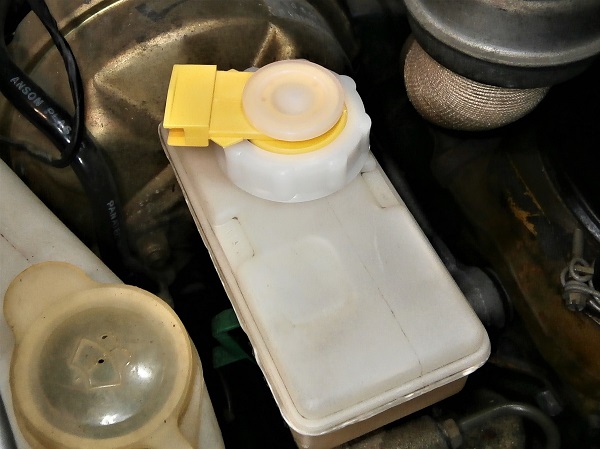
Fit the cap on the master cylinder reservoir. Screw on by hand.
Before screwing, check that the cap seal is correctly positioned.
Do not overtighten the cap on the reservoir. Screw it until you feel the seal contact the reservoir and tighten an additional 1/8th of a turn.
Op 07
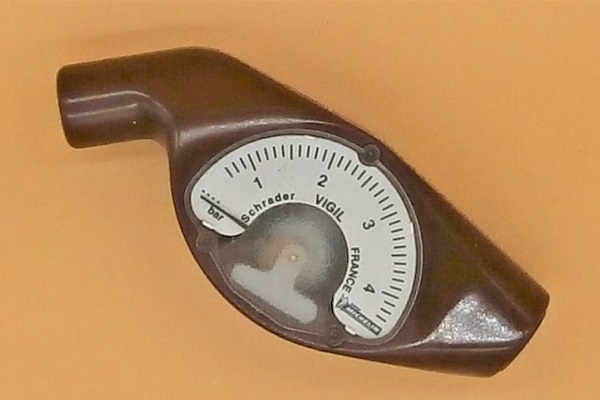
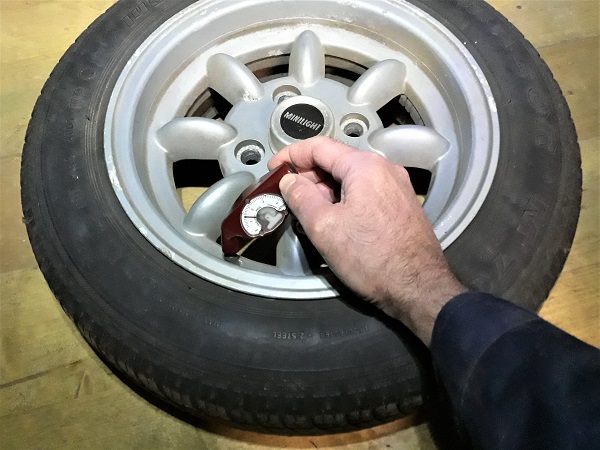
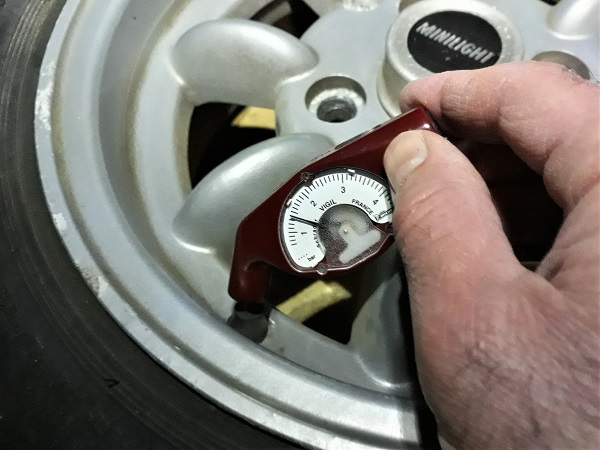
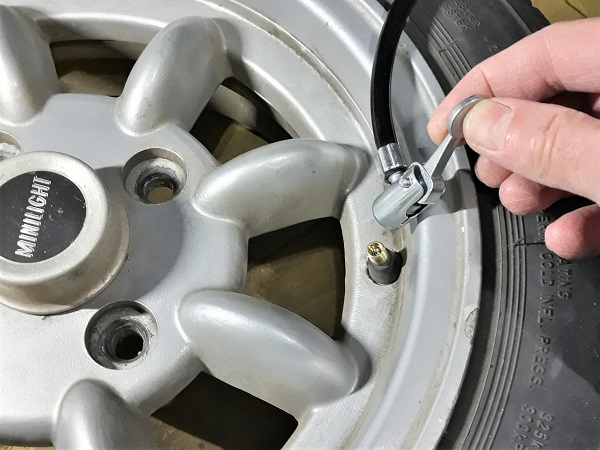
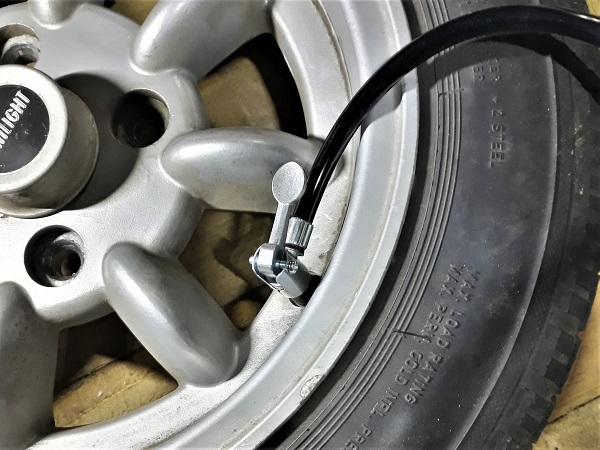
Check the spare wheel pressure. Use the pressure gauge.
Deflate the wheel to reach the maximum of 1.4 bar.
Gunson, the manufacturer of the Eezibleed kit, recommends a maximum pressure of 1.4 bar. For our part, we prefer to go down to 1.0 bar to avoid any risk of brake fluid leaking from the reservoir cap.
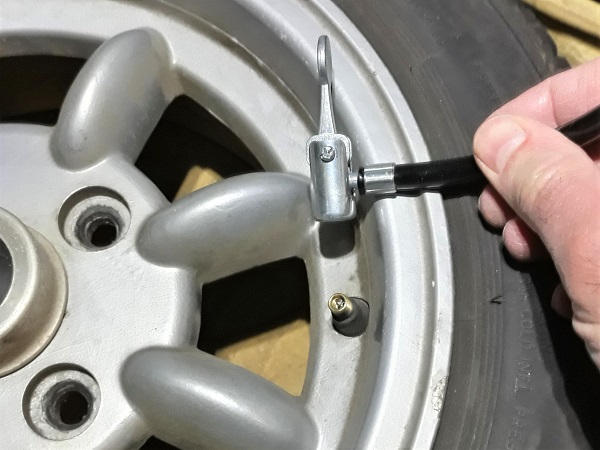
Op 08
Connect the Eezibleed kit to the spare wheel.
Check that there are no air leaks at the master cylinder reservoir.
It is essential to check that your system is completely leak-proof while the Eezibleed bottle is empty. If there is a leak at the reservoir cap, the brake fluid in the bottle will leak out and flood the bulkhead.
Advertisement
Drain the brake fluid
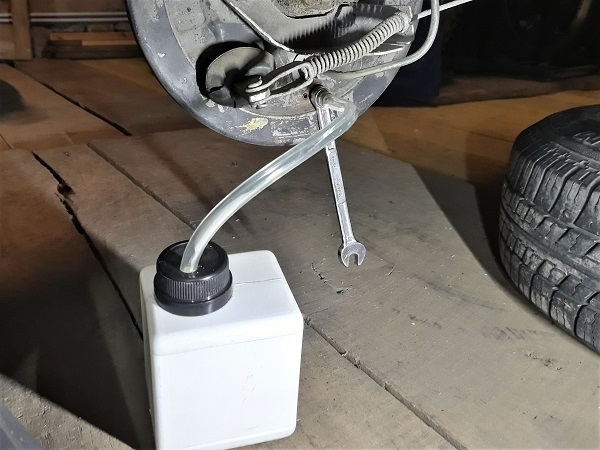
Op 09
Fit the bleed hose (included in the Eezibleed kit) on the used brake fluid recovery tank.
Op 10
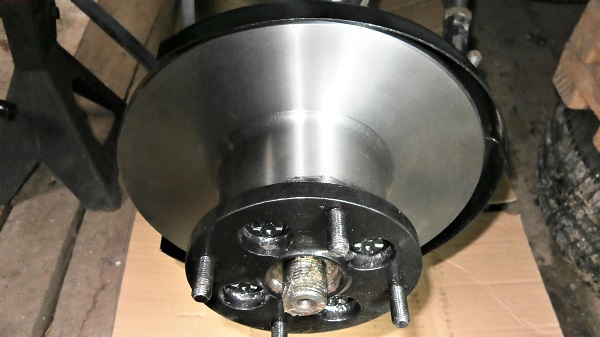
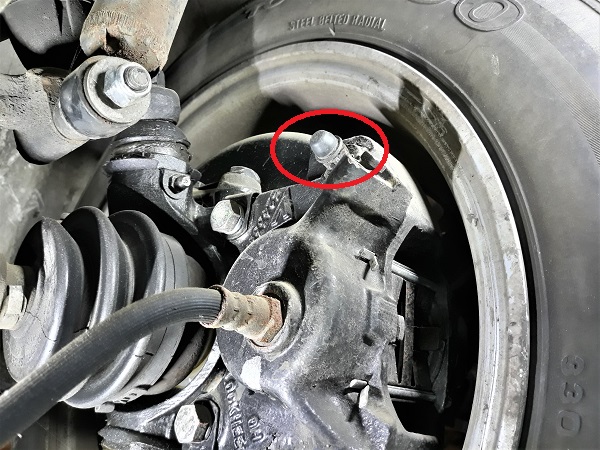
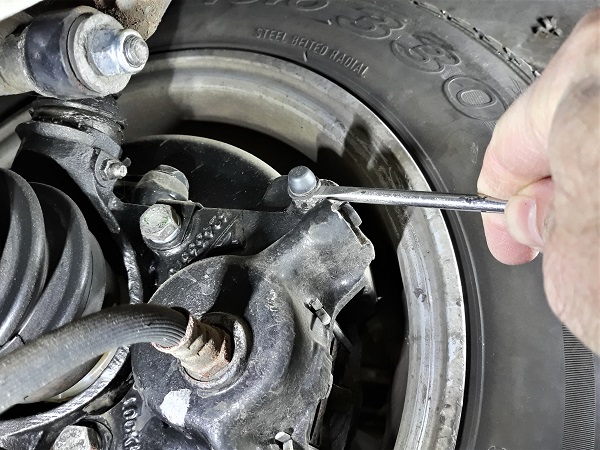
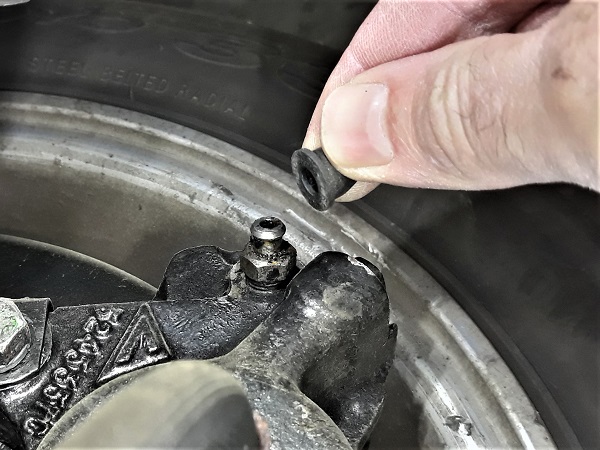
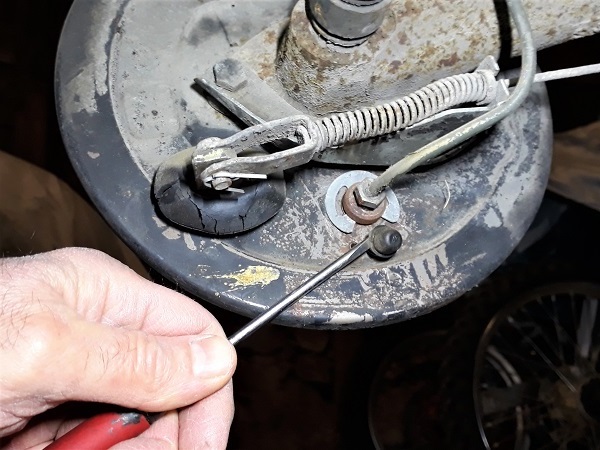
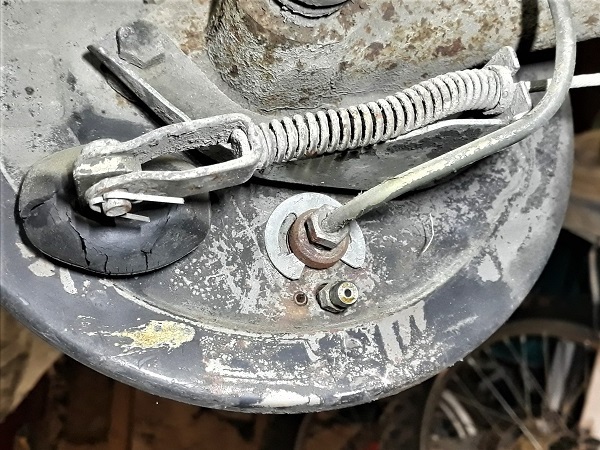
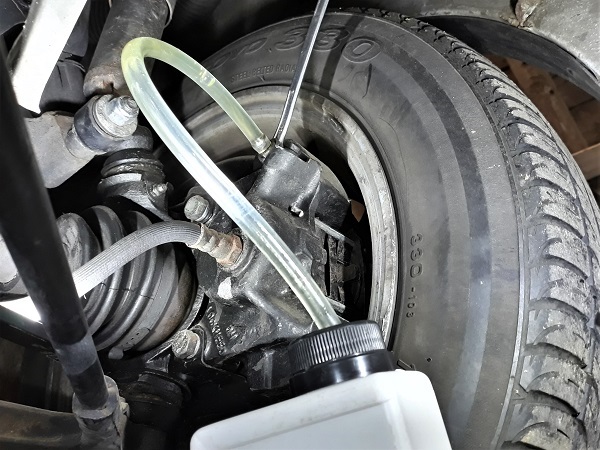
Remove the dust cap from the bleed nipple on the LH front wheel caliper. Use a flathead screwdriver.
The LH front wheel is on our left side when we are driving the vehicle.
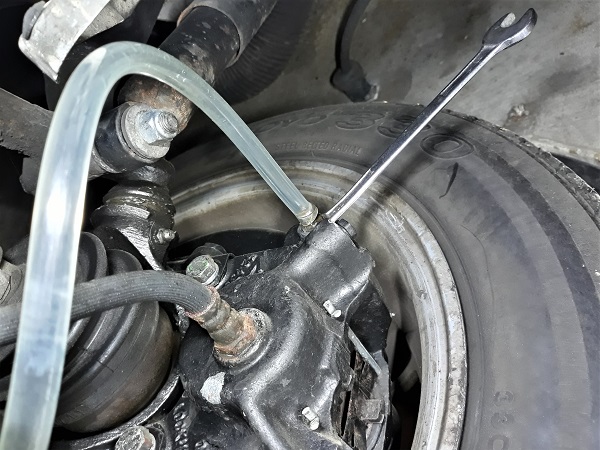
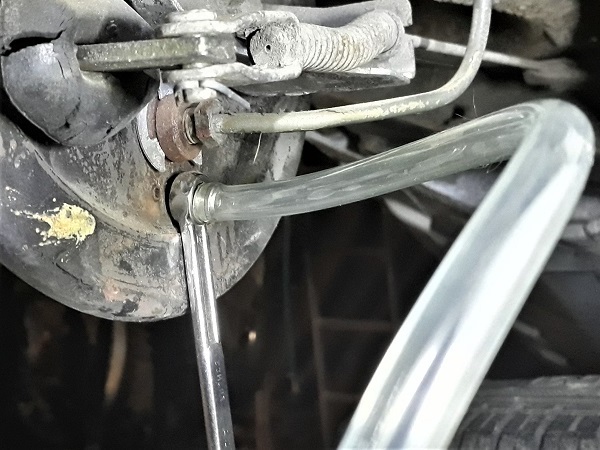
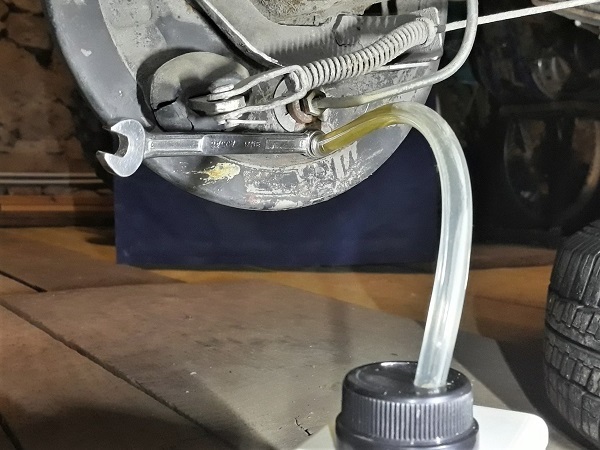
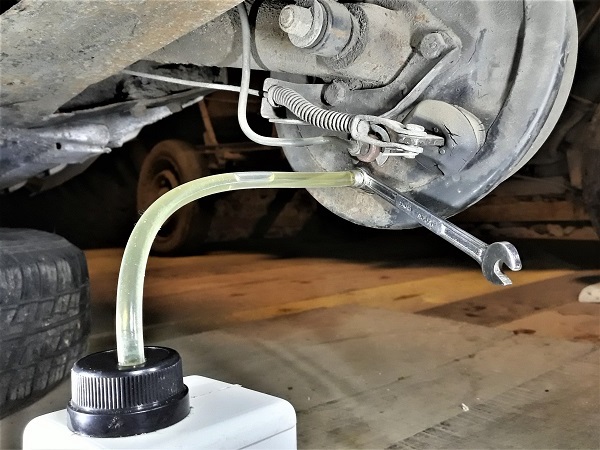
Op 11
Position the 11 mm combination spanner on the bleed nipple. Do not loosen it for now.
Engage the bleed hose on the bleed nipple. Push by hand.
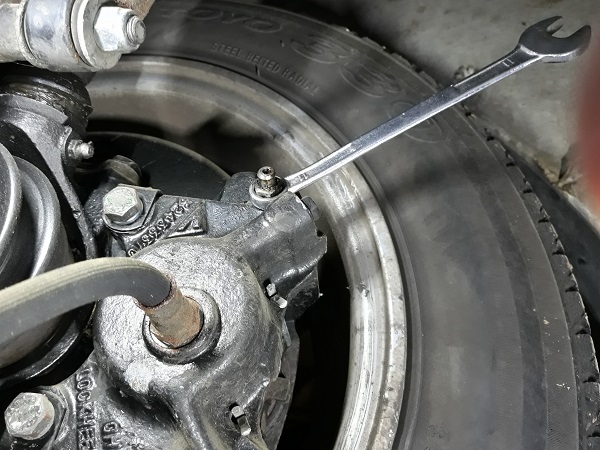
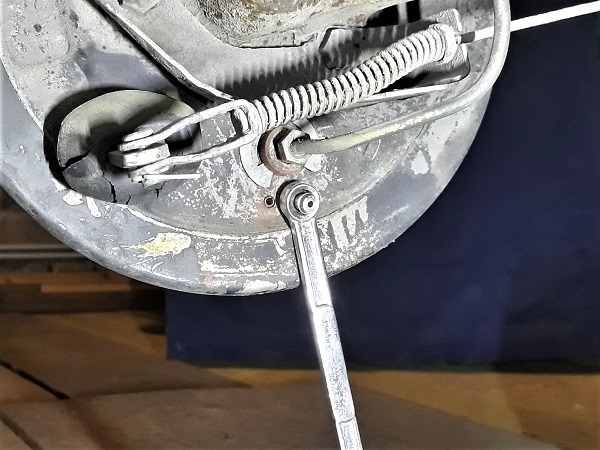
Op 12
Unscrew the bleed nipple by 1/4 turn. Use the 11 mm spanner.
Let the used brake fluid flow until the master cylinder reservoir is empty.
Tighten the bleed nipple. Use the 11 mm spanner.
I drained the master cylinder reservoir through the front left wheel because it was more convenient for me, but it can be drained through any wheel.

Op 13
Disconnect the Eezibleed kit from the spare wheel.
Always disconnect the spare wheel before unscrewing the master cylinder cap or the bottle cap.
Advertisement
Bleed the brake system
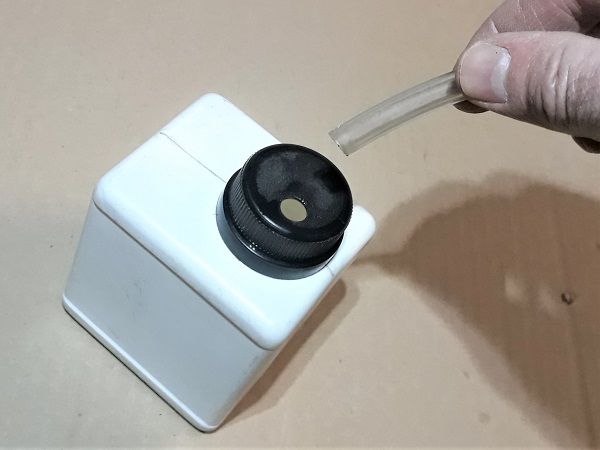
Op 14
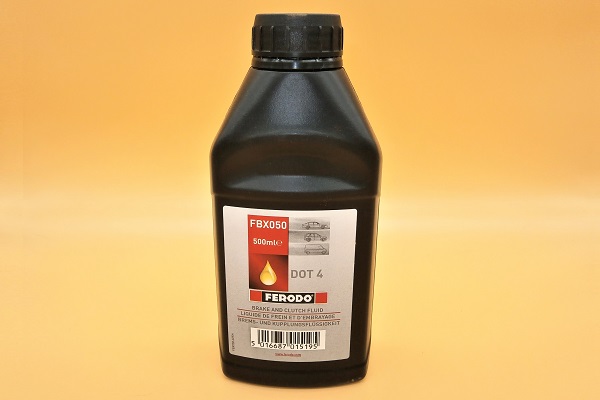
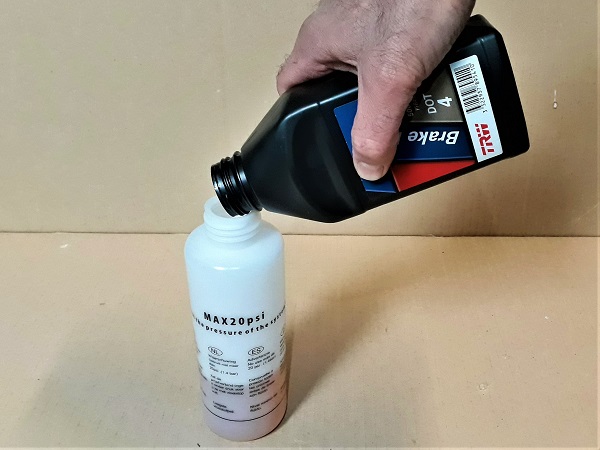
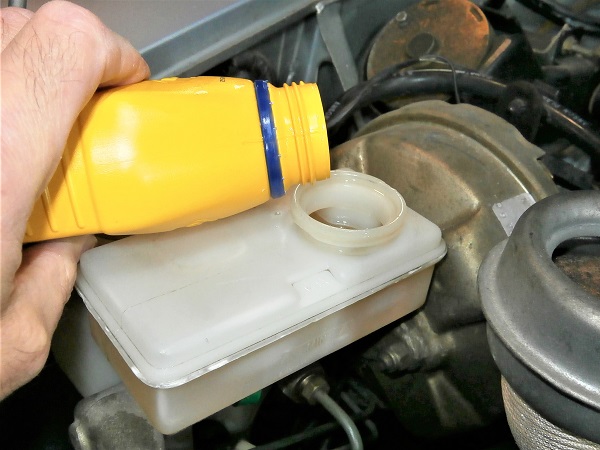
Fill the brake master cylinder reservoir and the Eezibleed bottle with new DOT4 brake fluid.
Hang the Eezibleed bottle again.
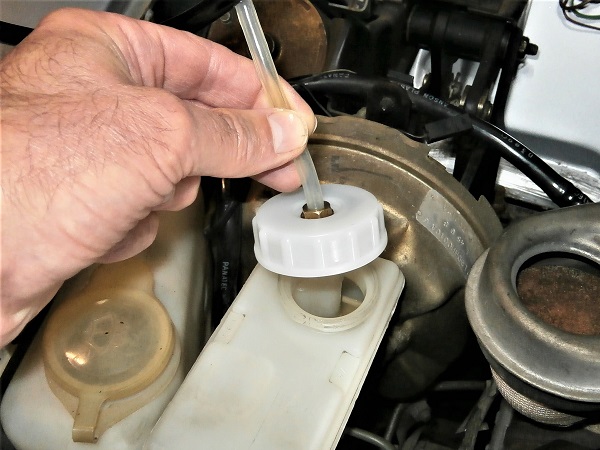
Screw the Eezibleed cap onto the master cylinder reservoir.
Make sure that the bottle is almost in a vertical position. Check that the end of the plastic hose touches the bottom of the bottle (3rd photo).
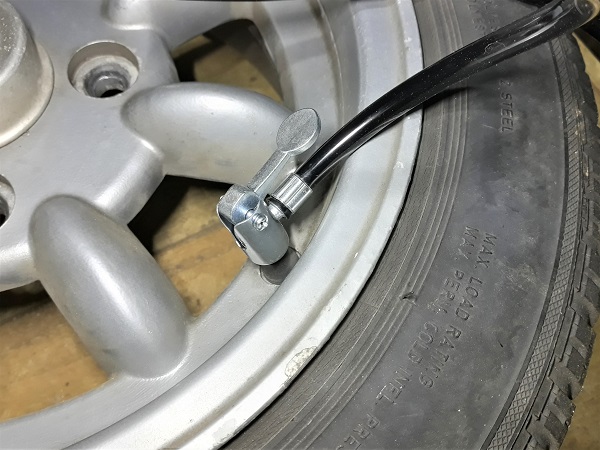
Op 15
Connect the Eezibleed kit to the spare wheel again.
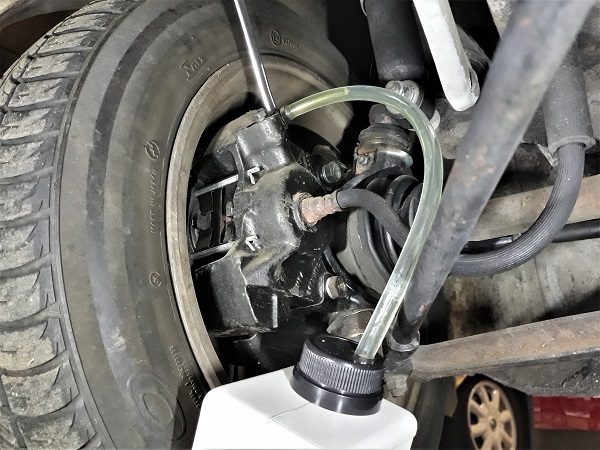
Op 16
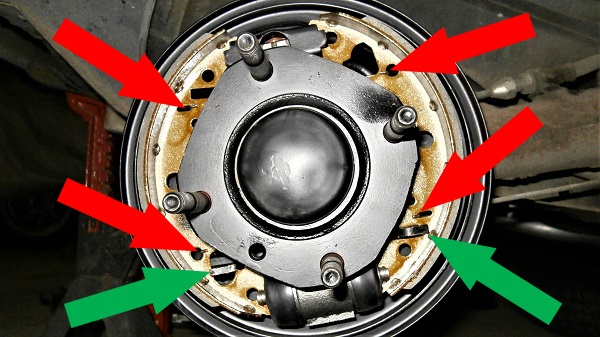
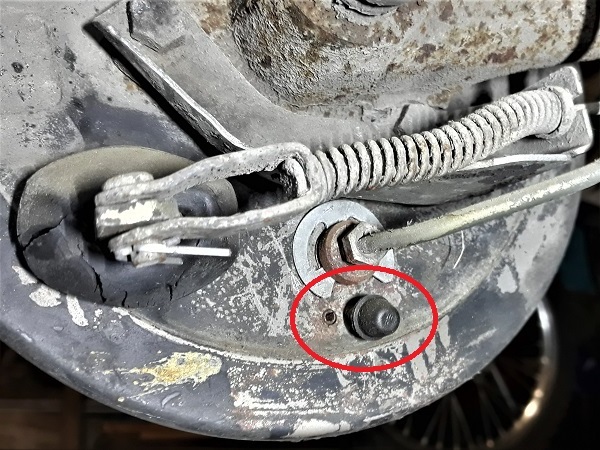
Remove the bleed nipple cap from the LH rear wheel cylinder. Use the flathead screwdriver.
On this Mini, the steering wheel is on the LH side but the master cylinder is positioned on the RH side of the vehicle.
Legend has it that we must start bleeding the brake system with the wheel furthest from the master cylinder and end with the closest (i.e. LH rear, RH rear, LH front, RH front on our car which has the master cylinder on the RH side). Unfortunately, no one remembers the reason for this rule anymore. We nevertheless followed this recommendation. It doesn't take longer and we never know.
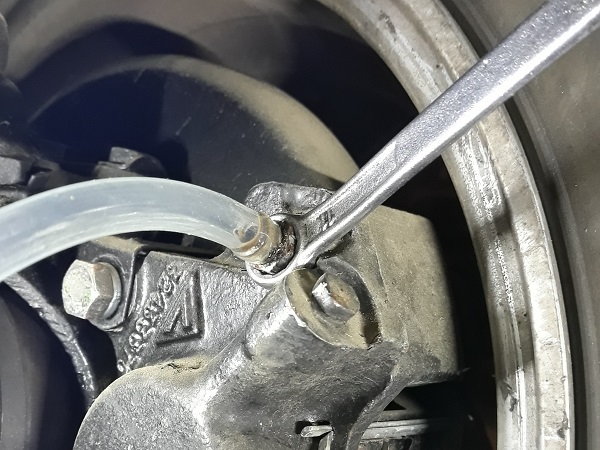
Op 17
Position the 8 mm combination spanner on the wheel cylinder bleed nipple. Do not loosen it for now.
Engage the bleed hose on the bleed nipple. Push by hand.
Op 18
Unscrew the bleed nipple 1/4 turn. Use the 8 mm spanner.
Let the used brake fluid drain until there are no more air bubbles.
Tighten the bleed nipple. Use the 8 mm spanner.
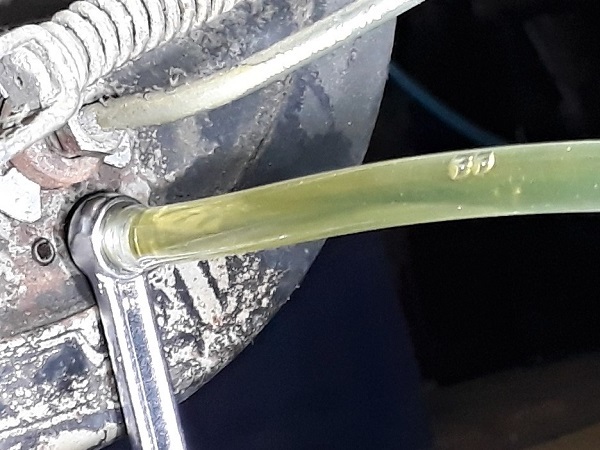
You will certainly notice a difference in color between the used brake fluid (darker) and the new brake fluid (lighter). If so, let it flow until the new brake fluid arrives.
Check regularly that there is always brake fluid in the Eezibleed bottle. Add more if necessary. It is essential to prevent air from entering the hydraulic brake system.
Op 19
Disconnect the bleed hose. Pull by hand.
Remove the spanner.
Fit the dust cap on the bleed nipple. Push by hand.
Op 20
Bleed the wheel cylinder of the LH rear wheel. Repeat the same operations as before.
Op 21
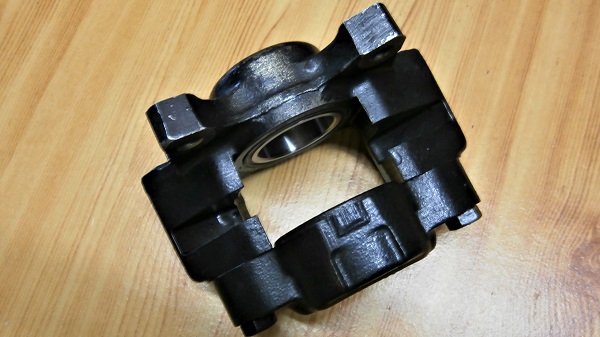
Bleed the LH front wheel caliper.
Op 22
Bleed the RH front wheel caliper.
Op 23
Disconnect the Eezibleed kit from the spare wheel.
Remove the Eezibleed kit cap. Unscrew by hand.
Before unscrewing the cap, position the Eezibleed bottle lower than the brake master cylinder reservoir and wait for the hose to empty into the bottle. This will prevent spilling the brake fluid contained in the hose onto the bulkhead.
Op 24
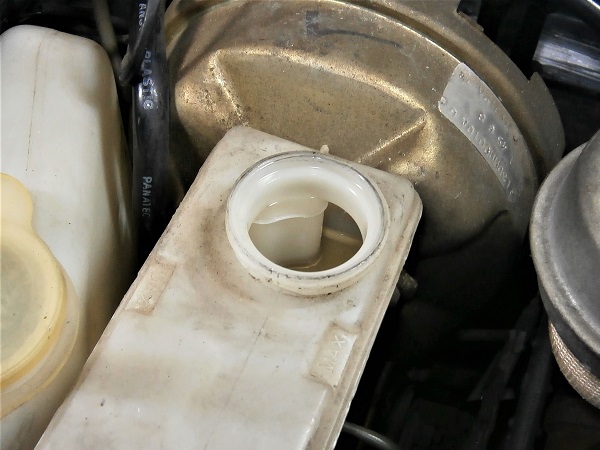
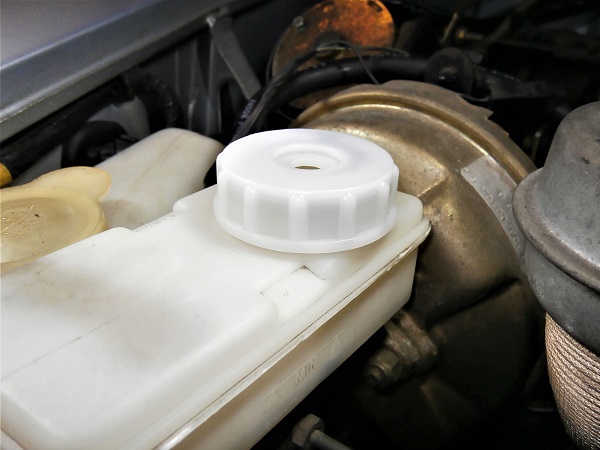
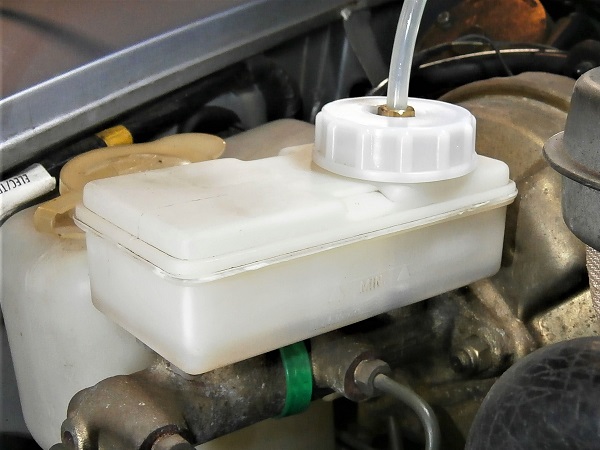
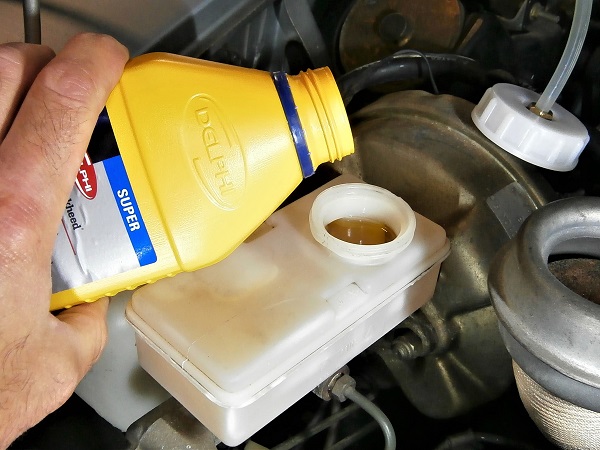
Top up the brake master cylinder reservoir. Add or remove DOT4 brake fluid if necessary.
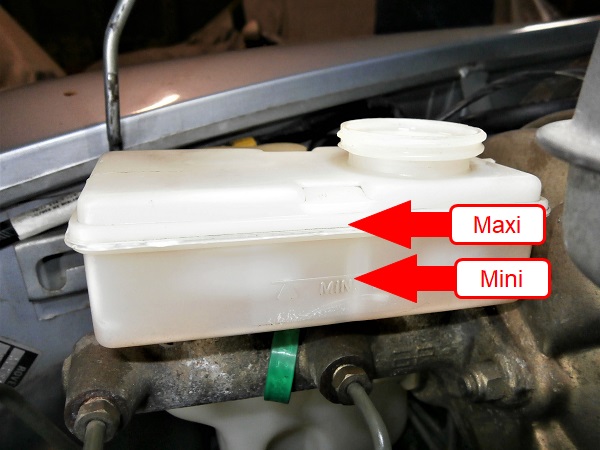
The minimum and maximum levels are marked on the left side of the master cylinder reservoir (2nd photo).
Op 25
Fit the master cylinder reservoir cap (GRK6009). Screw by hand.
Connect the 2 connectors to the brake fluid level sensor. Push by hand.
The 2 connectors do not have a specific position. It doesn't matter which order you connect them to the brake fluid level sensor.
When the bleeding operation is complete, always clean the Eezibleed kit elements (bottle, cap, hoses and seals) with brake cleaner. Over time, the brake fluid could attack the rubbers and plastics.
Op 26
Check that the brake pedal is firm. Press with your foot.
Op 27
Take a road test to check that the brake system is working perfectly.
The End