This tutorial is also available in French
➔

Wiper stalk switch change on Austin Mini
Vehicle ➔ Mini 1000 year 1988
Difficulty ➔ Easy

Time ➔ 1 hour
Summary
Advertisement
Advertisement

Recommendations

There are 4 different wiper stalk switches :
• 37H8285 : for RHD¹ Mini from 1976 to 1984 (this switch is located to the left of the steering wheel).
• 37H8286 : for RHD¹ Mini from 1984 to 1989 and LHD² Mini from 1976 to 1989 (this switch is located to the right of the steering wheel).
• BAU5346 : for all Minis from 1989 to 1996.
• XPE100420PMP : for Mini MPI from 1996 to 2000.
¹ RHD : Right Hand Drive
² LHD : Left Hand Drive
Required Tools
Sponsored links by


Spare Parts
Our Partners


Packaging :
•
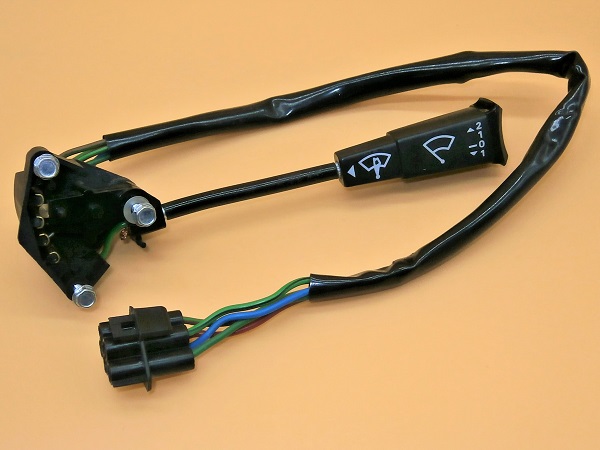
37H8286 : The wiper stalk switch is sold individually.
Advertisement
Remove the wiper stalk switch
Op 01
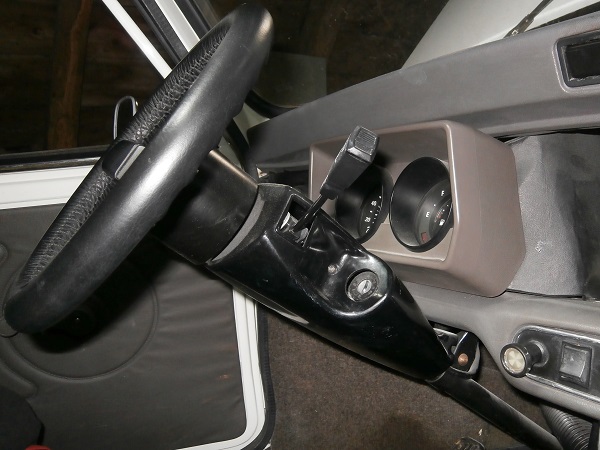
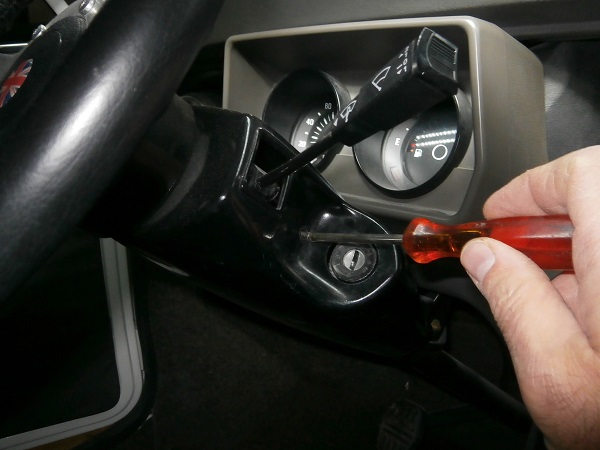
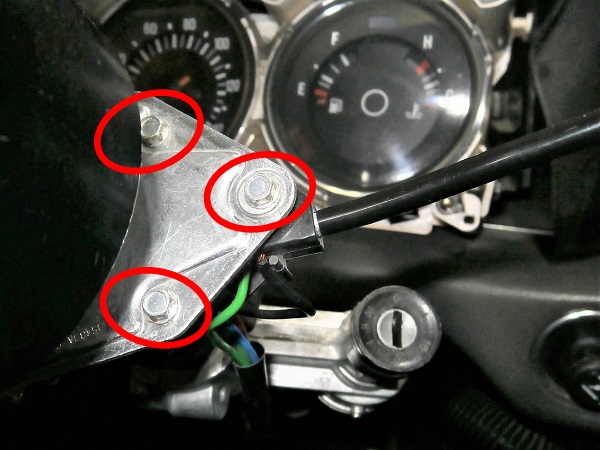
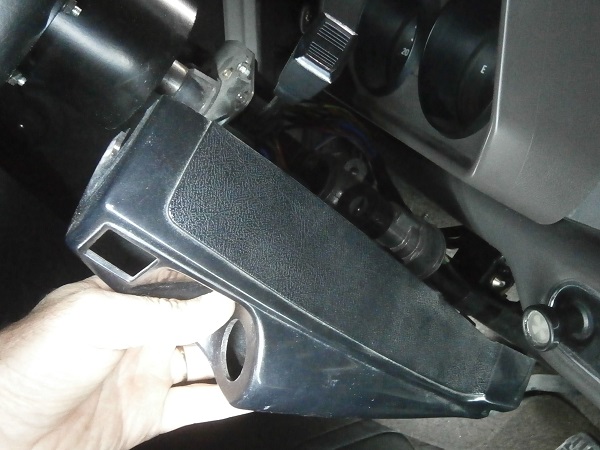
Remove the steering column cowlings. There are 3 fixing screws. Use the Phillips screwdriver.


Op 02
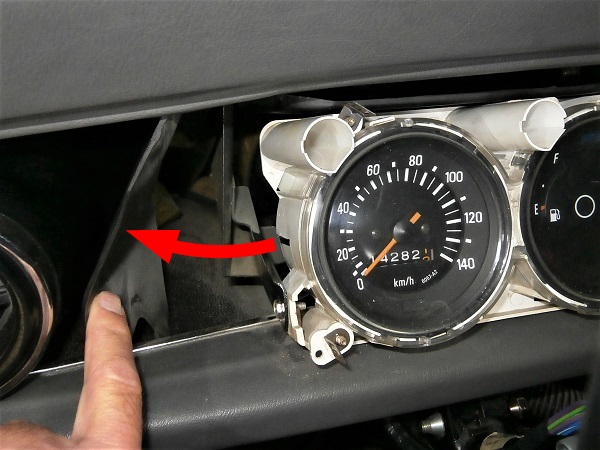
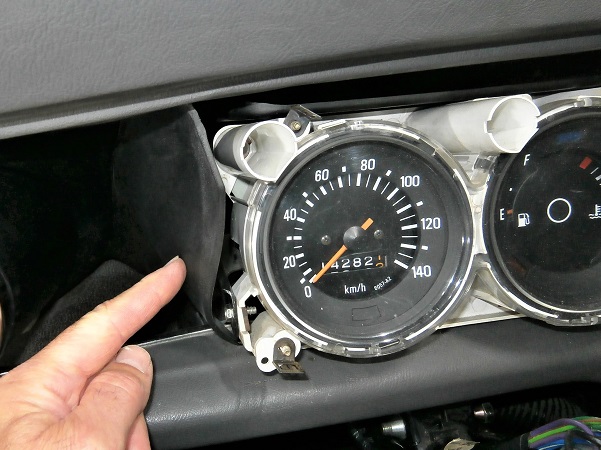
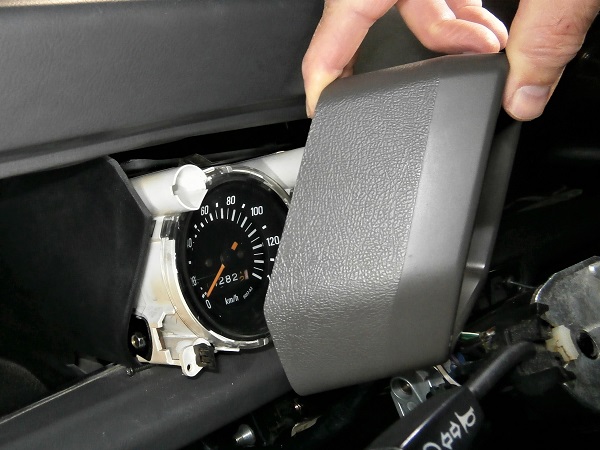
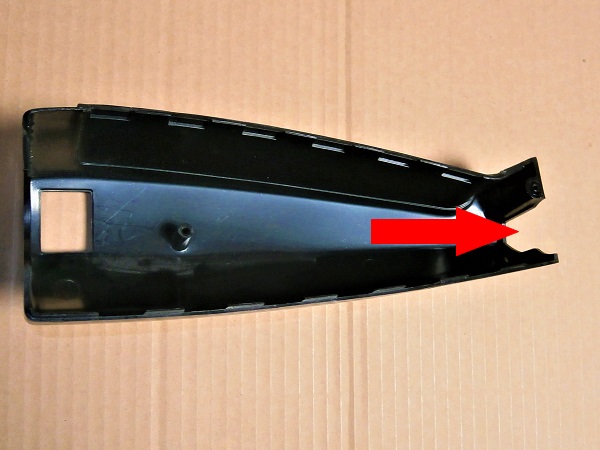
Remove the plastic housing from the instrument cluster. Pull by hand.
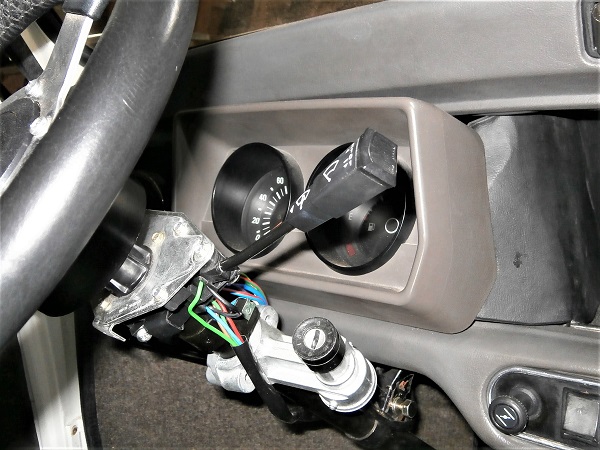
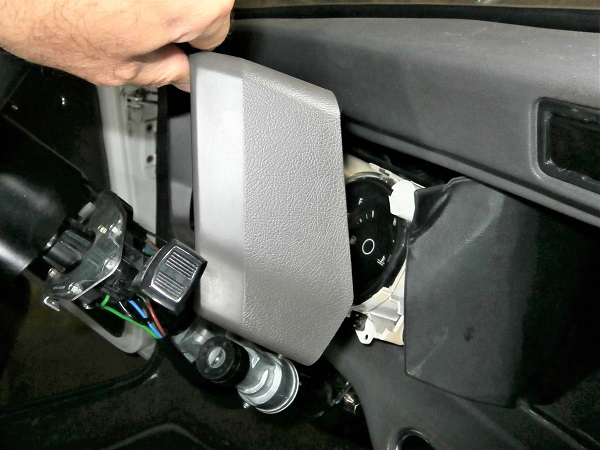
Op 03
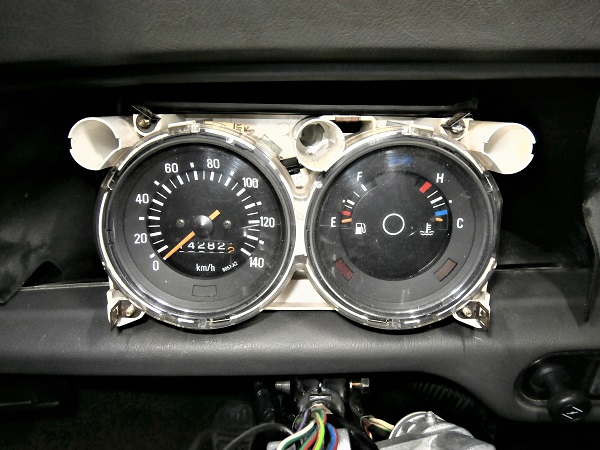
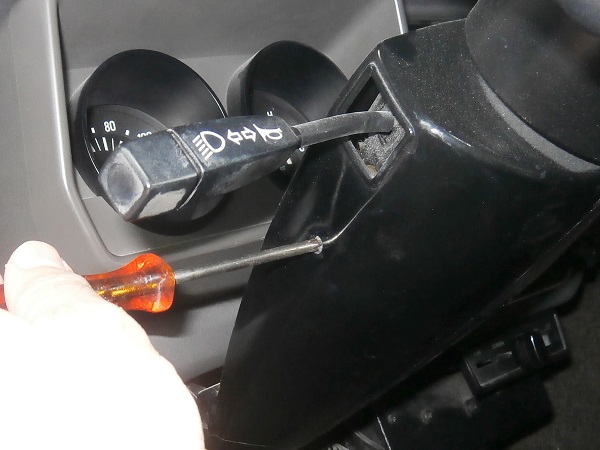
Spread the side covers of the instrument cluster. Push by hand.
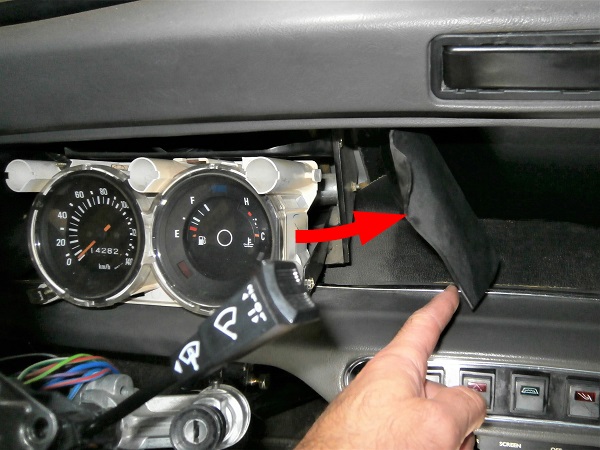
Op 04
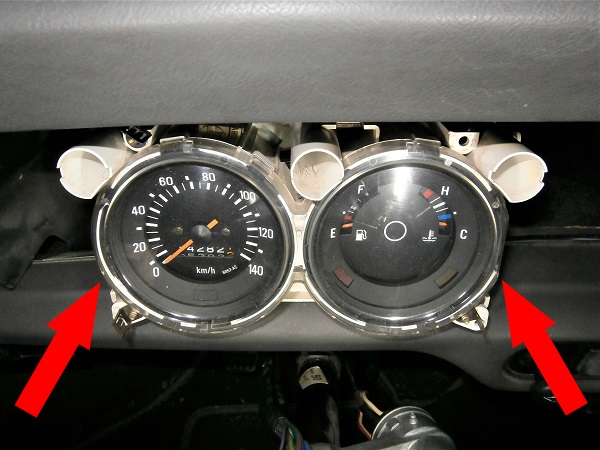
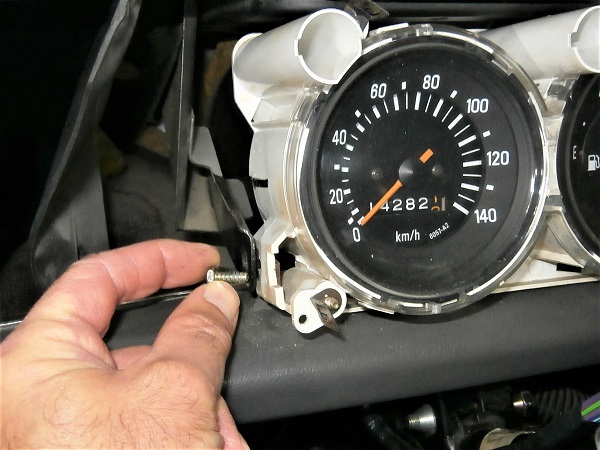
Unscrew the 2 instrument cluster fixing bolts. Use the 5/16'' spanner.
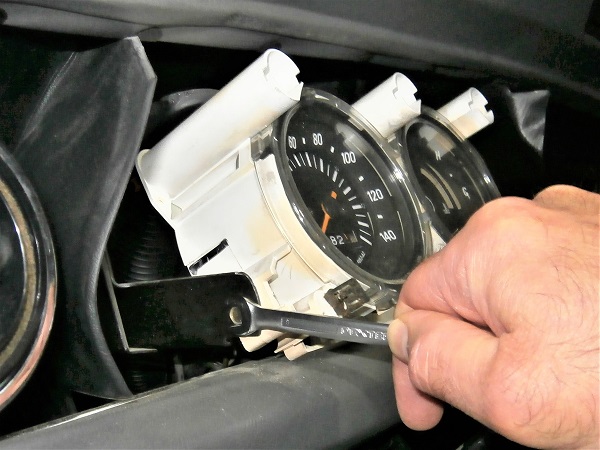
Op 05
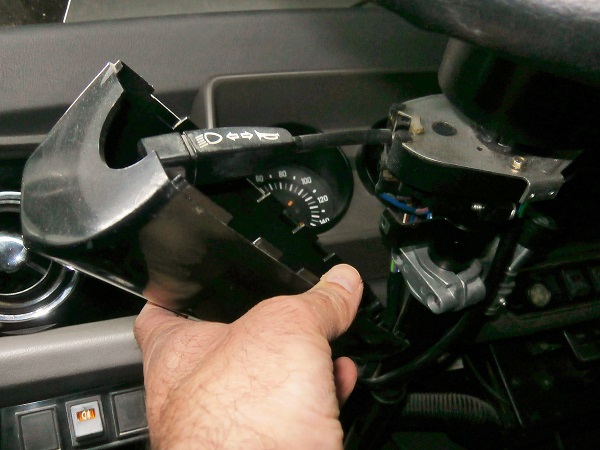
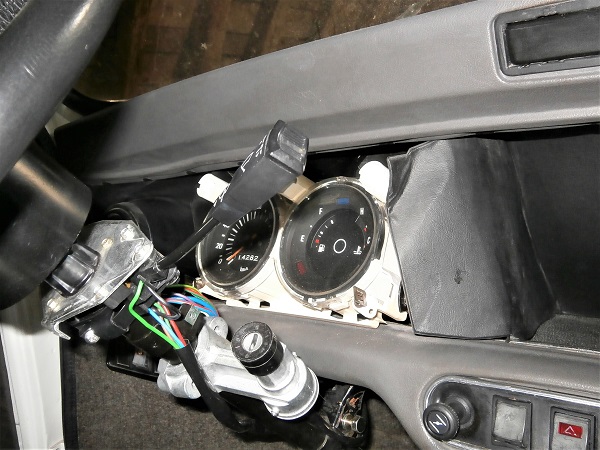
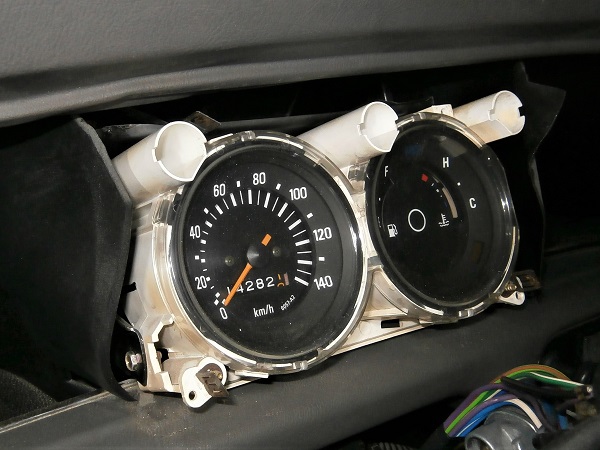
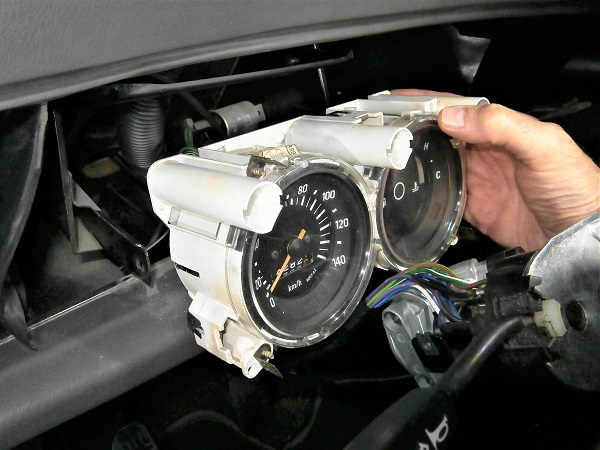
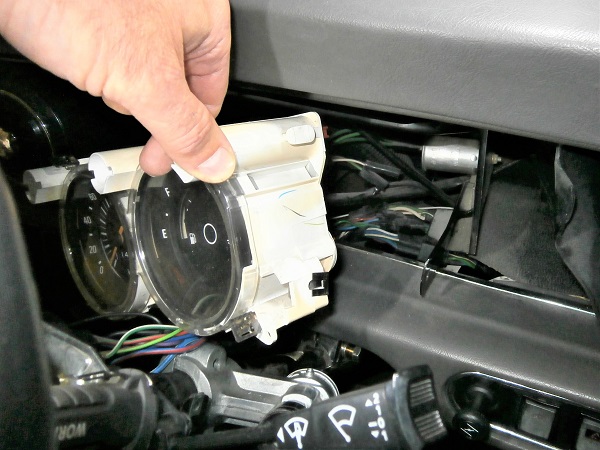
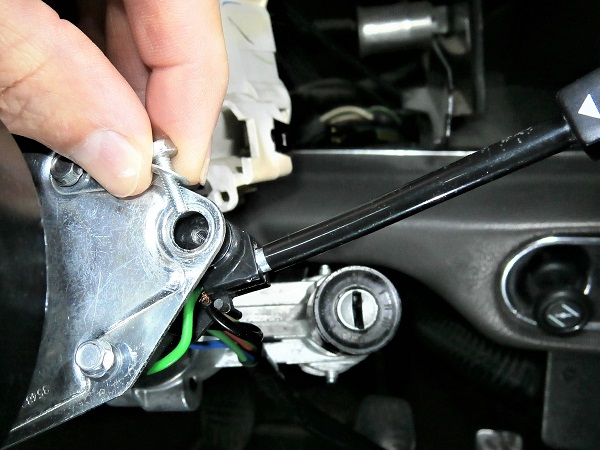
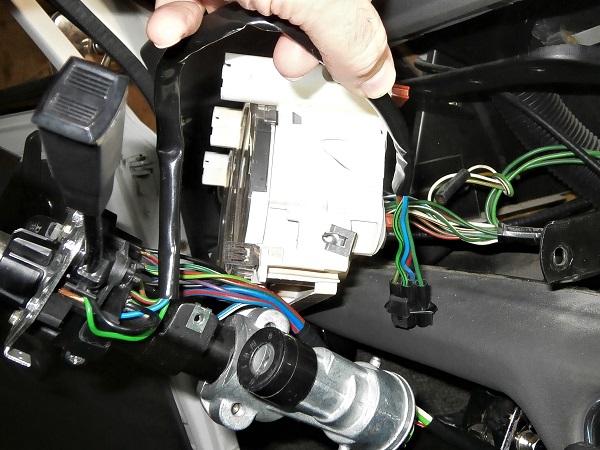
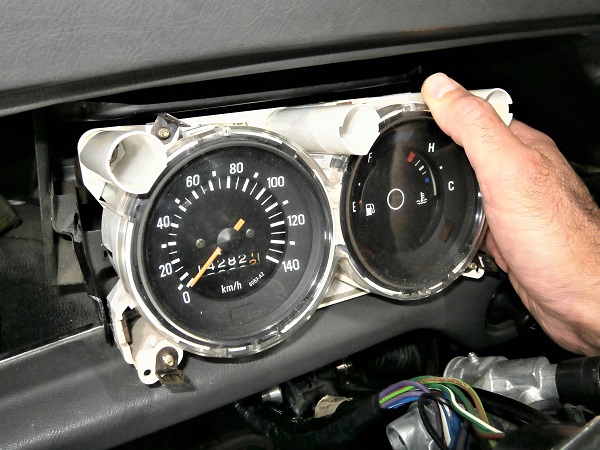
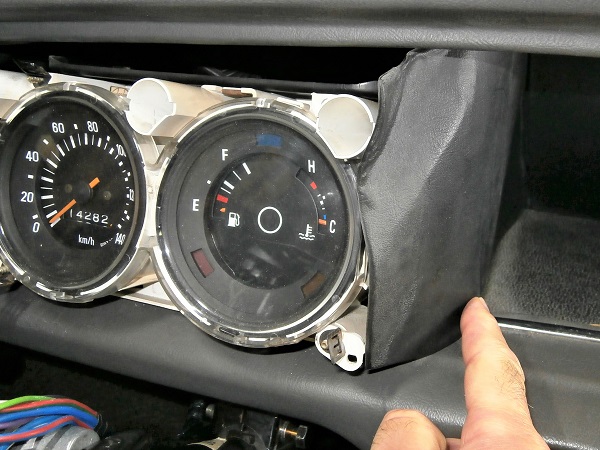
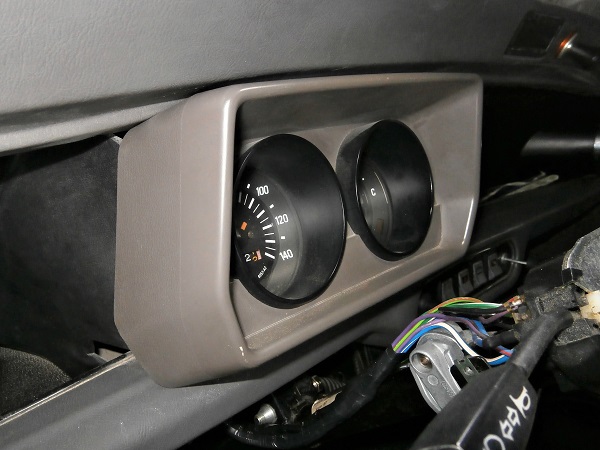
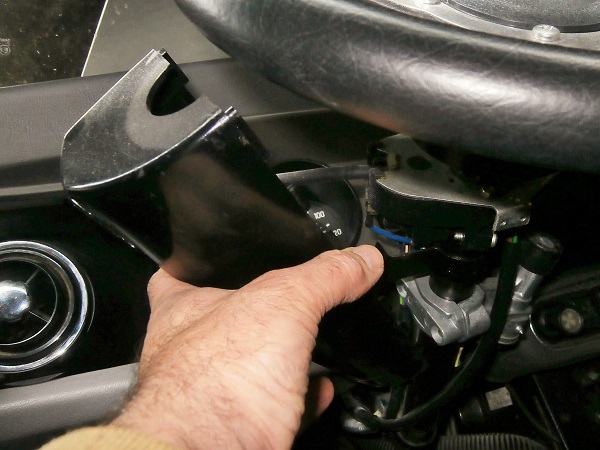
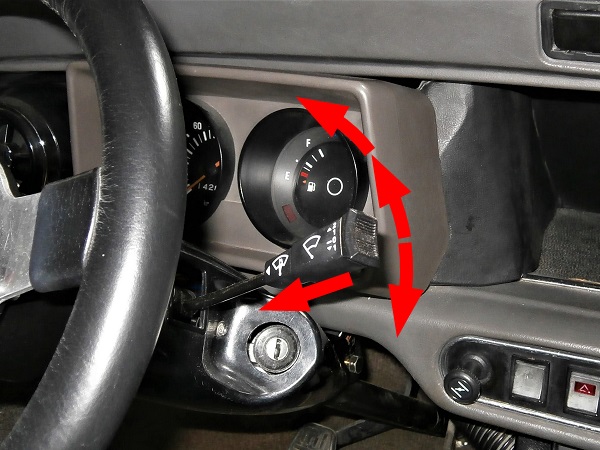
Spread the instrument cluster. Pull by hand.

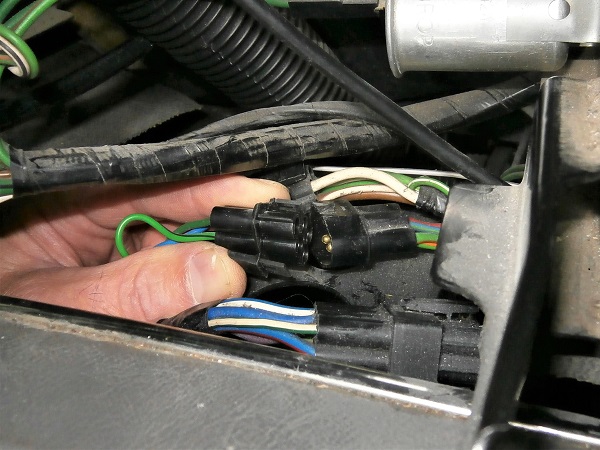
Move the instrument cluster only a few centimeters to the left without pulling too much on the speedometer cable and the electrical cables (3rd photo).
Op 06
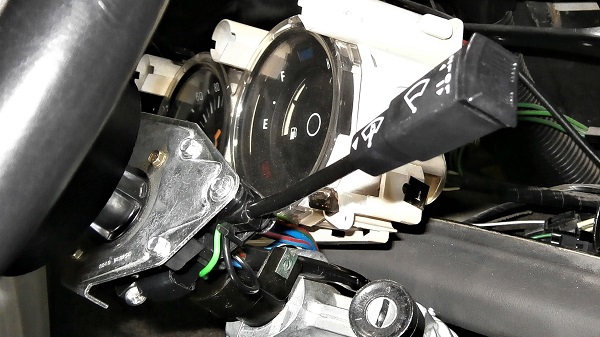
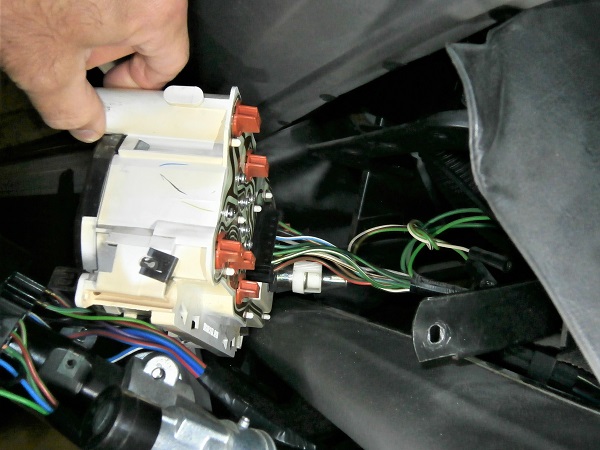
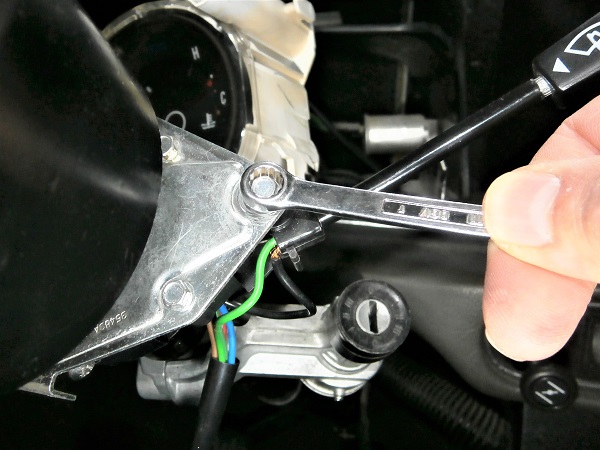
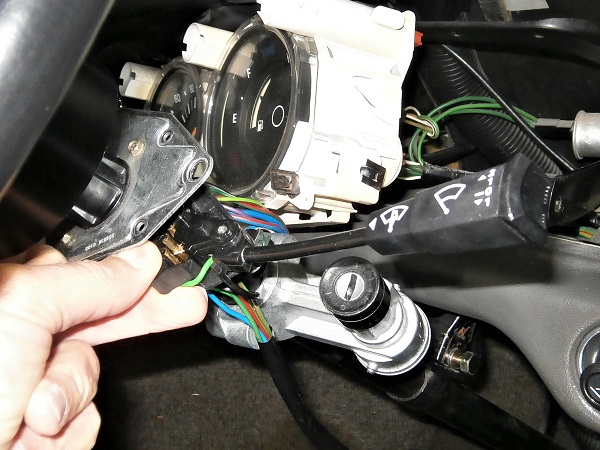
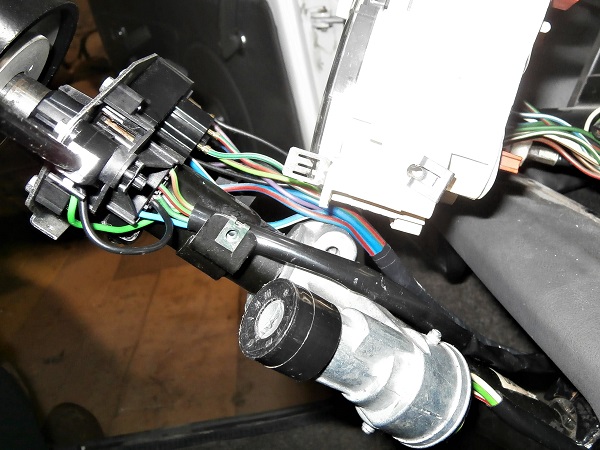
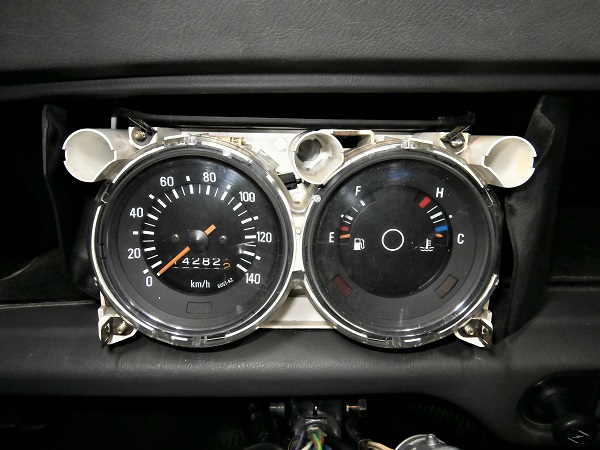
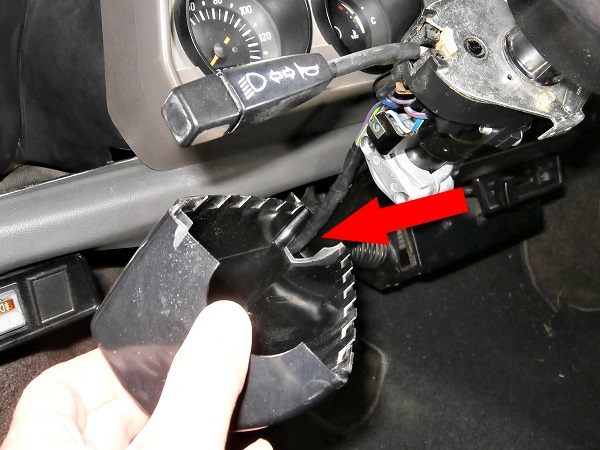
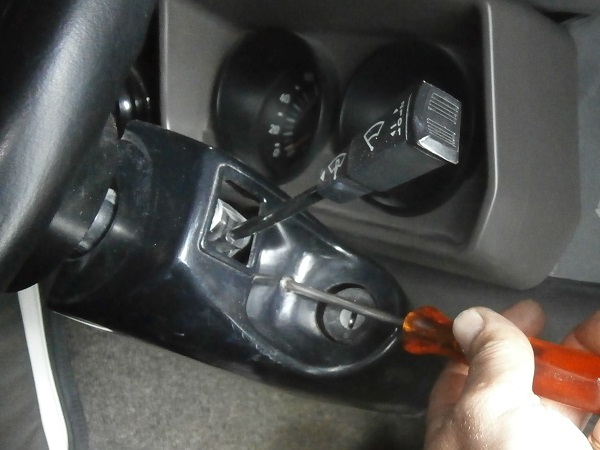
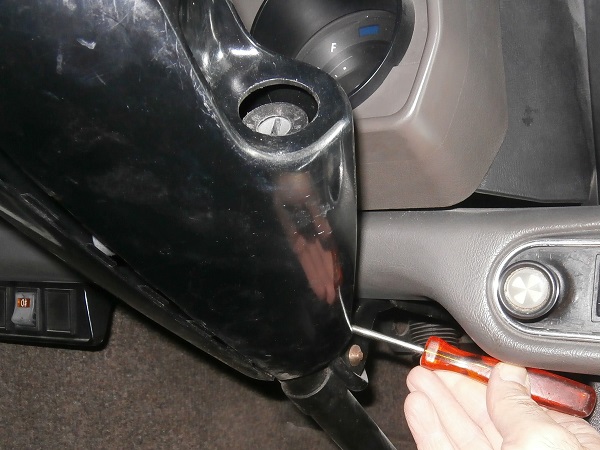
Locate where the wiper stalk switch connector is (1st photo).
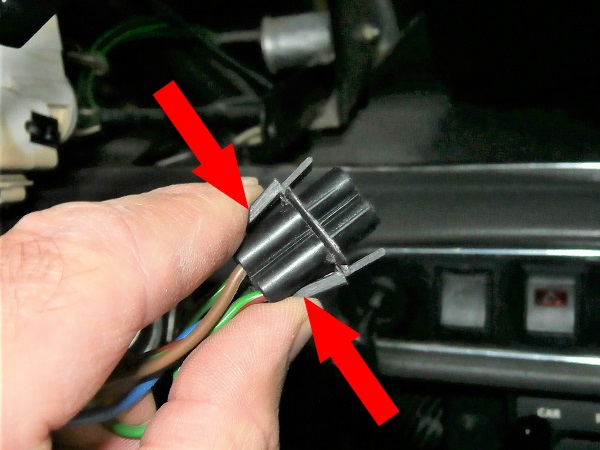
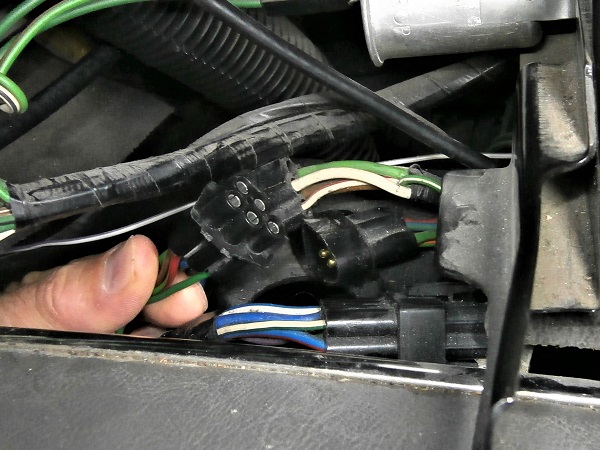
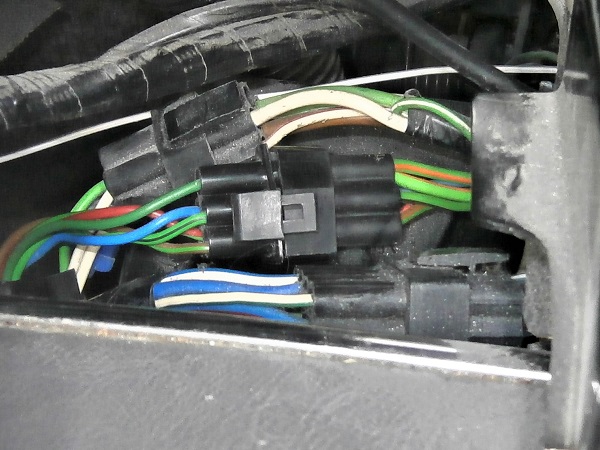
Unplug the connector. Press the 2 latches and pull by hand.
Press firmly on the tabs to unlock the 2 latches before unplugging the connector (3rd photo).

Op 07
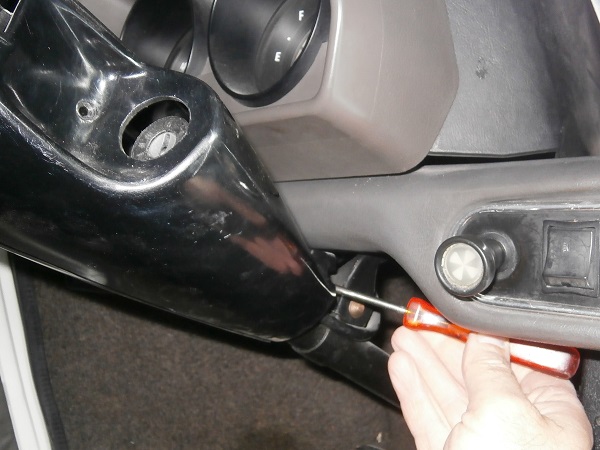
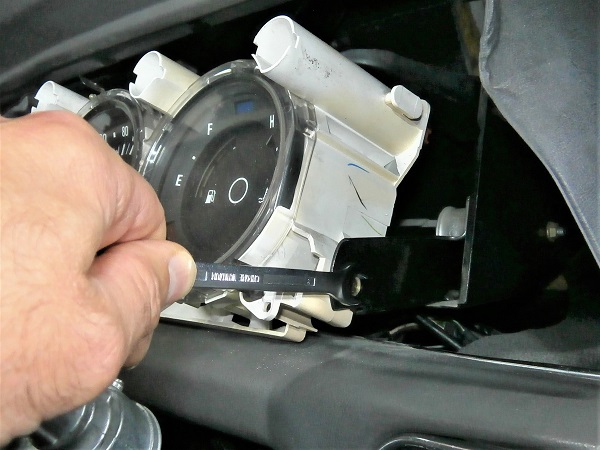
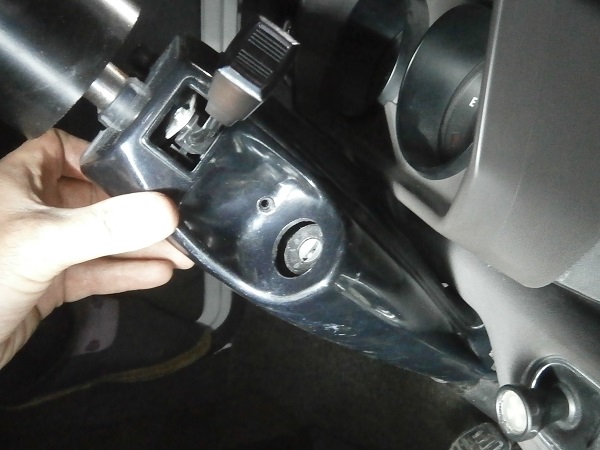
Remove the 3 wiper stalk switch fixing bolts. Use the 1/4'' spanner.
Op 08
Retrieve the switch.
Advertisement
Fit the wiper stalk switch
Op 09
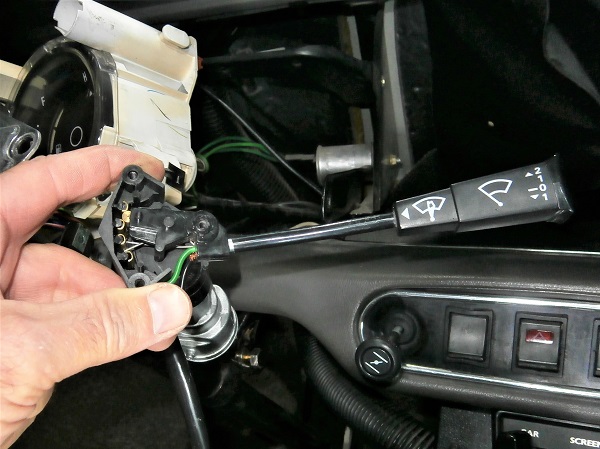
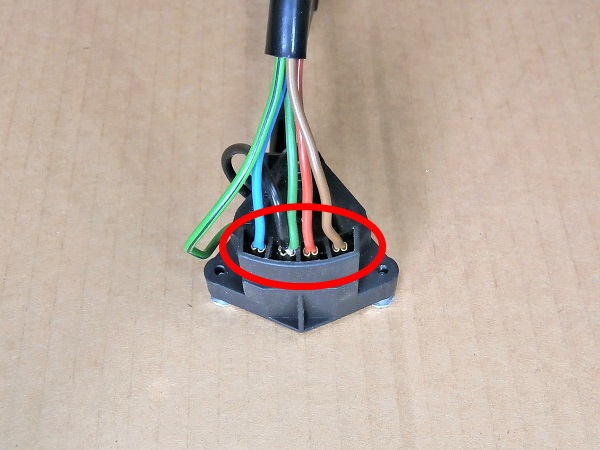
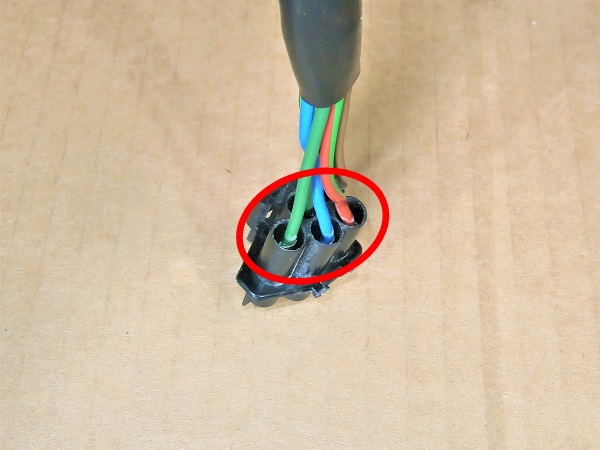
Pull lightly on each of the wires of the new switch (37H8286) to check that the crimping of the terminals has been done correctly.
I had a nasty surprise on my new switch. One of the terminals was poorly crimped. A little tap with needle-nose pliers on the terminal and that was it.

Op 10
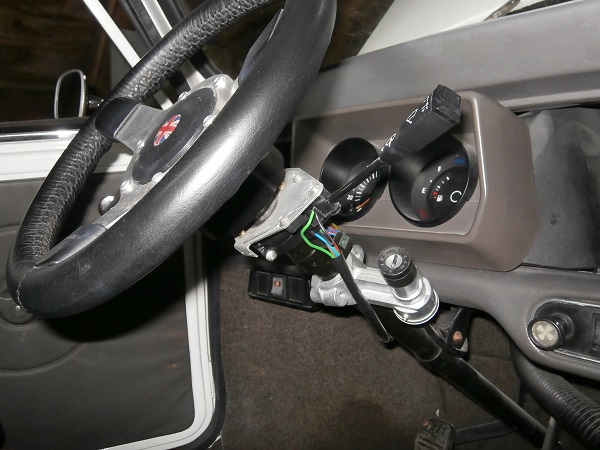
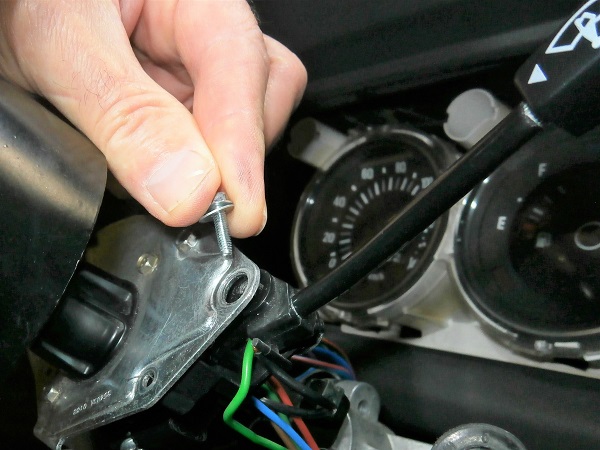
Fit the new wiper stalk switch.
Screw in the 3 fixing bolts. Use the 1/4'' spanner.
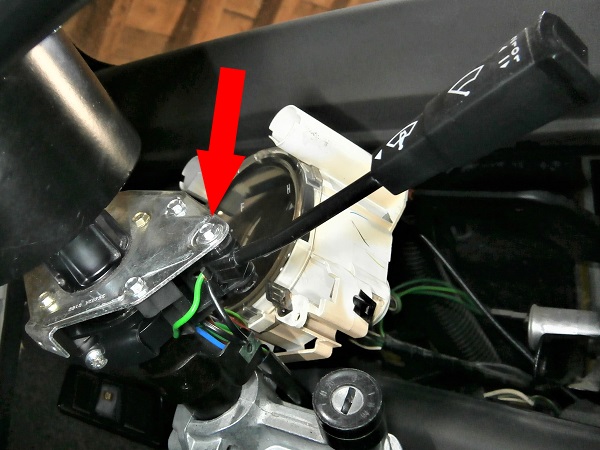
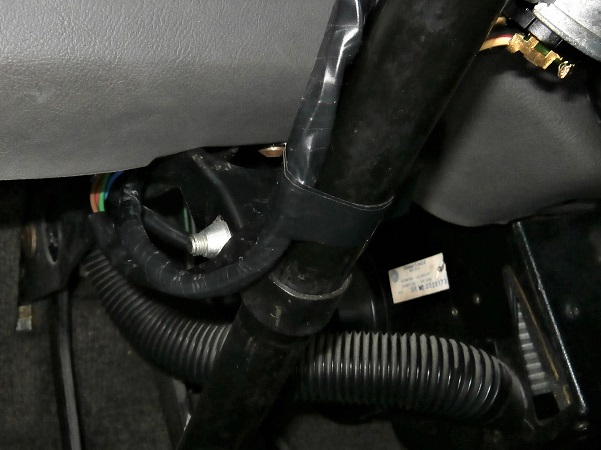
Check that the switch can be operated without constraint. If the control is too hard, loosen the bolt holding the pivot axis very slightly (3rd photo).
Op 11
Fit the cable along the steering column.
Op 12
Plug in the connector.
Op 13
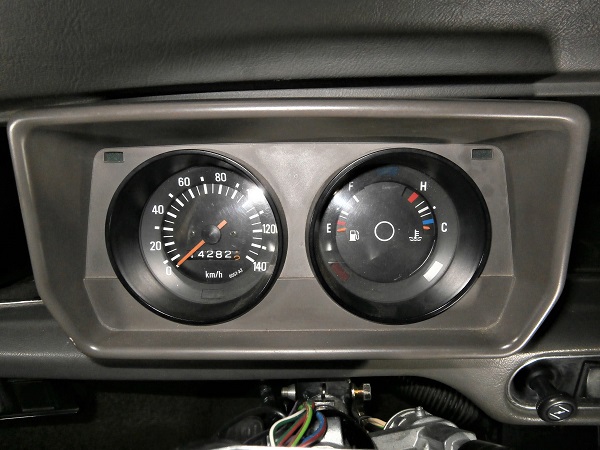
Fit the instrument cluster and screw in the 2 fixing bolts. Use the 5/16'' spanner.

Op 14
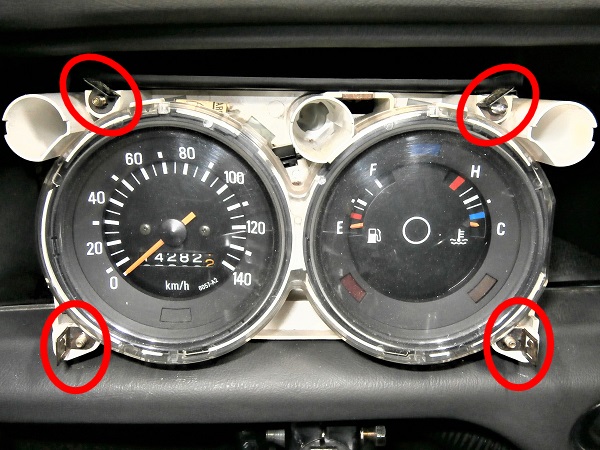
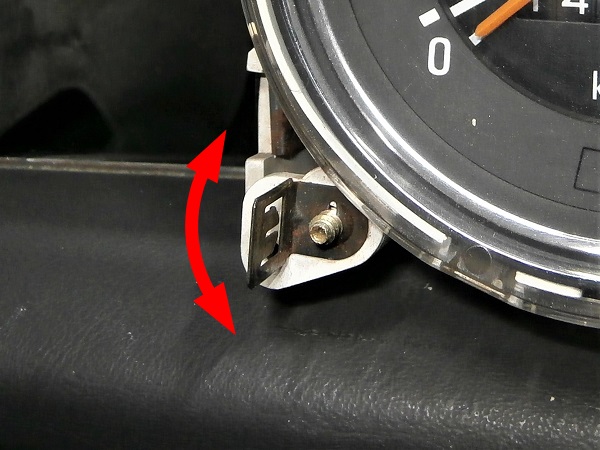
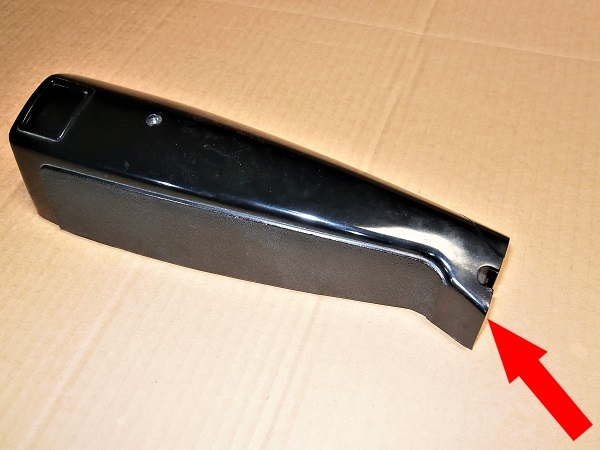
Check the angular position of the 4 housing fixing clips (1st photo).
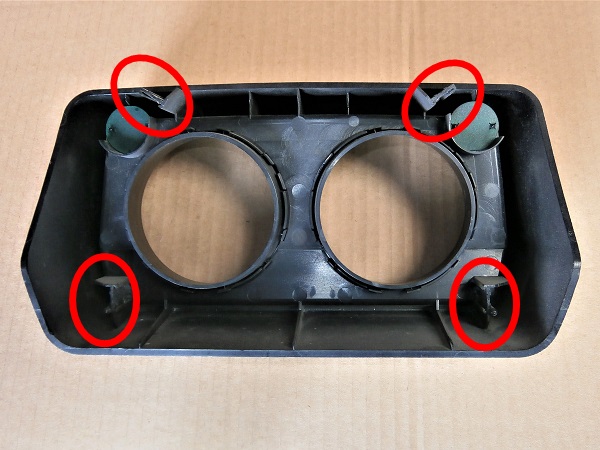
Check that they are correctly oriented to fit into their respective fixing points on the housing (2nd photo).
Rotate the clips if necessary (3rd photo).
Op 15
Bring the 2 side covers close to the instrument cluster.
Op 16
Fit the plastic housing on the instrument cluster. Push by hand.
Check that the 4 clips are fully engaged in their fixing points.
Op 17
Locate where the notch in the steering column cowling is. This notch will allow the cables to pass through.
Op 18
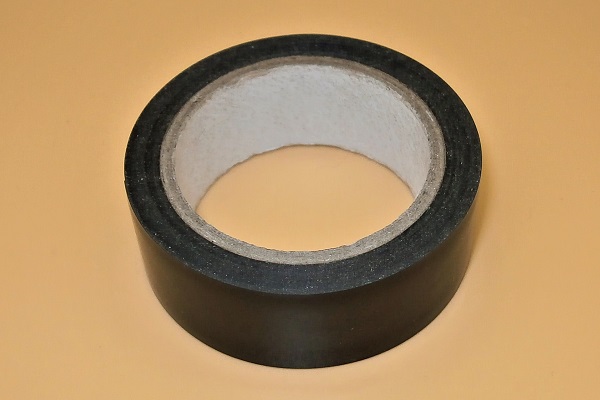
Position the cables at the same level as the cowling notch and secure them with tape to the steering column.

Op 19
Fit the 2 steering column cowlings.
Screw in the 3 fixing screws. Use a Phillips screwdriver.
Op 20
Check the proper functioning of the wipers and windscreen washer.
The End