This tutorial is also available in French
➔

Rear wheel bearings change on Austin Mini
Vehicle ➔ Mini 1000 year 1991 automatic gearbox
Difficulty ➔ Medium

Time ➔ 3 hours
Summary
Advertisement
Advertisement

Recommendations

Originally, the bearings mounted on the rear hubs of Minis were ball bearings. Then, they were replaced by tapered roller bearings. Ball bearings are no longer sold by Mini parts suppliers. However, you can mount tapered roller bearings on your Mini regardless of its year of manufacture.

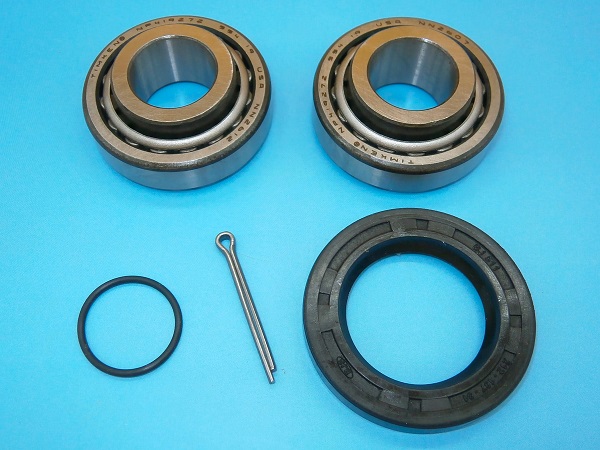
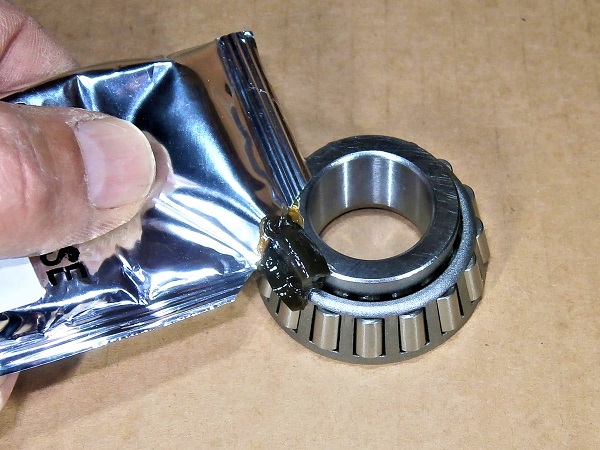
Bearings are pre-adjusted assemblies. In the packaging, the rings and rollers of each bearing are either connected by a plastic link or in a plastic bag. Never mix the elements of one bearing with the elements of another. This could impair their operation.
We decided to invest in ''Genuine'' quality wheel bearings (Timken) because we had a bad experience with ''aftermarket'' ones. Once the aftermarket bearings were fitted, the hub did not turn freely.
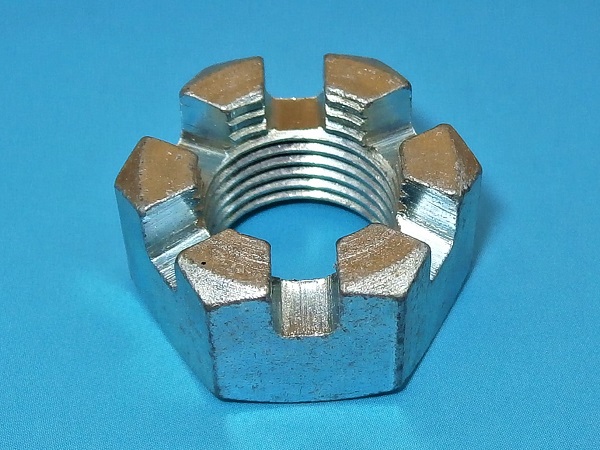
The 2 castle nuts on the 2 rear hubs are differents :
• The castle nut on the RH rear hub has a right hand thread.
• The castle nut on the LH rear hub has a left hand thread.
• The castle nut on the RH rear hub has a right hand thread.
• The castle nut on the LH rear hub has a left hand thread.
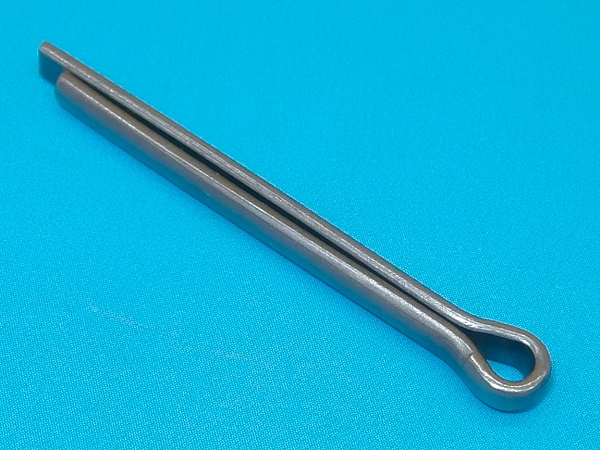
Each time a rear hub split pin is removed, always fit a new pin.
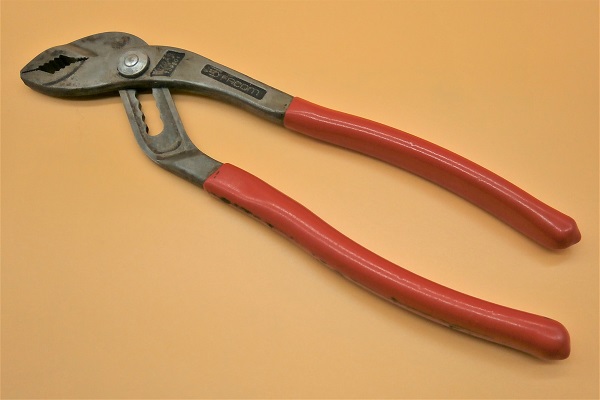
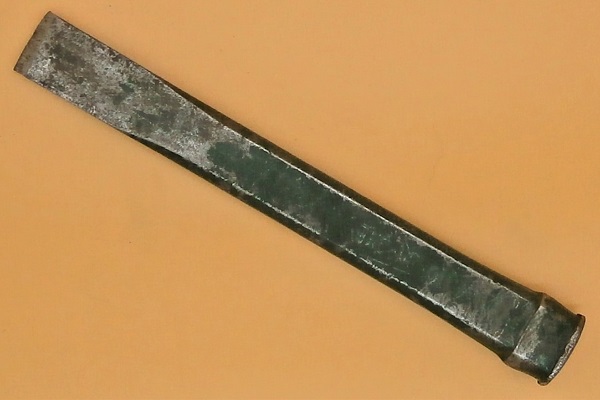
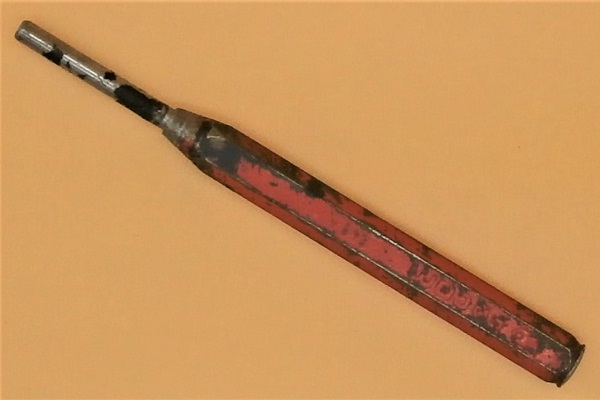
Required Tools
Sponsored links by


Spare Parts
Our Partners


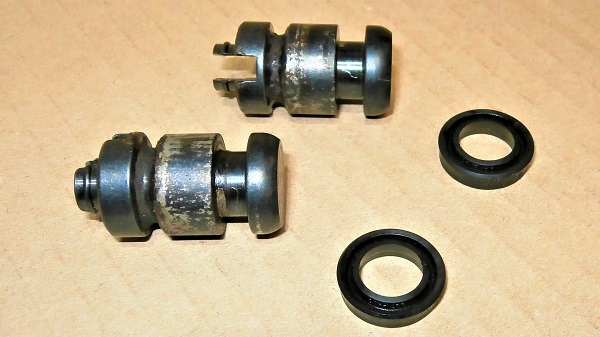
Packaging :
•
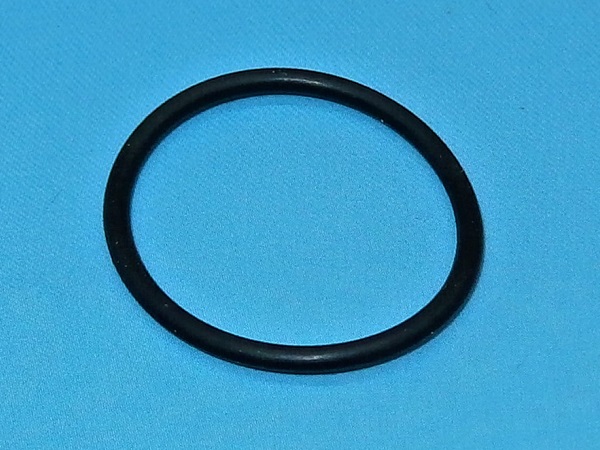
GHK1805 : Bearing kit for 1 rear wheel. 2 kits are required for a vehicle. The kit usually includes 2 tapered roller bearings, 1 O-ring (CDU1173), 1 split pin (GHF511) and 1 oil seal (GHS102), but this is not always the case. Check before placing the order.
• The other parts above are sold individually.
• The other parts above are sold individually.
Advertisement
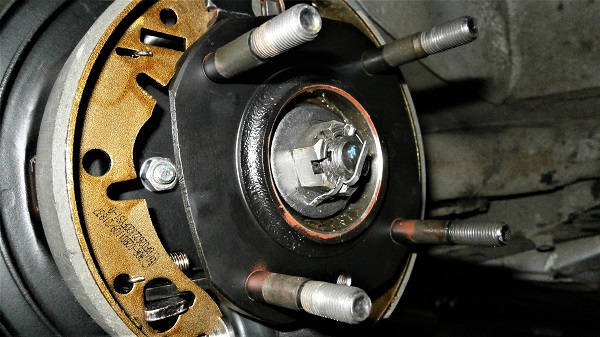
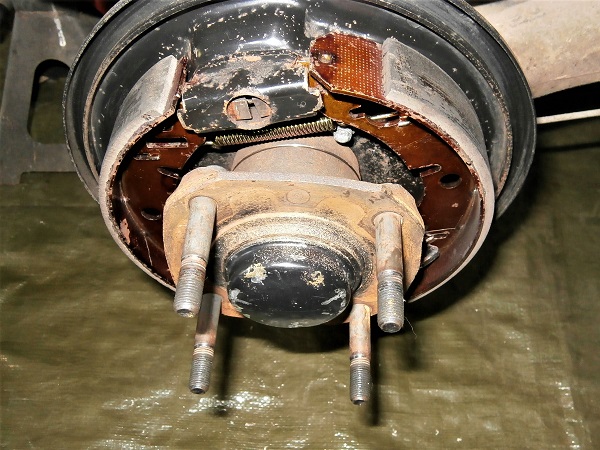
Remove the bearings
Op 01
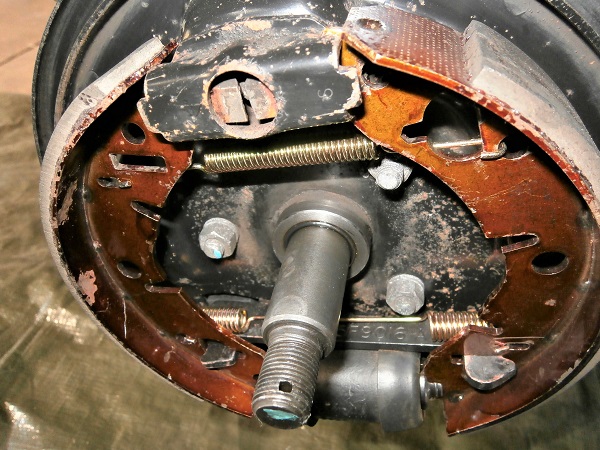
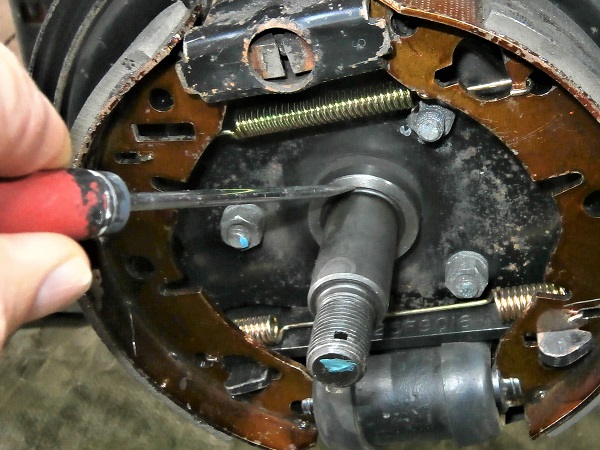
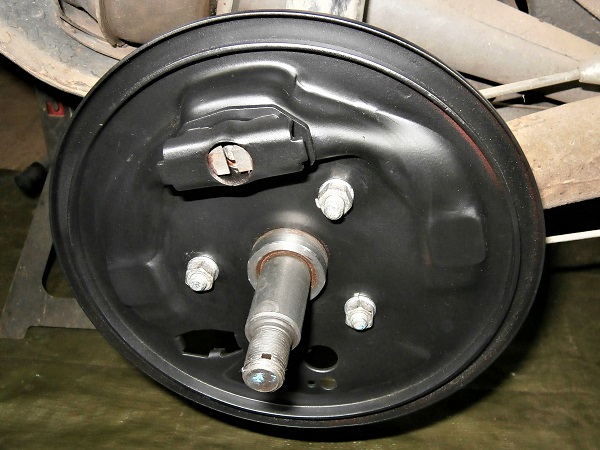
Remove the rear wheel and the brake drum (➔ see the tutorial ''Rear brake shoes change'' Op 01 to 11).
Op 02
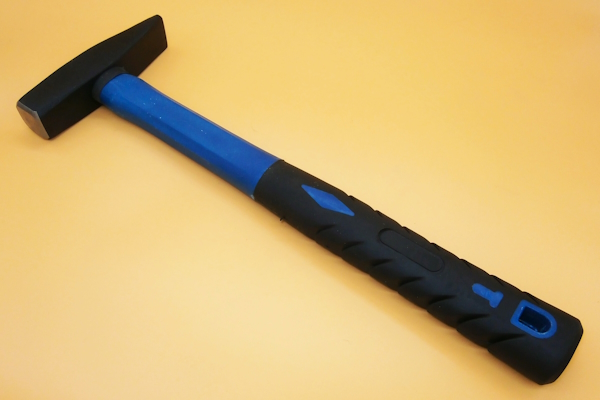
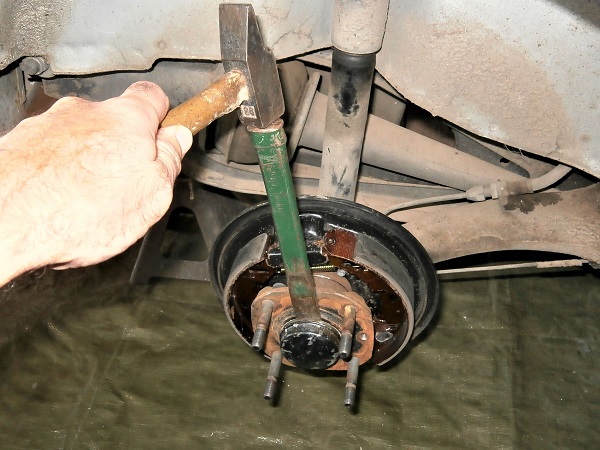
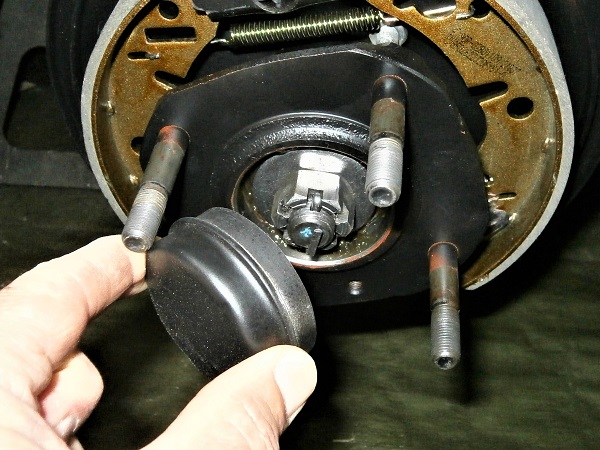
Remove the rear hub grease cap. Use a chisel and a hammer.
Place the chisel on the flange of the grease cap. Tap gradually around the entire periphery of the grease cap.
The grease cap must come out straight along the axis of the hub. If it is placed crooked, it will get stuck.
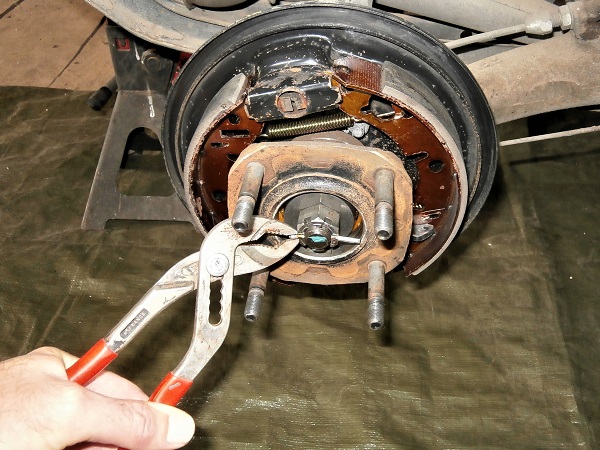
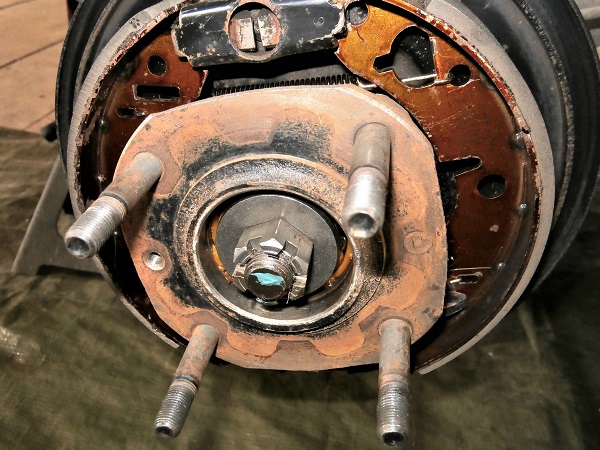
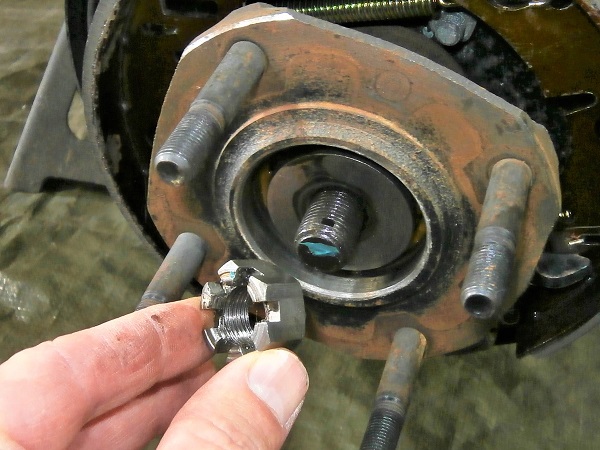
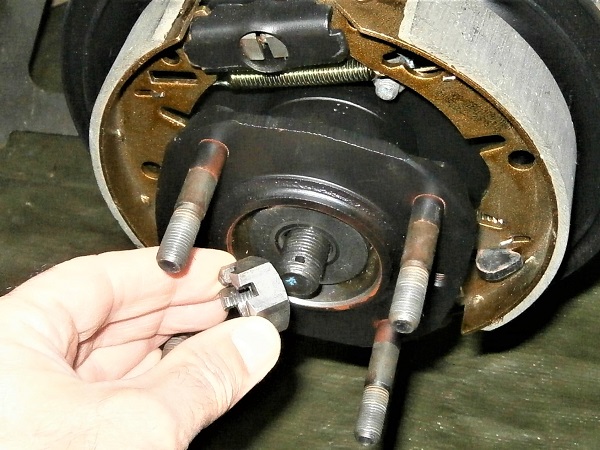
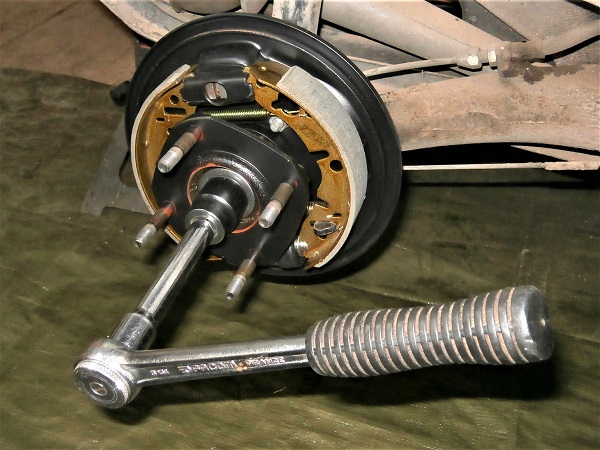
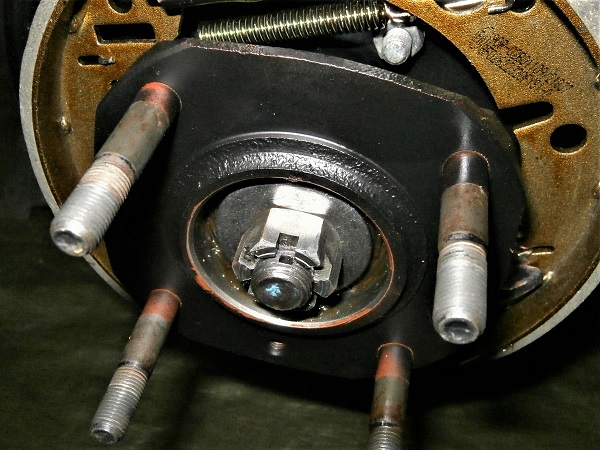
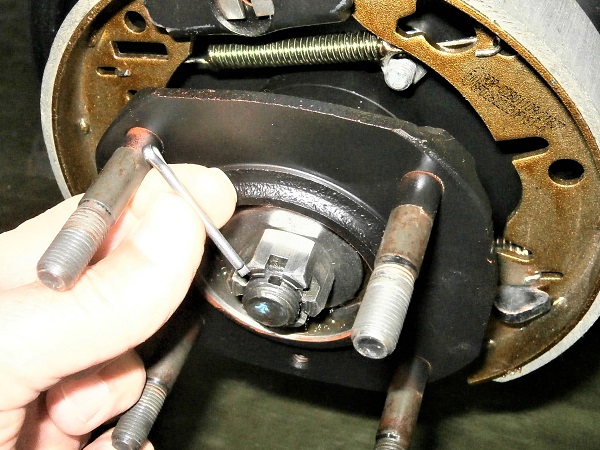
Op 03
Remove the split pin. Use the multigrip pliers.
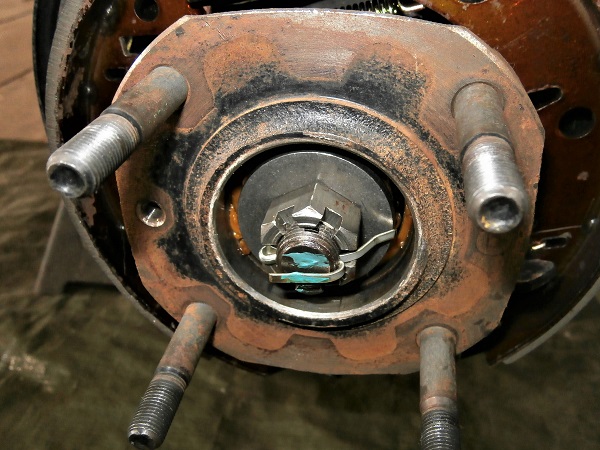
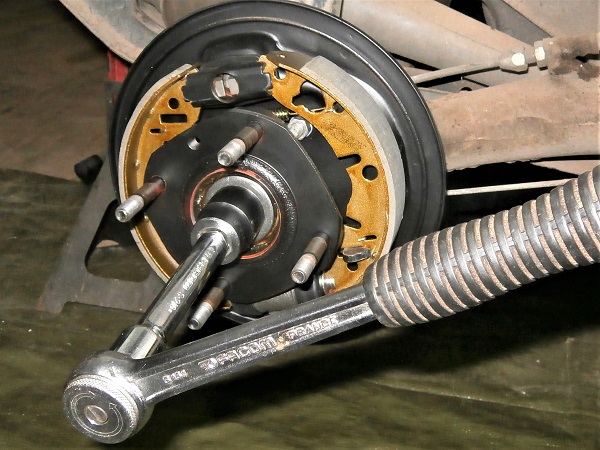
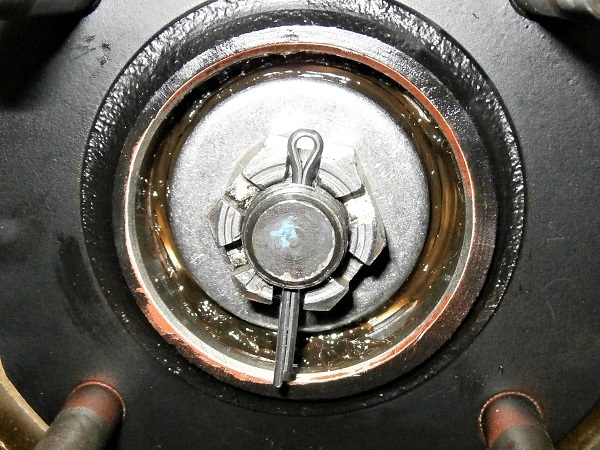
Op 04
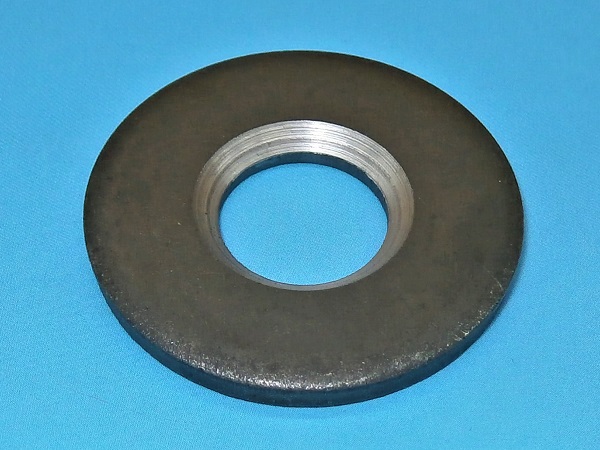
Remove the castle nut. Use the 24 mm socket.
The 2 castle nuts on the 2 rear hubs are differents :
• The castle nut on the RH rear hub has a right hand thread.
• The castle nut on the LH rear hub has a left hand thread.
• The castle nut on the RH rear hub has a right hand thread.
• The castle nut on the LH rear hub has a left hand thread.
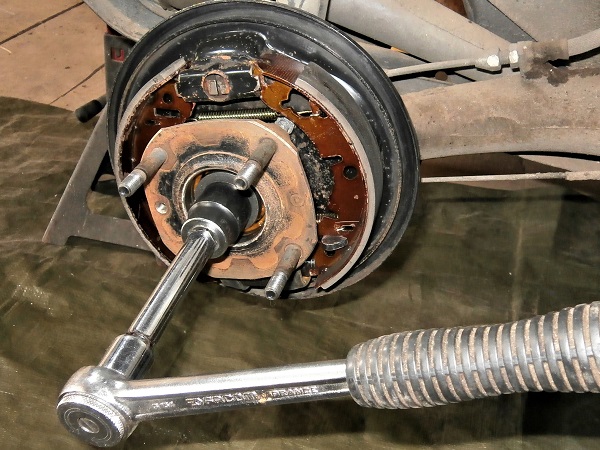
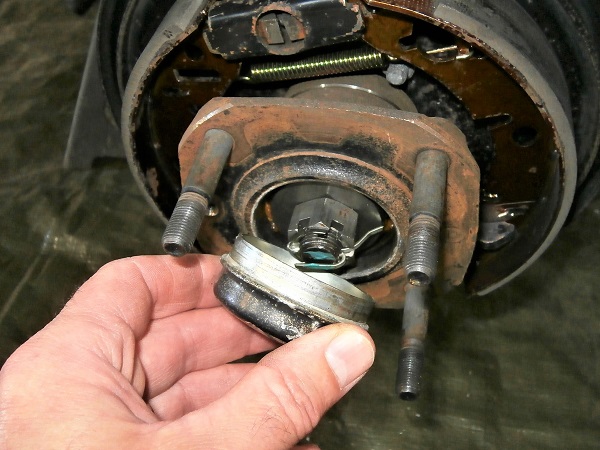
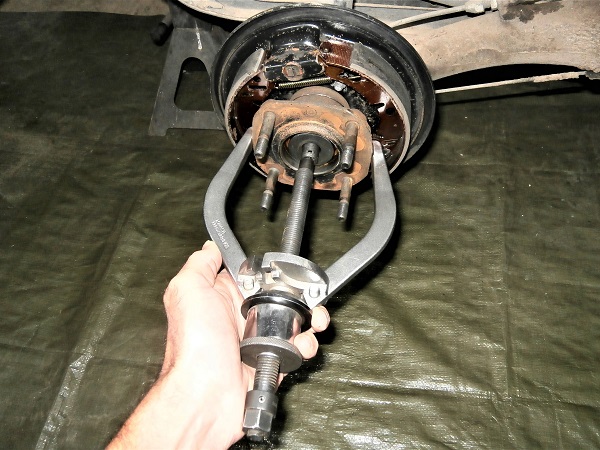
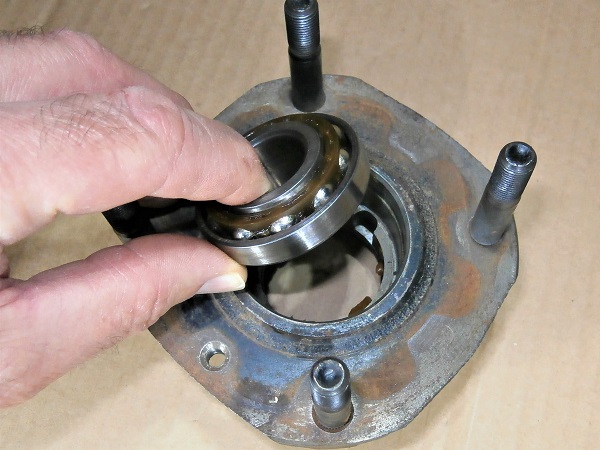
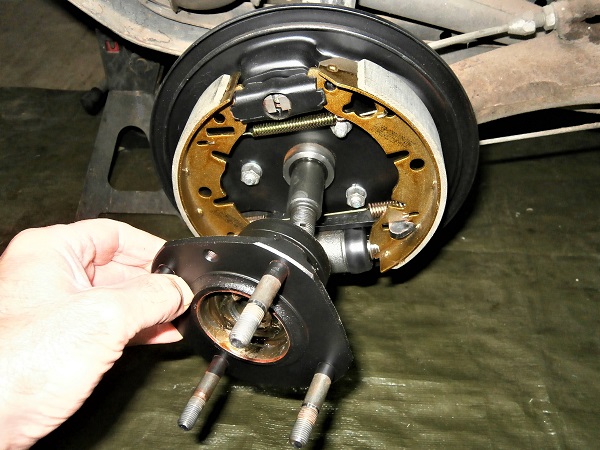
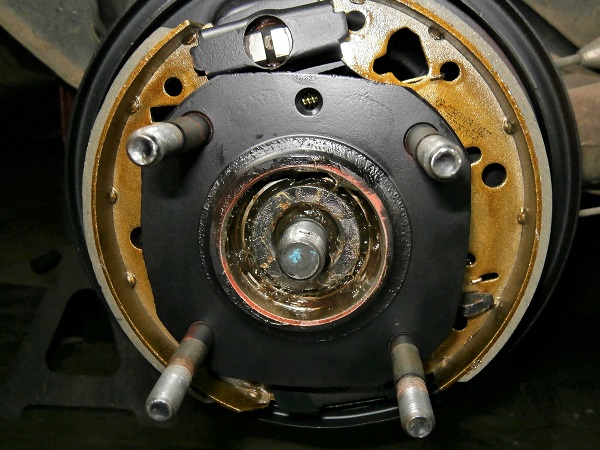
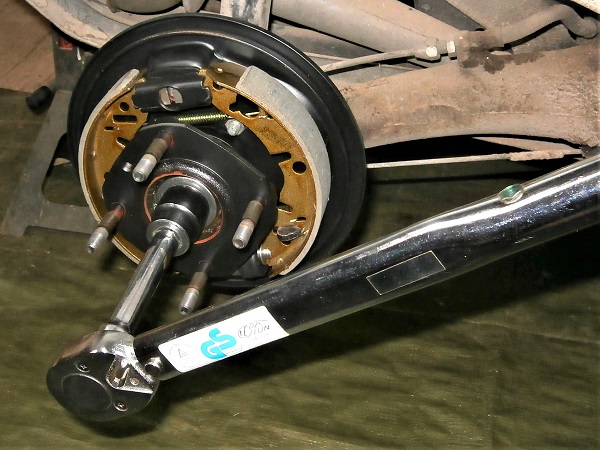
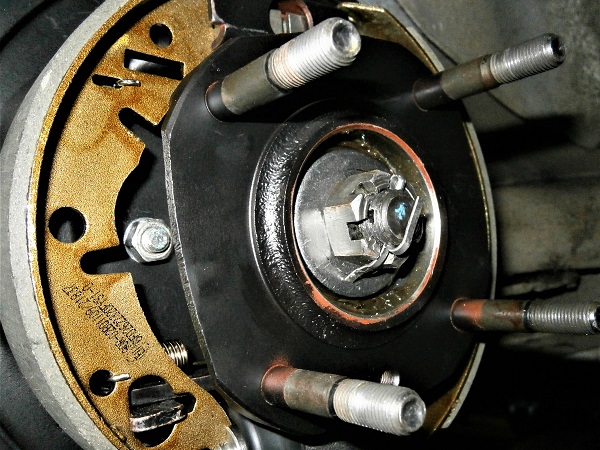
Op 05
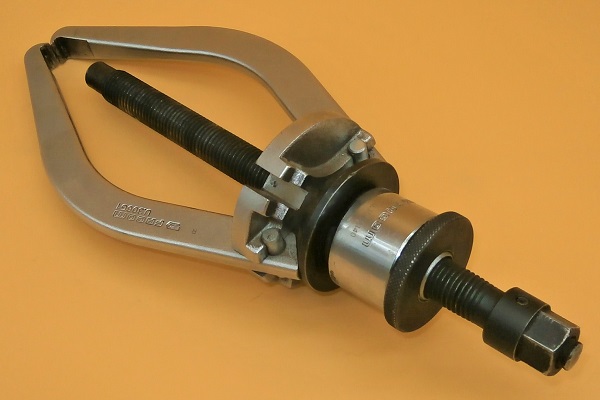
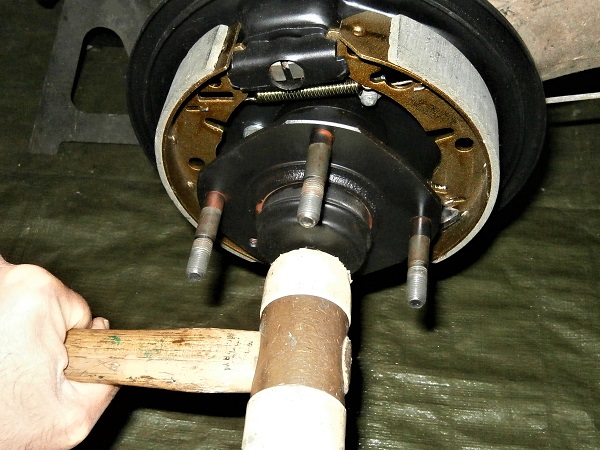
Remove the hub. Pull by hand (usually sufficient) or use a hub puller.
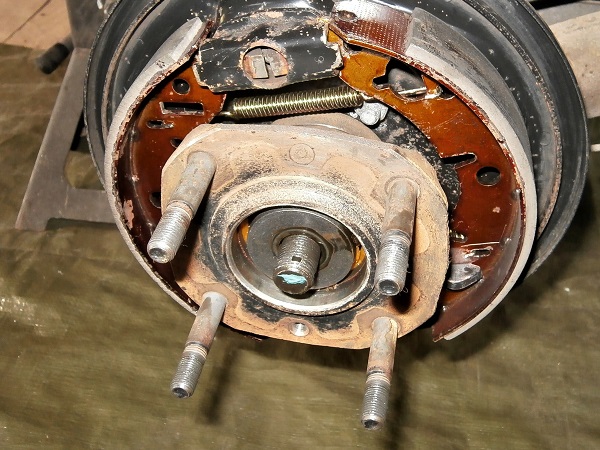
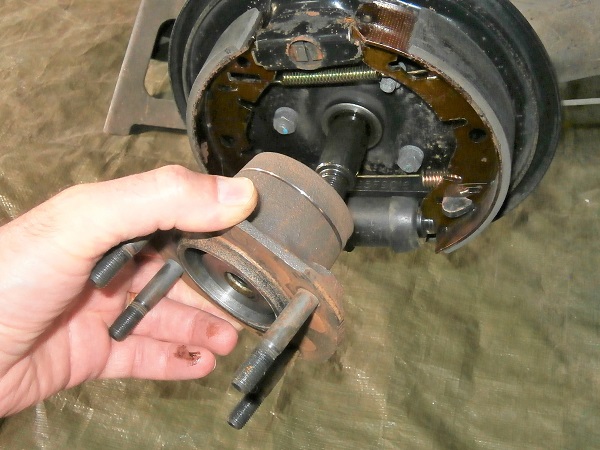
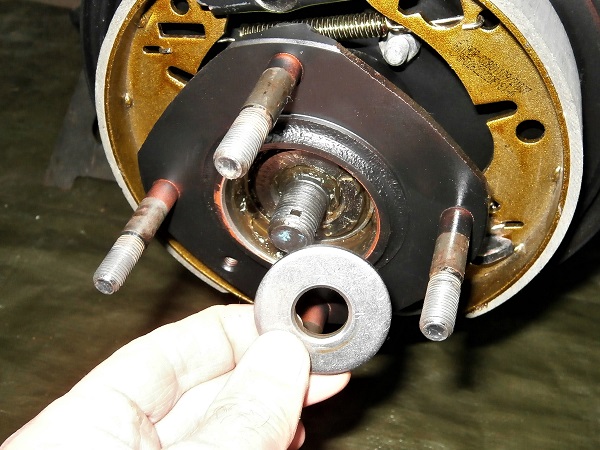
Op 06
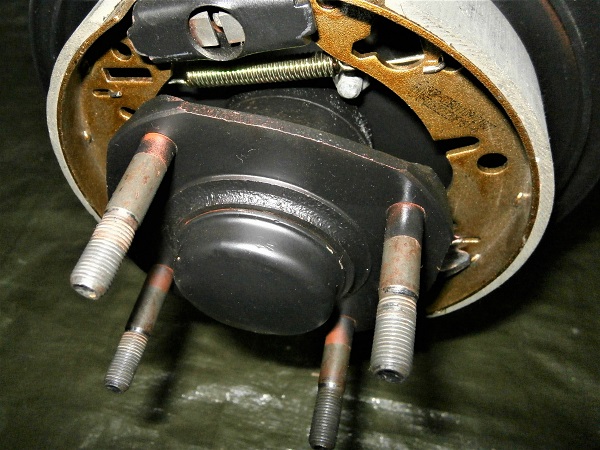
Retrieve the rear hub nut washer.
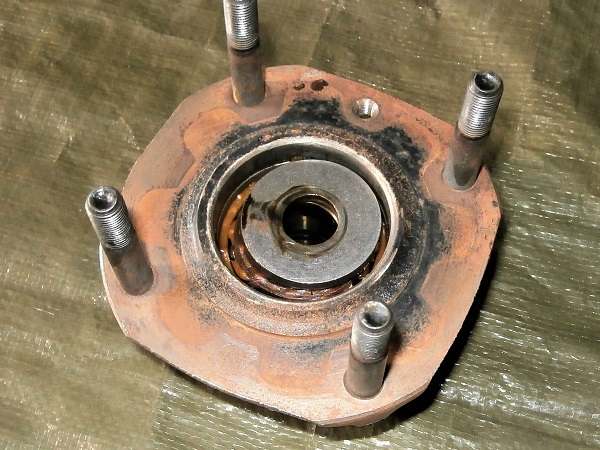
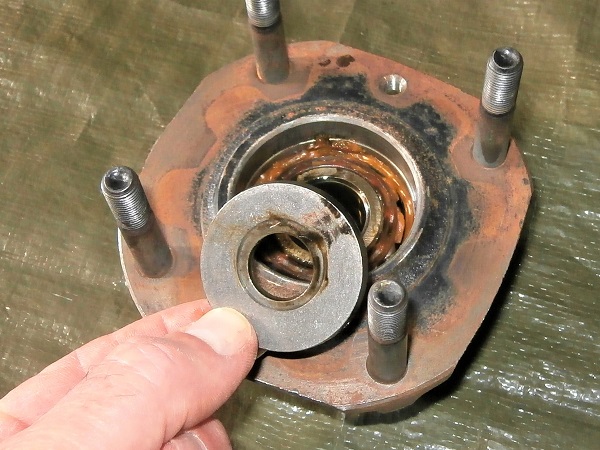
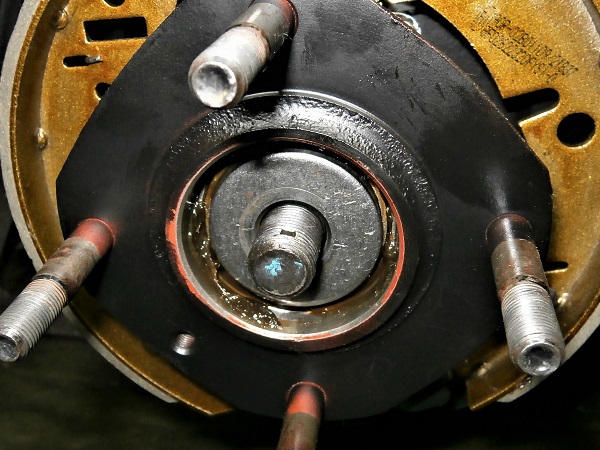
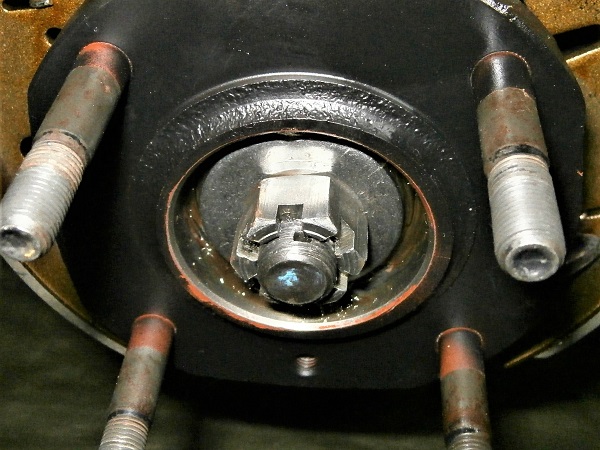
Op 07
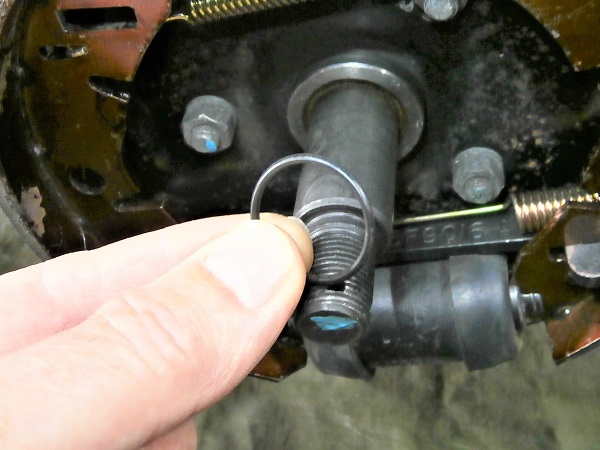
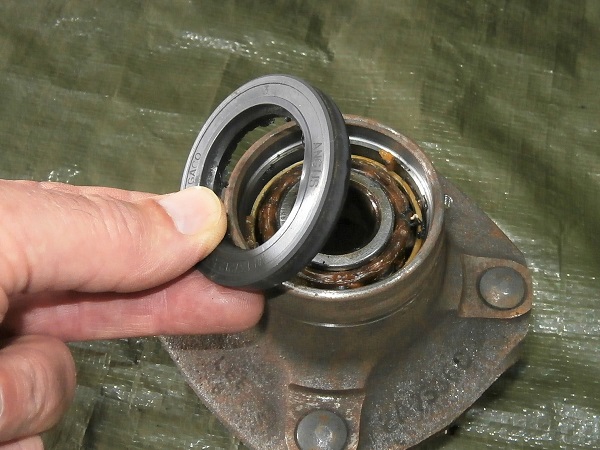
Retrieve the hub bearing O-ring. Use a small screwdriver.
Op 08
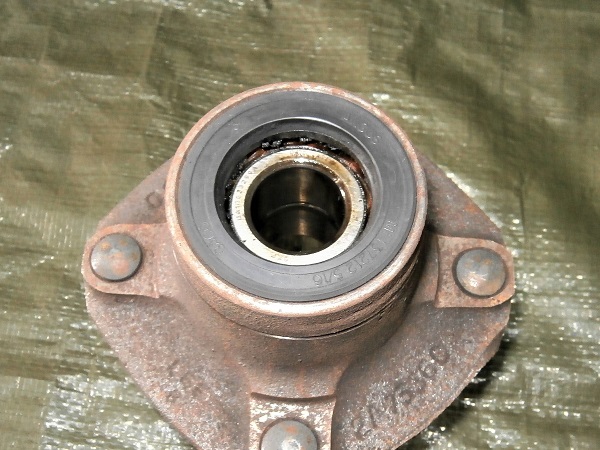
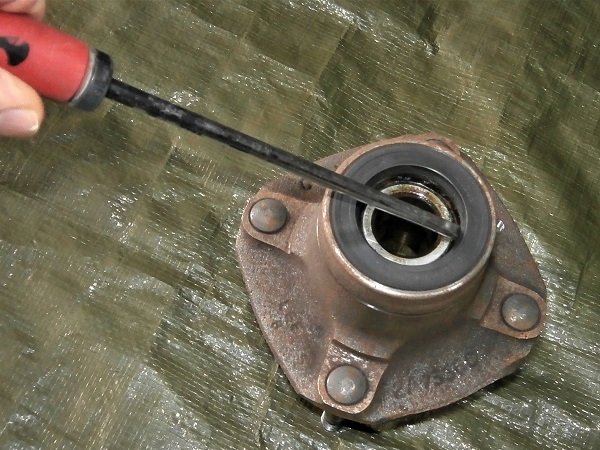
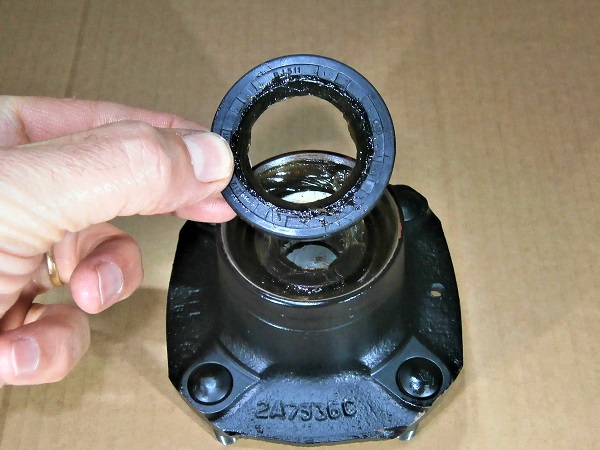
Remove the hub seal. Use a flathead screwdriver.
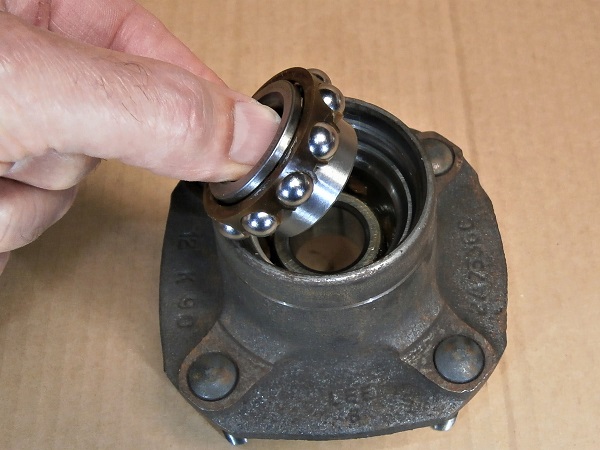
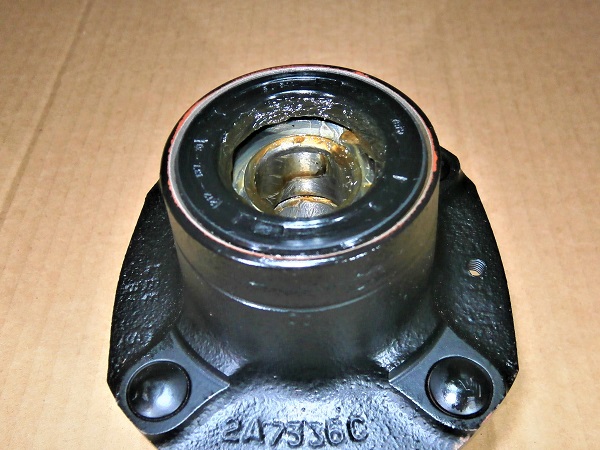
Op 09
Eject the inner ring of one of the 2 bearings (with its balls). Tap with a hammer and a screwdriver.
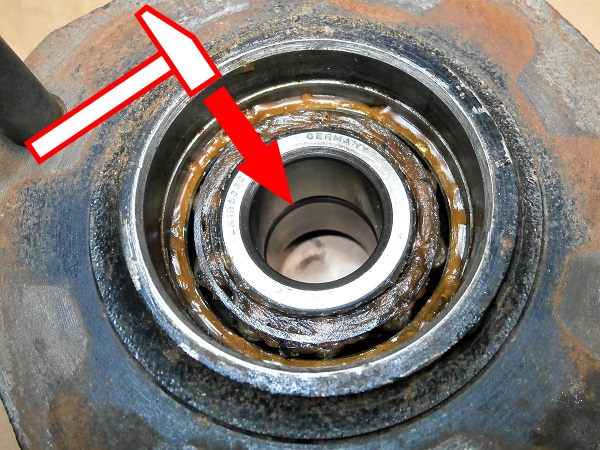
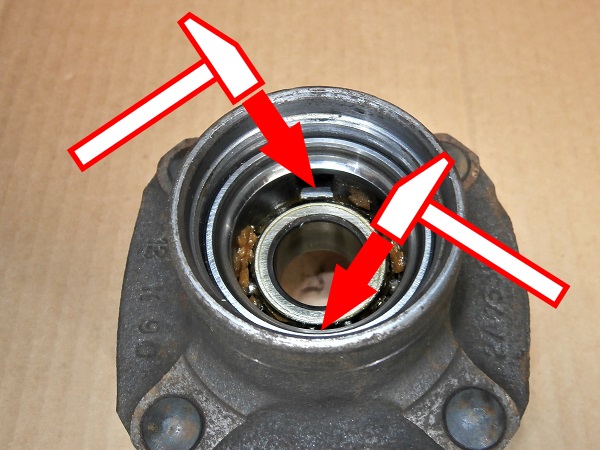
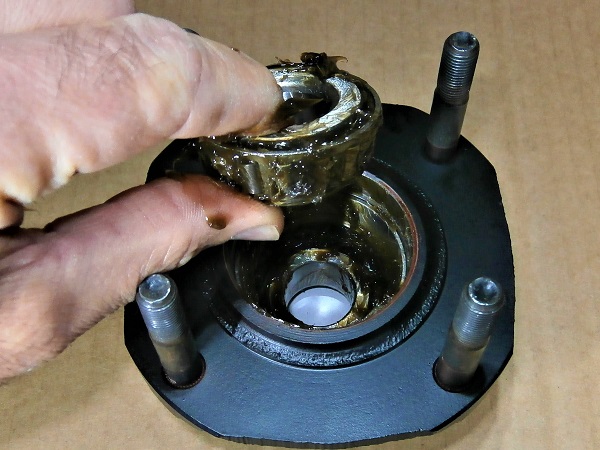
Op 10
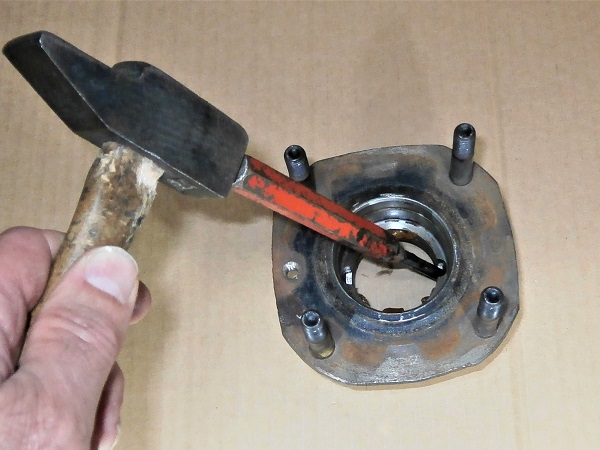
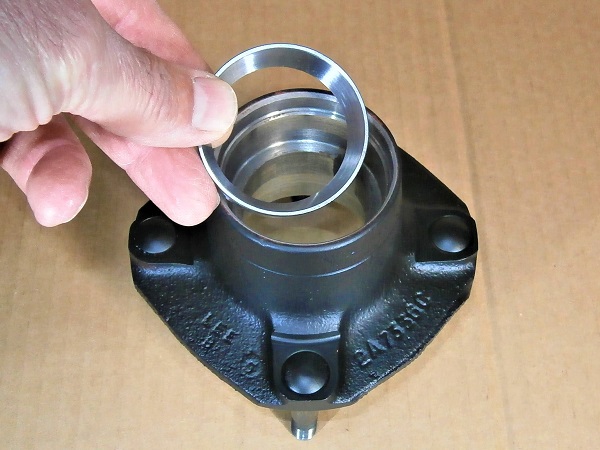
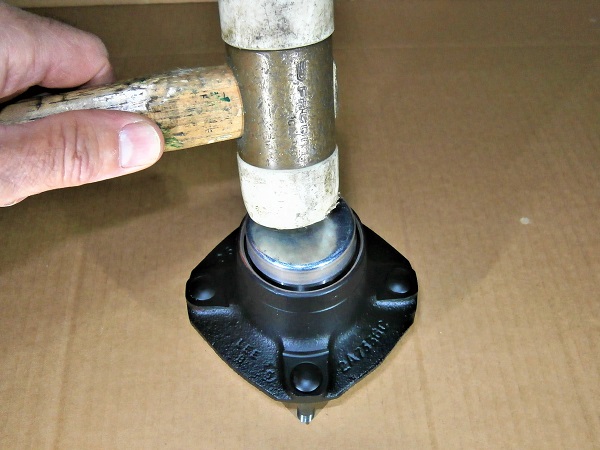
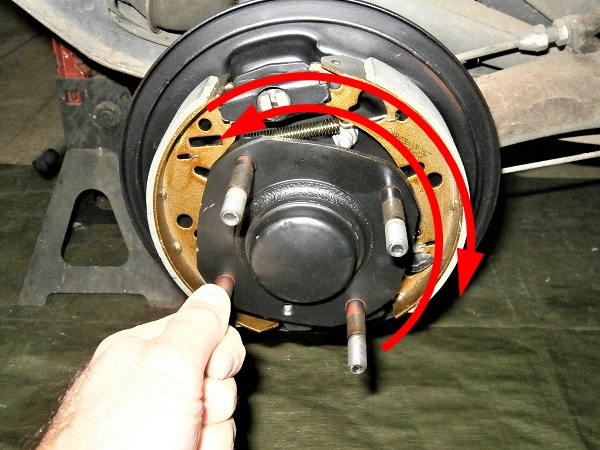
Turn the hub over and locate the 2 notches to drive out the outer rings of the bearings (1st photo).
Remove the bearing. Use the pin punch and the hammer.
Strike alternately on both sides to slide the bearing perfectly in line with the axis of the hub. If the bearing is at an angle, it will get stuck and will not come out.
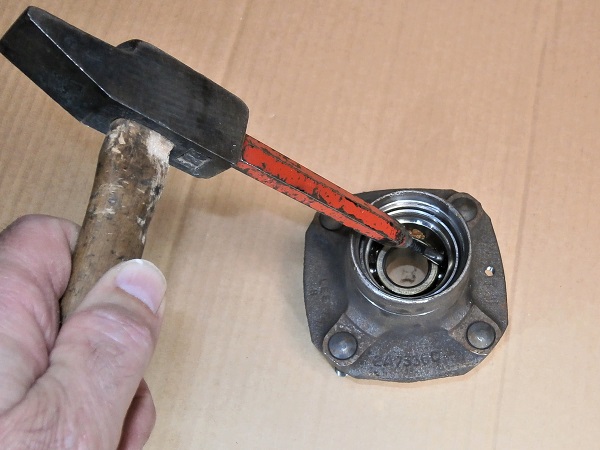
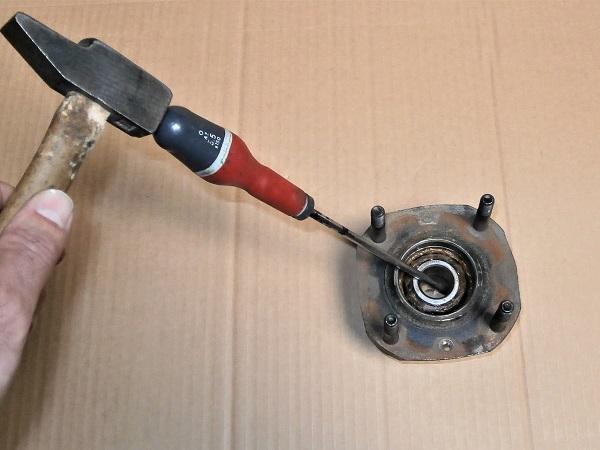
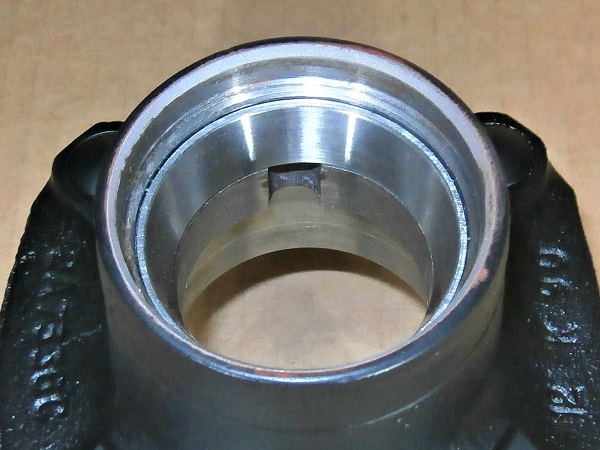
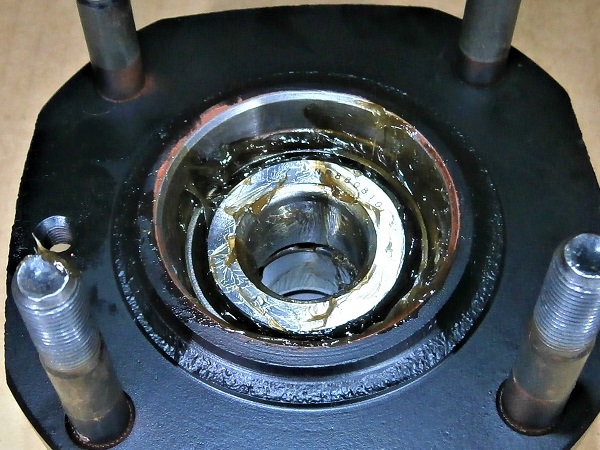
Op 11
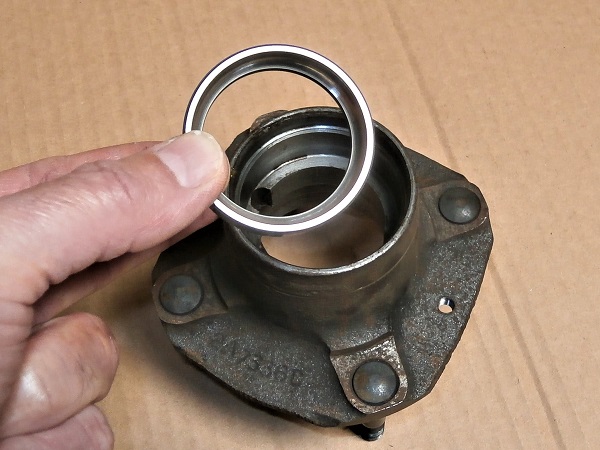
Remove the outer ring of the remaining bearing. Use the pin punch and the hammer.
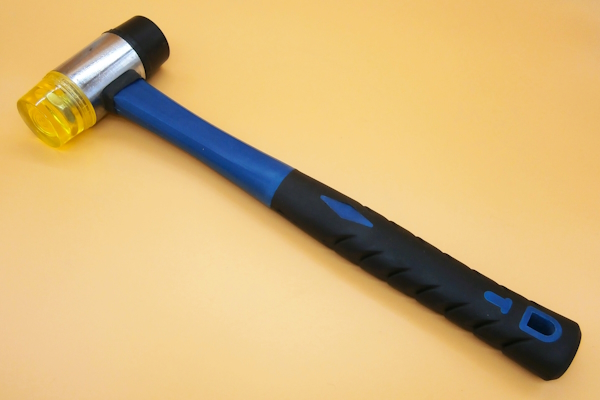
If you want to reassemble the ball bearing, you can reattach the inner ring and its balls to the outer ring. Simply put them in position and tap with a mallet.
Advertisement
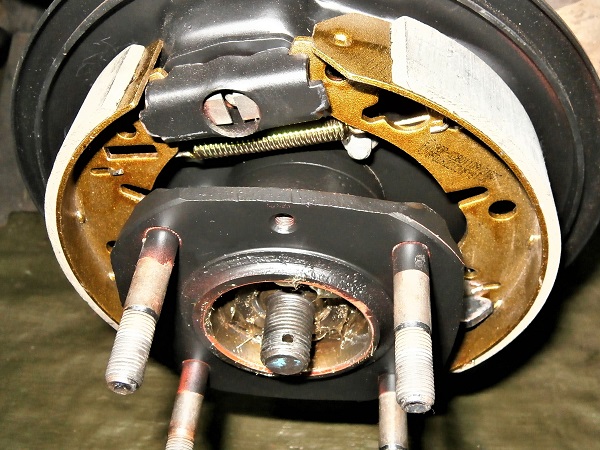
Fit the bearings
Op 12
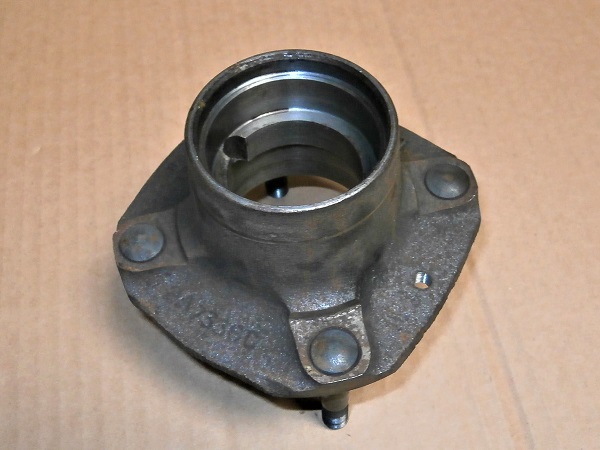
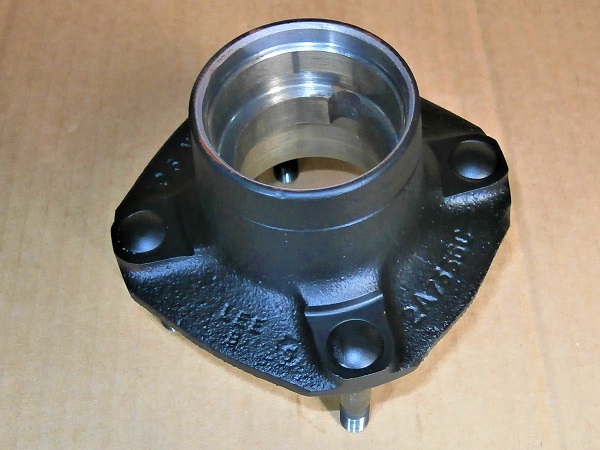
Thoroughly clean the hub and stub axle.
Op 13
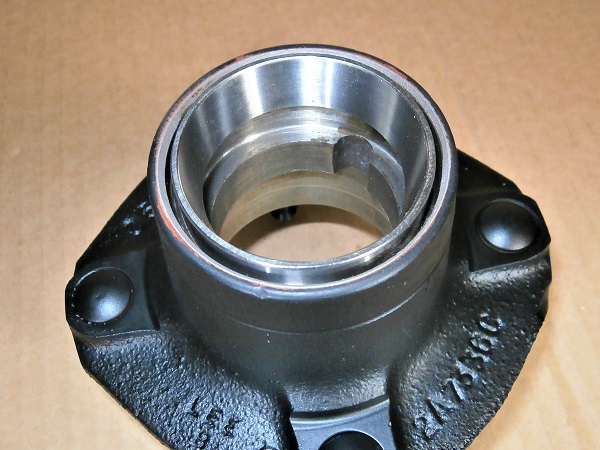
Fit the outer ring of one of the 2 bearings (GHK1805 kit) in the hub. Use a washer and the mallet.
The diameter of the washer should be very slightly smaller than the outside diameter of the bearing ring. This allows you to use the washer to push the ring in without it getting stuck in the hub.
If you do not have a washer of the correct diameter, you can use the outer ring of one of the old bearings. Simply cut it before using it so that it can be easily removed
(➔ see the tutorial ''Front wheel bearings change'' Op 12 and 13).
Op 14
Fit the outer ring of the 2nd bearing (GHK1805 kit) in the hub. Use a washer and the mallet.


Op 15
Fit the inner ring of the inner bearing (with its roller cage).
Grease the bearing abundantly.
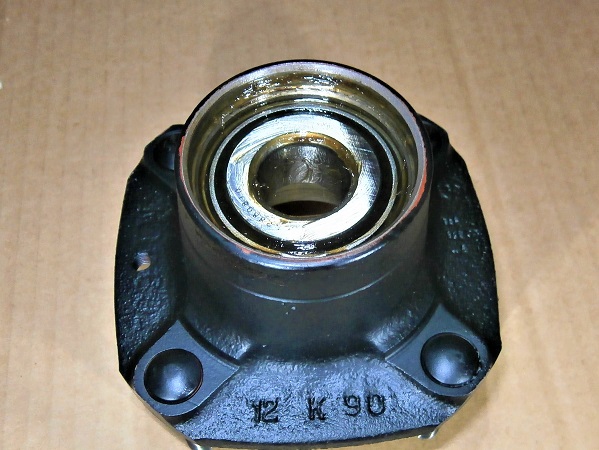
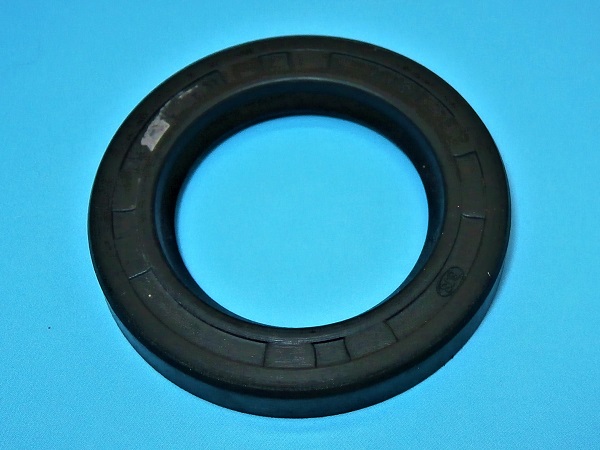
Op 16
Fit the hub seal (GHS102). The seal fits easily by hand.
Grease the lip of the hub seal before positioning it.
The lip of the hub seal must face the bearing.
Op 17
Fit the inner ring of the outer bearing (with its roller cage).
Grease the bearing abundantly.
Op 18
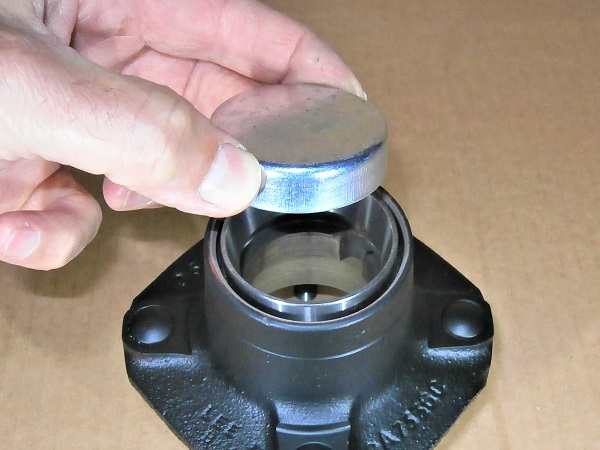
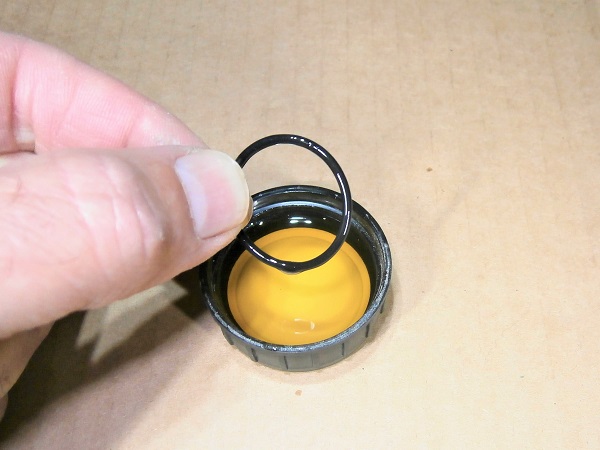
Fit the O-ring (CDU1173) on the stub axle.
Lubricate the O-ring with engine oil before installation (1st photo).

Op 19
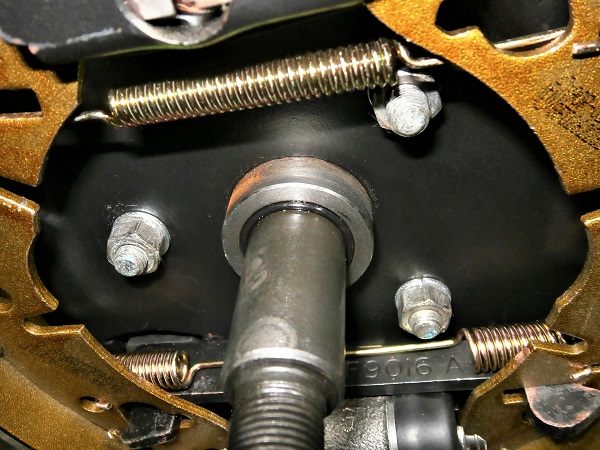
Fit the hub on the stub axle. Push by hand.
Op 20
Fit the rear hub nut washer (BTA672).
Op 21
Screw on the nut (NL610041 for the RH side or FNN2410 for the LH side). Use the 24 mm socket.

Op 22
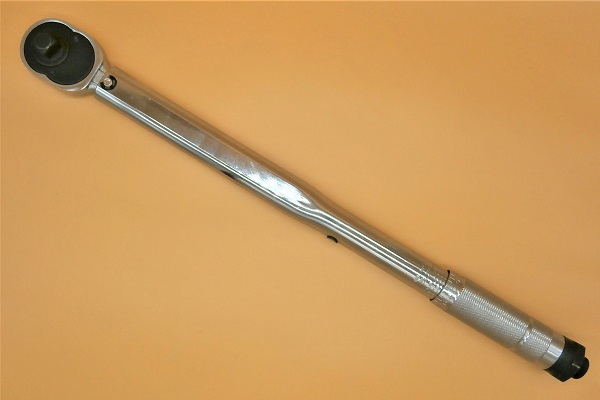
Tighten the nut to 81 mN. Use the torque wrench.
Op 23
Continue tightening the nut to align one of the slots with one of the 2 holes in the stub axle.
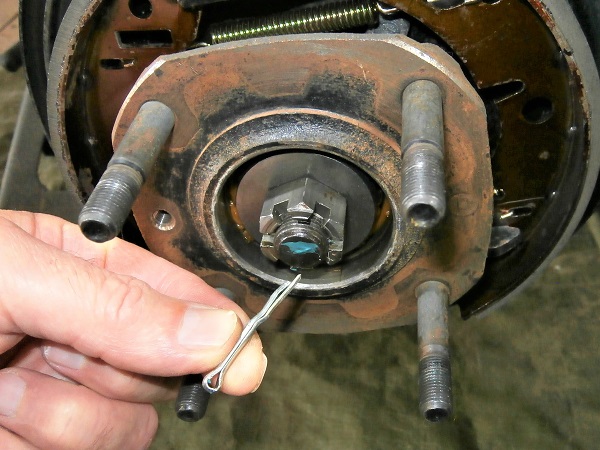
Op 24
Fit the split pin (GHF511) and spread its legs. Use the multigrip pliers.
Op 25
Fit the hub grease cap. Tap with the mallet.
Op 26
Check that the hub can turn freely. Turn it by hand.
This is where the aftermarket bearings fail. You have to use force to get the hub to spin.
Op 27
Fit the brake drum and rear wheel (➔ see the tutorial ''Rear brake shoes change'' Op 38 to 42).
The End