This tutorial is also available in French
➔

Track rod end change on Austin Mini
Vehicle ➔ Mini 1000 year 1988
Difficulty ➔ Easy

Time ➔ 1 hour
Summary
Advertisement
Advertisement

Recommendations

Over time and with the kilometers, the track rod ends become loose. This causes blur and vibrations in the steering. If the play is significant, it can also cause you to fail the MOT.

When you unscrew a track rod end from the steering rack, be sure to count the number of turns. This will allow you to reinstall the track rod end more accurately. Nevertheless, this will not exempt you from having the alignment adjusted afterwards.
If one of the track rod ends has play, do not hesitate to change both track rod ends. Indeed, if one of the track rod ends has given up the ghost, the other must also be tired. A track rod end only costs £8. It is better to change both track rod ends before investing £75 in the wheel alignment.
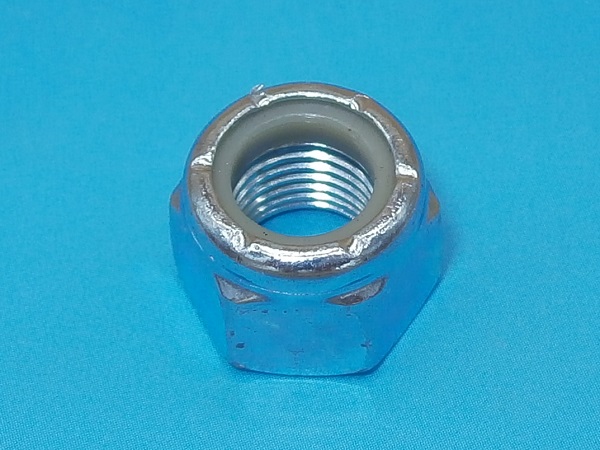
The track rod end fixing nuts (GFK3323) are nyloc nuts. Before refitting such a nut, check that the nylon ring is in good condition and guarantees the locking. If in doubt, as a safety measure, fit a new nut.
Required Tools
Sponsored links by


Spare Parts
Our Partners


Packaging :
•
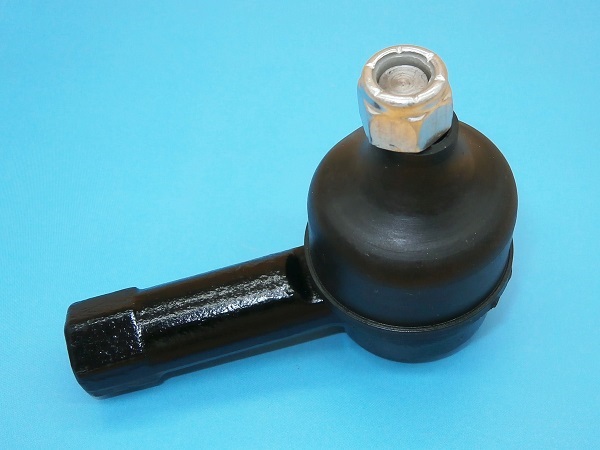
GSJ734MS : The track rod ends are sold individually. 2 track rod ends are required for a vehicle. The track rod end is usually delivered with its nyloc nut (GFK3323).
• All the above parts are sold individually.
• All the above parts are sold individually.
Advertisement
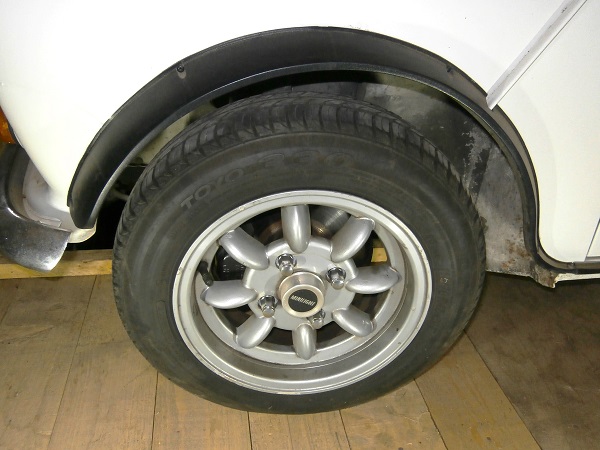
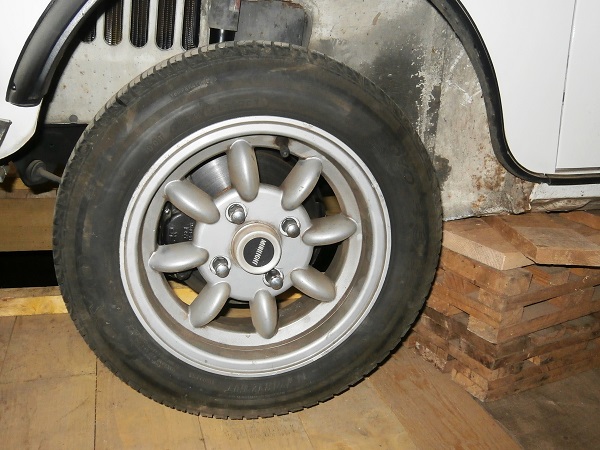
Remove the wheel
Op 01
Lift the wheel :
•
Apply the handbrake.
•
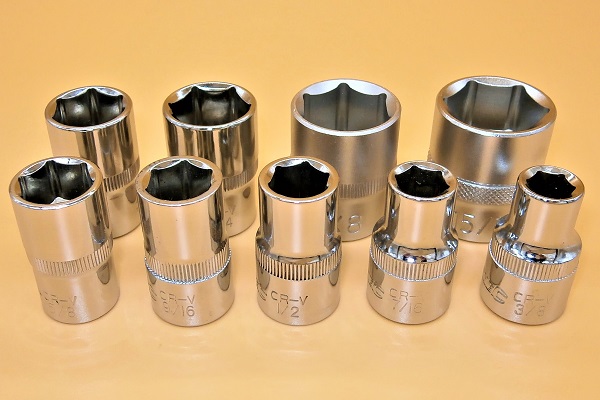
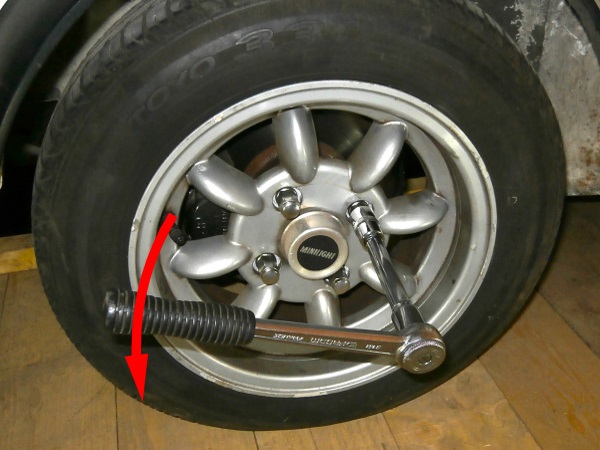
Slightly loosen the 4 wheel nuts. Use the 11/16'' socket.
•
Lift the wheel. Use the jack.
•
Fit jack stands or rigid chocks to guarantee your safety.
Before working under the vehicle, make sure to secure it properly with jack stands or rigid chocks. Never work under a vehicle supported only by a jack. It is too dangerous.
Op 02
Remove the wheel :
•
Remove the 4 wheel nuts. Unscrew by hand.
•
Remove the wheel. Pull by hand.


Remove the track rod end
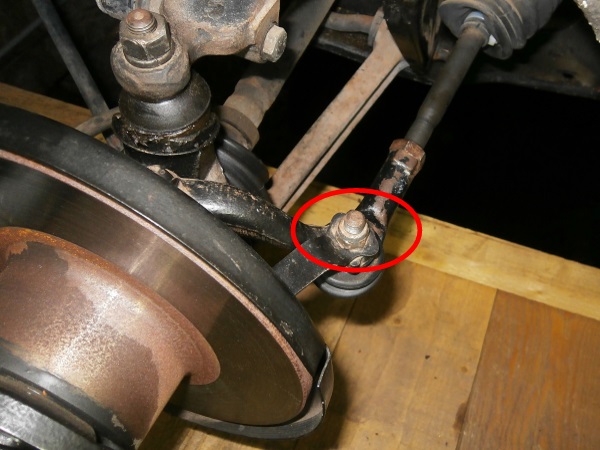
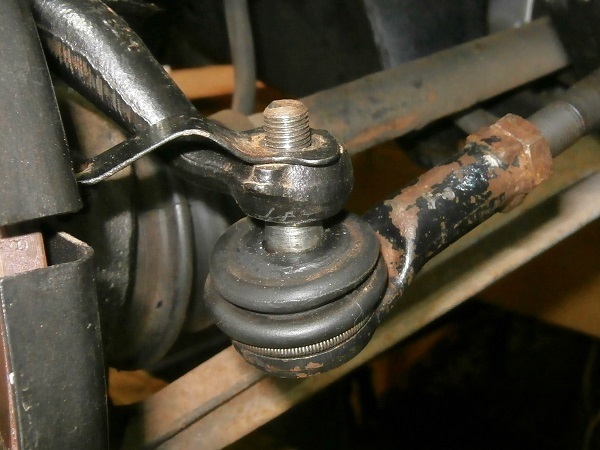
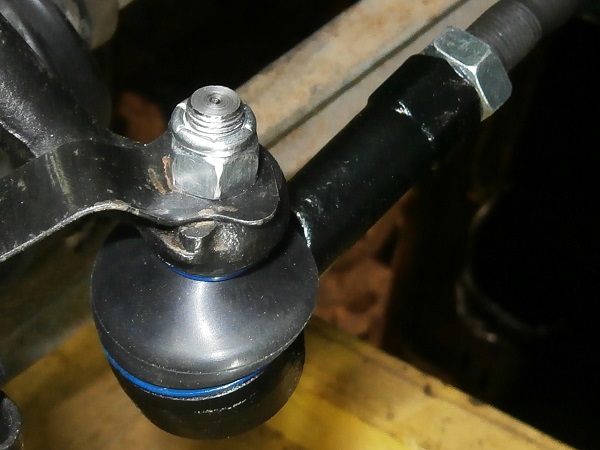
Op 03
Remove the track rod end fixing nut. Use the 9/16'' socket.
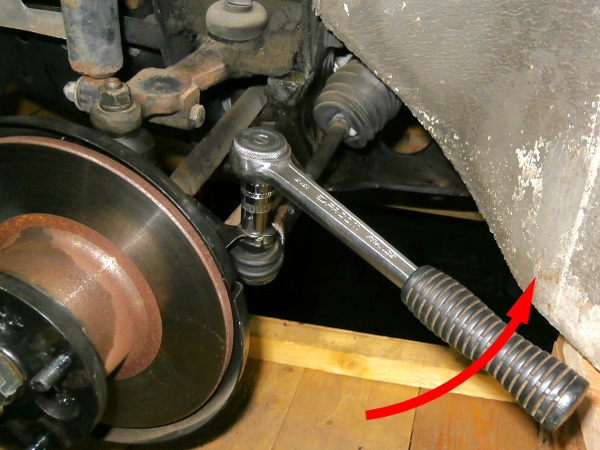

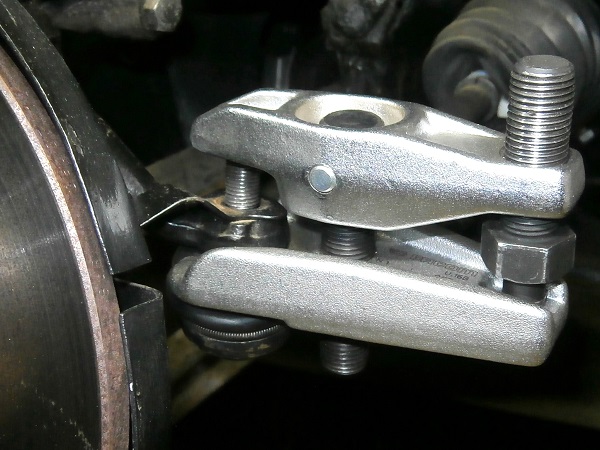
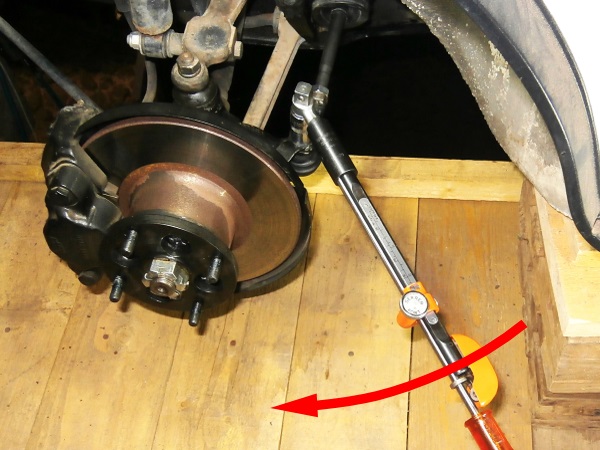
Op 04
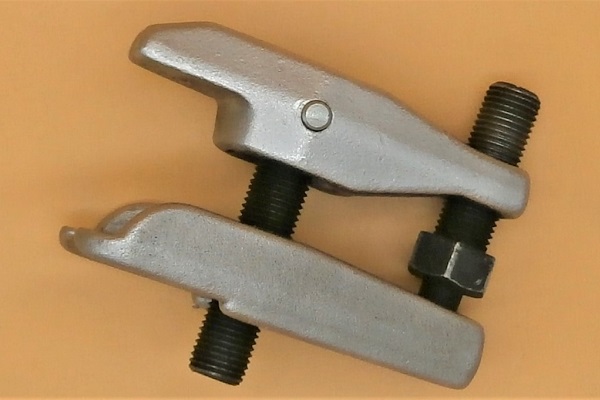
Pull off the track rod end from the steering arm. Use the ball joint puller.
Be careful not to tear the track rod end gaiter when installing the ball joint puller.
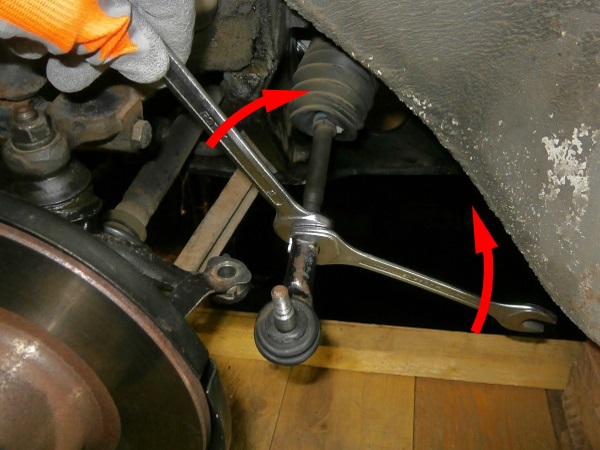
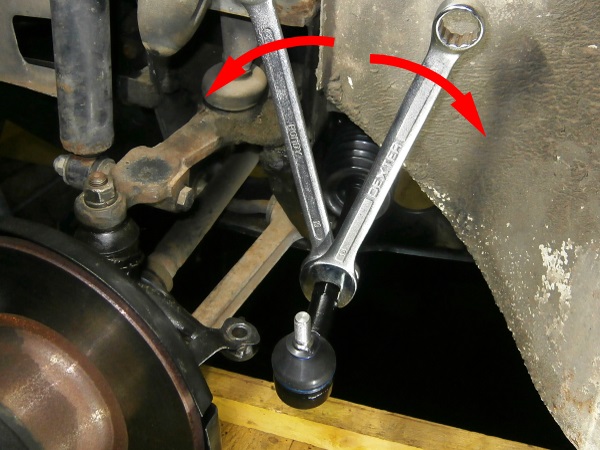
Op 05
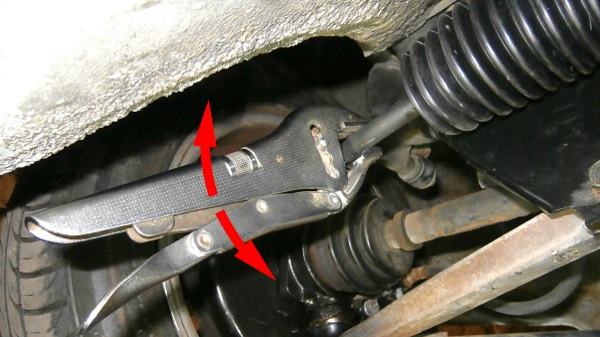
Loosen the track rod end half lock nut. Use the two 19 mm spanners.
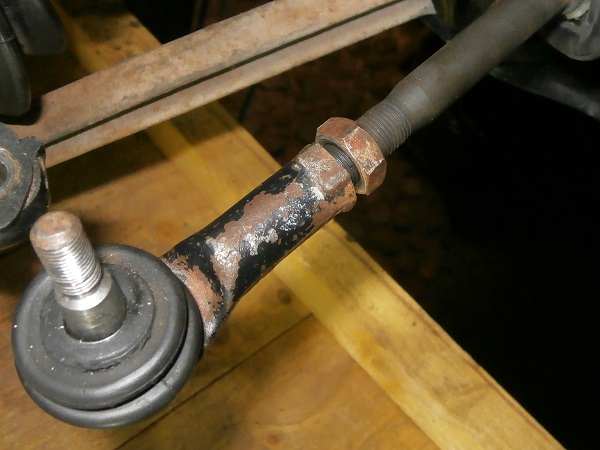
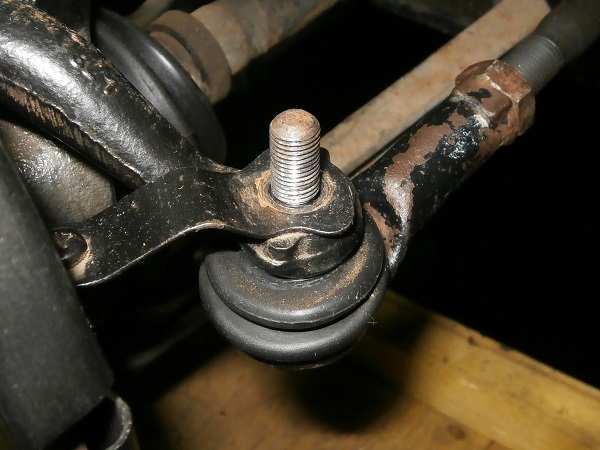
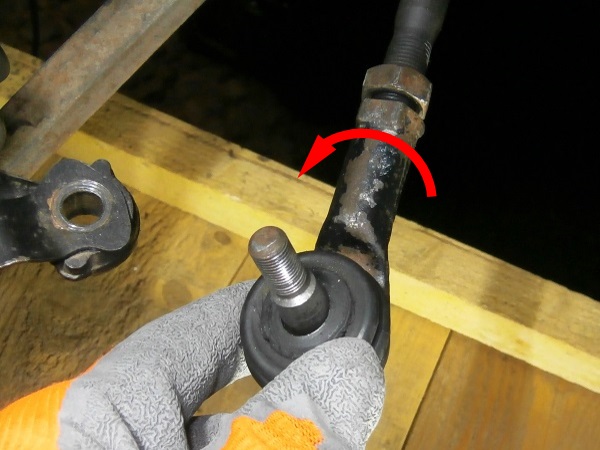
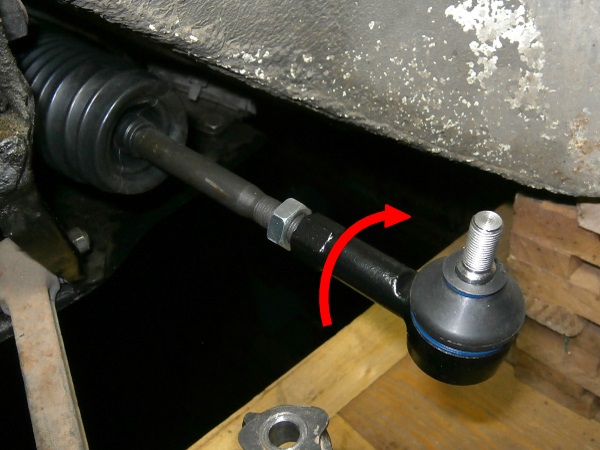
Op 06
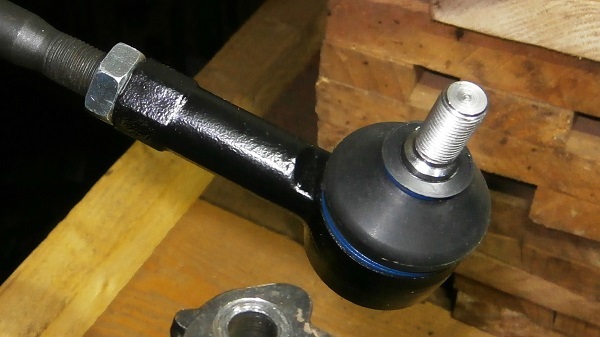
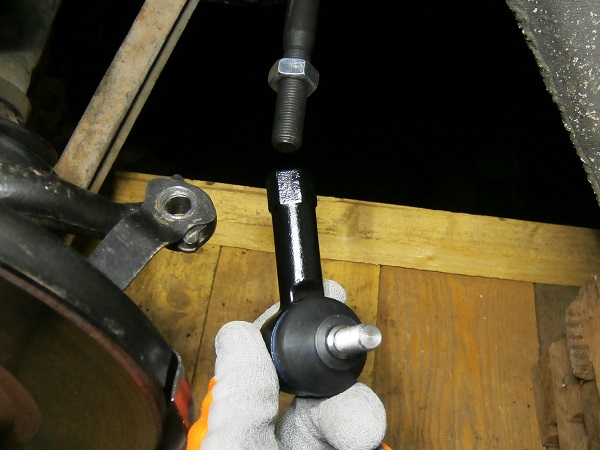
Remove the track rod end. Unscrew by hand.
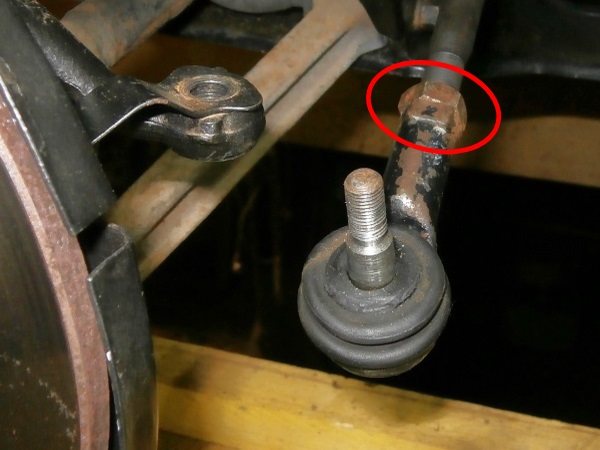
Count the number of turns when unscrewing the track rod end. This will allow it to be positioned approximately during reassembly.
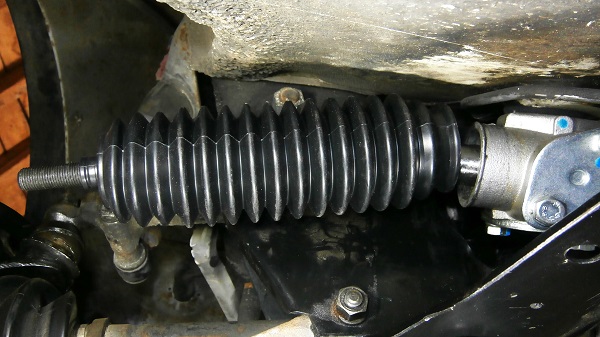
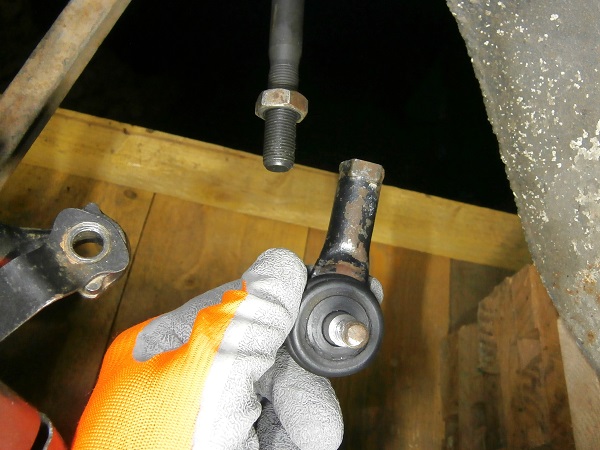
Check that the track rod end gaiter is in perfect condition. If the gaiter is torn (3rd photo), it will need to be changed (or the track rod end changed).

Advertisement
Fit the new track rod end
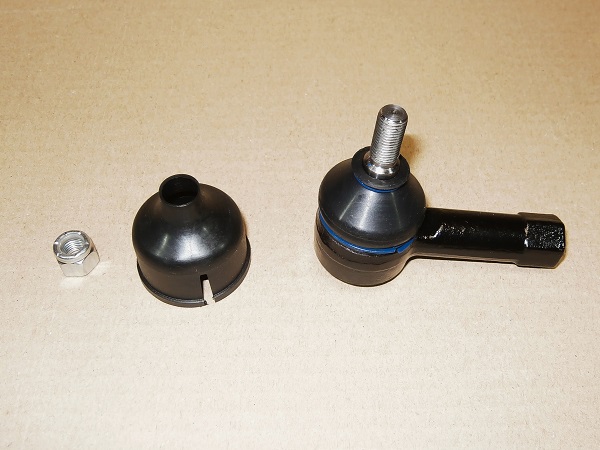
Op 07
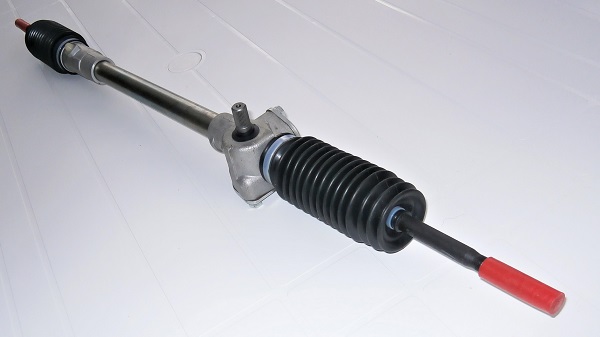
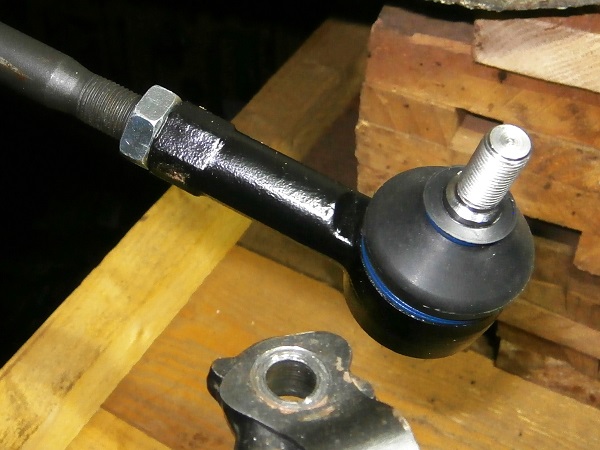
Remove the nut from the new track rod end (GSJ734MS). Unscrew by hand.
Remove the plastic cover from the track rod end. Pull by hand.

Op 08
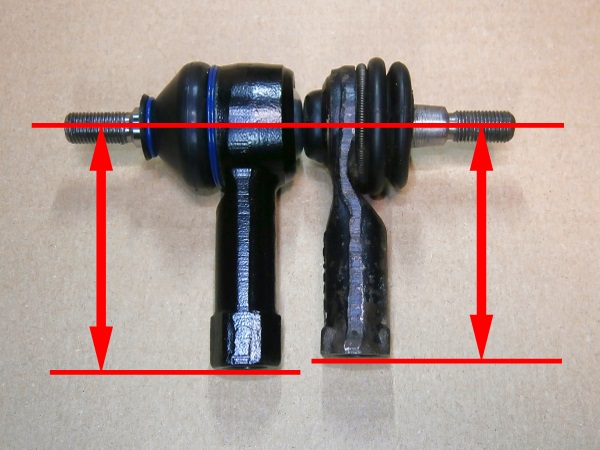
Check that the length of the new track rod end (dimension between the axis of the track rod end and the fixing point) is identical to the old one.
If the length is different, it will have to be taken into account when screwing the new track rod end onto the steering rack.
In my case, the new track rod end is 2 mm longer than the old one. I therefore screwed it in with 2 more turns than the old one.
In my case, the new track rod end is 2 mm longer than the old one. I therefore screwed it in with 2 more turns than the old one.
Op 09
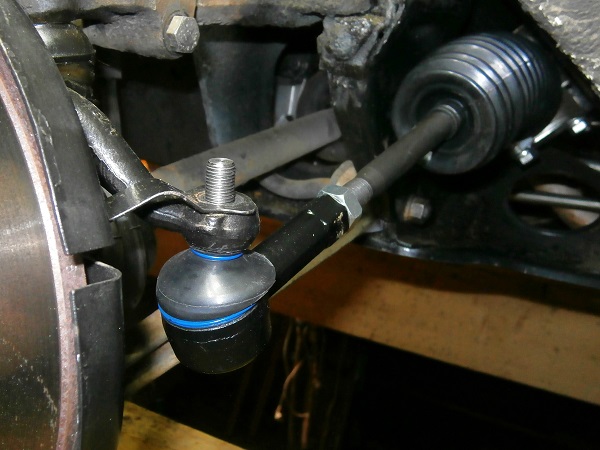
Fit the track rod end on the steering rack. Screw by hand.
Screw the track rod end the same number of turns as the old one (corrected for the difference in length). This allows a first approach to the wheel alignment.
Op 10
Firmly tighten the half lock nut (NT608041) against the track rod end. Use the 18 mm spanner and the 19 mm spanner.
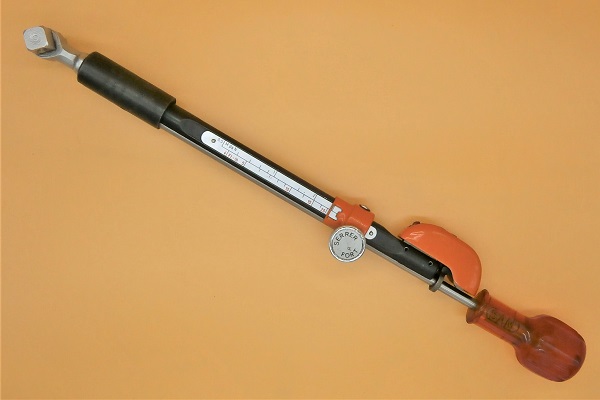
The tightening torque of the track rod end half lock nut is 52 mN. This operation requires a specific torque wrench with an open-end spanner. If, like me, you don't have this type of wrench, tighten it firmly.
Op 11
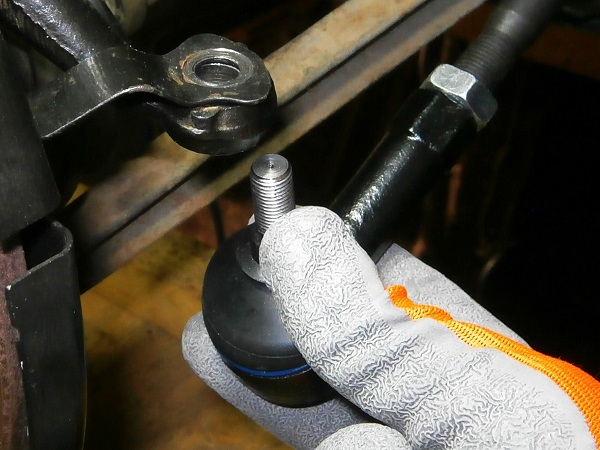
Fit the axis of the track rod end in the steering arm.
Op 12
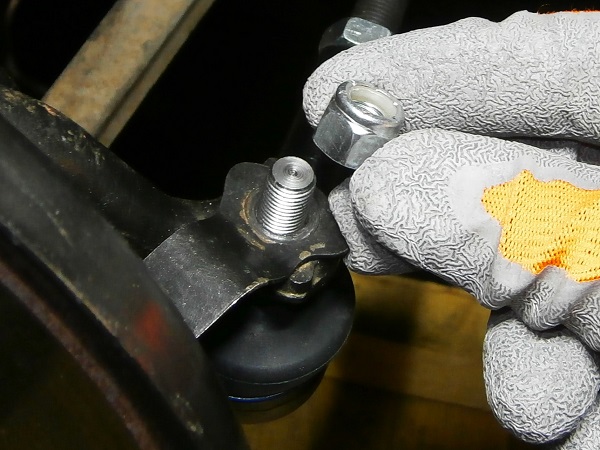
Screw on the track rod end nut (GFK3323). Use the 9/16'' socket.
Tighten the nut to a torque of 30 mN. Use the torque wrench.
Advertisement
Fit the wheel
Op 13
Fit the wheel :
•
Fit the wheel on the drive flange.
•
Screw on the 4 nuts. Use the 11/16'' socket.
•
Lower the Mini to the ground. Remove the jack stands.
•
Tighten the 4 nuts to the torque corresponding to the type of rim. Use the torque wrench.
The tightening torque of the wheel nuts is :
• 63 mN for steel rims.
• 50 mN for alloy rims.
• 63 mN for steel rims.
• 50 mN for alloy rims.
Change the 2nd track rod end
Op 14
Change the 2nd track rod end. Proceed in the same way.
Have the front wheel alignment
Op 15
Have the front wheel alignment adjusted.
The End