This tutorial is also available in French
➔

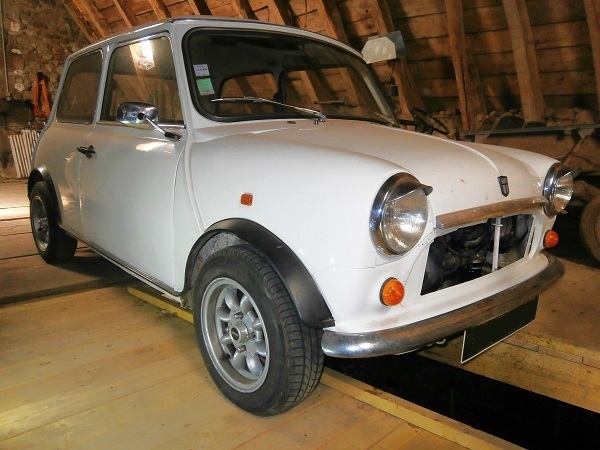
Front wheel alignment using a string on Austin Mini
Vehicle ➔ Mini 1000 year 1988
Difficulty ➔ Easy

Time ➔ 2 hours
Summary
Advertisement
Advertisement

Recommendations

Proper wheel alignment helps optimize the way the vehicle drives, ensure even tire wear and reduce petrol consumption.

A string wheel alignment will never be as precise as an adjustment made properly by a professional on a bench equipped with laser beams. On the other hand, if the wheel alignment of your Mini is out of adjustment (when changing the track rod ends for example), this method will allow you to make a sufficiently precise adjustment to be able to take to the road and take your Mini to a professional.
For a string wheel alignment, you can use any type of string provided that it is very thin to allow for the most accurate measurement possible and that it is strong enough to be stretched firmly between the 4 wheels of the Mini.
Technical details
What is suspension geometry ?
• Camber ➜ angle between the wheel and a vertical axis.
• Caster ➜ angle between the axis of the wheel's pivot and a vertical axis.
• Toe ➜ angle between the wheel and the axis of symmetry of the car.
(➔ see the article ''Wheel alignment'' on Wikipedia).
• Camber ➜ angle between the wheel and a vertical axis.
• Caster ➜ angle between the axis of the wheel's pivot and a vertical axis.
• Toe ➜ angle between the wheel and the axis of symmetry of the car.
(➔ see the article ''Wheel alignment'' on Wikipedia).
The differents toe settings are :
• Neutral ➜ the 2 wheels are parallel.
• Toe-in ➜ the distance between the front of the wheels is less than the distance between the rear of the wheels.
• Toe-out ➜ the distance between the front of the wheels is greater than the distance between the rear of the wheels.
• Neutral ➜ the 2 wheels are parallel.
• Toe-in ➜ the distance between the front of the wheels is less than the distance between the rear of the wheels.
• Toe-out ➜ the distance between the front of the wheels is greater than the distance between the rear of the wheels.
On a Mini in its original configuration, only the toe of the front wheels is adjustable. The camber and caster are not adjustable.
On our Minis, the wheel alignment of the front wheels must be adjusted with a toe-out of 1.6 mm (or an angle of 0°15').
The track width is the distance between the centerline of 2 wheels of the same axle
(➔ see the article ''Axle track'' on Wikipedia).
On our Mini, the track width of the front axle is different from the track width of the rear axle. It will therefore be necessary to take this into account when positioning the string.
For Mini from 1985 onwards :
• Front axle track width = 1239 mm
• Rear axle track width = 1205 mm
The difference in track widths between the front and rear axles is 1239-1205=34 mm. To have a string perfectly parallel to the Mini's axis of symmetry, it will therefore be necessary to shim the string by 34/2=17 mm on each of the rear wheels.
Required Tools
Sponsored links by


Spare Parts
Our Partners


Packaging :
•
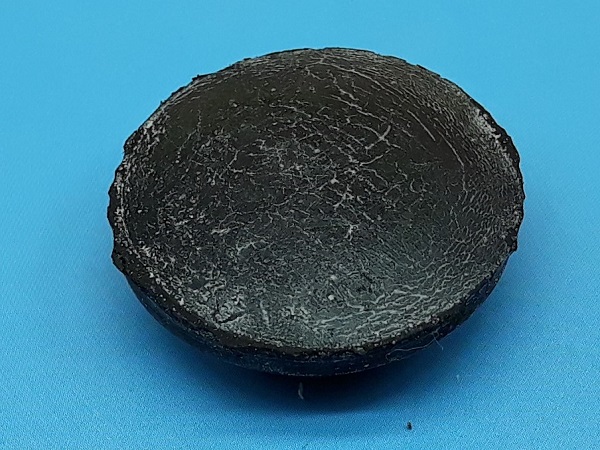
14A7091: The floor rubber plug is sold individually.
Advertisement
Center the steering rack and the steering wheel
Op 01
Place the Mini on a horizontal surface.
Put the front wheels perfectly straight. Turn the steering wheel.
The ground must be as smooth as possible so that the wheels can pivot without too much stress during adjustment.
Op 02
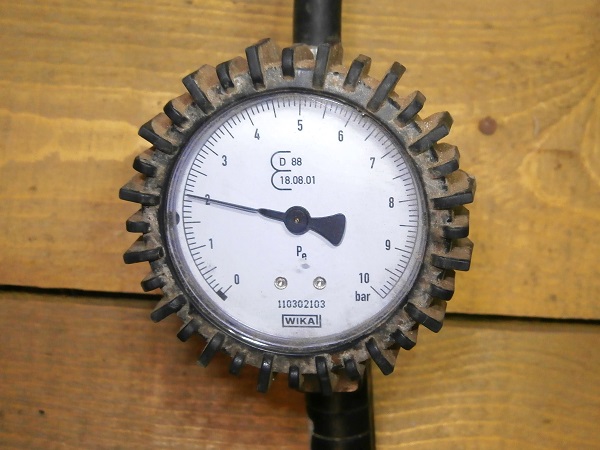
Inflate the 4 tires. Use a compressor.
The recommended pressure for 145/70 R 12 tires is :
• 2.0 bar for the front wheels,
• 2.0 bar for the rear wheels.
• 2.0 bar for the front wheels,
• 2.0 bar for the rear wheels.

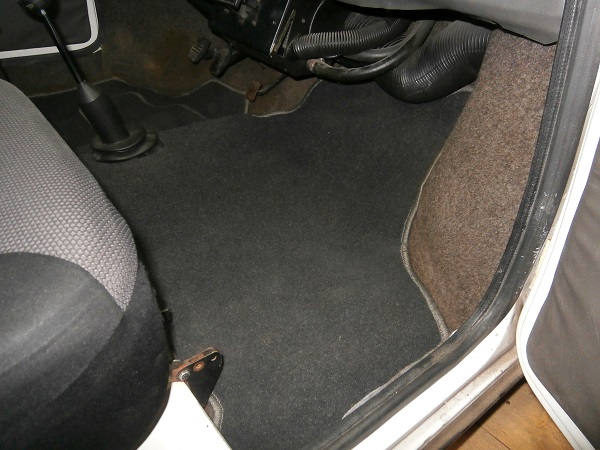
Op 03
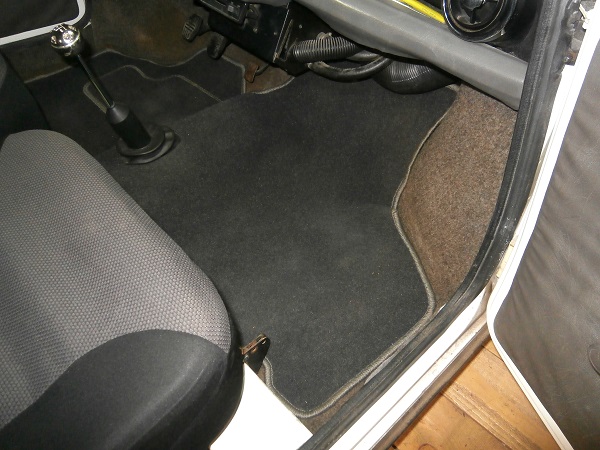
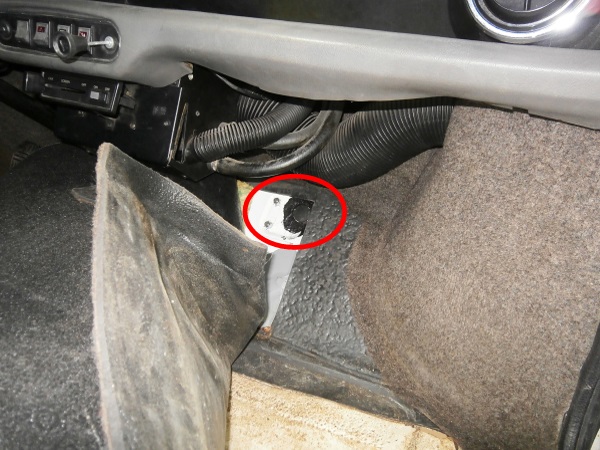
Move the carpet in front of the RH seat.
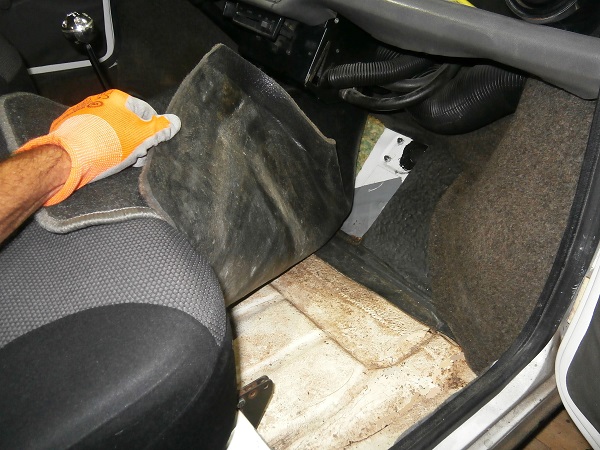
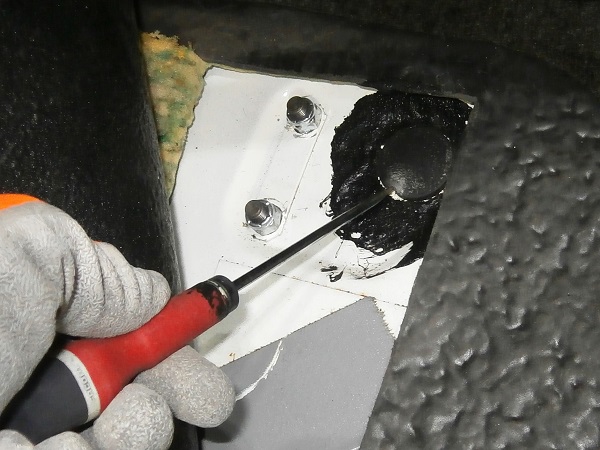
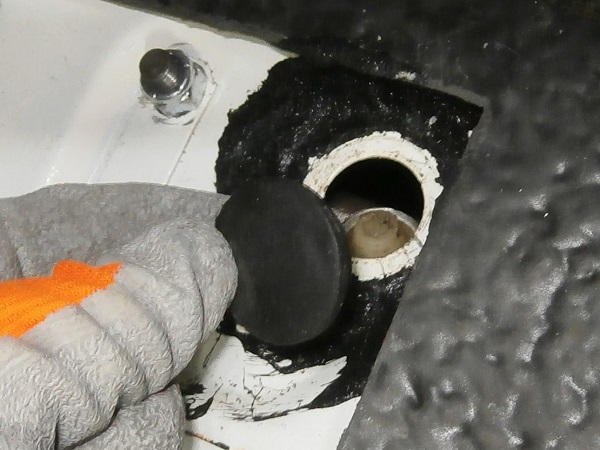
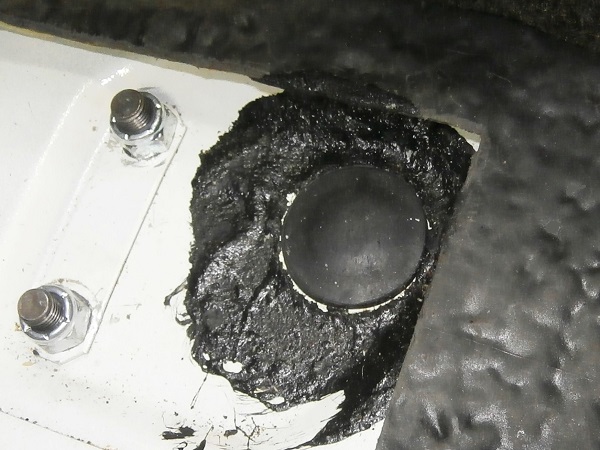
Op 04
Remove the floor rubber plug. Use a flathead screwdriver.
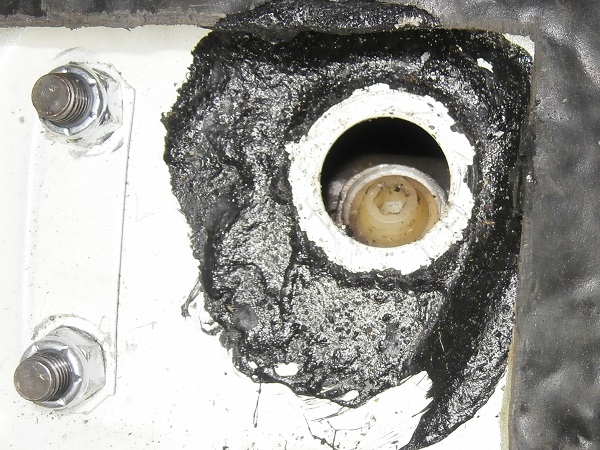
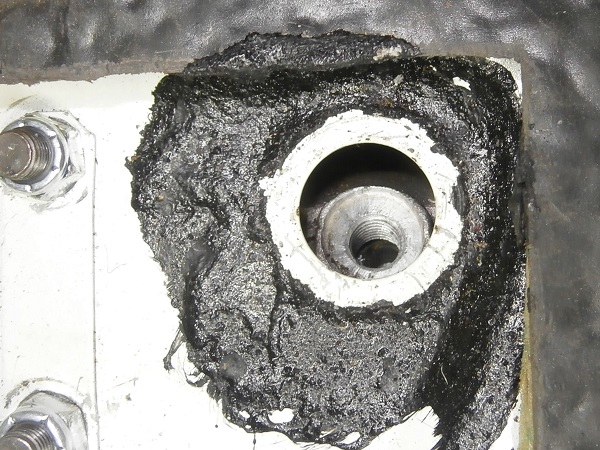
This hole gives access to the steering rack.
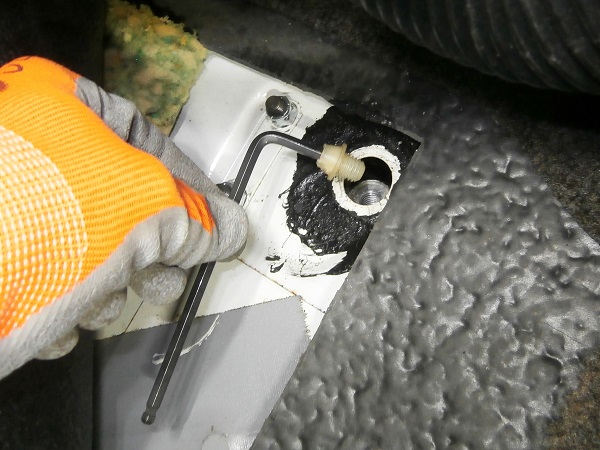
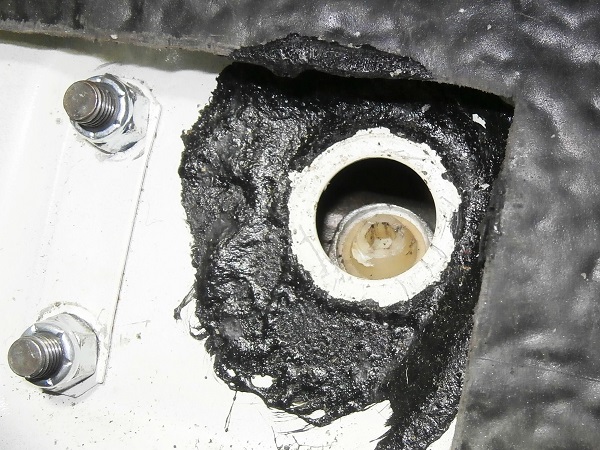
Op 05
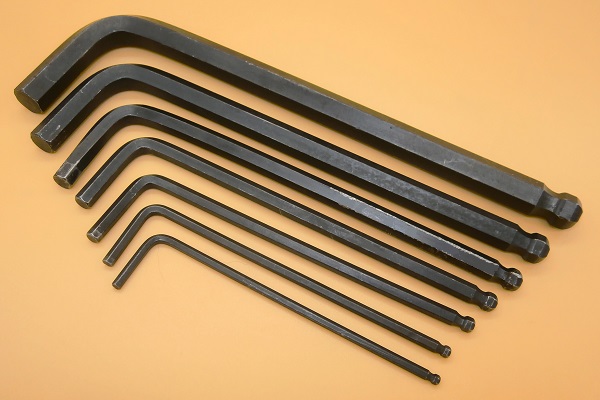
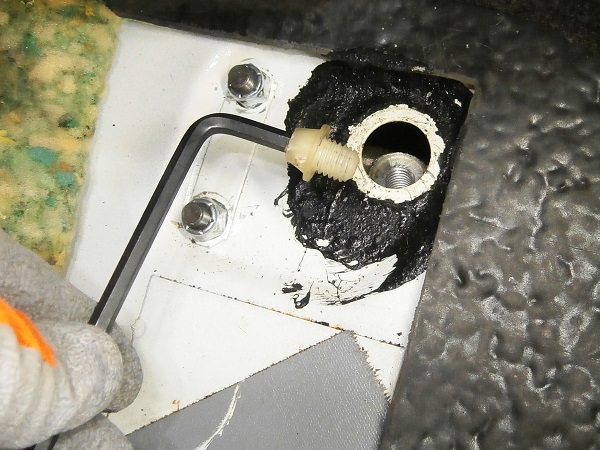
Remove the rack centering plug. Use a 5 mm allen key.
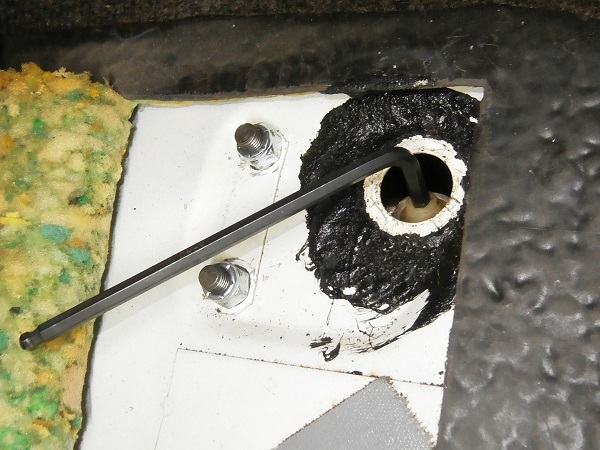
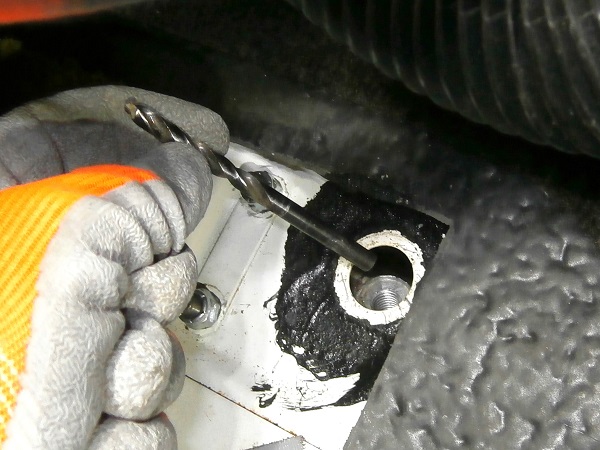
Op 06
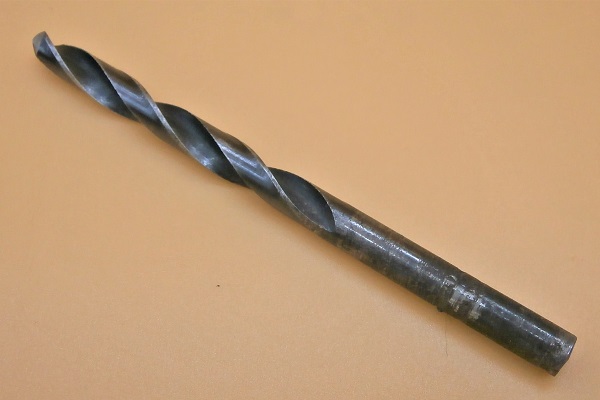
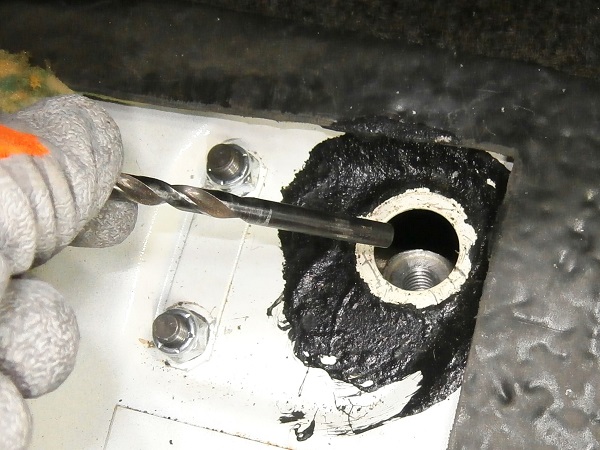
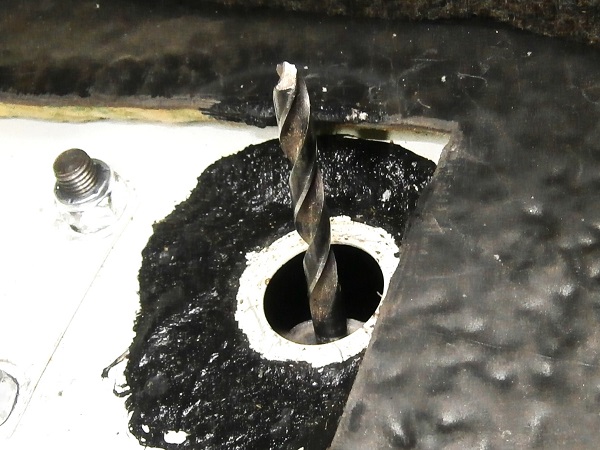
Engage a 6 mm diameter rod in the rack tube and in the rack hole. Use the body of a 6 mm drill bit.
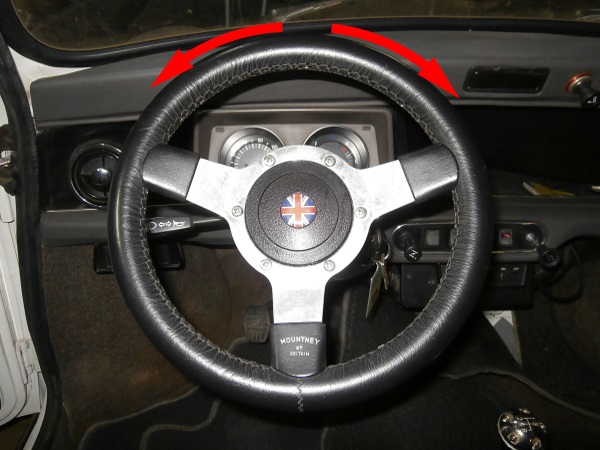
If the rack is not correctly positioned, operate the steering wheel (3rd photo).
Op 07
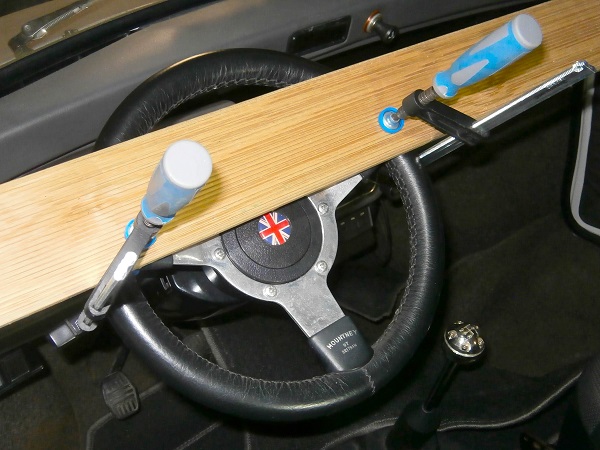
Immobilize the steering wheel in the median position :
•
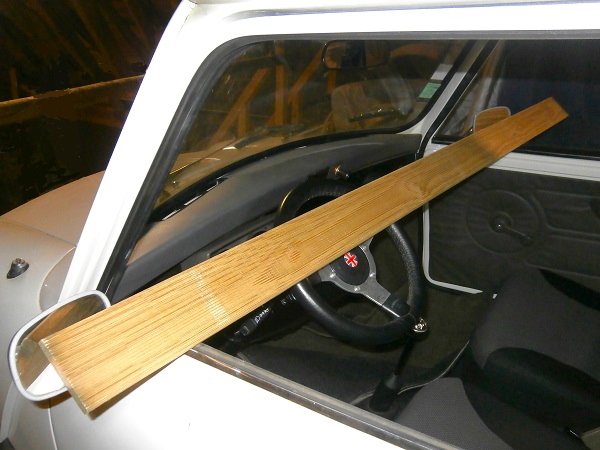
Lower the windows.
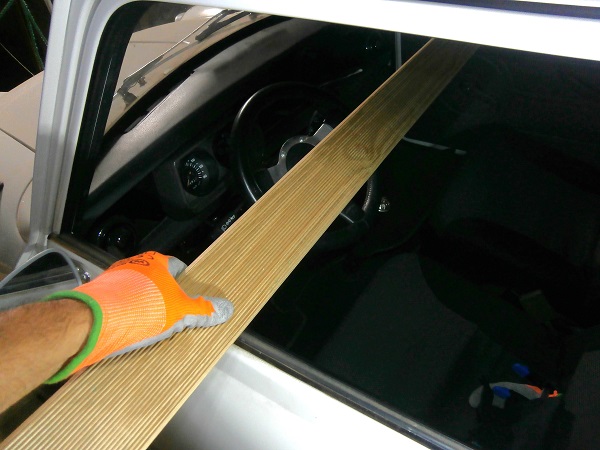
•
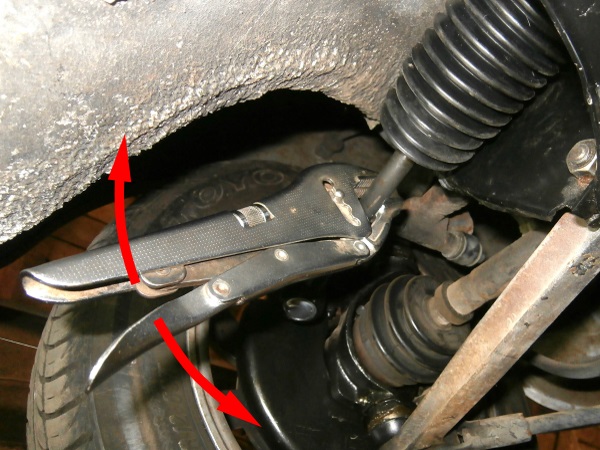
Place a piece of wood (or other) against the doors (1st photo).
•
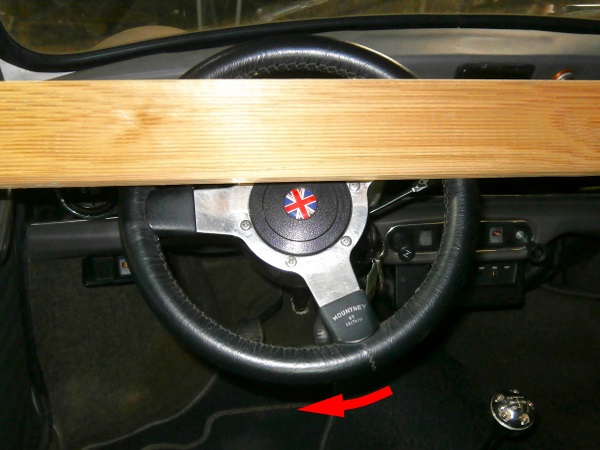
Turn the steering wheel so that it is in the median position (2nd photo).
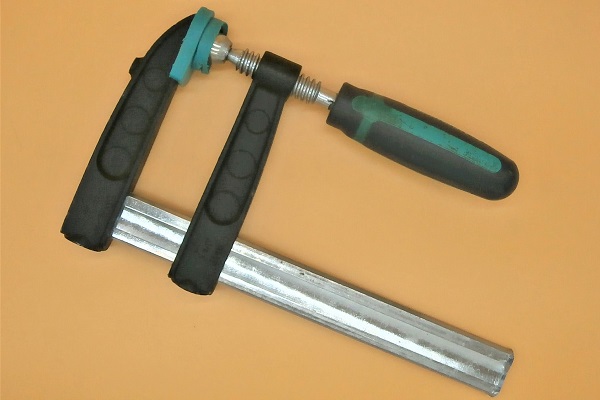
•
Immobilize the steering wheel with 2 clamps (3rd photo).
Although the rack is immobilized by the drill bit, it is still possible to turn the steering wheel slightly by a few degrees.
If you cannot put the steering wheel in the median position because the rack hits the drill bit, do not force it. In this case, it will be necessary to separate the steering wheel from the steering column to correct the angular position of the steering wheel.
Op 08
Make the Mini go back and forth a few meters. Push by hand.
This releases the stresses in the front axle.
Advertisement
Fit the string and the shims
Op 09
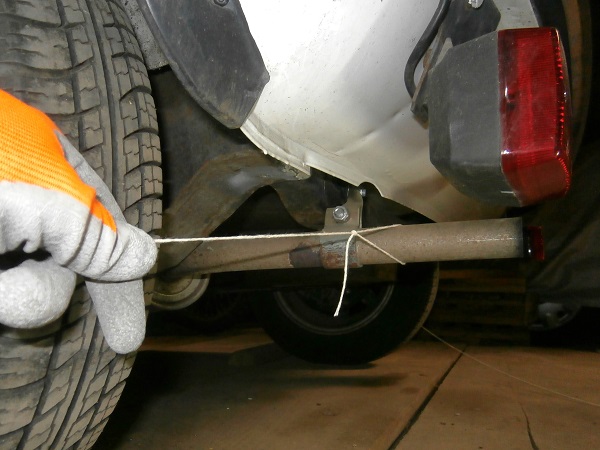
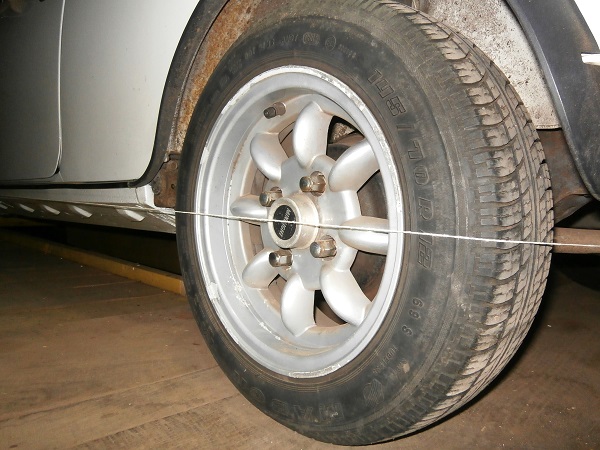
Place the string on the 4 wheels of the Mini :
•
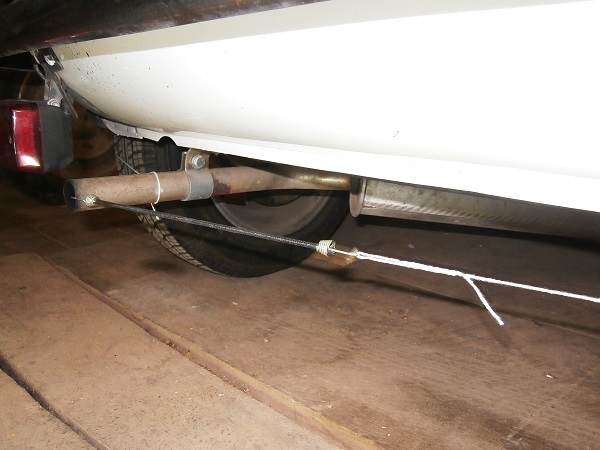
Hook the 1st end of the string on the exhaust pipe (1st photo).
•
Go around the Mini and position the string against each of the 4 wheels (2nd photo).
•
Stretch the 2nd end of the string on the exhaust pipe (3rd photo). Use a tensioner or an elastic band.
In these photos, I used a thick string because the usual string is so thin that it does not appear distinctly in the photo.
Op 10
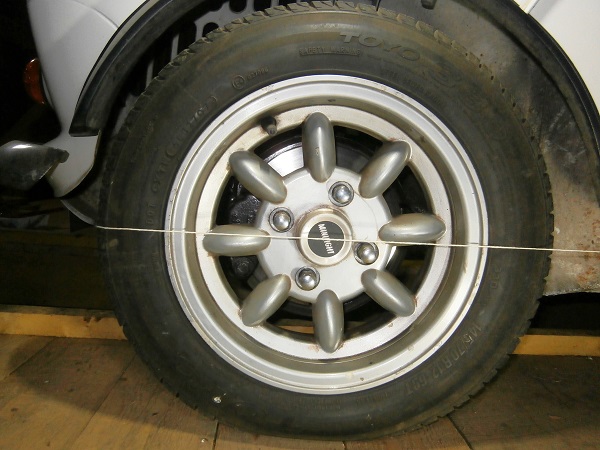
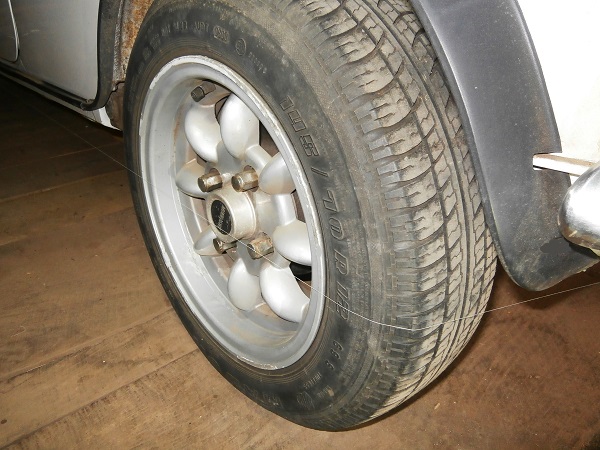
Fit the string at the height of the center of each of the wheels.
Op 11
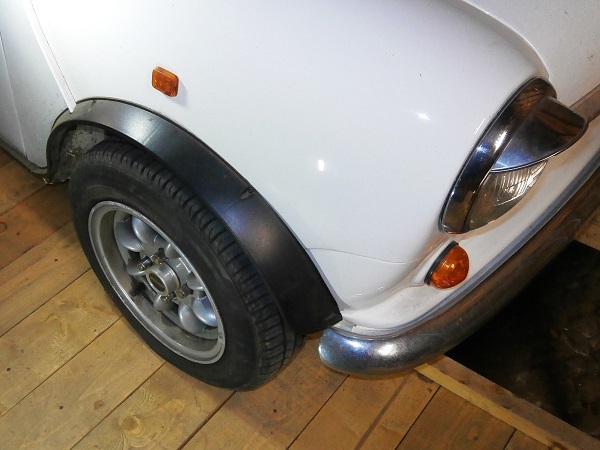
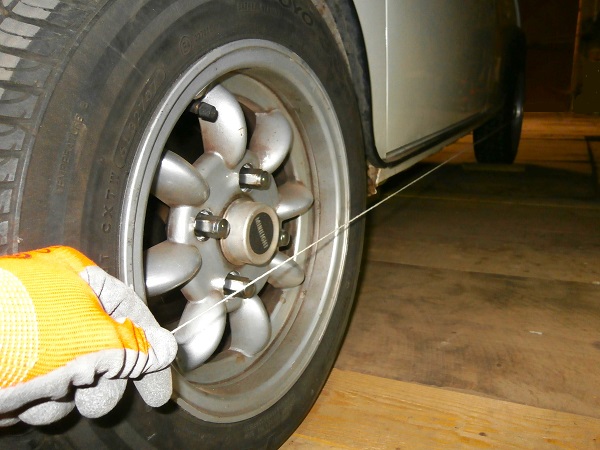
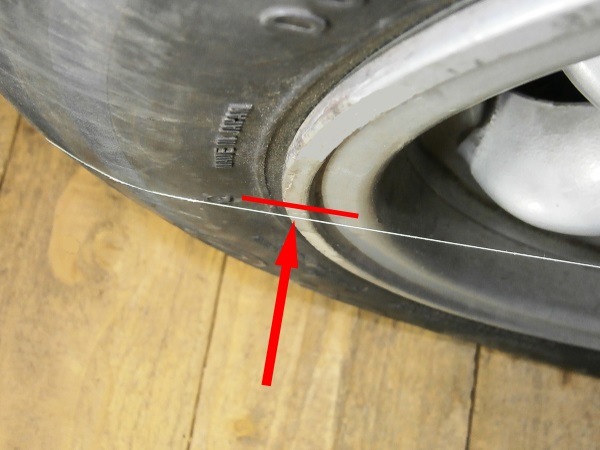
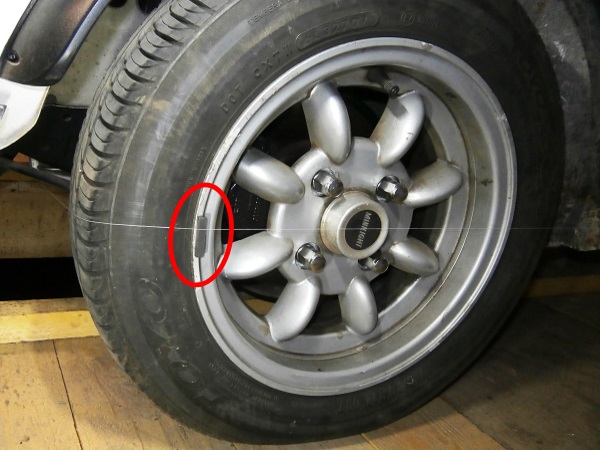
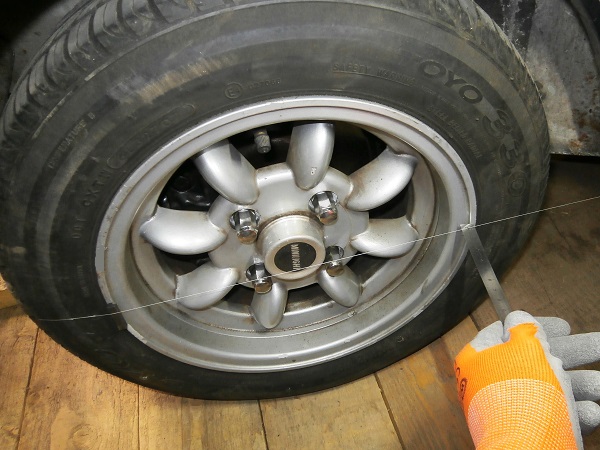
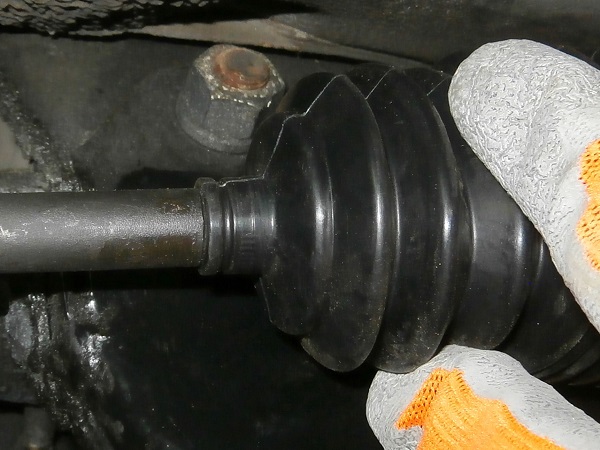
On each of the 2 front wheels, position a 5 mm thick shim at the front of the rim. Place the shim between the rim and the string (2nd and 3rd photos).
For better precision, the wheel alignment measurement should be taken between the rim and the string (and not between the tire and the string).
The rim is slightly recessed compared to the tire (1st photo). It is therefore necessary to place a shim on the rim so that the string does not touch the tire at the rear of the wheel.
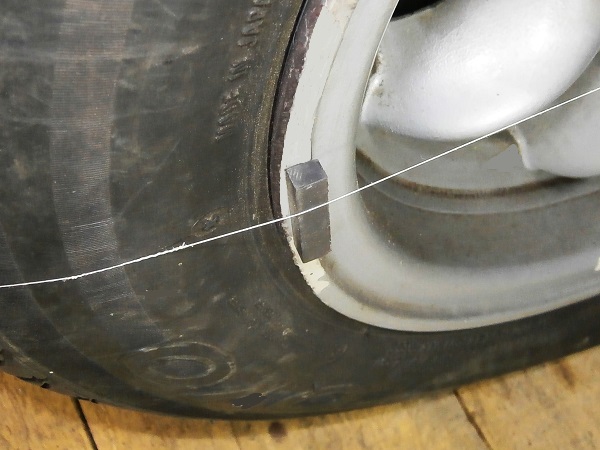
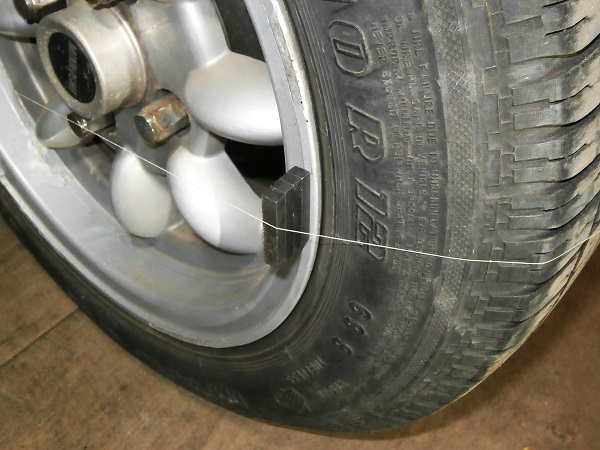
Op 12
On each of the 2 rear wheels, position a 22 mm thick shim at the rear of the rim. Place the shim between the rim and the string (2nd and 3rd photos).
Why a 22 mm shim ?
• 17 mm to compensate for the difference in track width (front axle / rear axle).
• 5 mm to reproduce the thickness of the shim that we have positioned on the front wheel rim.
• 17 mm to compensate for the difference in track width (front axle / rear axle).
• 5 mm to reproduce the thickness of the shim that we have positioned on the front wheel rim.
Adjust the wheels alignment
Op 13
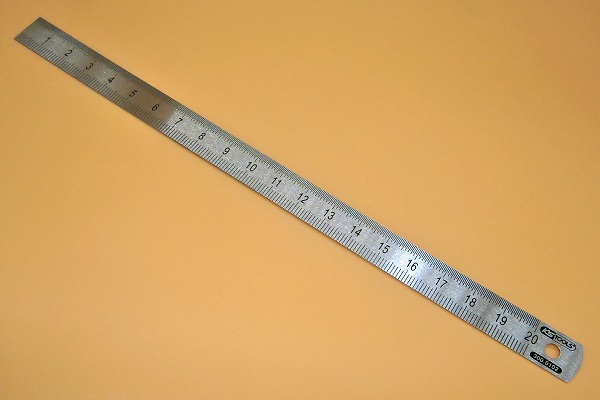
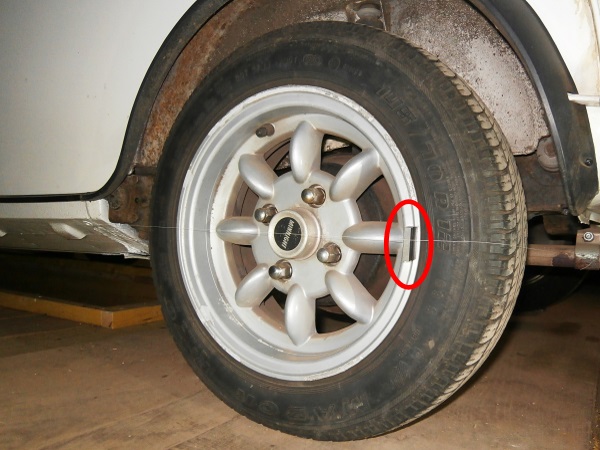
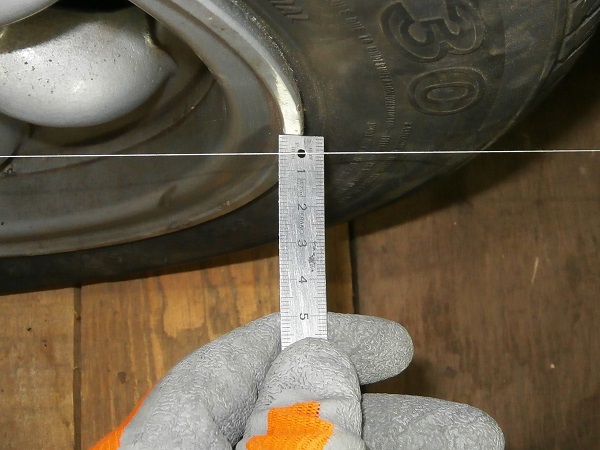
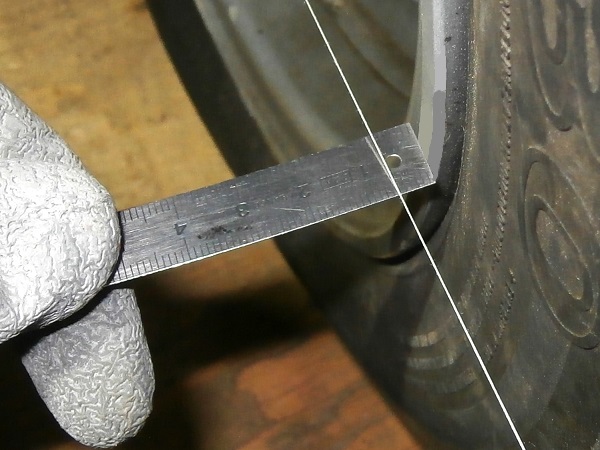
On one of the front wheels, measure the distance between the rear of the rim and the string.
The distance must be 6.6 mm :
• 5 mm for the thickness of the shim that we have positioned at the front of the rim.
• 1.6 mm for the wheel alignment adjustment (toe-out of 1.6 mm).
• 5 mm for the thickness of the shim that we have positioned at the front of the rim.
• 1.6 mm for the wheel alignment adjustment (toe-out of 1.6 mm).
I agree, the ruler does not have sufficient precision to measure 0.6 mm but I unfortunately had nothing more precise at my disposal.
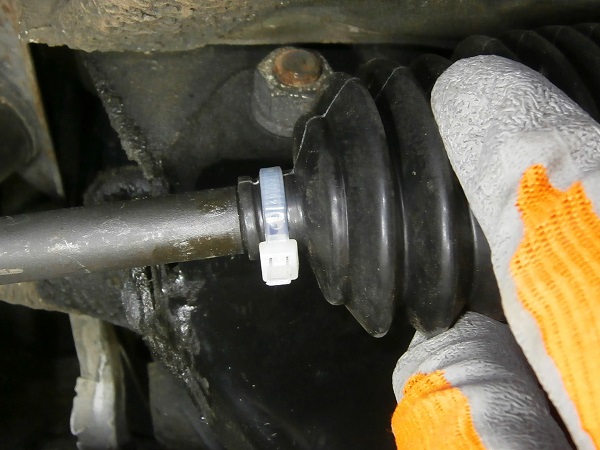
Op 14
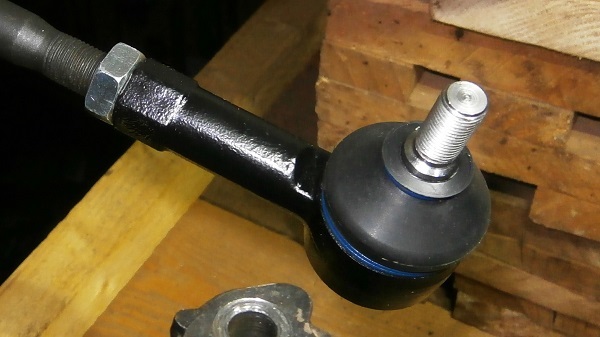
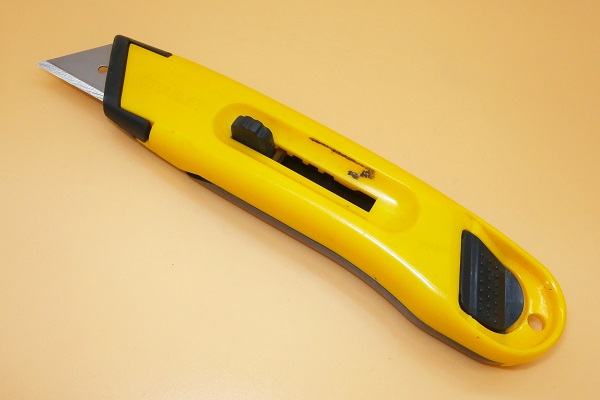
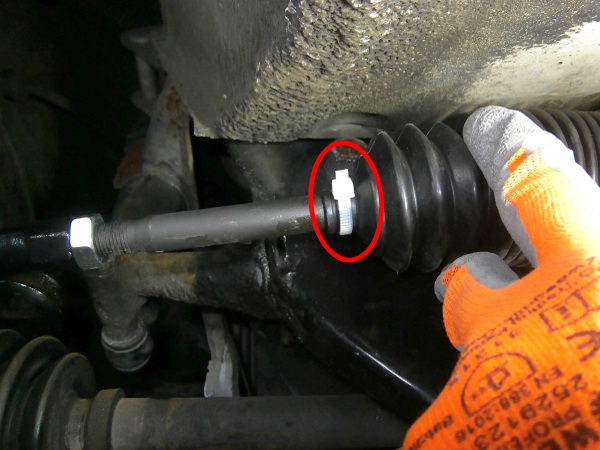
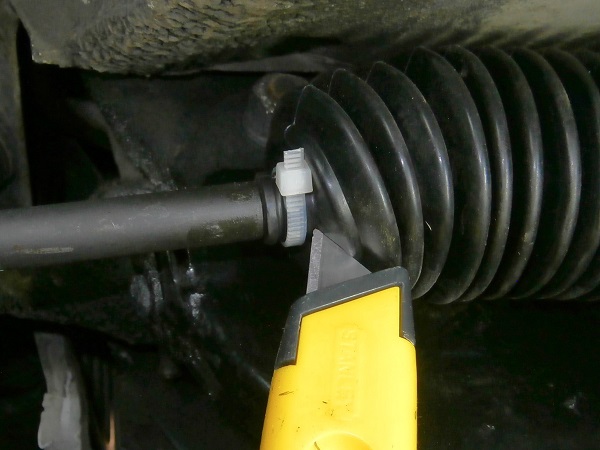
Cut and remove the gaiter retaining tie on the track rod end side. Use the cutter or the cutting pliers.
Be careful not to damage the gaiter with the cutter.
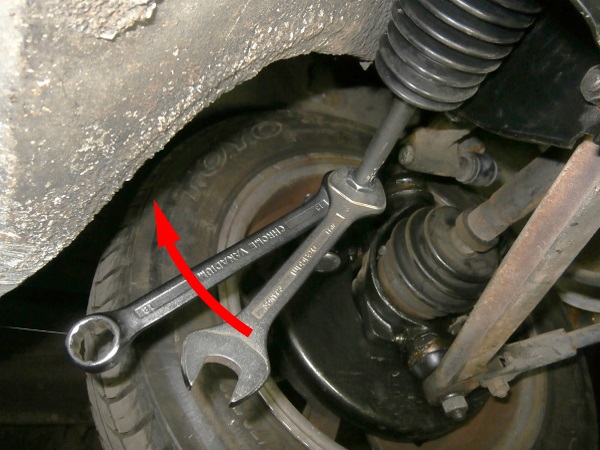
Op 15
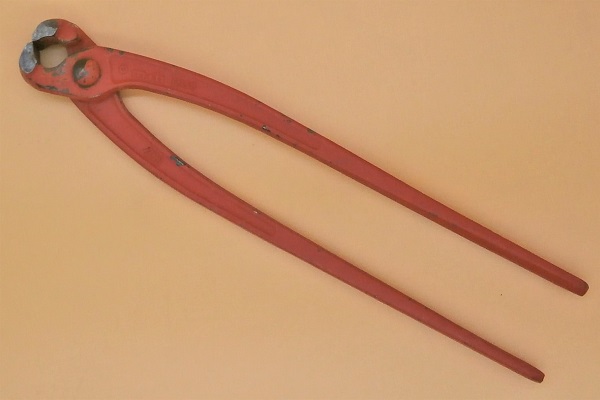
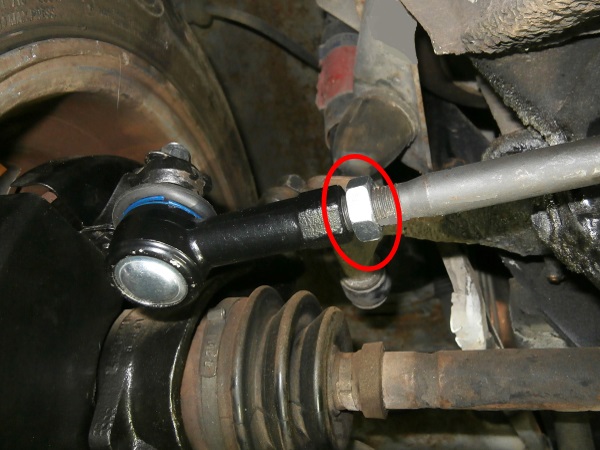
Loosen the track rod end half lock nut. Use the 18 mm spanner and the 19 mm spanner.
It is best to immobilize the track rod end from rotating with the 18 mm spanner and then loosen the half lock nut with the 19 mm spanner. This prevents forcing the track rod end and risking damage.
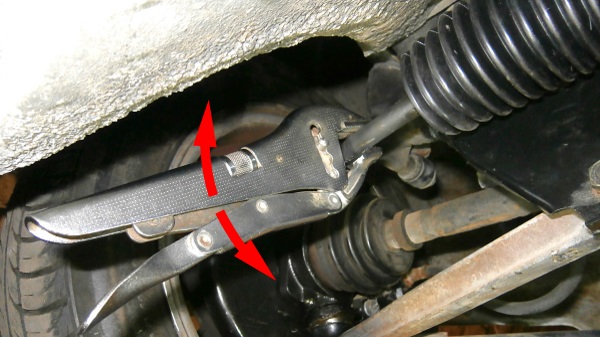
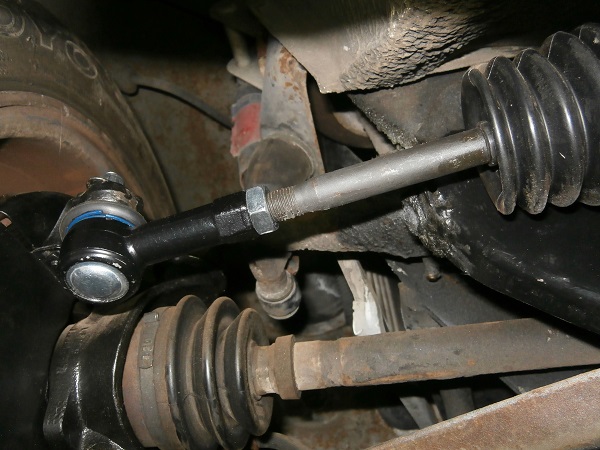
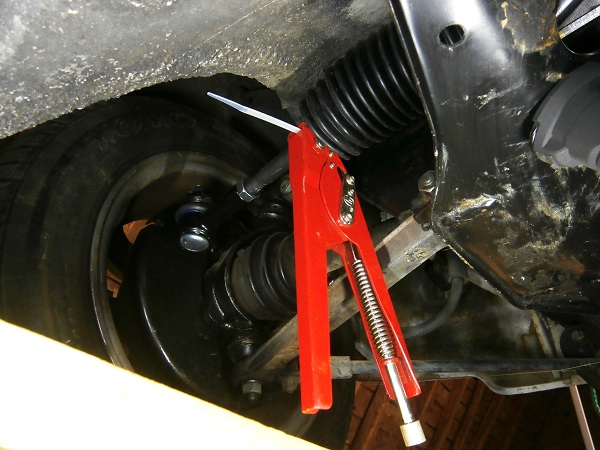
Op 16
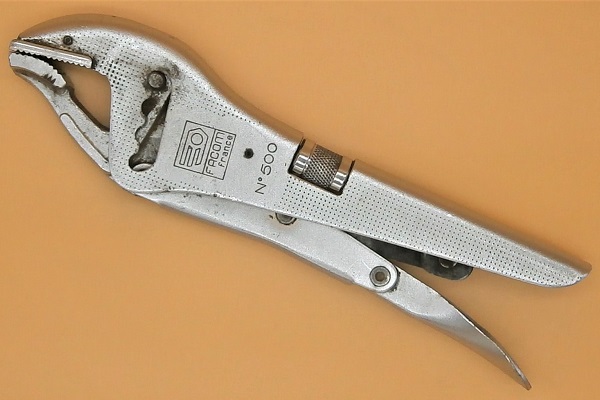
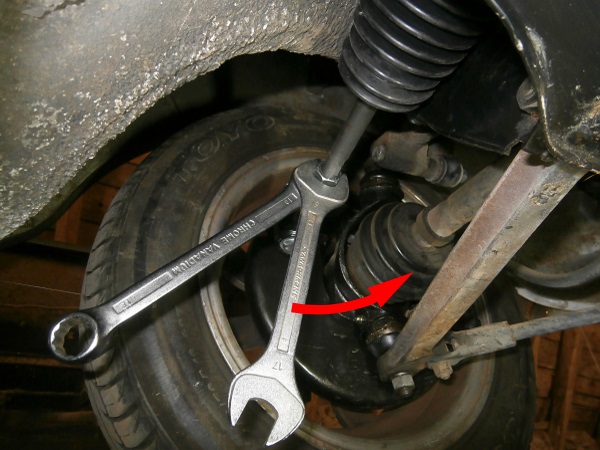
Screw or unscrew the steering rod to adjust the toe (1st photo). Use the locking pliers.
When adjusting the steering rod, regularly check the evolution of the toe (2nd photo)
•
Unscrewing the steering rod allows you to pinch the wheels.
• Screwing the steering rod allows you to open the wheels.
• Screwing the steering rod allows you to open the wheels.
Op 17
Firmly tighten the half lock nut against the track rod end. Use the 18 mm spanner and the 19 mm spanner.
The tightening torque of the track rod end half lock nut is 52 mN. This operation requires a specific torque wrench with an open-end spanner. If, like me, you don't have this type of wrench, tighten it firmly.
It is best to immobilize the track rod end from rotating with the 18 mm spanner and then tighten the half lock nut with the 19 mm spanner. This prevents forcing the track rod end.
After tightening the half lock nut, check the 6.6 mm again. Two precautions are better than one.
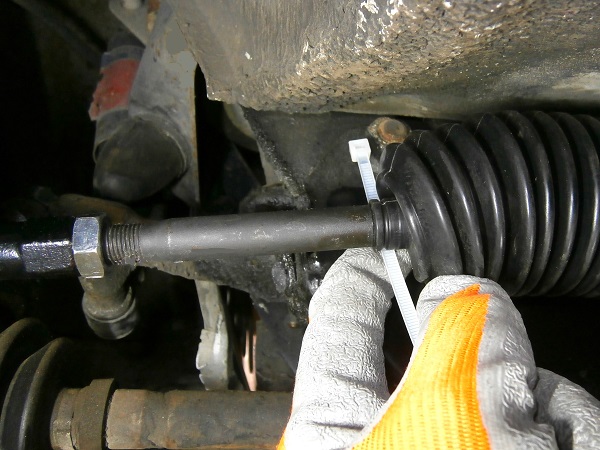
Op 18
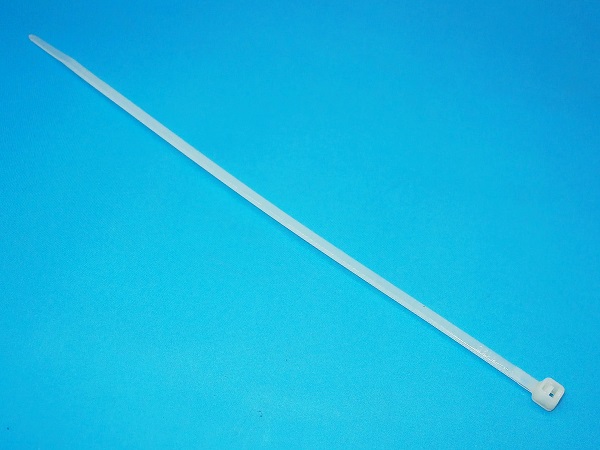
Fit the new gaiter retaining tie on the track rod end side.
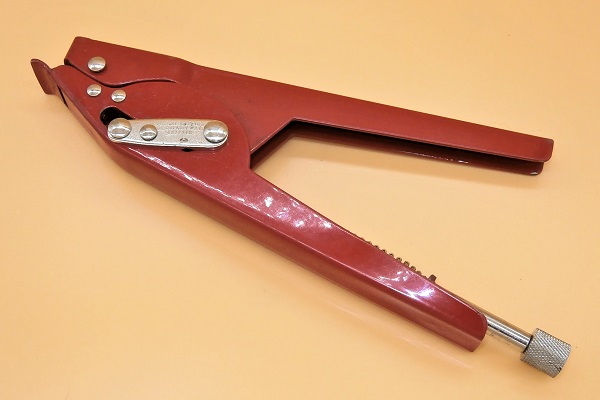
Tighten the tie moderately. Use the cable tie pliers.
Cut off the end of the tie that sticks out. Use the cutting pliers.
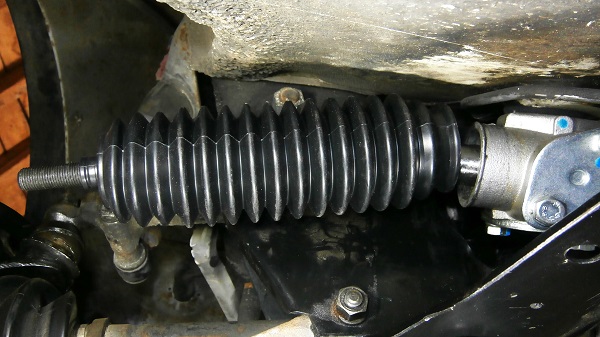
The gaiter may have twisted when the steering rod rotated. If this is the case, untwist the gaiter before positioning the tie.
Do not tighten the tie too tight as this could damage the gaiter.
Op 19
Adjust the wheel alignment of the 2nd front wheel. Proceed in the same way.
Advertisement
Free the steering wheel and the steering rack
Op 20
Remove the string and the shims.
Op 21
Remove the piece of wood immobilizing the steering wheel.
Op 22
Remove the drill bit from the steering rack.
Screw in the steering rack plug. Use the 5 mm allen key.
Op 23
Fit the floor rubber plug (14A7091) on the floor. Push by hand.

Op 24
Put the carpet back in place.
Op 25
Take a road test.
The End