This tutorial is also available in French
➔

Automatic gearbox valve operating rod oil seal change on Austin Mini
Vehicle ➔ Mini 1000 year 1991 automatic gearbox
Difficulty ➔ Easy

Time ➔ 2 hours
Summary
Advertisement
Advertisement

Recommendations

Along with the differential oil seals, the gearbox valve operating rod oil seal is one of the main sources of oil leaks.

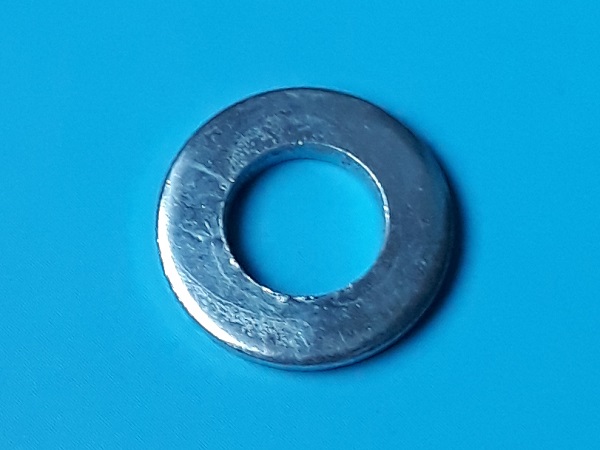
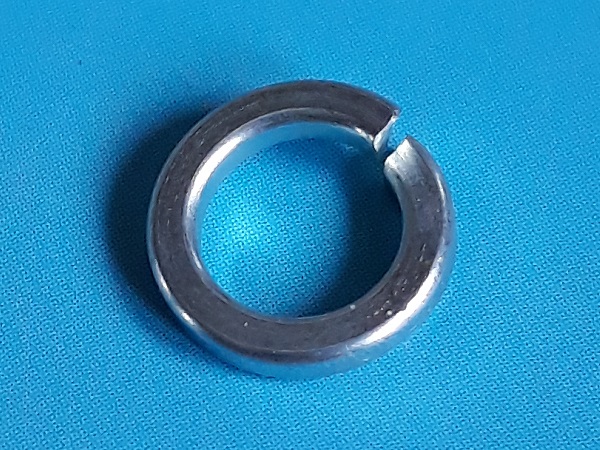
Spring washers are locking washers that prevent the nut or screw from loosening. It is not recommended to reuse spring washers as they can lose their effectiveness. As much as possible, always fit new spring washers.
Unfortunately, you will not see any tightening torques in this tutorial. Despite our extensive research, we have not found any manuals specifying the tightening torques for the automatic gearbox selector linkage bolts and nuts. Be careful because most of the bolts are screwed into aluminum housings. Tighten them moderately.
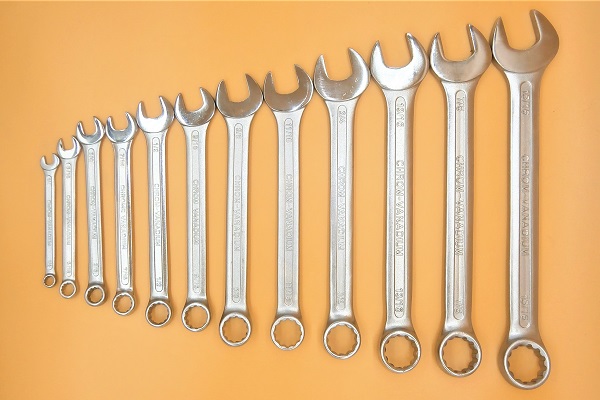
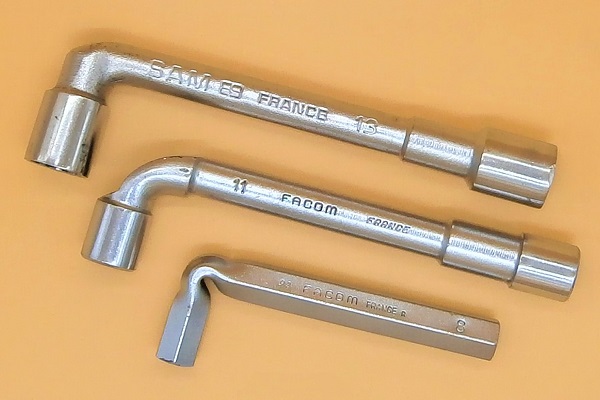
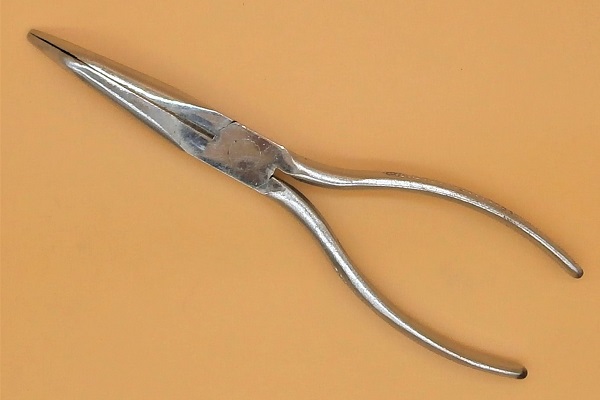
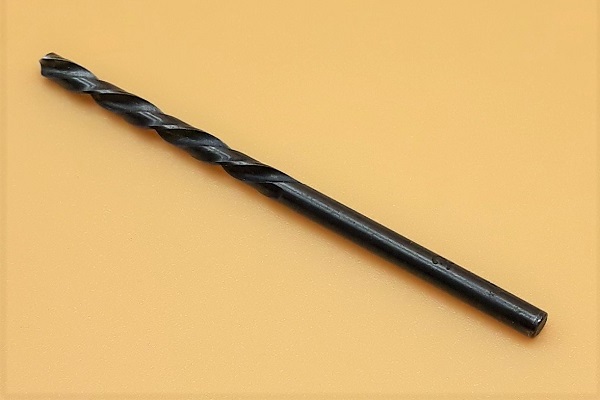
Required Tools
Sponsored links by


Spare Parts
Our Partner


DAM9317
Oil seal retaining clip

Packaging :
•
The above parts are sold individually.
• DAM9317 : The retaining clip is no longer available anywhere. So you have no choice : you must recover the clip mounted on your Mini.
• DAM9317 : The retaining clip is no longer available anywhere. So you have no choice : you must recover the clip mounted on your Mini.
Advertisement
Drain the engine and gearbox oil
Op 01
Drain the engine and gearbox oil (➔ see the tutorial ''Engine + automatic gearbox oil change'' Op 02 to 04).
Remove the gearbox selector linkage
Op 02
Locate where the automatic gearbox selector linkage cover is located.


Op 03
Unscrew the 2 fixing bolts of the gear selector linkage cover. Use a 1/2'' spanner.


Op 04
Remove the gear selector linkage cover. Pull by hand.


Op 05
Remove the bolt securing the crank lever to the valve operating rod bracket. Use a 7/16'' spanner.


Op 06
Remove the pivot bolt of the crank lever. Use a 7/16'' spanner.


Op 07
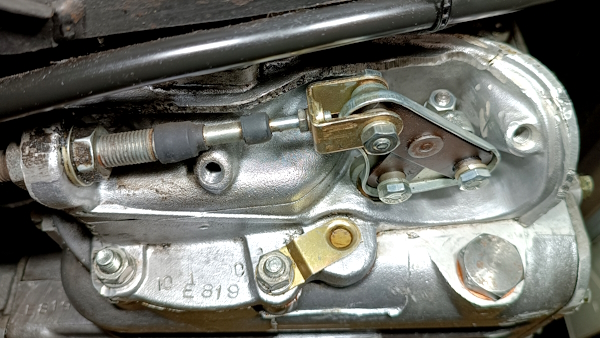
Rotate and move the crank lever away from the work area. Use a piece of string.
Recover the spacer located above the crank lever (1st photo).


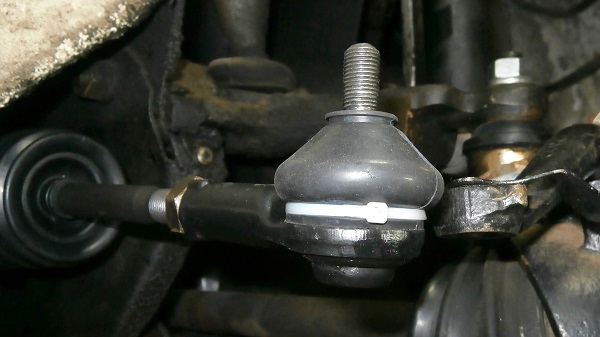
Op 08
Immobilize the valve operating rod in rotation. Insert a small piece of wood between the bracket and the gearbox case (2nd photo).


Op 09
Remove the nut securing the bracket to the valve operating rod. Use a 7/16'' or 11 mm socket spanner.


Op 10
Remove the bracket from the valve operating rod. Pull by hand or lever with a 10 mm spanner.
Surprisingly, this bracket is very difficult to remove from the rod.


Advertisement
Remove the oil seal
Op 11
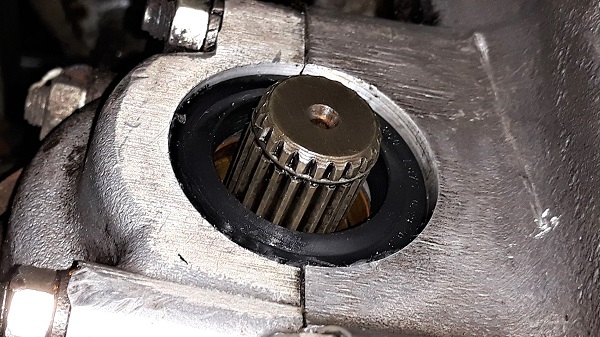
Identify where the valve operating rod oil seal is located. Use a small mirror.


Op 12
Push the valve operating rod back to free up the work space. Push by hand.
Removing the valve operating rod will make our task easier when drilling the old seal and when installing the new one.


Op 13
Drill the oil seal. Use the Ø2 mm drill bit and the drill.
Be sure to position the tip of the drill bit correctly and check the angle of the drill. Be careful not to machine the valve operating rod, the aluminum housing, or the retaining clip.


Op 14
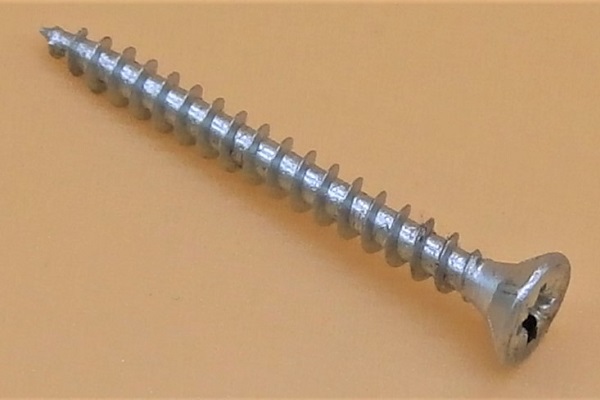
Screw a 3 mm wood screw into the oil seal. Use a screwdriver.


Op 15
Remove the oil seal and its retaining clip. Use needle-nose pliers.


Fit the new oil seal
Op 16
Thoroughly clean the oil seal housing.

Op 17
Lubricate the lip of the new oil seal (13H6585) with engine oil.

Op 18
Engage the new oil seal on the valve operating rod. Push by hand.
Be careful not to damage the lip of the oil seal when passing the thread and the shoulder, otherwise all your efforts to stop the oil leaks will be reduced to nothing.


Op 19
Engage the oil seal in its housing :
•
Fit a 13 mm socket against the oil seal.
•
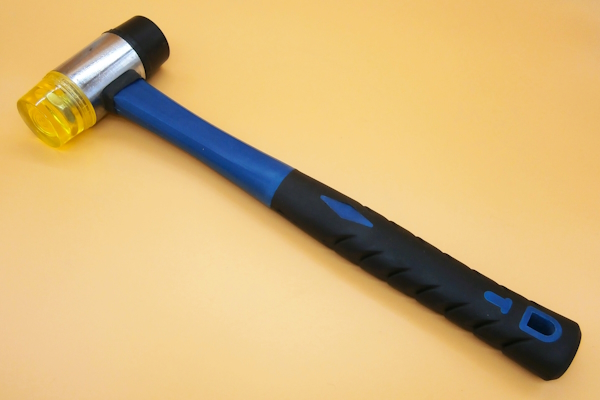
Tap on the socket with a mallet.
No need to hit hard, the seal goes in very easily.
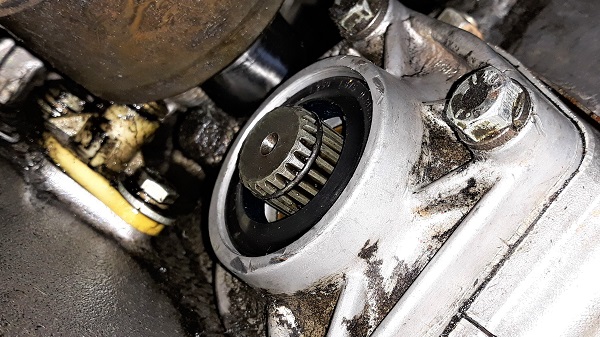
The new oil seal seems to protrude very slightly from its housing (3rd photo). It must be thicker than the original oil seal. Unfortunately, now that it is in place, it is no longer possible to compare them.


Op 20
Fit the oil seal retaining clip (DAM9317) at the entrance to its housing.
This retaining clip is no longer available anywhere. So you have to recover it.


Op 21
Engage the retaining clip in its housing :
•
Fit a 16 mm socket against the clip.
•
Tap on the socket with a mallet.
No need to hit hard, the clip goes in very easily.


Advertisement
Fit the gearbox selector linkage
Op 22
Fit the bracket on the valve operating rod :
•
Engage the bracket on the shaft. Push by hand.
•
Screw the nut (GFK3211) with its new spring washer (GFK1124) securing the bracket onto the valve operating rod.
Screw the nut on without tightening it for now. We will tighten it when the bracket is aligned with the crank lever.


Op 23
Fit the crank lever on its pivot bolt :
•
Engage the pivot bolt (BH504131) with its new spring washer (GFK1124) in the crank lever.
•
Engage the spacer on the pivot bolt.
•
Screw and tighten the pivot bolt into the gearbox case. Use the 7/16'' spanner.


Op 24
Move the valve operating rod to align the bracket with the crank lever. Pull by hand or use a screwdriver.


Op 25
Connect the crank lever to the valve operating rod bracket :
•
Engage the bolt (GFK5180) with its new washer (GFK1124) in the crank lever.
•
Screw and tighten the bolt into the bracket. Use the 7/16'' spanner.


Op 26
Tighten the nut securing the bracket onto the valve operating rod. Use a 7/16'' or 11 mm socket spanner.


Op 27
Fit the linkage cover :
•
Prepare the 2 cover fixing bolts (SH505091) with their spring washers (2K2545) and their flat washers (GFK1114).
•
Fit the cover.
•
Screw and tighten the 2 cover fixing bolts. Use a 1/2'' spanner.
The spring washer should be against the bolt head and the flat washer against the cover.


Advertisement
Add oil to the engine and gearbox
Op 28
Add oil to the engine and gearbox (➔ see the tutorial ''Engine + automatic gearbox oil change'' Op 16 to 21).
Check that the gearbox selector works perfectly
Op 29
Take a road test to check that the automatic gearbox selector is working properly.
As we have not changed the gear selector setting, it should work perfectly again.

The End