This tutorial is also available in French
➔

Engine oil change on Twingo 2
Vehicle ➔ Twingo 2 1.2 16v year 2009
Difficulty ➔ Easy

Time ➔ 2 hours
Summary
Advertisement
Advertisement

Recommendations

Change the oil every 30000 km or every 2 years, whichever comes first.
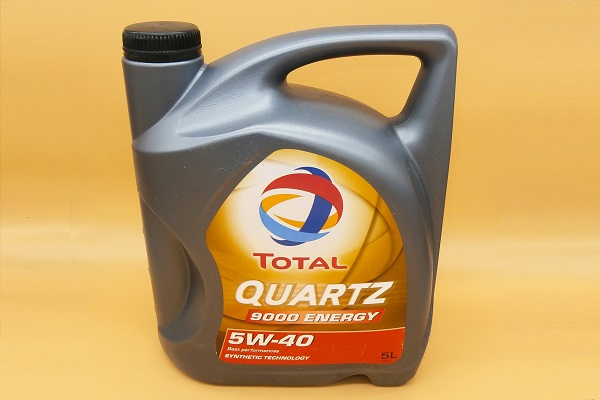
Oil volume required for oil change ➔ 4 liters (approximately).
Recommended oil ➔ 5W30, 5W40 or 10W40 specification RN0700.
Before draining, drive a few kilometers to warm up the oil. The oil will then be more fluid and will drain better.

Used oils, brake fluids, seals and filters are hazardous waste for the environment. They must in no circumstances be thrown neither in the natural environment, nor in the sanitation network, nor in household waste. They must be deposited in a recycling center.
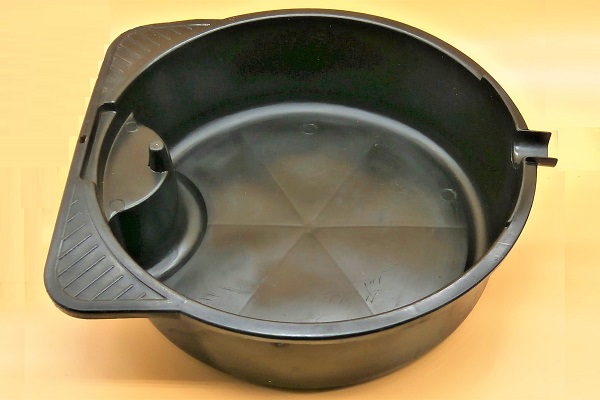
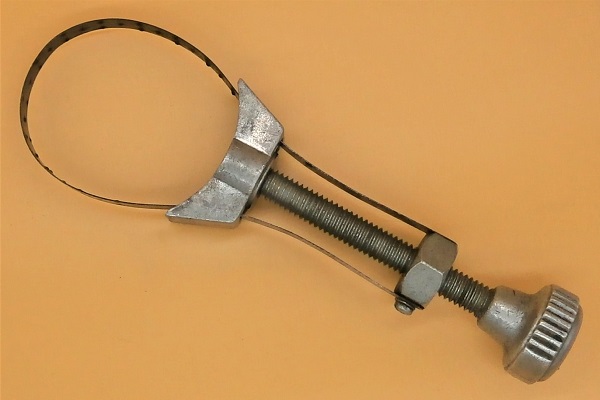
Required Tools
Sponsored links by


Spare Parts
Sponsored links by


Advertisement
Drain the engine oil
Op 01
Slightly lift the Twingo to be able to slide under the vehicle and access the drain plug and oil filter.
Before working under the vehicle, make sure to secure it properly with jack stands or rigid chocks. Never work under a vehicle supported only by a jack. It is too dangerous.
Op 02
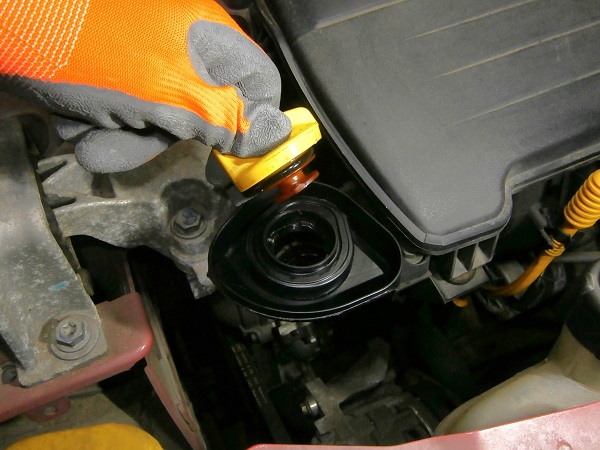
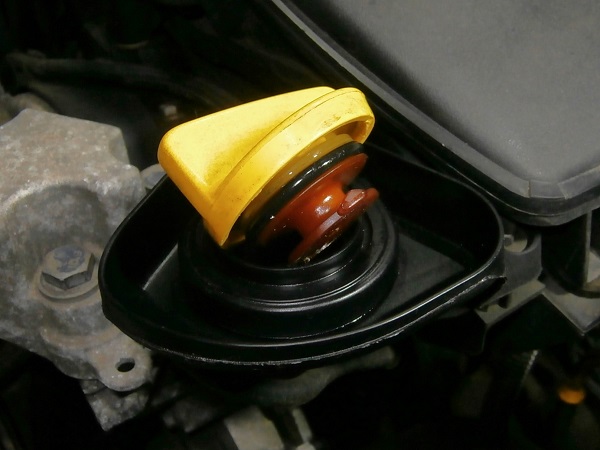
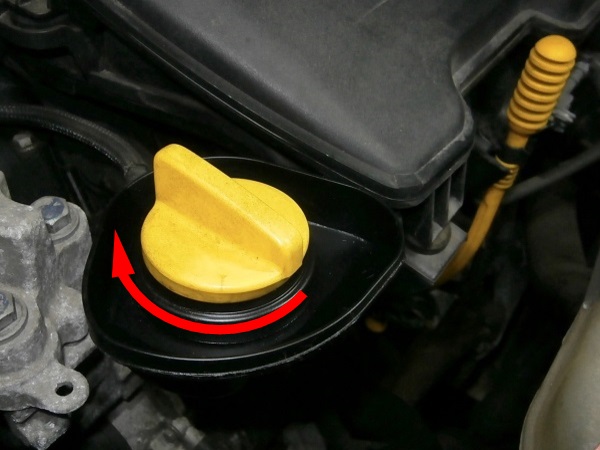
Remove the oil filler cap :
•
Unscrew 1/4 turn by hand.
•
Remove the cap.
Removing the oil filler cap will facilitate the flow of oil.

Op 03
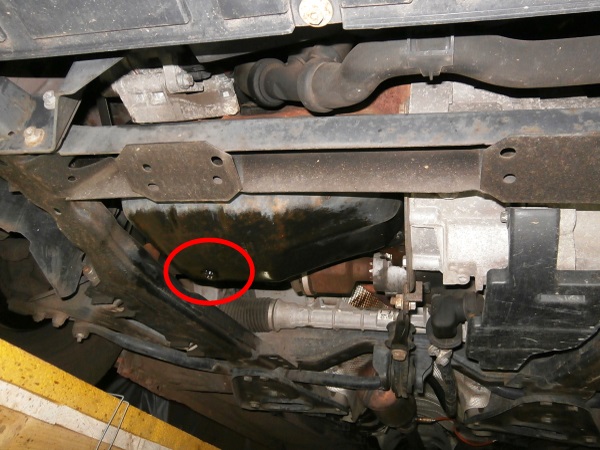
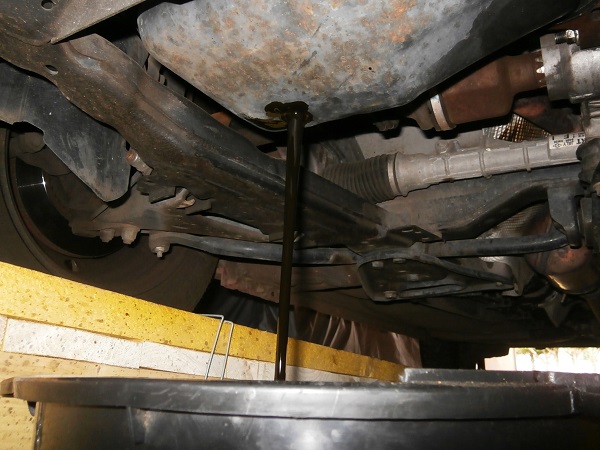
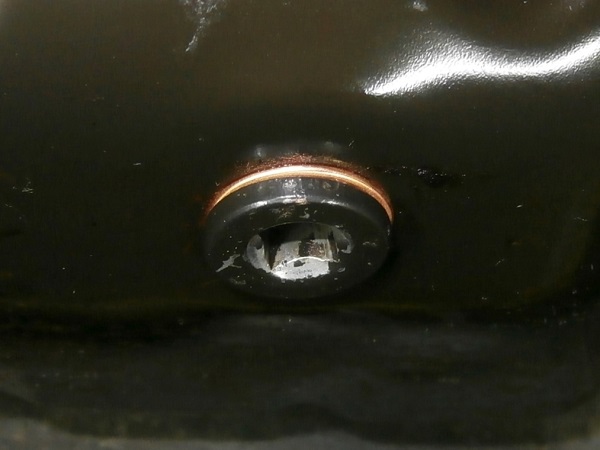
Locate where the drain plug is (1st photo).
Place the drain pan under the engine oil sump.
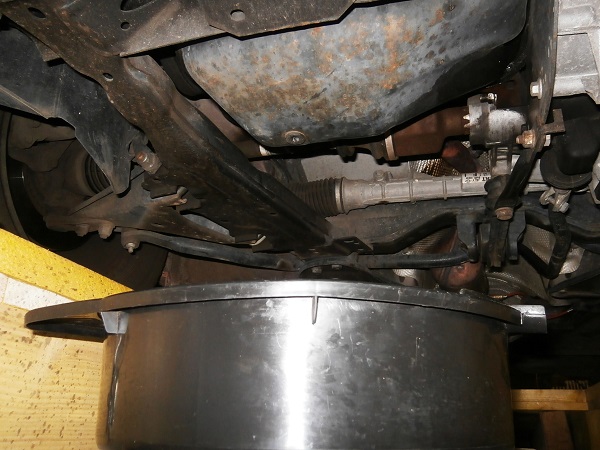
Op 04
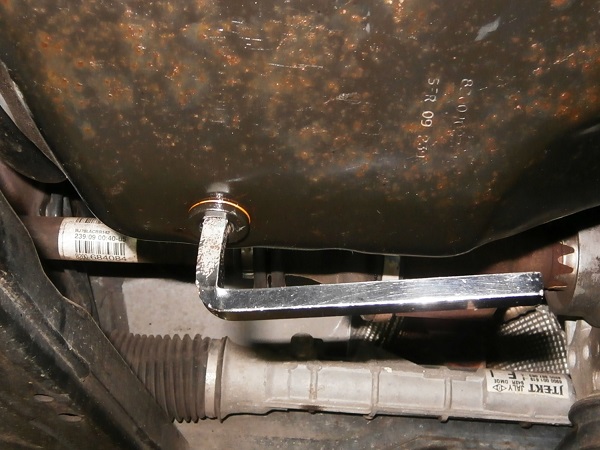
Unscrew the drain plug. Use the drain plug wrench.
Let the oil drain.
Discard the sump plug sealing washer and clean the drain plug thoroughly.
The oil and drain plug are very hot. Be careful not to burn yourself.
When the oil has drained, you can fit the oil filler cap.
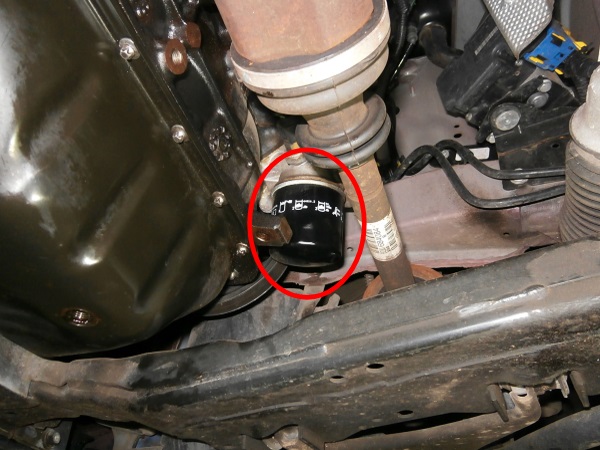
Remove the oil filter
Op 05
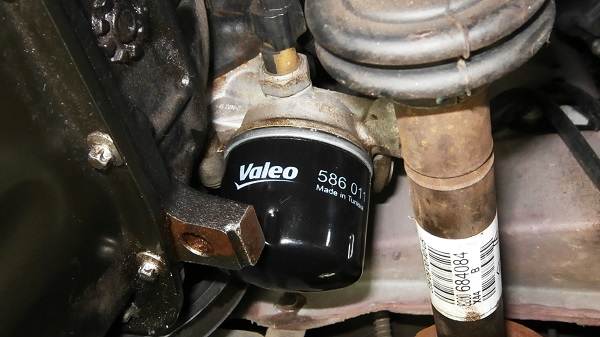
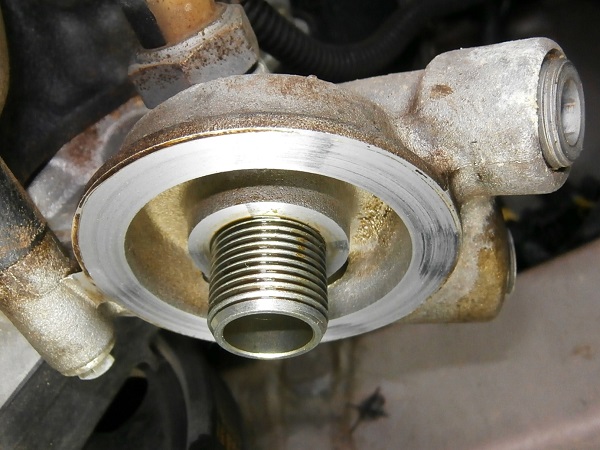
Unscrew and remove the oil filter. Use the oil filter wrench.
Place a drain pan under the filter because oil will flow out when it is removed.
Advertisement
Fit the new oil filter
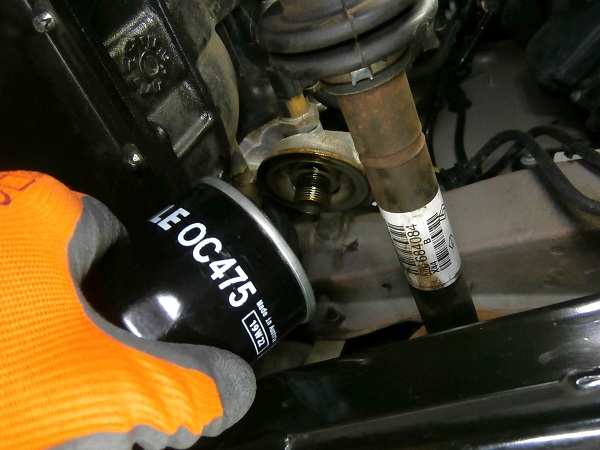
Op 06
Thoroughly clean the oil filter mounting surface.

Op 07
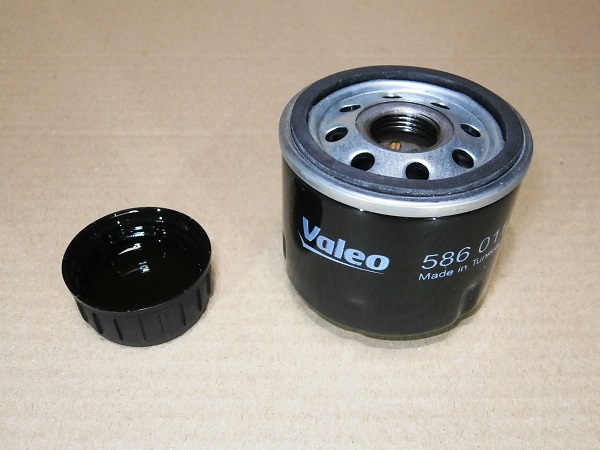
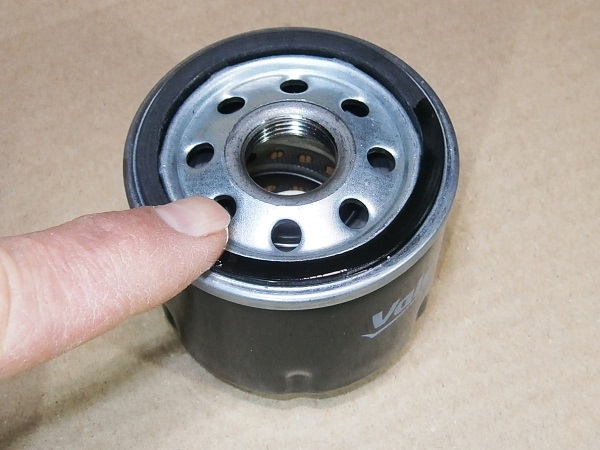
Lightly lubricate the gasket of the new oil filter with engine oil.
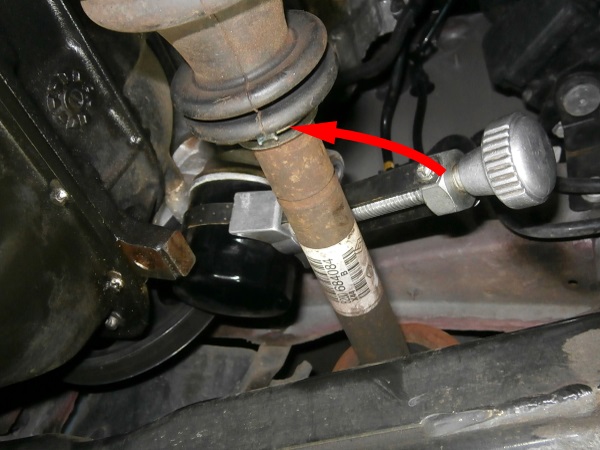
Op 08
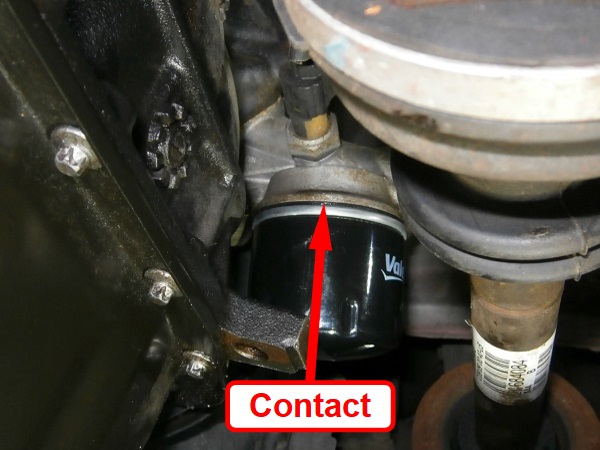
Screw on the new oil filter. Tighten by hand.
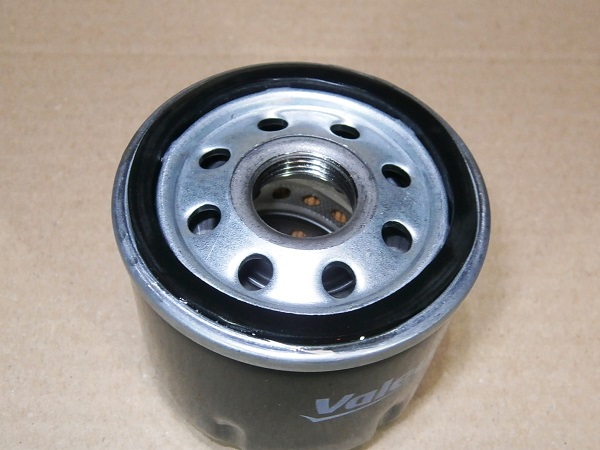
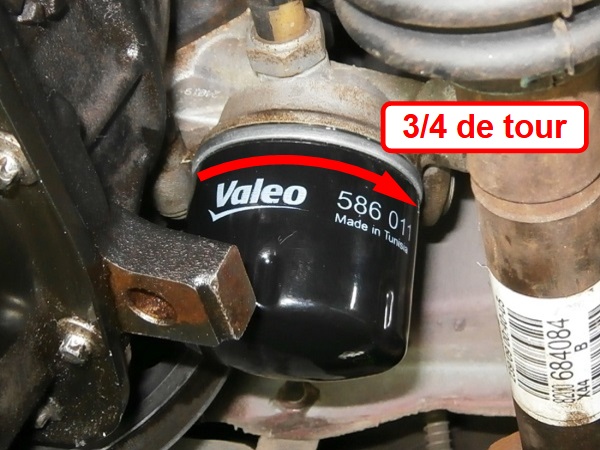
Screw the filter until the filter gasket contacts the support (2nd photo). Then, tighten the filter 3/4 turn (3rd photo).
Never tighten the new filter with the filter wrench.

Add oil
Op 09
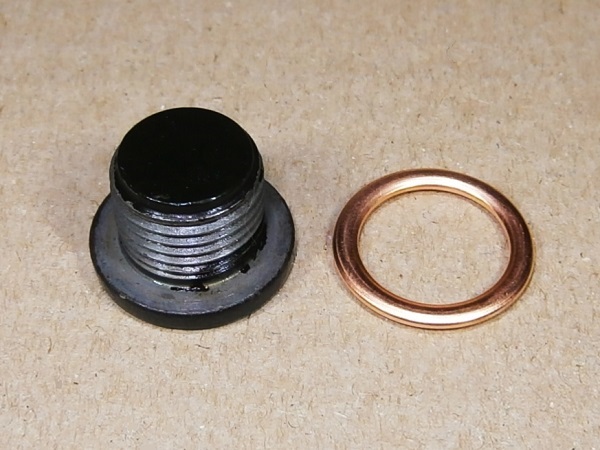
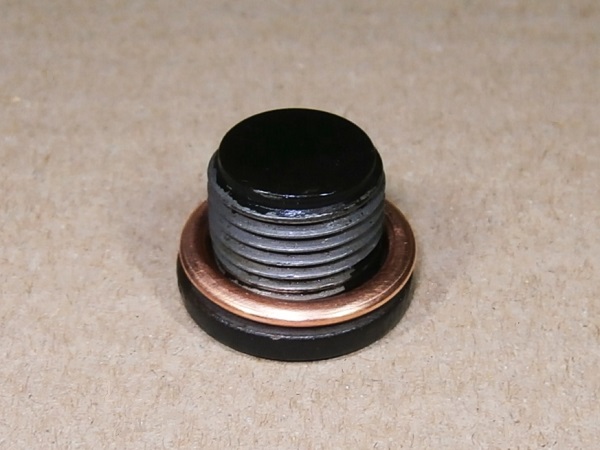
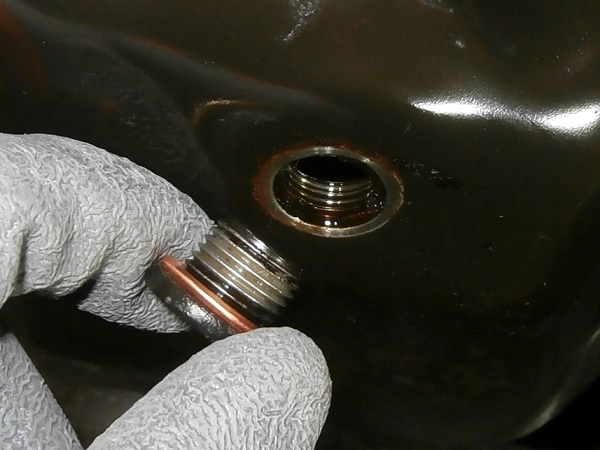
Clean the drain plug thoroughly.
Fit the new sealing washer on the drain plug.
Op 10
Screw the drain plug onto the engine oil sump. Use the drain plug wrench.

Op 11
Pour 3.5 liters of oil into the engine.
Fit the oil filler cap.

Op 12
Start the engine for a few seconds. Turn off the engine.
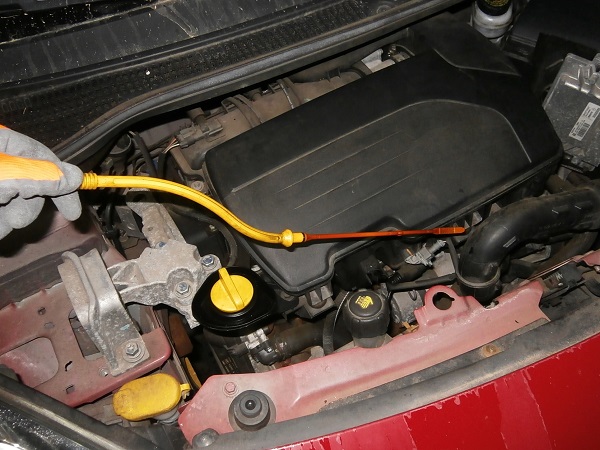
Check the oil level. Use the dipstick.
Add engine oil if necessary until approaching the ''max'' mark on the dipstick.
Check that there are no leaks at the oil filter and drain plug.
After turning off the engine, wait a few minutes for the oil to drain back into the engine oil sump before checking the oil level. If you do not respect this delay, the level reading may be distorted.
Do not exceed the maximum oil level (''max'' mark). This could damage the engine.

Op 13
Drive a few kilometers with the vehicle.
Check the oil level again and the absence of leaks at the oil filter and the drain plug.
Advertisement
Reset the maintenance indicator
Op 14
Reset the maintenance indicator :
•
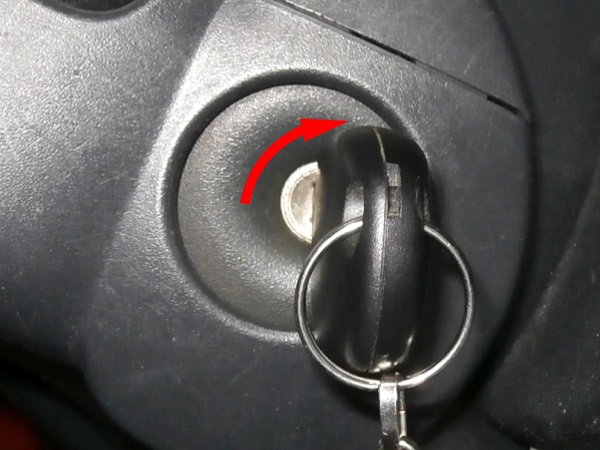
Turn on the ignition (2nd photo),
•
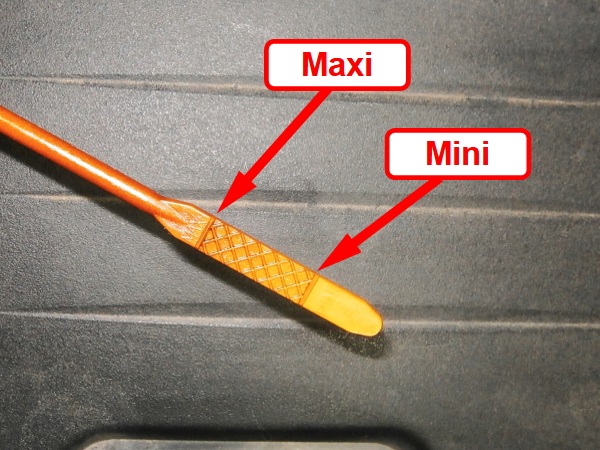
Press the push button located at the end of the wiper stalk switch several times (3rd photo) until you select the service display on the instrument cluster (spanner icon).
•
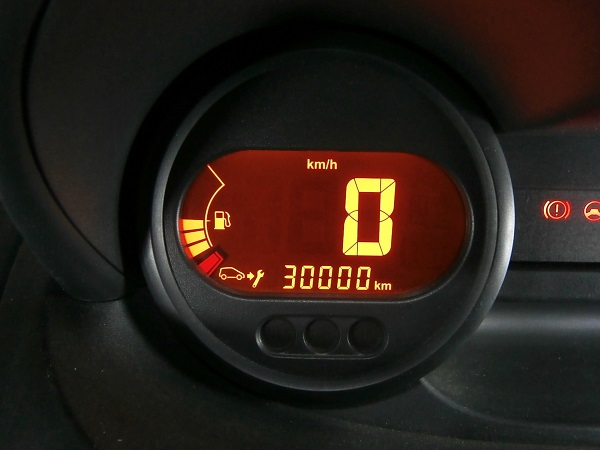
Keep pressing this push button. The display will start flashing for a few seconds and then it will display 30000 km fixed (4th photo). This is the mileage you can travel until the next service.
•
You can release the push button, the maintenance indicator is reset.


The End