This tutorial is also available in French
➔

Windscreen trim removal on Twingo 2

Vehicle ➔ Twingo 2 1.2 16v year 2009
Difficulty ➔ Easy

Time ➔ 30 minutes
Summary
Advertisement
Advertisement

Recommendations

The windscreen trim must be removed during an intervention on the wiper motor but also during an intervention on the front suspensions.
In our tutorials, when we indicate the RH side (right hand side) or the LH side (left hand side) for a part we have to work on, we must understand ''to our right'' or ''to our left'' when we are driving the vehicle.
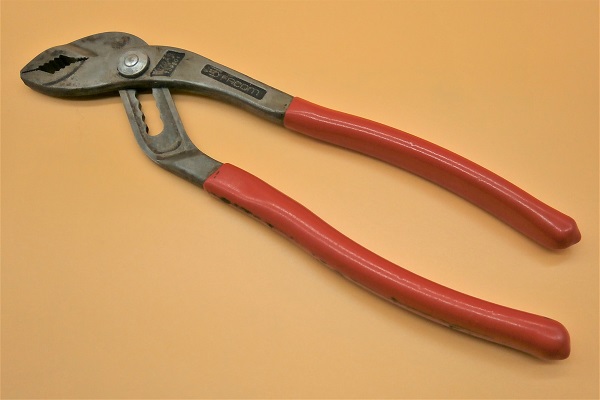
Required Tools
Sponsored links by


Advertisement
Remove the wiper arms
Op 01
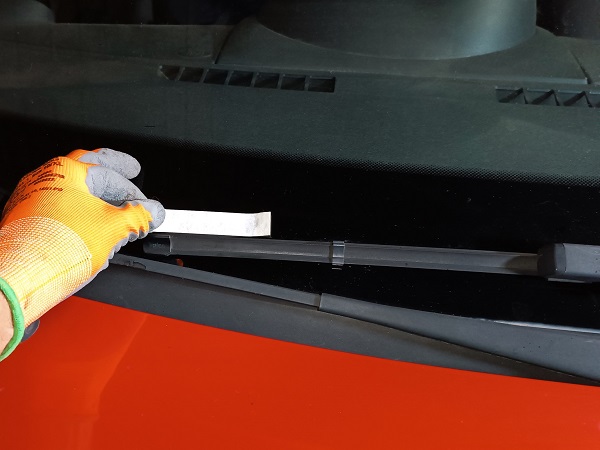
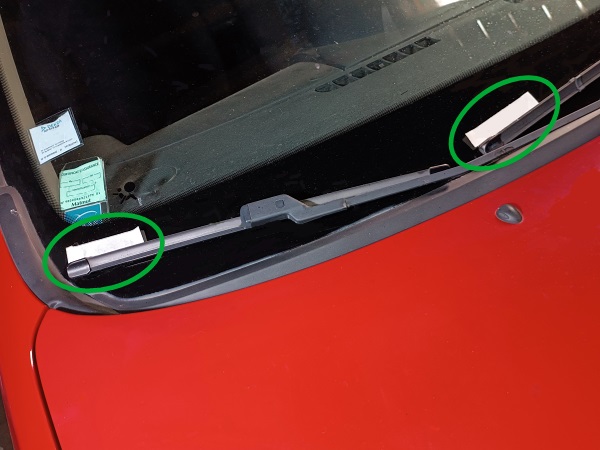
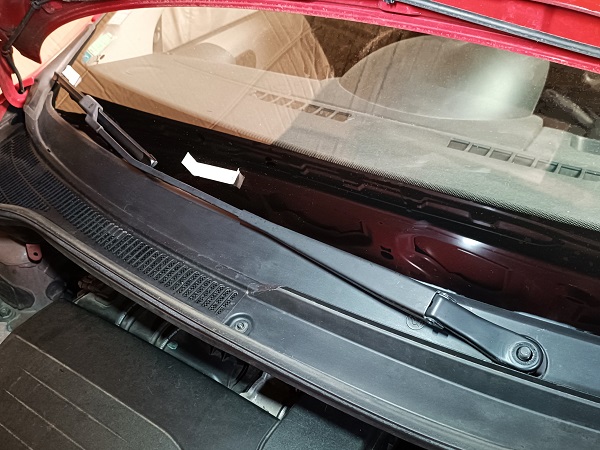
Mark the position of the 2 wiper blades on the windscreen. Use electrical tape.
The tape will allow you to find the correct position of the wipers during reassembly.

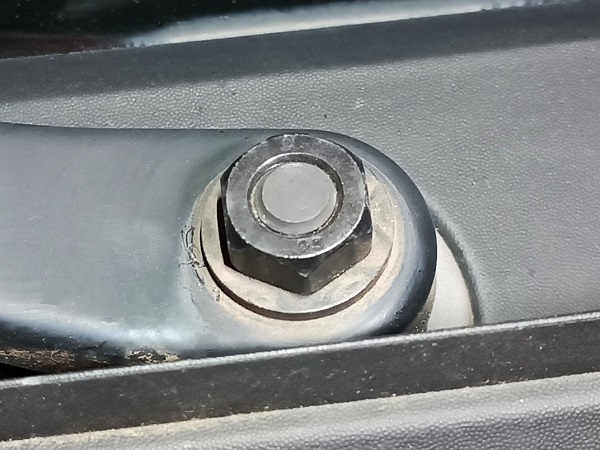
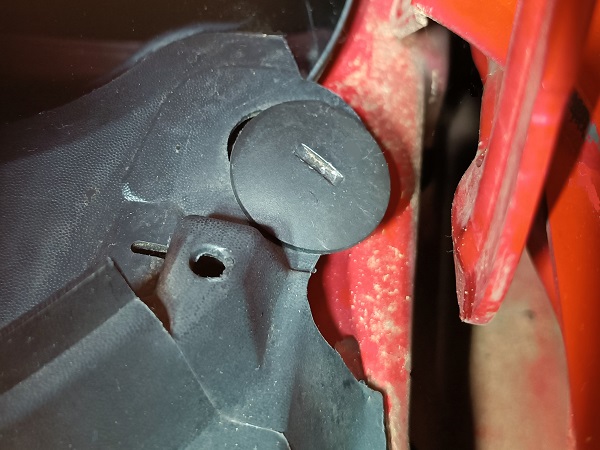
Op 02
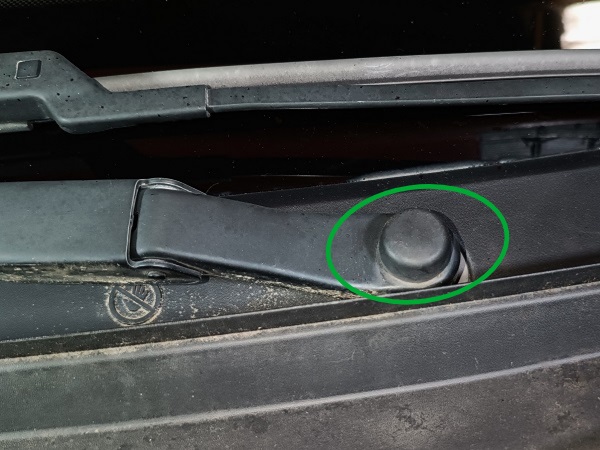
Remove the wiper nut covers. Use the flathead screwdriver.
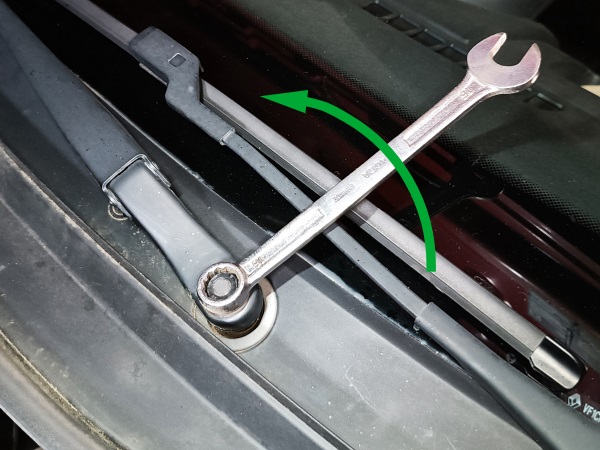
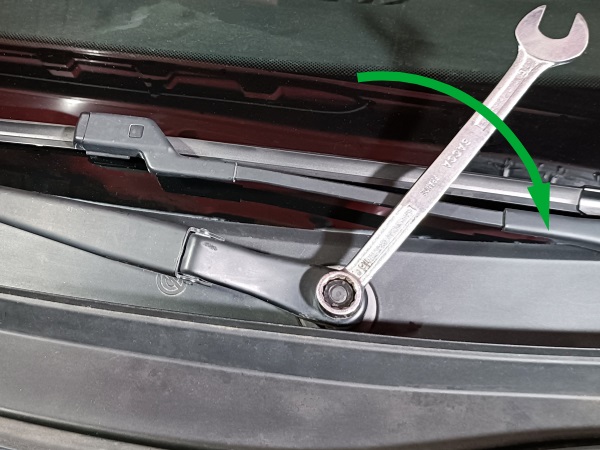
Op 03
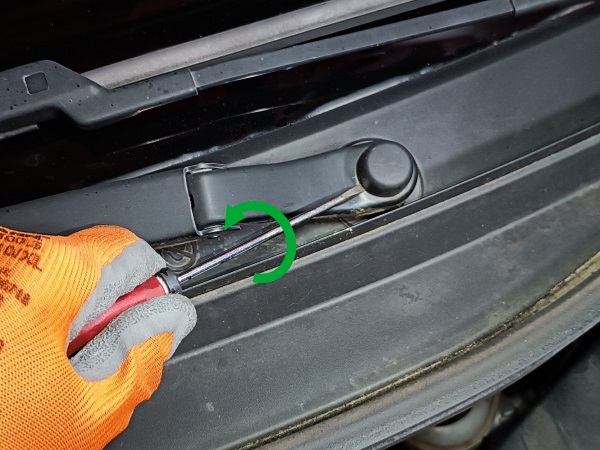
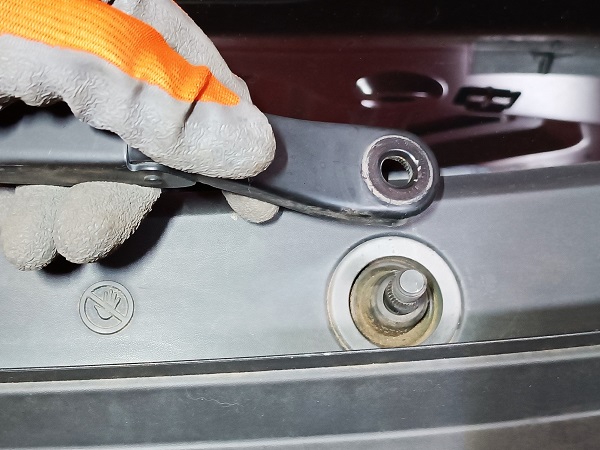
Unscrew the fixing nuts of the 2 wiper arms. Use the 16 mm spanner.
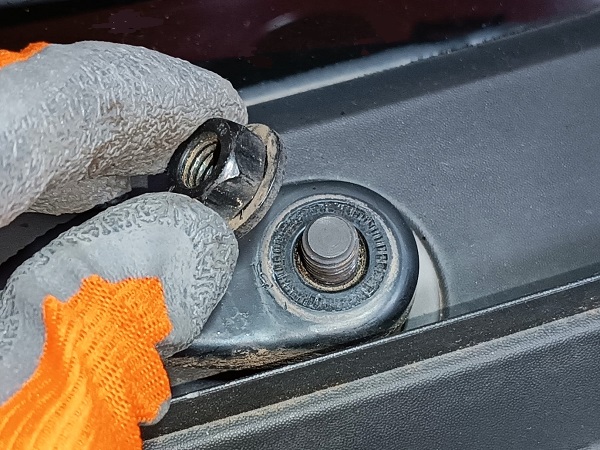
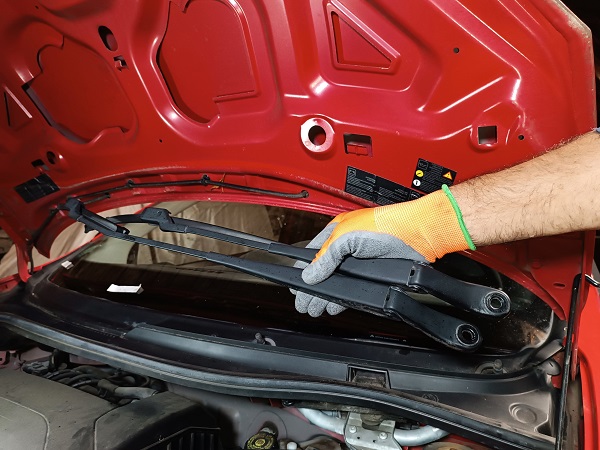
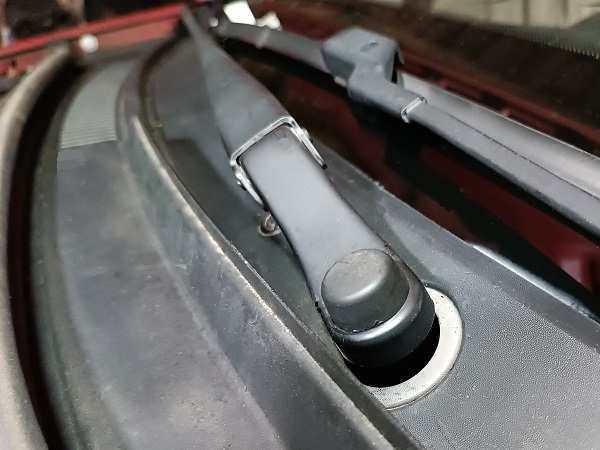
Op 04
Remove the 2 wiper arms. Use the multigrip pliers.

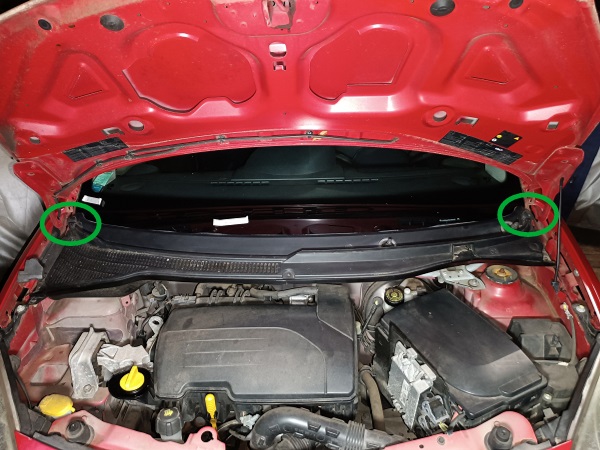
Remove the windscreen trim
Op 05
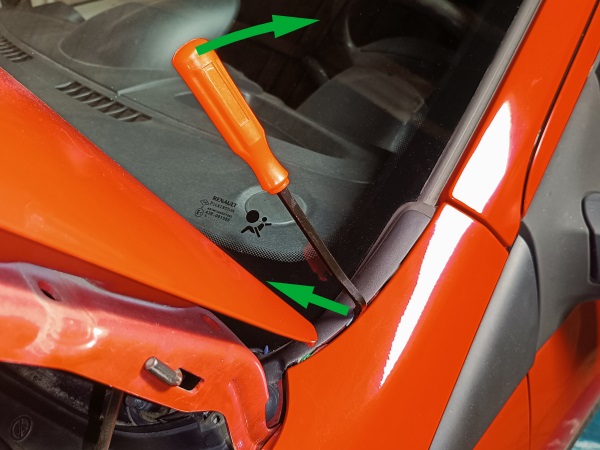
Remove the rubber seal. Pull by hand.
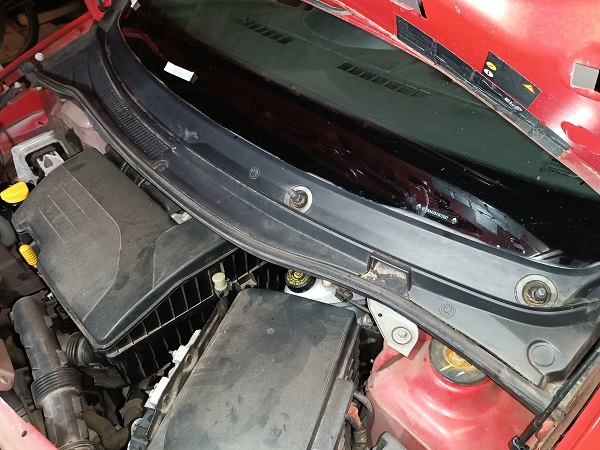

Op 06
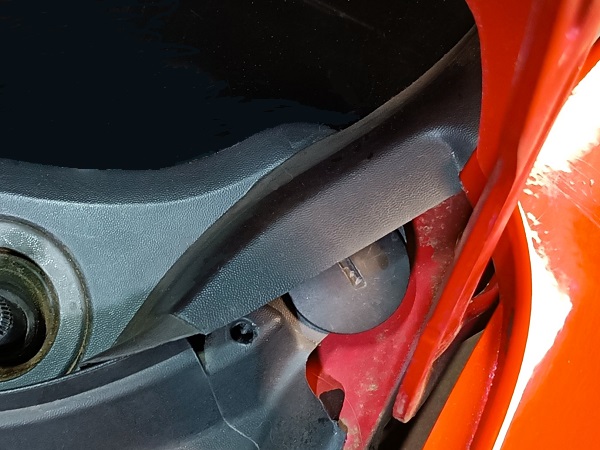
Unclip the lower part of the LH windscreen side moulding. Use a flathead screwdriver.
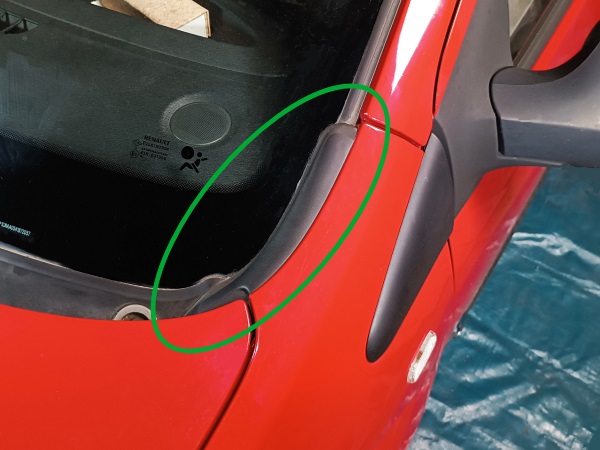
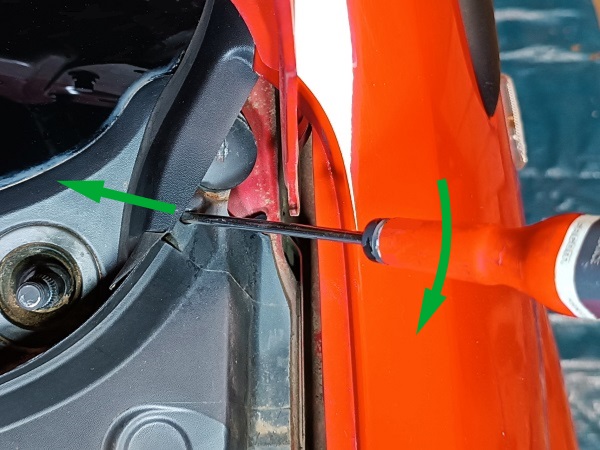

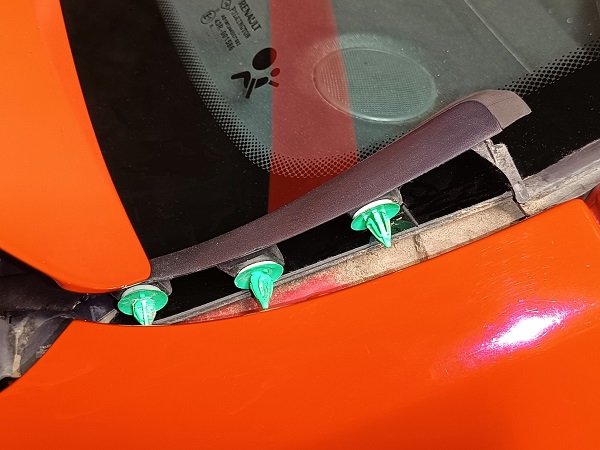
Op 07
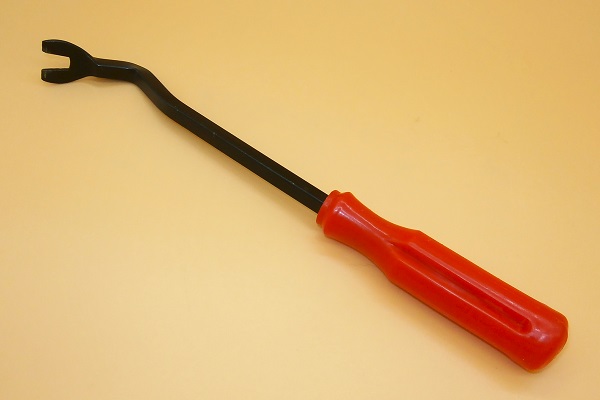
Unclip the 3 clips of the side moulding. Use the fastener removal tool.
Remove the LH windscreen side moulding.
Be careful not to scratch the body paint with the fastener removal tool.
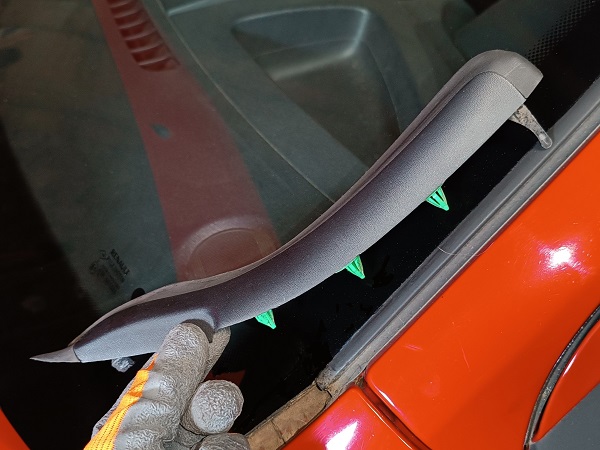
Op 08
Remove the RH windscreen side moulding. Proceed in the same way.

Op 09
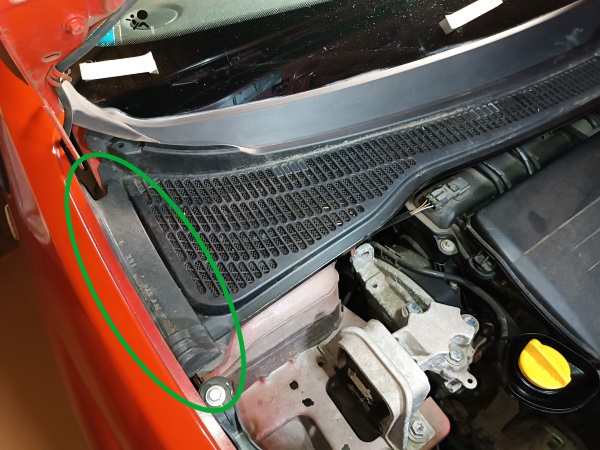
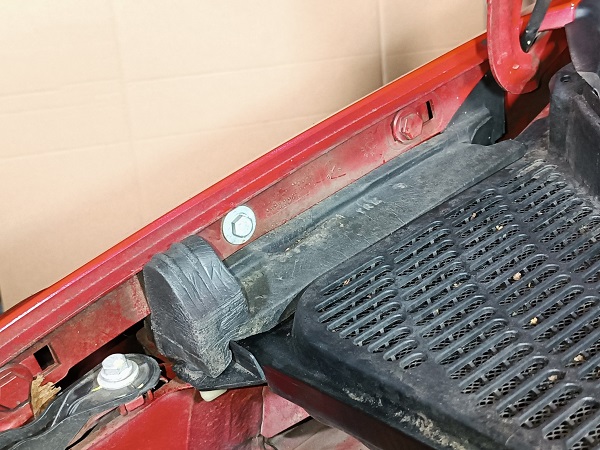
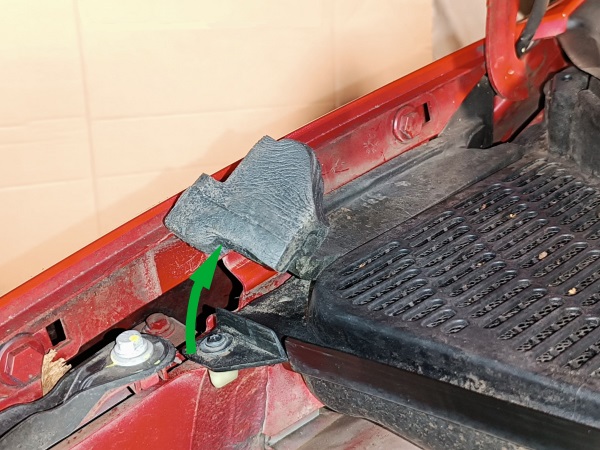
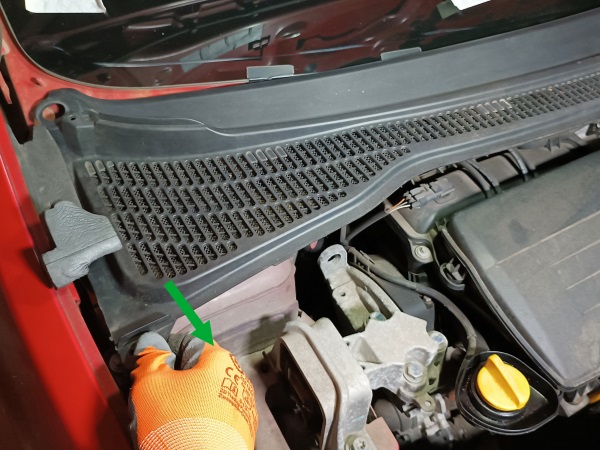
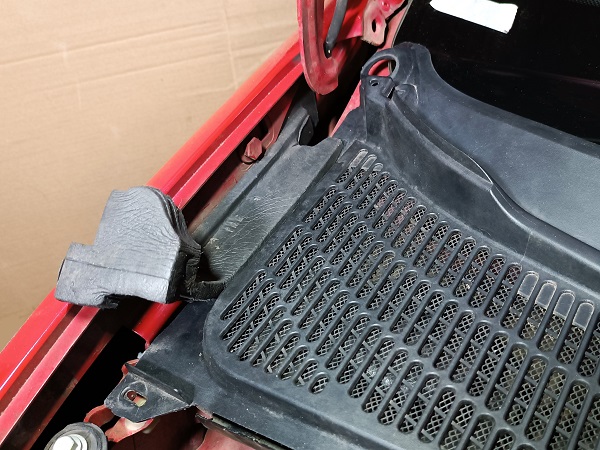
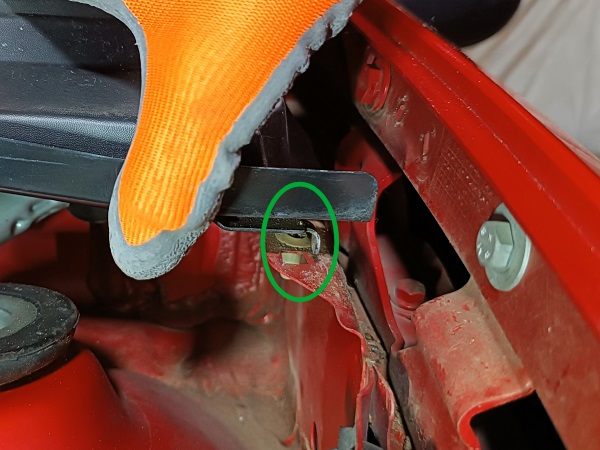
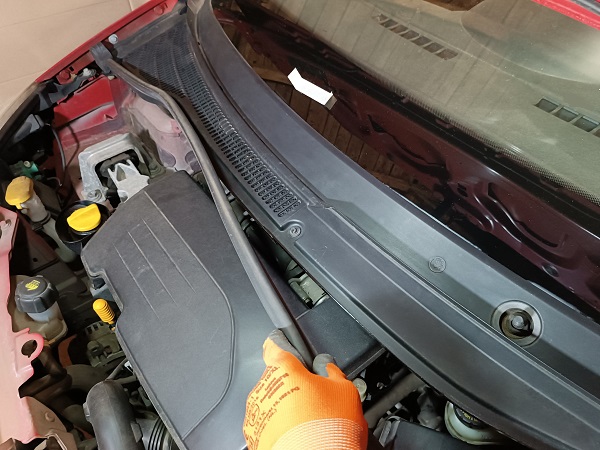
Slightly lift the foam pad located between the windscreen trim and the RH front wing. Pull by hand.
The foam pad covers the fixing screw of the windscreen trim. It must be slightly moved away to free access to the screw.
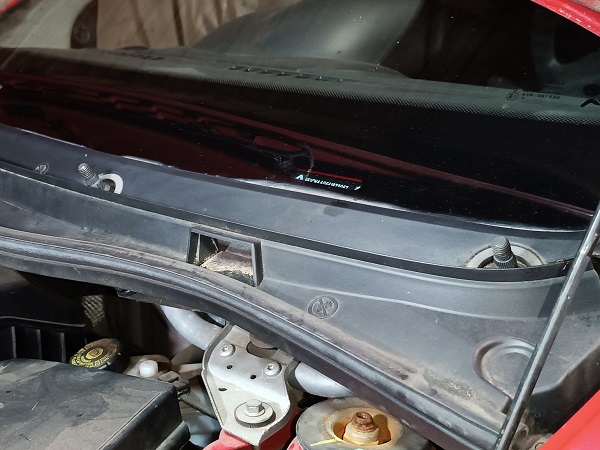
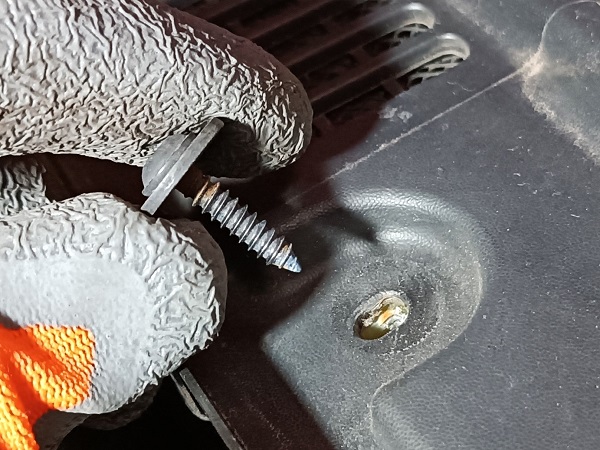
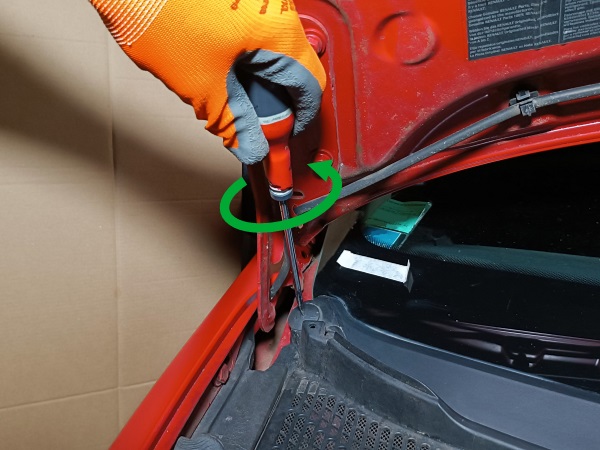
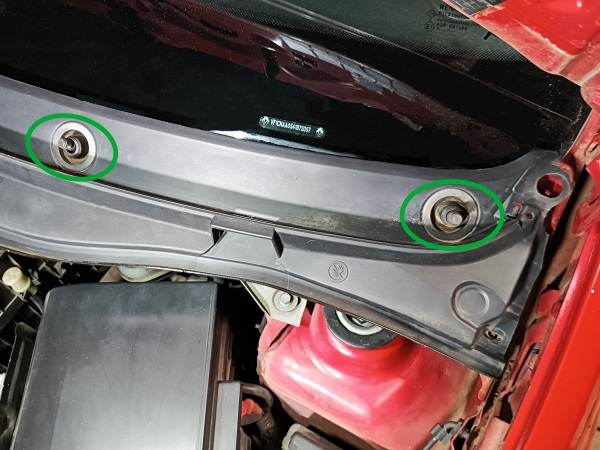
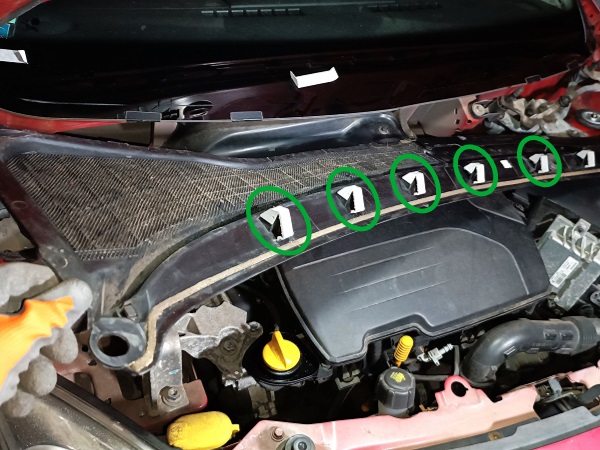
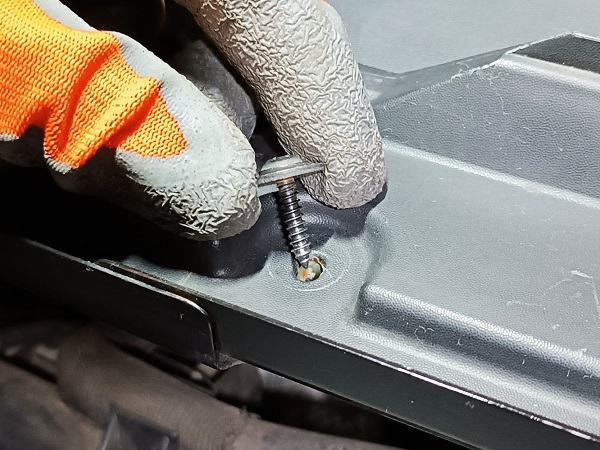
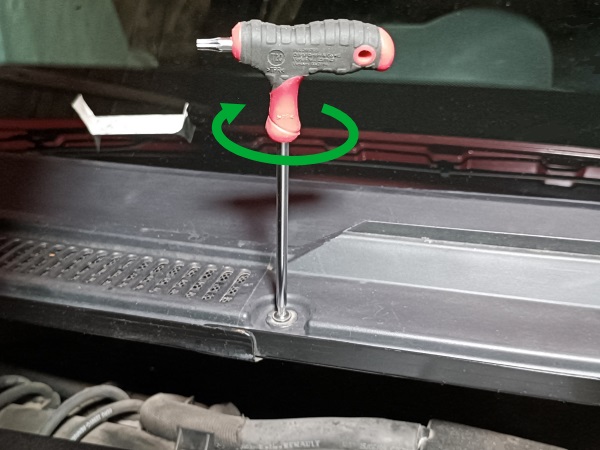
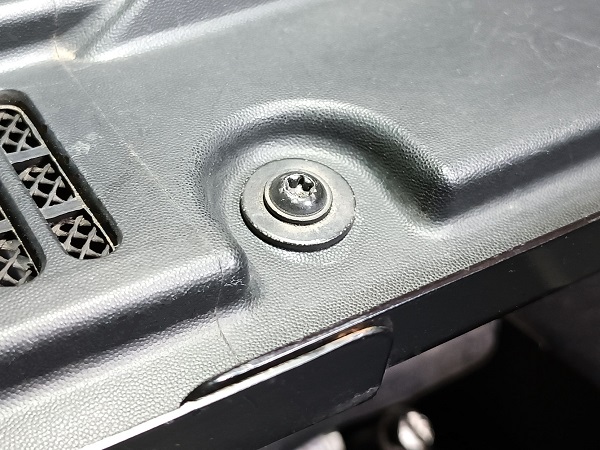
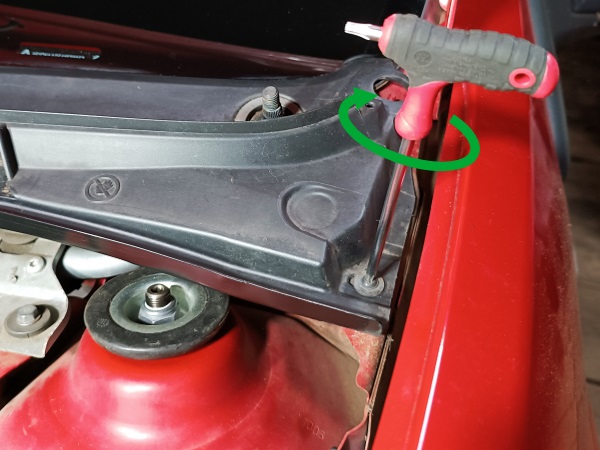
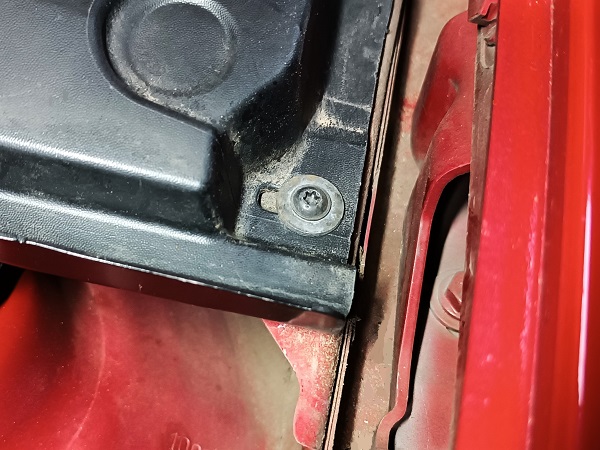
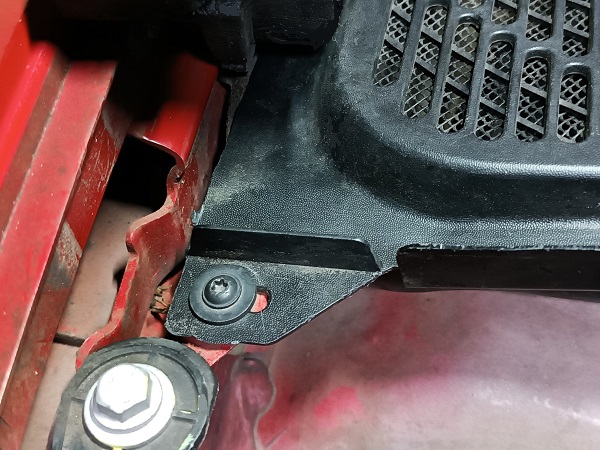
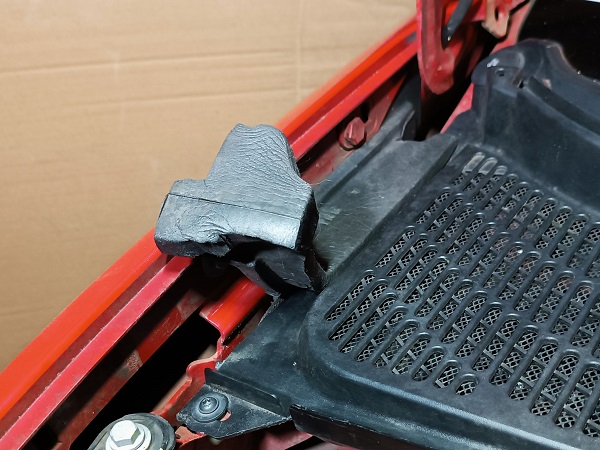
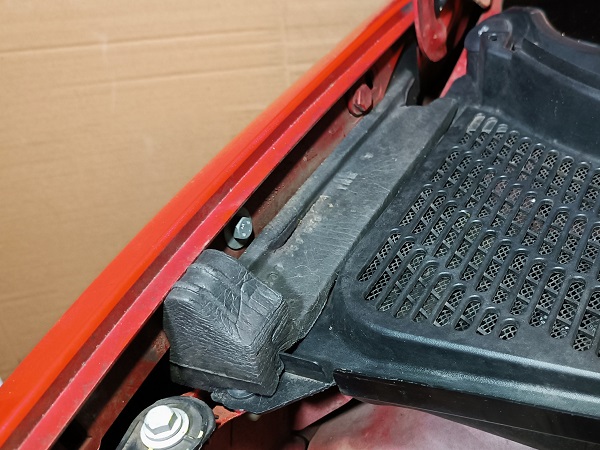
Op 10
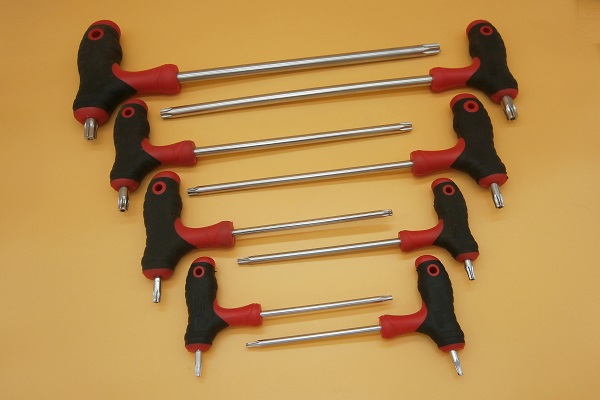
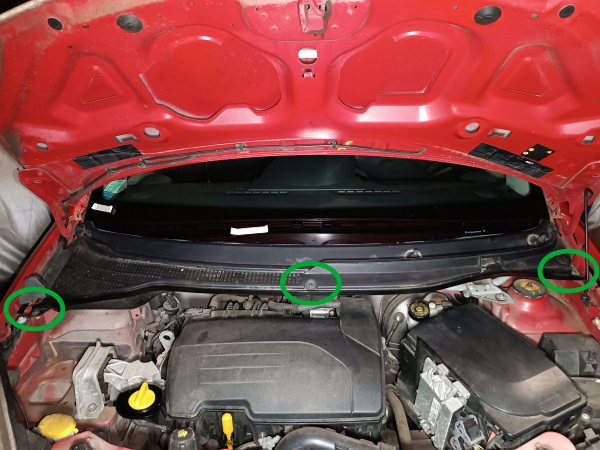
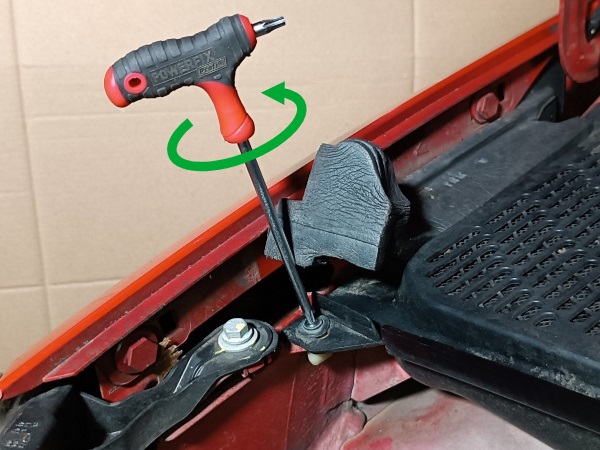
Unscrew the 3 fixing screws of the windscreen trim. Use the torx T20 key.

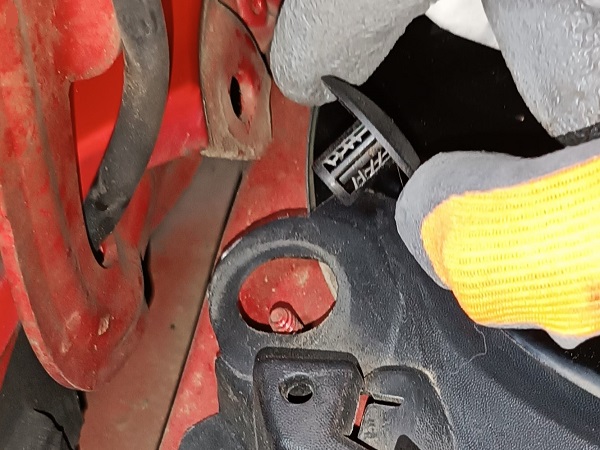
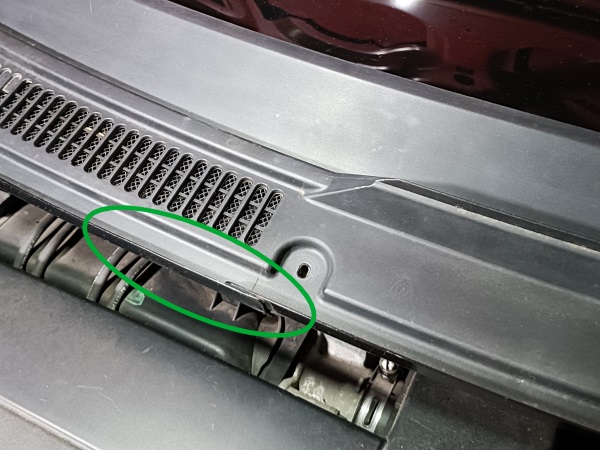
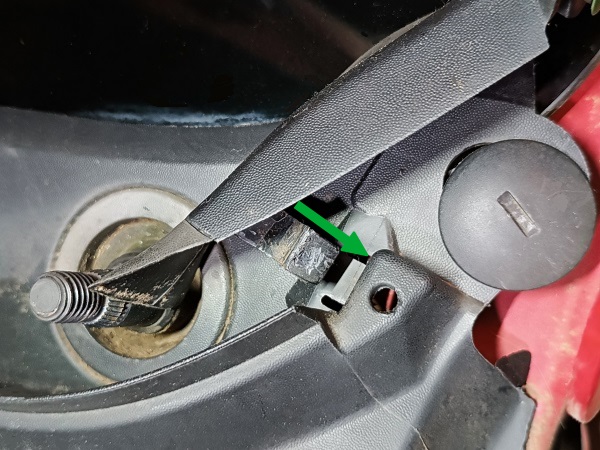
Op 11
Unscrew the 2 plastic clips of the windscreen trim. Use the flathead screwdriver.
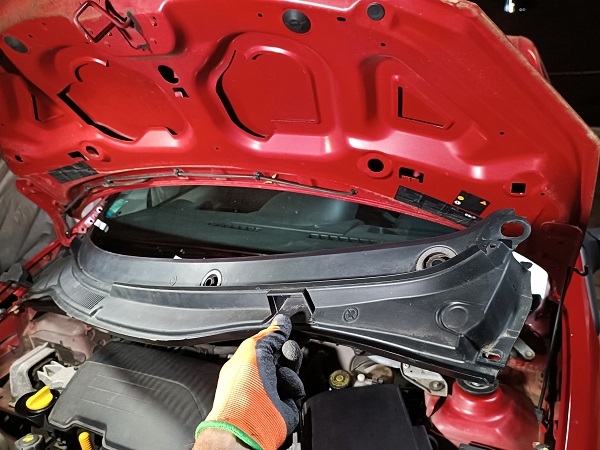
Op 12
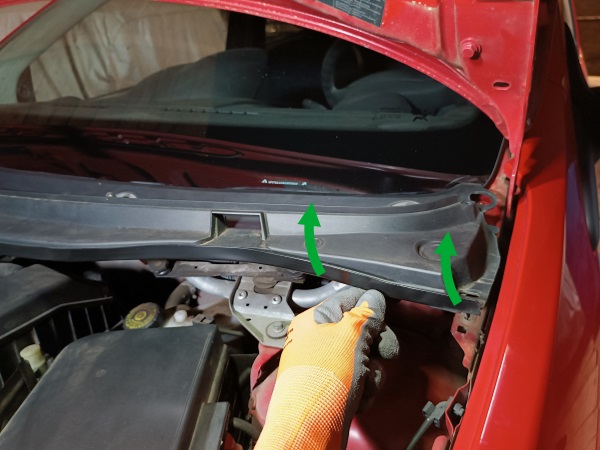
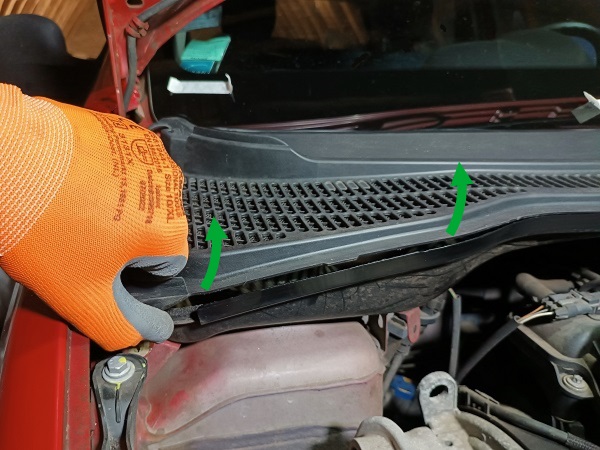
Remove the windscreen trim :
•
Slightly lift the LH side of the trim (1st photo).
•
Slightly lift the center of the trim and separate the trim from its RH metal support (2nd photo).
•
Slightly lift the RH side of the trim (3rd photo).
•
Pull the RH side of the trim slightly forward (4th photo).
•
Release the trim from the 2 wiper axis (5th photo).
•
Remove the trim (6th photo).
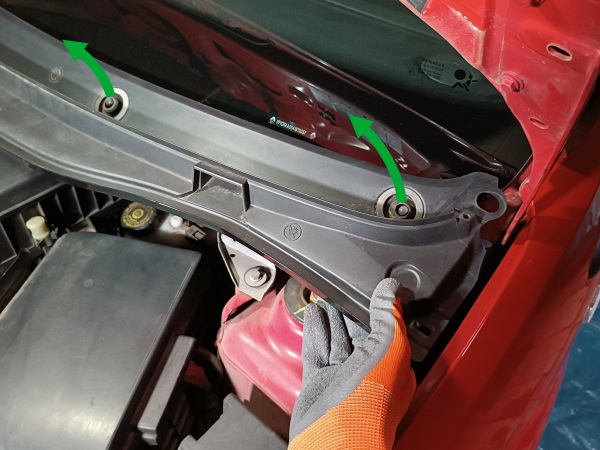
The windscreen trim is held by 2 metal supports (visible at the front of the trim).
When removing the trim :
• On the LH side, the metal support comes with the trim.
• On the RH side, the metal support remains on the vehicle.
When removing the trim :
• On the LH side, the metal support comes with the trim.
• On the RH side, the metal support remains on the vehicle.


Advertisement
Fit the windscreen trim
Op 13
Fit the windscreen trim :
•
Slide the trim under the foam pad (2nd photo) on the RH side. Push by hand.
•
Engage the trim on the 2 wiper axis (3rd photo).
•
Embed the front of the trim in its RH side metal support (4th photo).
Op 14
Engage the fixing clips of the windscreen trim under the windscreen. Press firmly by hand on the trim all along the windscreen.
To facilitate understanding, we photographed the underside of the windscreen trim to show the fixing clips (2nd photo).

Op 15
Engage the lug of the LH side metal support of the windscreen trim in its housing. Push by hand.
If necessary, slightly shift the windscreen trim to the RH or LH side.

Op 16
Screw the central fixing screw of the windscreen trim. Use the torx T20 key.
When positioning the central screw, if necessary, slightly shift the windscreen trim to the RH or LH side.
Op 17
Screw the 2 lateral fixing screws of the windscreen trim. Use the torx T20 key.
Op 18
Fit the 2 plastic clips of the windscreen trim. Push by hand.


Op 19
Fit the foam pad located between the windscreen trim and the RH front wing. Push by hand.
Op 20
Clip the RH and LH windscreen side mouldings. Push by hand.


Op 21
Fit the rubber seal on the windscreen trim. Press by hand.

Advertisement
Fit the wiper arms
Op 22
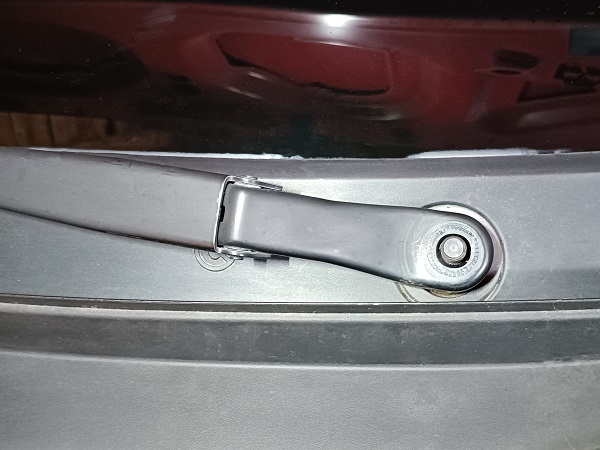
Fit the 2 wiper arms. Push by hand.
Respect the positions of the wipers marked on the windscreen with electrical tape.
Op 23
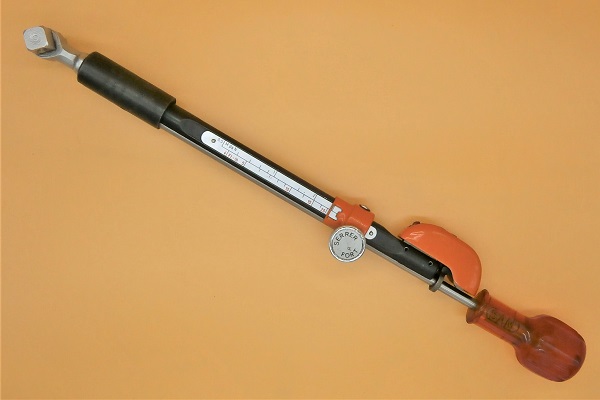
Screw the fixing nuts of the 2 wiper arms. Use the 16 mm spanner.
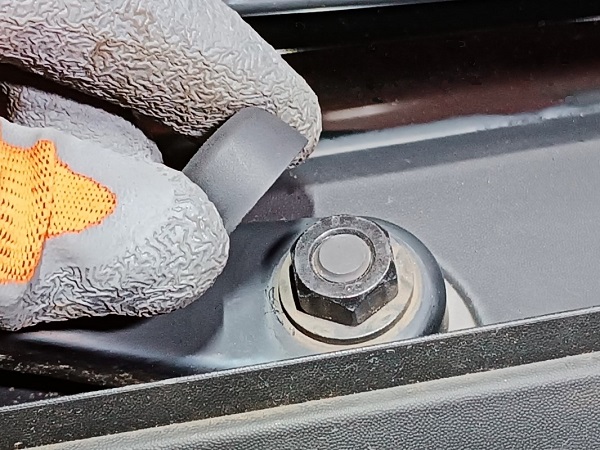
Tighten the nuts to a torque of 21 Nm. Use the torque wrench and the 16 mm socket.


Op 24
Fit the wiper nut covers. Press by hand.

The End